What the AeroTech 4.0 Inch Ogive Nose Cone Offers
The AeroTech 4.0 inch 4:1 ogive plastic nose cone (model 11401) is the same component supplied with AeroTech rocket kits. With a 4.0 inch diameter and 16 inch length, it provides a classic streamlined profile for mid-power builds. The blow-molded plastic construction keeps weight low at 7.62 oz (216 g), and the built-in shock cord attachment eyelet simplifies recovery system integration.
Nose Cone Specifications at a Glance
-
AeroTech 4.0 inch 4:1 Ogive Plastic Nose Cone - 11401: 4.0 inch diameter x 16 inch length (406 mm). Matches standard 4-inch body tubes; the 4:1 ogive shape offers a good balance of drag reduction and internal volume for parachute or electronics.
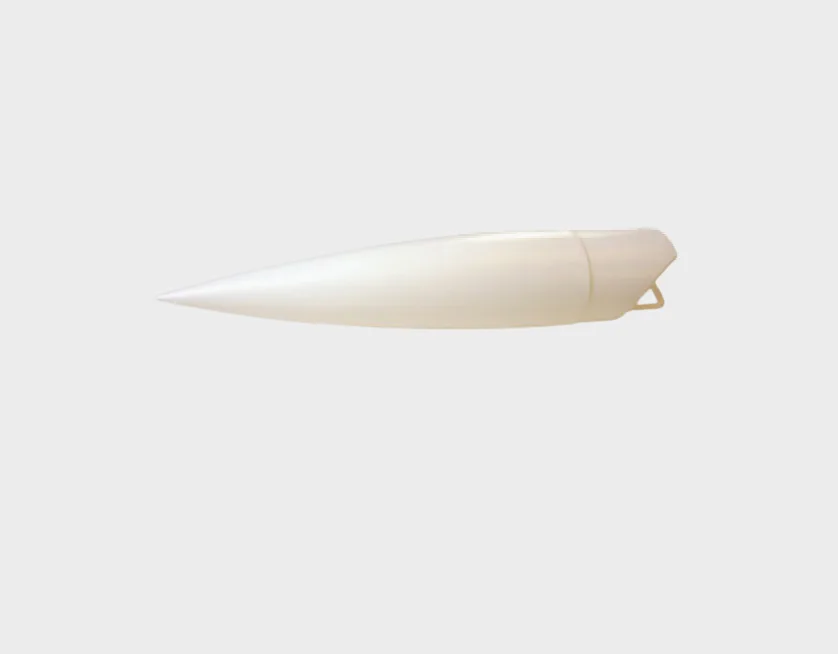
AeroTech 4.0 inch 4:1 Ogive Plastic Nose Cone - 11401
-
AeroTech 4.0 inch 4:1 Ogive Plastic Nose Cone - 11401: Weight 7.62 oz (216 g). Light enough to keep the rocket's center of gravity forward without requiring excessive nose weight.
-
AeroTech 4.0 inch 4:1 Ogive Plastic Nose Cone - 11401: Blow molded plastic with shock cord attachment eyelet. The eyelet is ready for your Kevlar or elastic cord; no drilling or epoxy anchor needed.
Installation Steps for the Nose Cone
Follow these steps to integrate the nose cone into your rocket build. Always test-fit before applying adhesive.
- Test-fit the nose cone to your body tube: Slide the nose cone shoulder into your 4.0 inch body tube. It should fit snugly but not require force. If the fit is too tight, sand the shoulder lightly with fine-grit sandpaper. If too loose, add a wrap of masking tape or use a thin layer of epoxy to build up the shoulder.
- Attach the shock cord: Tie your shock cord (Kevlar or elastic) directly to the molded eyelet inside the nose cone. Use a secure knot such as a bowline or double overhand. For added security, apply a small drop of thin CA glue to the knot.
- Prepare the surface for painting (optional): Blow-molded plastic may have mold release residue. Wash the nose cone with mild soap and water, then lightly sand with 400-grit sandpaper. Prime with a plastic-compatible primer before painting.
- Install the nose cone permanently: Once fit and finishing are complete, apply a bead of epoxy or plastic-compatible adhesive to the shoulder and insert into the body tube. Wipe away any excess. Allow to cure per adhesive instructions.
Finishing Tips for a Professional Look
The blow-molded plastic surface can be painted for a custom finish. After cleaning and sanding, apply a flexible primer designed for plastics to prevent paint from chipping. Use spray paint formulated for plastic or a general-purpose enamel. Multiple light coats yield a smoother result than one heavy coat. Allow each coat to dry fully before sanding lightly between coats.
Compatibility and Limitations to Consider
This nose cone is designed for 4.0 inch diameter body tubes. It does not include a built-in payload bay or shear pin holes; those modifications would need to be added by the builder. The supplied information does not confirm a specific wall thickness or material grade, so test-fit and finishing steps rely on typical blow-molded plastic behavior. Always follow your rocket kit's instructions for weight and balance requirements.