Quick answer
Use a ball nose spiral bit for 3D carving by setting a shallow depth of cut, running a moderate feed rate, and matching the bit diameter to your detail size. Start with a larger bit for roughing, then switch to a smaller one for finishing.
Why bit diameter matters for 3D carving
3D carving relies on the bit's ball end to create smooth, rounded contours. A larger diameter bit like the 3/8″ ball nose clears material faster for rough passes but cannot reach into tight corners. A smaller bit like the 1/16″ ball nose carves fine detail and narrow slots but requires slower feed rates and more passes to avoid breaking.
Trade-off: Up-cut spiral vs straight flute
Ball nose spiral bits with an up-cut design pull chips upward, which helps clear waste from deep pockets and reduces heat buildup. The trade-off is a slightly rougher surface finish on the top edge compared to a down-cut or straight flute. For 3D carving where the top surface is the finished face, this is usually acceptable if you follow with a light finishing pass.
Step-by-step: Using a ball nose spiral bit for 3D carving
- Choose your bit size for the job: Select a larger bit (e.g., 3/8″) for roughing and a smaller bit (e.g., 1/16″) for finishing detail. Match bit diameter to the smallest radius in your model. Using a bit larger than the smallest detail will leave uncut material.
- Set depth of cut per pass: For a 3/8″ bit, start with 0.04–0.06 inch per pass in hardwood. For a 1/16″ bit, reduce to 0.01–0.02 inch per pass. Never exceed half the bit diameter per pass. Too deep a cut on a small bit is the most common cause of breakage.
- Adjust feed rate and spindle speed: Run the 3/8″ bit at 16,000 RPM with a feed rate of 80–120 IPM for roughing. For the 1/16″ bit, slow feed to 30–50 IPM at 18,000–20,000 RPM. Listen for a steady cutting sound without chatter. If the bit squeals or the machine vibrates, reduce feed rate or RPM.
- Program a roughing pass and a finishing pass: In your CAM software, generate a roughing toolpath with a larger stepover (40–50% of bit diameter) and a finishing toolpath with a stepover of 5–10%. Use climb milling for the finish pass to reduce tear-out. Skipping the roughing pass on deep models stresses the bit and can cause deflection.
- Check chip clearance and bit cooling: For deep pockets, use a pecking or ramp plunge strategy to clear chips. The up-cut spiral helps, but if chips pack around the bit, reduce depth or add a dwell between passes. Packed chips cause overheating and shorten bit life; a coated bit like AstraHP runs cooler but still needs clearance.
Bit choices for 3D carving
-
3/8″ Ball Nose Spiral Bit – 1/4″ Shank (AstraHP Coated): 3/8″ ball nose with 1/4″ shank, AstraHP coated solid carbide, 1″ cut length, up-cut, 2 flutes, recommended RPM 16,000. Good for roughing passes and medium-detail 3D contours; the larger diameter cuts faster but leaves a coarser finish.
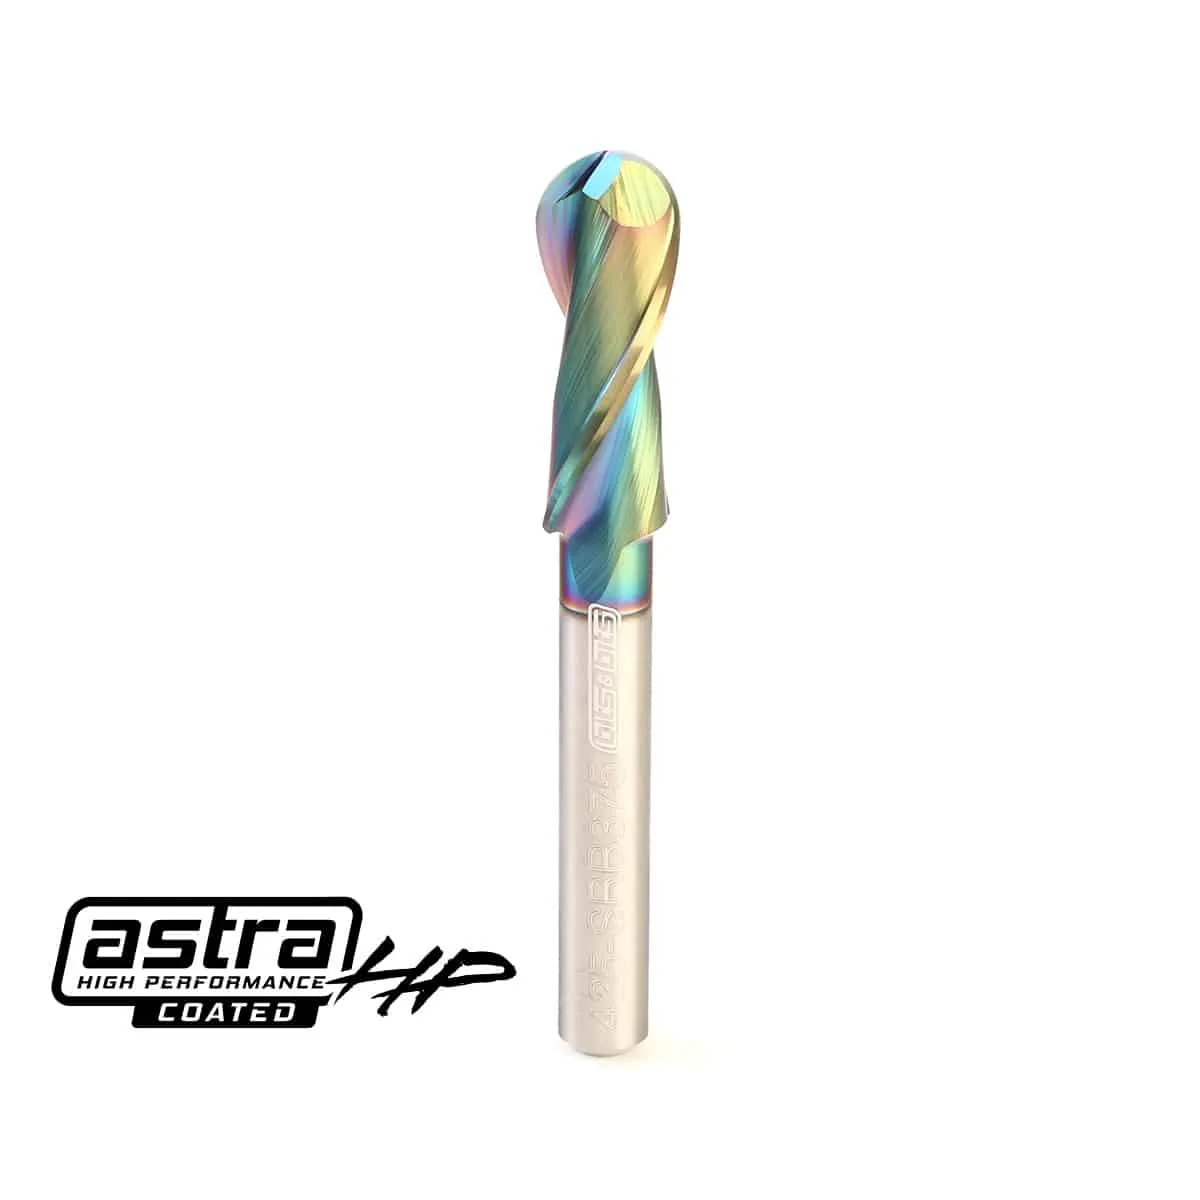
3/8″ Ball Nose Spiral Bit – 1/4″ Shank (AstraHP Coated)
-
1/16″ Ball Nose Spiral Bit (AstraHP Coated): 1/16″ ball nose with 1/4″ shank, AstraHP coated solid carbide, 1/4″ cut length. Ideal for fine detail and tight radius work; the small tip requires slower feed and multiple passes to avoid breakage.
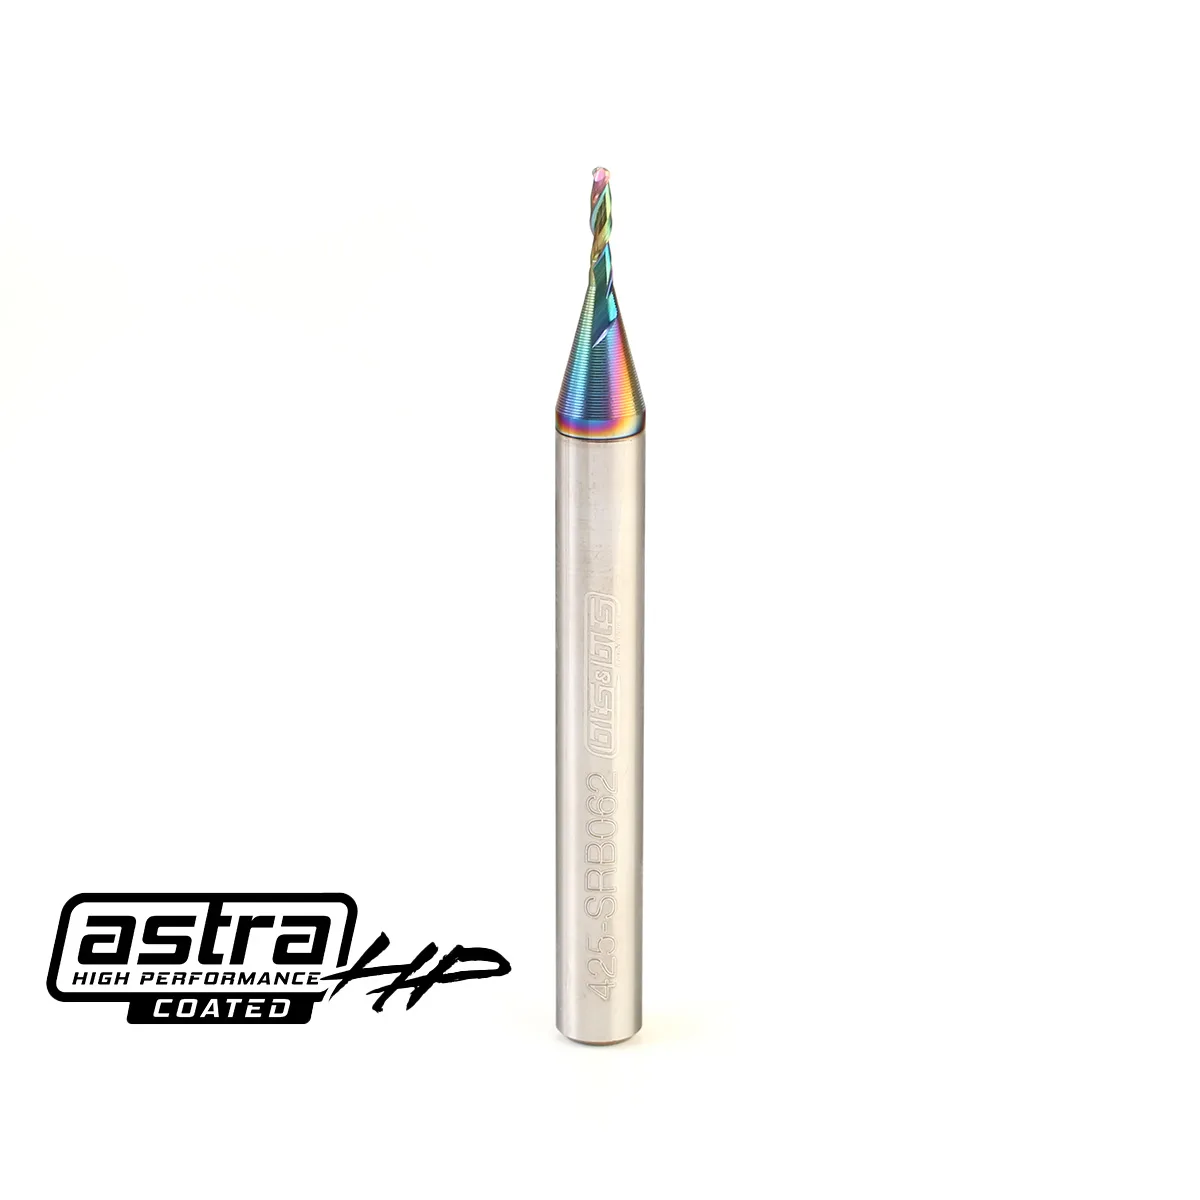
1/16″ Ball Nose Spiral Bit (AstraHP Coated)