Quick Answer
Use thin parallels to support your workpiece evenly above the mill table, ensuring consistent height and preventing deflection during machining.
Why Thin Parallels Matter for Mill Setup
Thin parallels are precision-ground bars that sit under your workpiece to elevate it above the mill table. This clearance allows chips to fall away and prevents the cutter from hitting the table. More importantly, they provide a consistent reference surface, so your workpiece sits level and stable.
The key is to use parallels that are matched in height and parallel within tight tolerances. If your parallels are uneven, your workpiece will rock, leading to inaccurate cuts or even dangerous tool breakage.
Choosing the Right Thickness
Select parallels that are thick enough to support the workpiece without flexing, but thin enough to leave adequate clearance for the cutter. As a rule of thumb, the parallel should extend at least halfway into the vise jaws to provide stable support.
For workpieces with uneven surfaces, consider using a pair of parallels of different heights to level the part. However, ensure that the heights are matched within the specified tolerance to avoid introducing error.
Step-by-Step Mill Setup with Thin Parallels
- Clean the table and vise: Wipe the mill table and vise jaws with a clean cloth to remove chips and debris. Any particle under the parallels will cause misalignment. Even a tiny chip can ruin your setup.
- Select the correct parallel height: Choose parallels that leave at least 1/4" of clearance between the workpiece and the table, but ensure they are not too thin to support the part's weight. Thicker parallels are more rigid; use the thinnest that still provides clearance.
- Place parallels under the workpiece: Position the parallels so they are evenly spaced and extend slightly beyond the workpiece edges. This prevents the part from tipping when the vise is tightened. Check that the parallels are parallel to the vise jaws.
- Tighten the vise and check: Gradually tighten the vise, then lightly tap the workpiece with a soft mallet to seat it. Use a feeler gauge to confirm the part is flat against the parallels. If the feeler gauge won't slide, the part is not seated properly.
- Verify with an indicator: Sweep a dial test indicator across the top of the workpiece to ensure it is level. Adjust if necessary. This step catches any remaining setup error before you start cutting.
Recommended Product
-
Thin Parallels, 6" Long, 10 Pairs, Premium, Dasqua: The Dasqua 6" long thin parallel set includes 10 pairs with heights from 1/2" to 1-5/8". They are parallel within 0.0002" on top and bottom, and matched in height within 0.0004". This precision ensures your workpiece sits perfectly level, reducing setup error and improving machining accuracy.
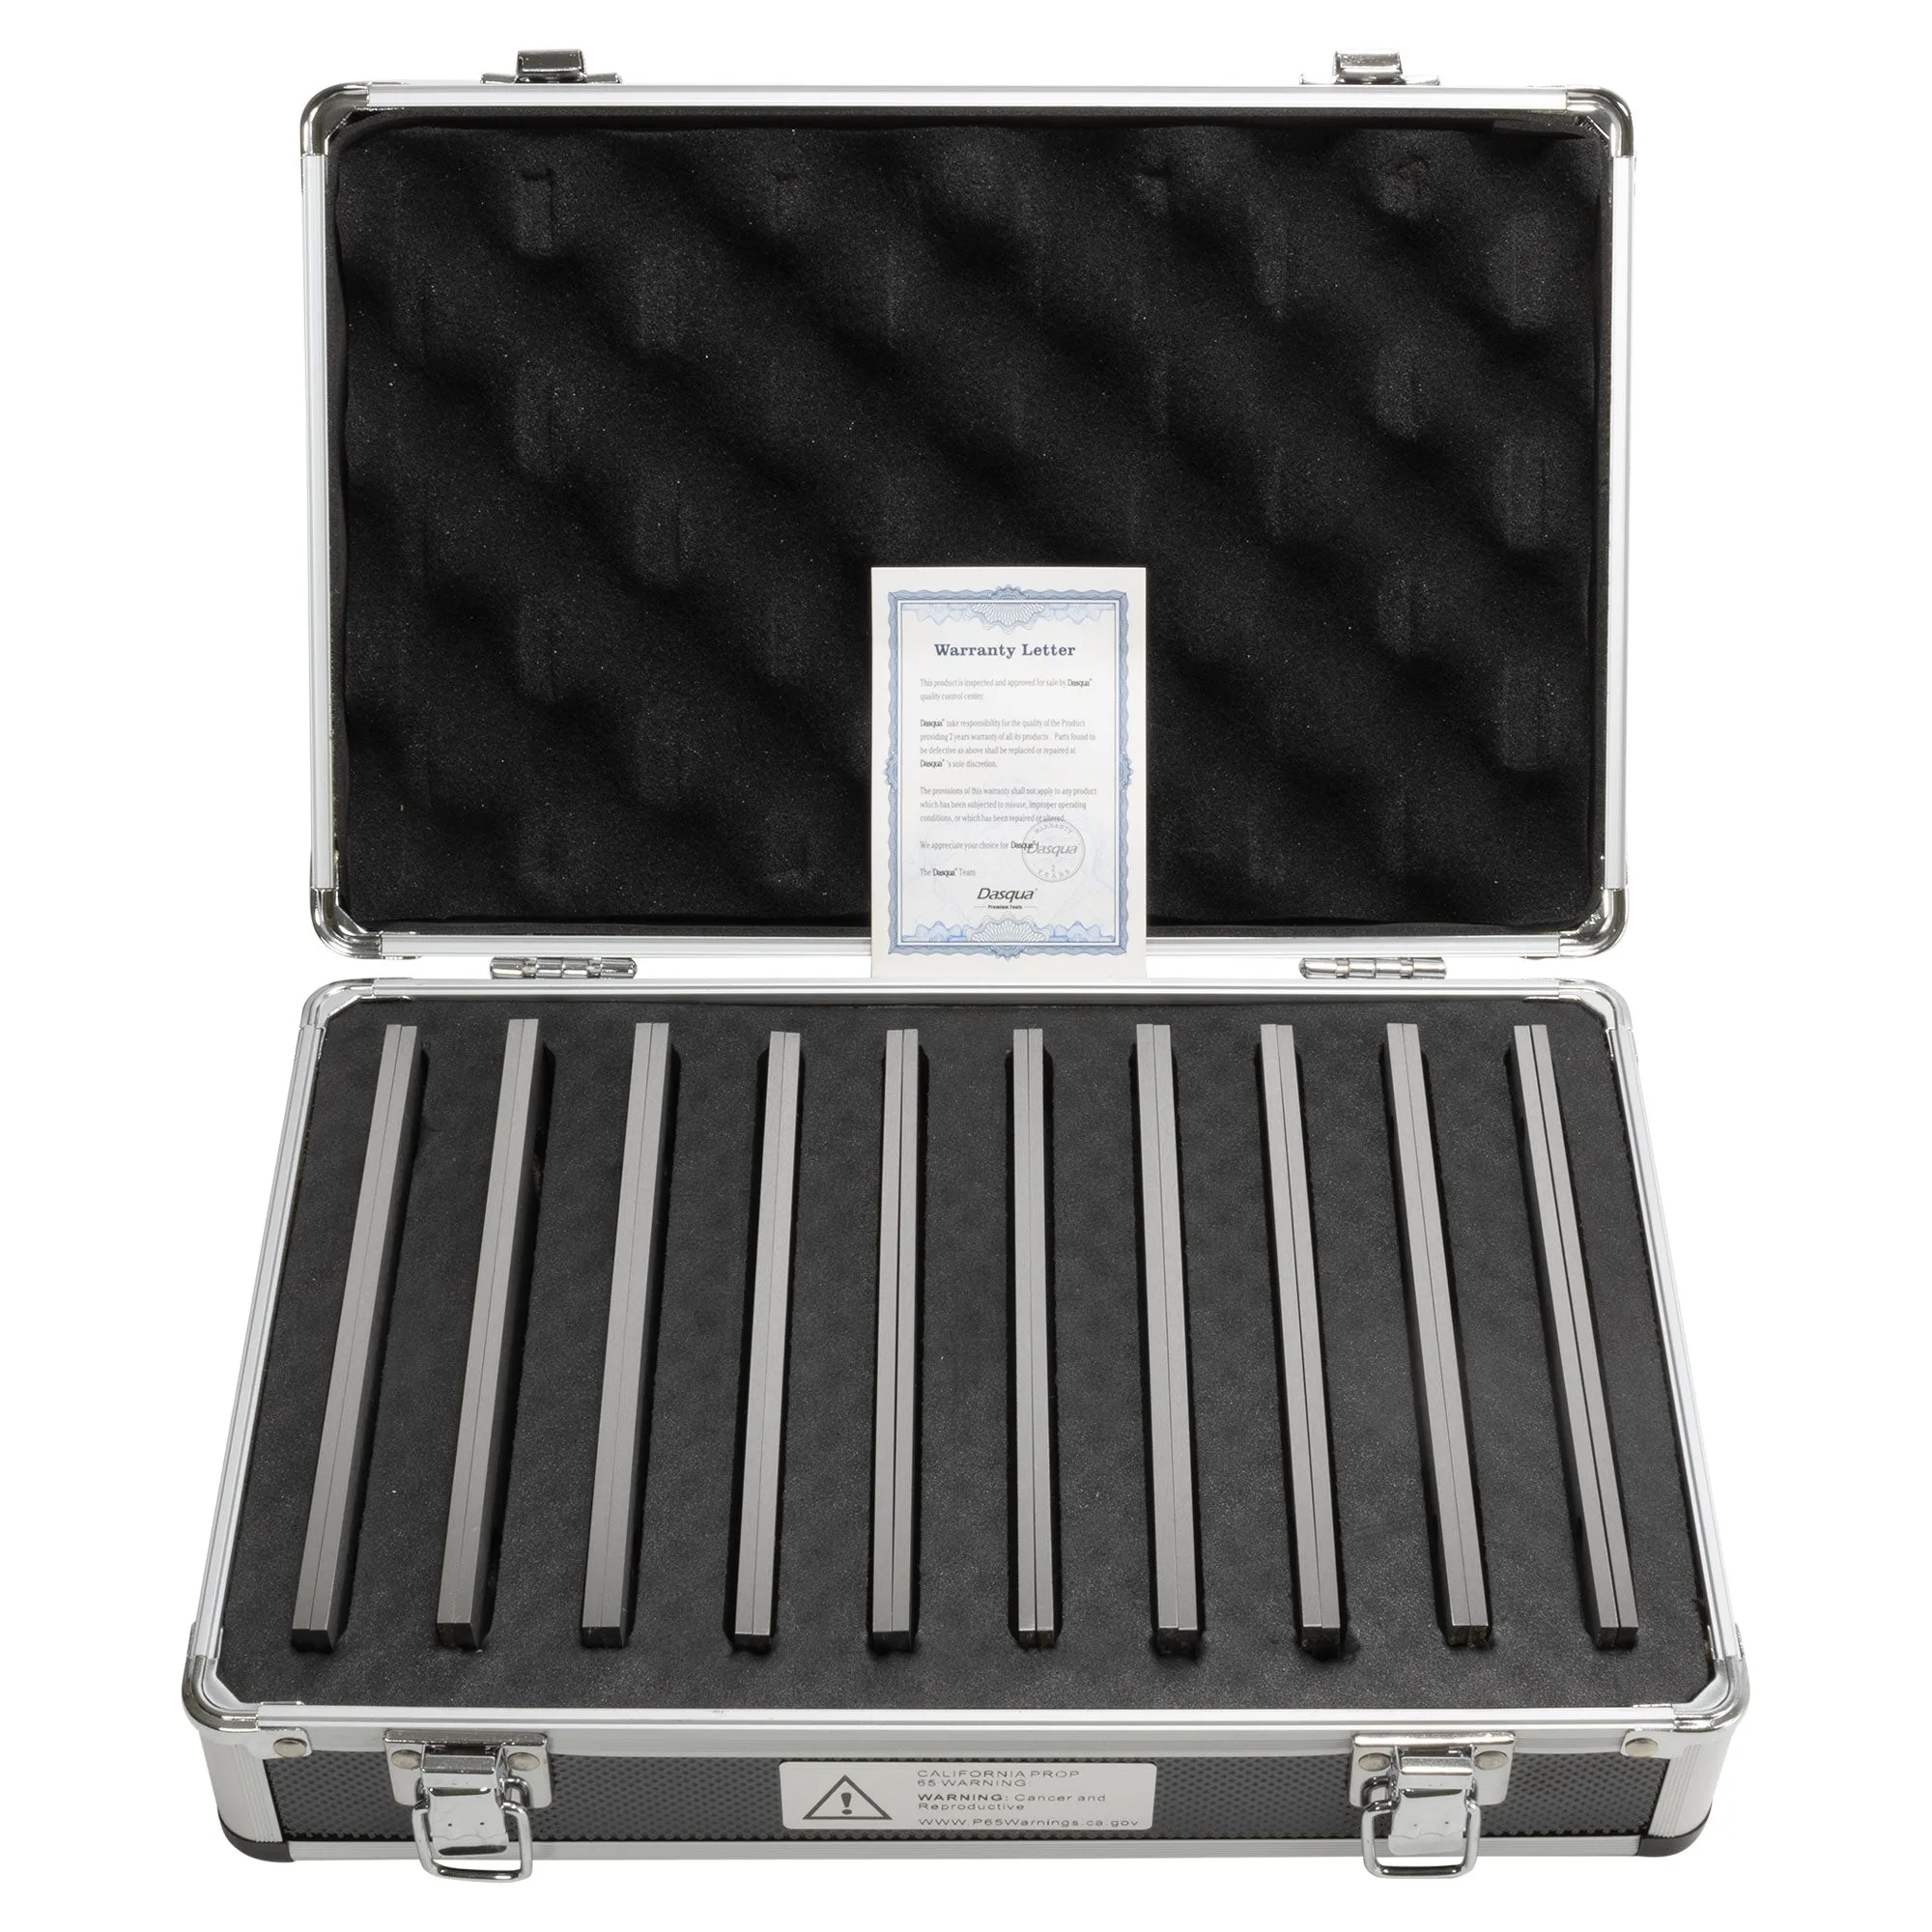
Thin Parallels, 6" Long, 10 Pairs, Premium, Dasqua