Quick answer
Mount your UTV spare tire carrier to a reinforced frame or bed point, not thin plastic or sheet metal. Use grade 8 hardware and check that the combined tire and wheel weight stays within the carrier's rating. Re-torque all bolts after the first 50 miles and before every hard ride.
Check fitment before you drill or bolt anything
A spare tire carrier is only as good as its mounting surface. On most side-by-sides, the strongest points are the rear frame rails, the bed's reinforced corners, or a dedicated carrier bracket that ties into the cage. If you drive a Polaris RZR, measure the distance between your intended mounting holes and the tire's sidewall. A 30-inch tire needs roughly 3 inches of clearance from the cage and any plastic panels. Test-fit the carrier with the tire mounted and the tailgate or bed closed before you commit to a final position.
Match hardware and torque to the load, not the hole size
Carriers usually ship with bolts, but the included hardware may not match your machine's thread pitch or your tire's weight. Use grade 8 or class 10.9 bolts in the largest size the carrier's mounting holes allow. For a typical 30-inch tire and wheel combo around 50–60 pounds, 3/8-inch grade 8 hardware torqued to about 35 ft-lbs is a reasonable starting point. If your carrier uses a single center stud, add a secondary strap or plate to stop the tire from rocking. Always torque in a star pattern and re-check after the first 50 miles.
Keep the spare from becoming a projectile
The biggest mistake is treating the spare like static cargo. On rough trails, a loose tire can shift, wear through its mount, or break free. Use a locking nut or a secondary retention strap even if the carrier has a built-in lock. Check the carrier's welds and mounting tabs after every ride that involves jumps, whoops, or deep ruts. If you hear a new rattle, stop and inspect before continuing.
Step-by-step spare tire carrier installation
- 1. Park on level ground and disconnect the battery: Set the parking brake, chock the front wheels, and disconnect the negative battery terminal. This prevents accidental airbag or electrical issues while you work near the rear of the machine. Checkpoint: The machine should not roll when you push against the rear bumper.
- 2. Remove the spare tire and wheel from the carrier: If the carrier is already attached, take the tire off first. This reduces weight and makes it easier to align the mounting plate. If you are installing a new carrier, lay out all hardware and identify which bolts go into the frame versus the bed. Common mistake: Trying to mount the carrier with the tire already attached, which can strip threads or crack plastic.
- 3. Position the carrier and mark mounting holes: Hold the carrier against the intended mounting surface. Use a center punch to mark each hole. For Polaris RZR models, the rear frame rails behind the bed are usually the strongest option. Avoid drilling into the fuel tank, wiring, or brake lines—check behind the panel first. Checkpoint: The carrier should sit flush with no gaps larger than 1/8 inch before you drill.
- 4. Drill pilot holes and apply rust protection: Start with a pilot bit smaller than your final bolt size, then step up gradually. After drilling, spray bare metal edges with a rust-inhibiting primer or paint. This is especially important if you ride in mud, snow, or coastal areas. Common mistake: Skipping rust protection, which lets holes enlarge and hardware loosen over time.
- 5. Bolt the carrier in place using grade 8 hardware: Insert the bolts from the tire side unless the carrier instructions say otherwise. Use flat washers on both sides and nylon lock nuts or thread locker. Torque in a star pattern to the carrier manufacturer's spec—if none is given, 35 ft-lbs for 3/8-inch grade 8 bolts is a safe starting point. Checkpoint: Re-torque after the first 50 miles and before every hard ride.
- 6. Mount the spare tire and check retention: Lift the tire onto the carrier and secure it with the provided studs, nuts, or strap. Push and pull the tire firmly in all directions. It should not move more than 1/4 inch. If it does, add a secondary strap or rethink the mounting point. Common mistake: Over-tightening lug nuts on the spare, which can crack the wheel or strip the carrier studs.
- 7. Test ride and re-inspect: Drive a short loop on rough ground at low speed. Listen for rattles and stop immediately if you hear metal-on-metal contact. After the ride, re-check all bolts and the tire's air pressure. Carry a torque wrench and spare hardware on longer trips. Next step: If the carrier blocks your rear view, consider adding a vented rear windshield or LED turn signal mirrors to keep visibility and signaling clear.
Products that support a safer spare tire setup
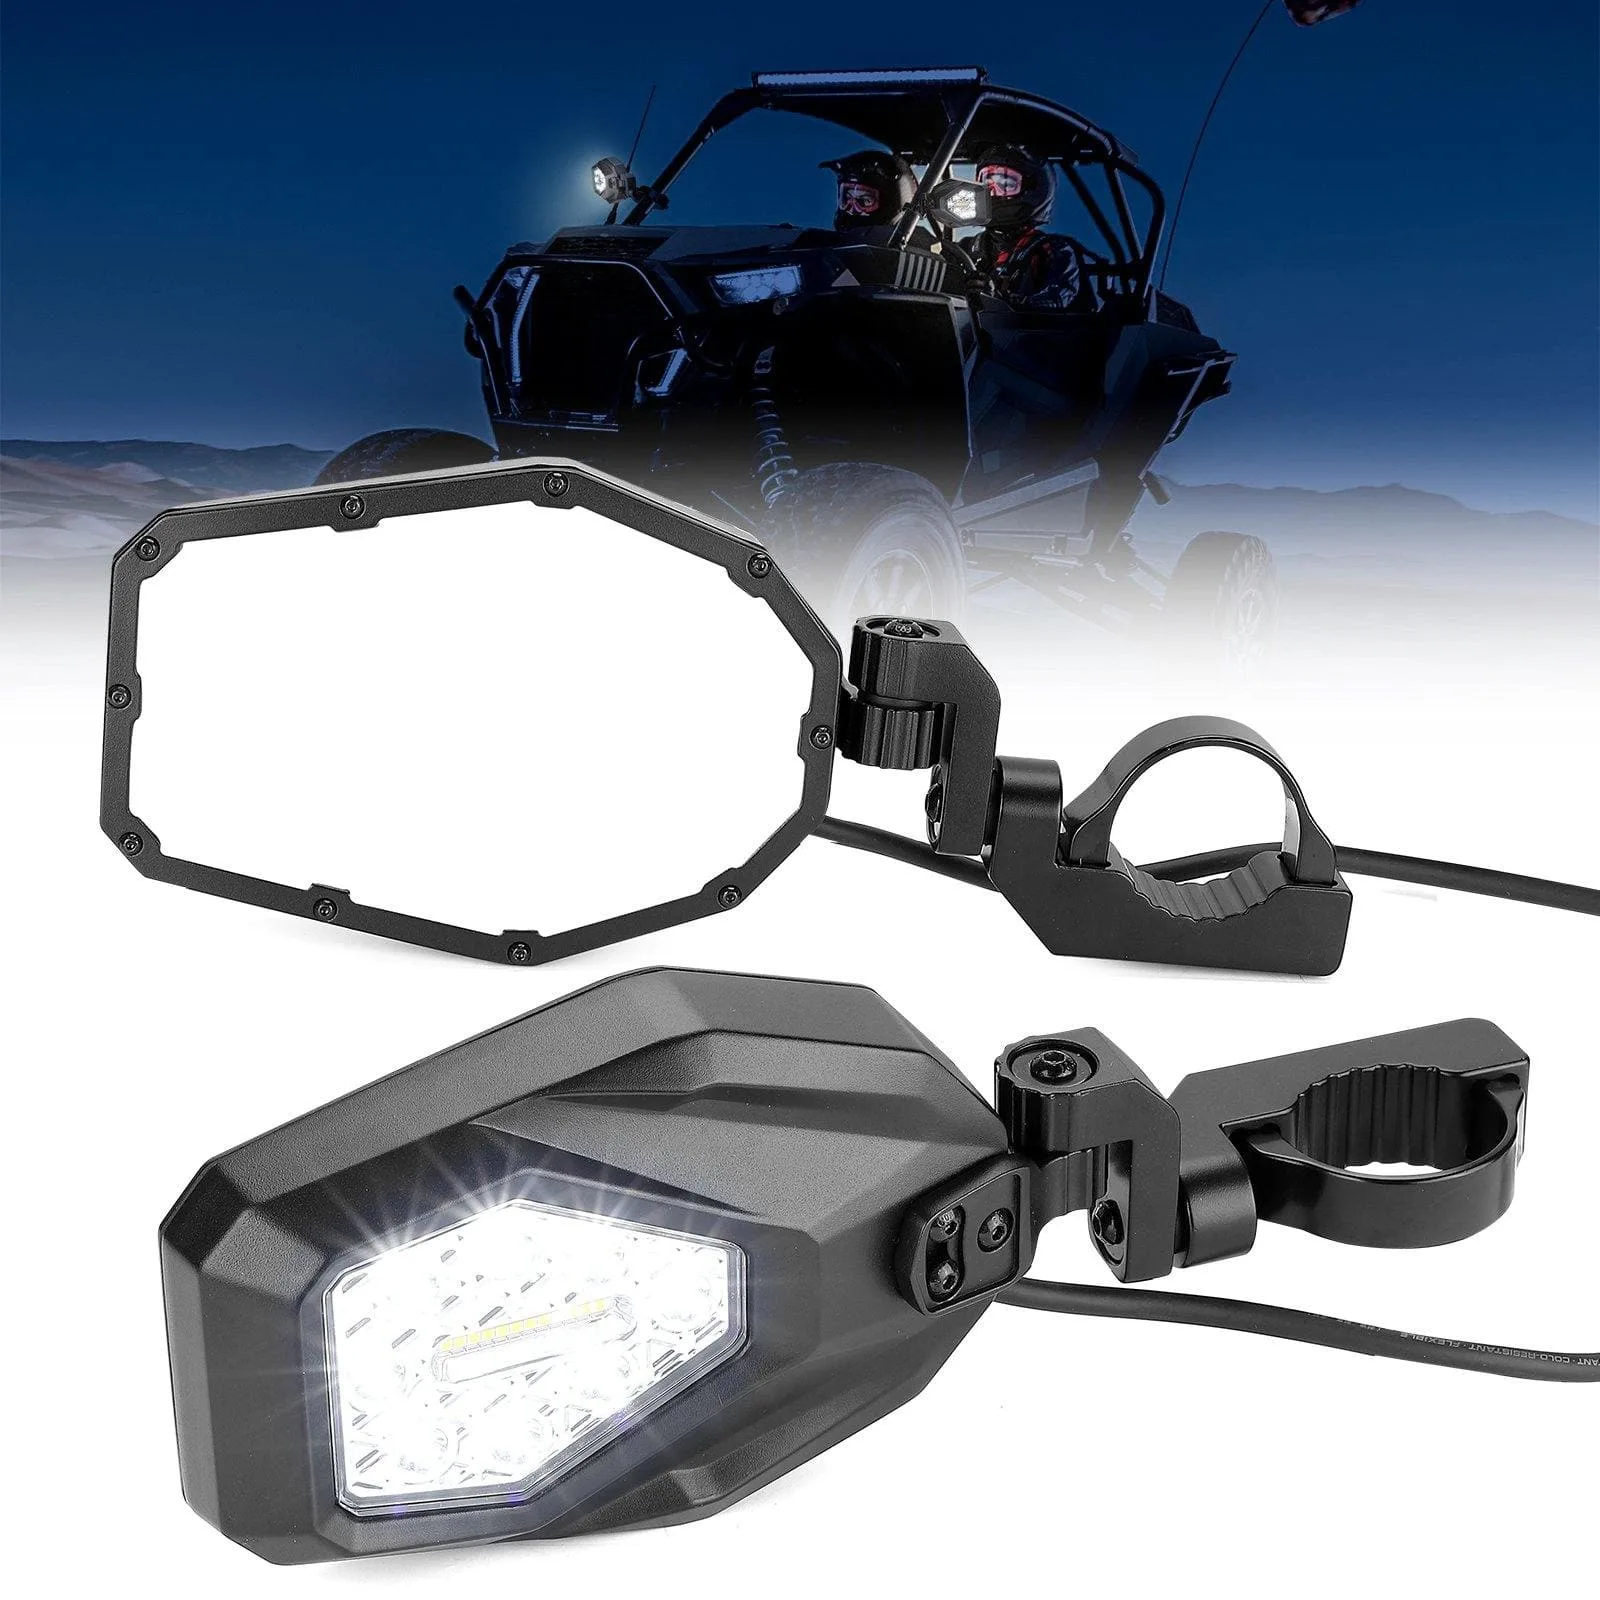
- Mirrors with LED Turn Signal Lights(New Design) Compatible With Polaris Ranger: Mirrors with LED Turn Signal Lights(New Design) Compatible With Polaris Ranger include two amber flowing turn signal lights and two additional night vision spotlights. When you mount a spare tire on the rear, it can block or shadow your factory taillights. Adding mirrors with built-in turn signals keeps your intentions visible to other riders behind you.
- UTV Rear Vented Windshield for Polaris RZR PRO XP/ PRO XP4 2025 2026: UTV Rear Vented Windshield for Polaris RZR PRO XP/ PRO XP4 2025 2026 has a 2-in-1 sliding vent that closes for full protection or opens for airflow. A rear spare tire carrier can reduce rear visibility and airflow. A vented rear windshield lets you manage dust and heat without removing the carrier.