Quick answer
Clean your UTV windshield by rinsing off loose dirt first, then wiping with a soft microfiber cloth and a cleaner made for polycarbonate. Never scrub dry dust, never use ammonia or paper towels, and never open vented panels while the hardware is still caked with mud. Rinse, clean, dry, then check the vents and seals.
Most scratched UTV windshields are not worn out. They are wiped dirty. Trail dust, sand, and dried mud act like sandpaper the moment you drag a rag across a dry panel, and polycarbonate scratches far more easily than glass. Tinted panels show every swirl mark, so the same mistake costs you clarity and looks.
The routine below works on polycarbonate and tinted windshields from Polaris RZR, Can-Am, CFMOTO, Honda, and Kawasaki machines. It takes about ten minutes, uses supplies you probably already own, and prevents the two most expensive problems: hazy plastic and cracked vent hardware.
What you need before you touch the windshield
Gather a hose or a pump sprayer with plain water, a pH-neutral or polycarbonate-safe cleaner, two clean microfiber towels, and a soft detailing brush. Keep a separate bucket or bottle for the dirty work so you never dip a gritty cloth back into your clean water. If your machine has a vented windshield, add a small brush for the vent channels.
Skip glass cleaners with ammonia, alcohol-heavy sprays, paper towels, shop rags, and dry squeegees. Ammonia and harsh solvents can cloud polycarbonate and damage tint films, while paper towels and shop rags trap grit that cuts the surface. If you ride in heavy mud, a garden hose with low pressure is safer than a pressure washer aimed at the panel edges.
- Two microfiber towels: one for washing, one for drying.
- Never use the same towel on wheels and then on the windshield.
Step 1: Rinse off grit before any wiping
Park in the shade and let the windshield cool. Hot plastic softens slightly and is more vulnerable to scratching, and cleaner dries too fast on a hot panel. Spray or gently flow water across the whole windshield from the top down, letting it carry away dust instead of pushing it sideways into the plastic.
The common mistake here is starting with a spray cleaner and a rag. That turns dust into an abrasive slurry. If the panel is covered in dried mud, soak it for a minute, rinse again, and only then move to washing. On a vented windshield, rinse the vent area too so grit does not fall into the opening later.
- Checkpoint: the water running off should look mostly clear before you wipe.
Step 2: Wash with a polycarbonate-safe cleaner
Apply your cleaner to the wet windshield or to the wash towel, not directly onto dry plastic. Wipe in straight lines rather than circles; straight passes are easier to keep even and they do not grind grit in loops. Work top to bottom so dirty water runs away from the clean areas you already finished.
For tinted windshield cleaning, use the gentlest product you can and test it on a corner first. Tint films and coated panels can react differently, and a strong degreaser is not worth the risk. If a bug or sap spot resists, let the cleaner dwell for a few seconds and wipe again instead of pressing harder.
- Common mistake: scrubbing hard on one spot and thinning the surface around it.
Step 3: Dry completely and inspect the edges and vents
Dry with a clean, dry microfiber towel, again in straight passes. Water spots are not just cosmetic on polycarbonate; minerals left behind can etch and haze the surface over time, especially in hard-water areas. Finish the edges and the lower lip where water pools.
Then inspect. Run a finger along the rubber strip and the vent gasket to feel for grit, cracks, or a lifted seal. This is also the moment to spot early scratches and decide whether they need attention. Small scuffs caught early are far easier to manage than a hazy panel you notice months later.
- Checkpoint: no standing water in the vent channel or along the bottom edge.
Step 4: Handle light scratches before they spread
For utv windshield scratch removal, start with the least aggressive option. A plastic polish designed for polycarbonate, applied by hand with a clean foam pad, can reduce light scuffs and haze. Work a small area, wipe it clean, and check the result in direct light before moving on. Deep gouges that catch a fingernail usually need professional polishing or replacement.
The mistake is grabbing a rotary polisher and leaning on it. Polycarbonate builds heat fast, and heat is what warps panels, distorts tint, and turns a minor scuff into a visible dip. If you are not sure how deep the damage is, test on a lower corner where a mistake is least visible.
- Never polish across a tinted film edge; stay inside the panel.
Step 5: Protect the panel between rides
After cleaning, apply a plastic-safe protectant or a light coat of spray wax made for polycarbonate. A thin, even layer makes the next rinse easier and helps bugs and mud release with less rubbing. Do not use heavy automotive wax that dries white in seams, and avoid silicone-heavy products near the vent gasket.
Protection also means storage. If you trailer your UTV, cover the windshield or remove it so road grit does not sandblast the panel at highway speed. For rzr windshield maintenance and cfmoto windshield care, the same rule applies: a cover is cheaper than a new tinted panel.
- Reapply protectant every few washes, not every ride.
Your 10-minute windshield care routine
- Rinse in the shade: Cool the panel, then flow water top-down to lift dust and mud before any cloth touches the surface. If the runoff is still brown, rinse again.
- Wash with straight passes: Use a polycarbonate-safe cleaner on a microfiber towel and wipe in lines, not circles. Stop pressing harder; let the cleaner dwell instead.
- Dry and inspect: Dry with a separate clean towel, then check the rubber strip, vent gasket, and lower edge for grit or lifted seals. Catch small scratches now, before they haze the panel.
- Treat light scuffs: Hand-polish small areas with a polycarbonate polish and check in direct light before continuing. Never use a rotary polisher on polycarbonate.
- Protect and store: Apply a plastic-safe protectant, then cover or remove the windshield when trailering. Reapply every few washes, not every ride.
Kemimoto parts that make windshield care easier
- Front Windshield 2-IN-1 Vented for Polaris RZR XP 1000 / RZR XP Turbo 2019-2023: The rubber strip is pre-installed on the windshield to save installation time, protect your hands from scratches, and provide a tighter seal and better fit than manual installation. A pre-installed strip means fewer loose edges where grit collects, so your cleaning routine has less to work around.
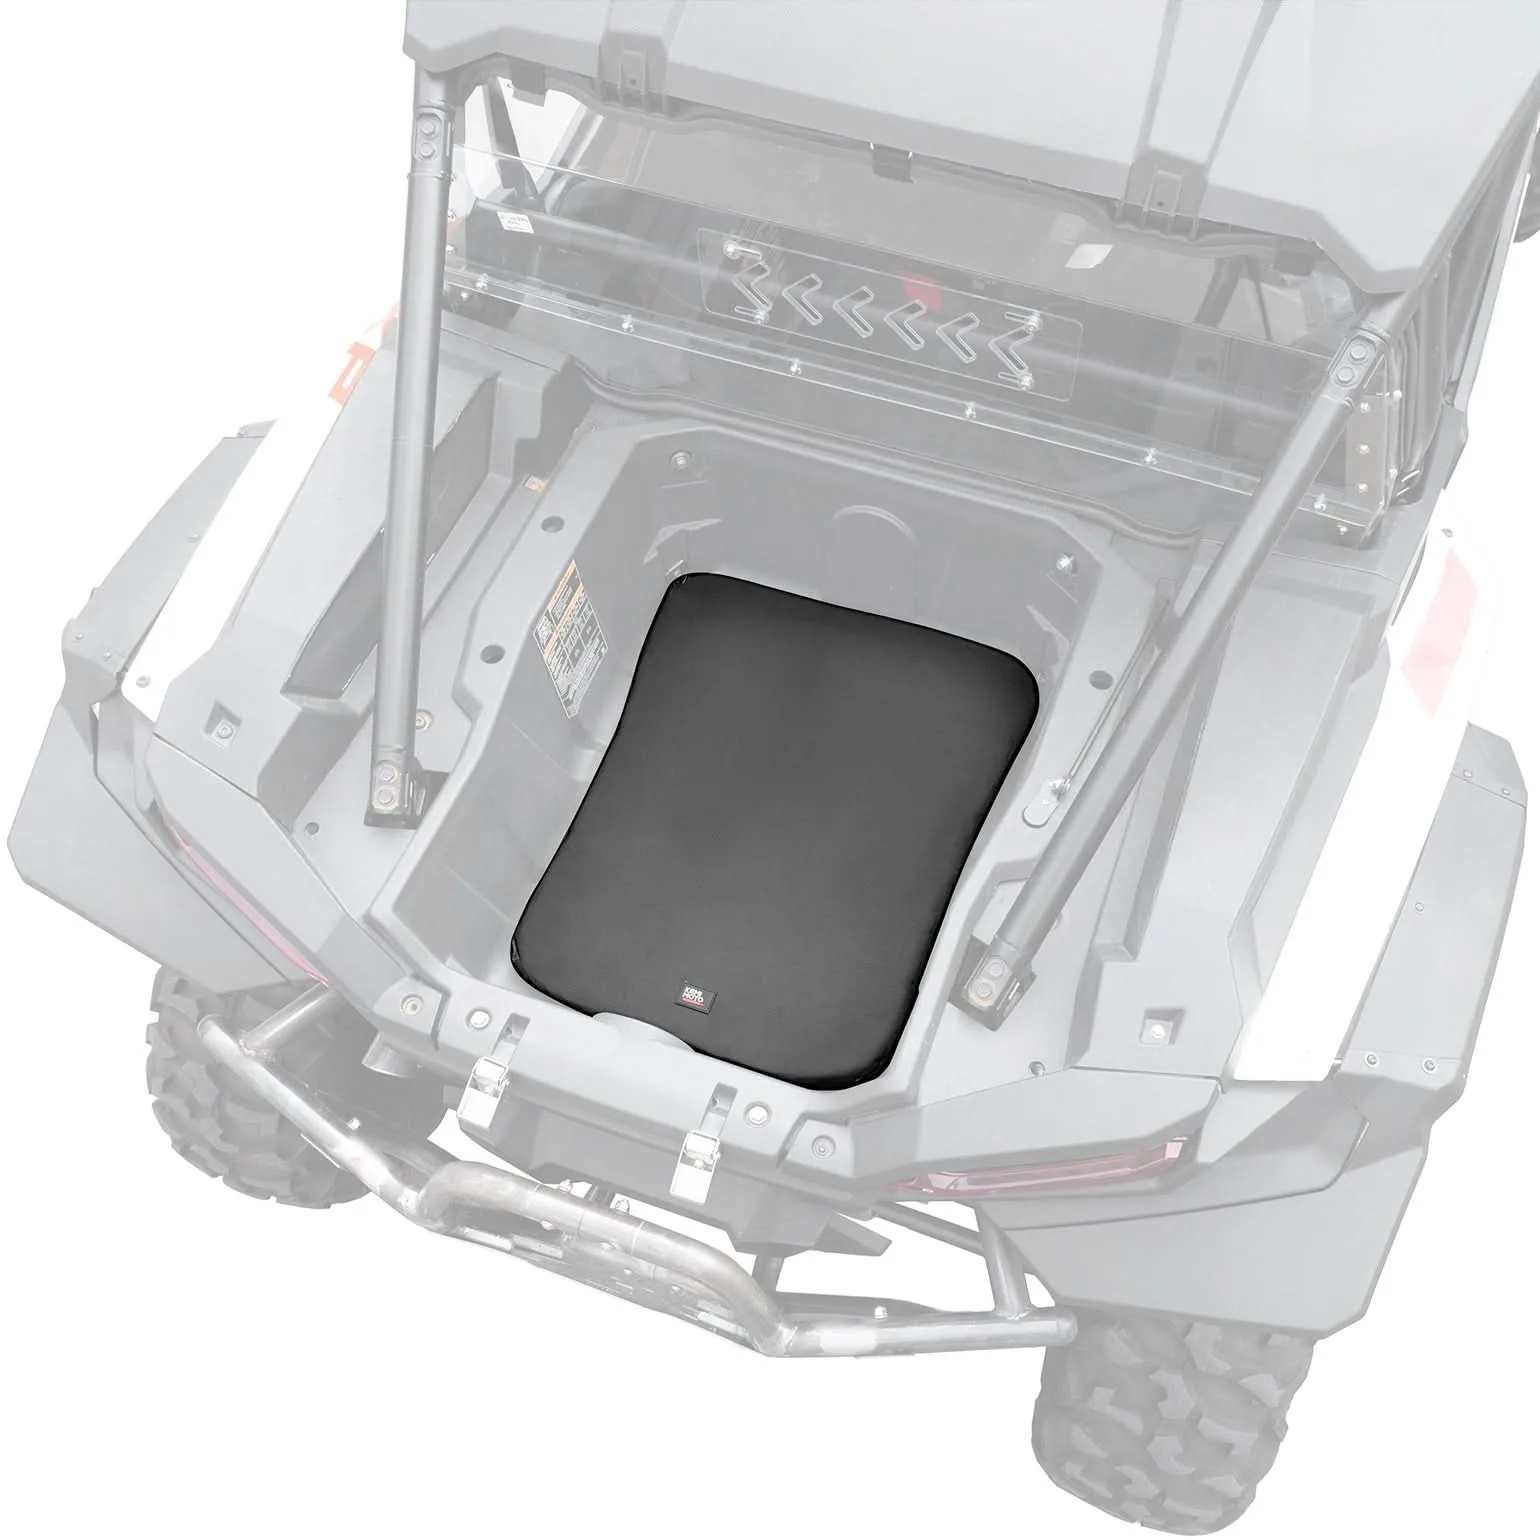
- UTV Padded Heat Shield for Polaris RZR 2014-2025, Reduces Heat up to 30°C, Reduces Noise: The padded layer includes a high-performance thermal insulation fabric and helps keep the bed area cooler for pets, coolers, tools, or gear. If you carry gear or a dog in the bed, managing heat near the cab keeps the whole machine cleaner and more comfortable on long summer rides.
A few minutes of rinsing and the right cloth will keep a polycarbonate or tinted UTV windshield clear for years. Skip the ammonia, skip the dry wipe, and check your vents and seals each time you clean. Your panel will stay clearer, and you will avoid the scratches that force a replacement.