Quick answer
Use a new VALO barrier sleeve for every patient to prevent cross-contamination and protect your curing light. Slide the sleeve over the light guide and body before treatment, secure it without wrinkles, and remove it immediately after use. Pair sleeves with routine disinfection of the light guide between patients for reliable infection control.
Why barrier sleeves are non-negotiable for curing lights
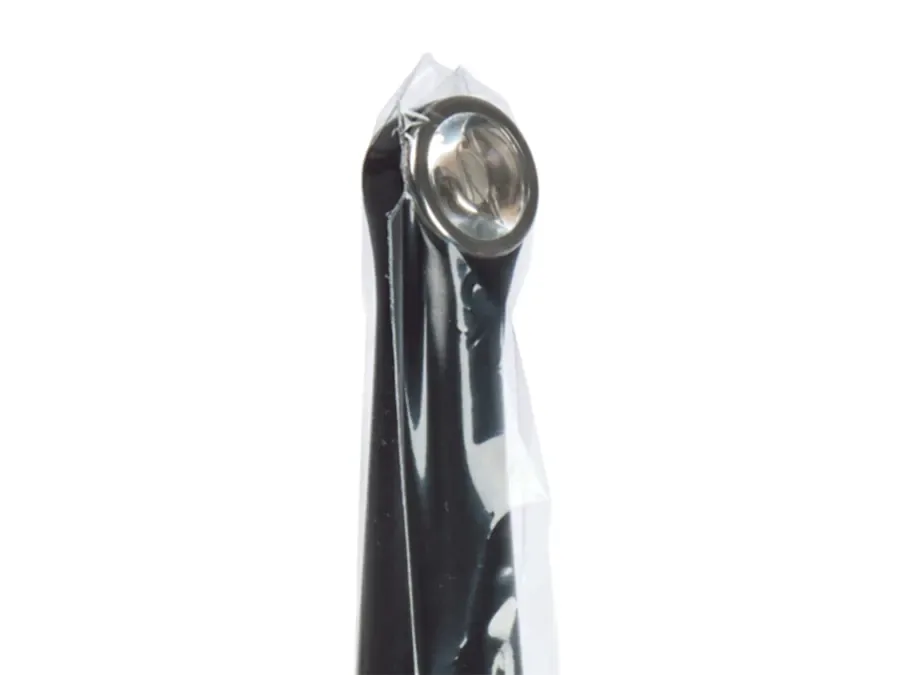
Curing lights are among the most frequently handled devices in dentistry, and their surfaces can become contaminated with saliva, blood, or aerosolized particles. Unlike reusable metal instruments, curing lights have sensitive optics and electronics that cannot withstand repeated autoclaving. Barrier sleeves create a disposable physical barrier that keeps contaminants off the device while preserving its function. VALO Barrier Sleeves are designed specifically for VALO curing lights, ensuring a proper fit that doesn't interfere with light output or the light guide's position.
Step-by-step: Applying and removing VALO barrier sleeves
Proper technique matters as much as the product itself. A sleeve that's torn, wrinkled, or incorrectly positioned can compromise the barrier or reduce curing efficiency. Follow these steps for each patient to maintain consistent infection control and get the most from your VALO system.
How to use VALO barrier sleeves: 6 steps
- Perform hand hygiene and don gloves: Before touching the curing light or sleeves, wash hands or use alcohol-based hand rub, then don clean gloves. This prevents transferring contaminants from your hands to the sleeve surface. Checkpoint: gloves should be clean and dry before handling sleeves.
- Inspect the sleeve and light guide: Remove a new VALO Barrier Sleeve from its packaging. Check that the sleeve is intact—no tears, holes, or creases. Also inspect the curing light's light guide for debris or damage; wipe it with a compatible disinfectant wipe if needed and allow it to dry. Mistake to avoid: using a sleeve that has been dropped or stored loosely in a drawer, which can compromise the barrier.
- Slide the sleeve over the light guide and body: Orient the sleeve so the closed end covers the light guide tip. Gently slide it over the guide and up onto the handle until it sits snugly. Avoid pulling too hard, which can stretch or tear the material. Checkpoint: the sleeve should cover the entire light guide and the portion of the handle you'll touch during treatment.
- Smooth out wrinkles and secure the fit: Run your gloved fingers along the sleeve to remove any folds or air pockets. Wrinkles can scatter light and reduce curing efficiency. If the sleeve has an adhesive strip or cuff, press it firmly to secure it in place. Mistake to avoid: leaving wrinkles over the light guide tip, which can diminish light output.
- Use the curing light as normal: Proceed with your curing protocol. The sleeve is designed not to interfere with light transmission. Avoid touching the sleeve with contaminated instruments or gloves during the procedure; if it becomes visibly soiled, replace it immediately. Checkpoint: if you suspect contamination, swap sleeves rather than risking cross-infection.
- Remove and discard the sleeve after treatment: After curing is complete, carefully peel the sleeve away from the light guide, turning it inside out as you remove it to contain contaminants. Discard it in a regular waste bin. Then disinfect the light guide and any exposed surfaces according to your office protocol. Mistake to avoid: reusing a sleeve or forgetting to disinfect the light guide between patients—both undermine infection control.
Product facts
- VALO™ Barrier Sleeves: Protect your VALO curing light with Ultradent’s barrier sleeves, ensuring hygiene and extending the life of your equipment. Using sleeves as directed helps prevent contamination and reduces wear on the curing light, which can lower long-term repair or replacement costs.