Quick answer
Install the valve stem first, torque it to the wheel manufacturer's spec, then add the extension only if you cannot reach the stem with a gauge or chuck. On a dually rear wheel, one extension valve per rear wheel is required, so plan the routing before you mount the tire. Always leak-test at the extension joint, not just at the valve core.
Why dually and off-road wheels need a stem plan
On a dual rear wheel setup, the inner wheel's valve stem is often buried behind the outer wheel, making it impossible to check pressure without an extension. Off-road wheels add a second problem: low pressures, beadlock hardware, and debris can damage a stem that sticks out unprotected. The fix is not one part but a sequence: choose the stem, install it, then decide whether an extension is needed and how to secure it.
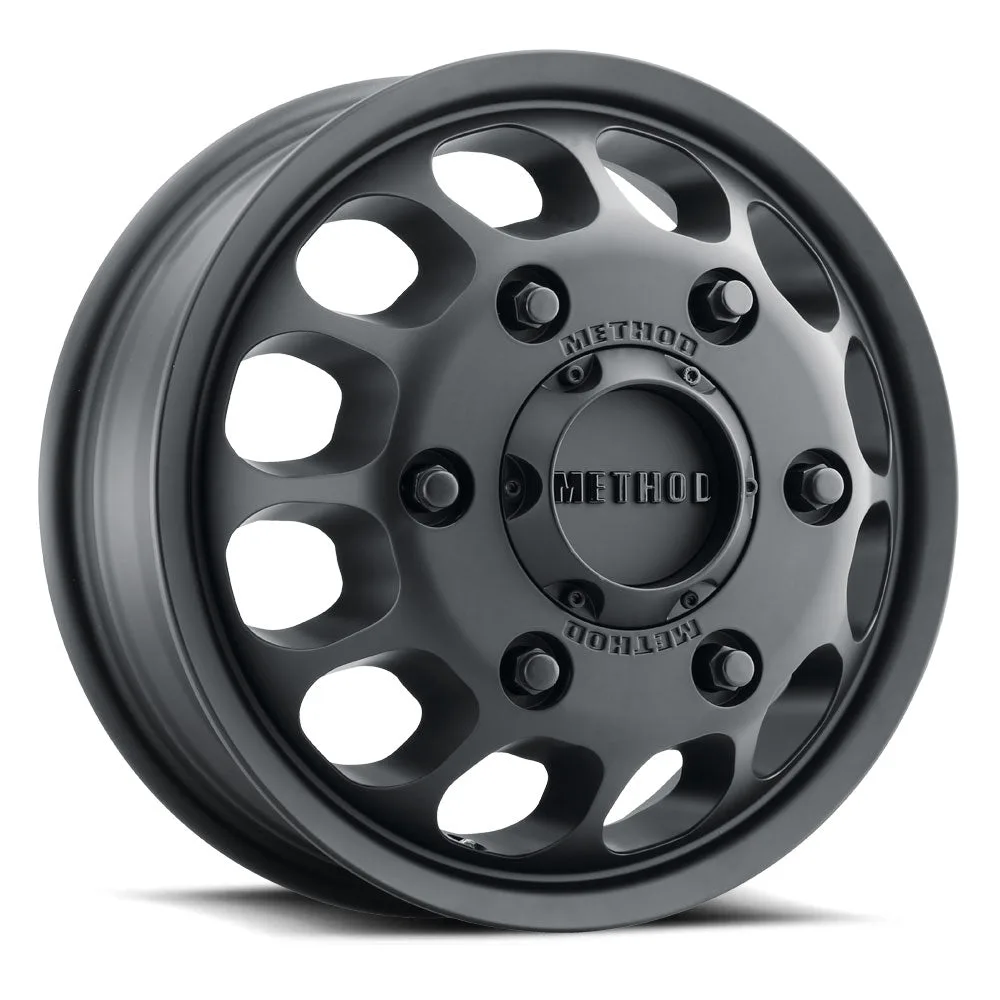
The Method 901 Dually Wheel for Mercedes Sprinter vans uses a 6-lug pattern and carries a maximum payload rating of 3,000-3,300 lbs. That load capacity means the stem and extension must handle sustained highway heat, not just trail abuse. A loose extension that rubs the wheel or a stem that is not torqued correctly can cause a slow leak that is hard to diagnose later.
Match the extension to the wheel, not the tire
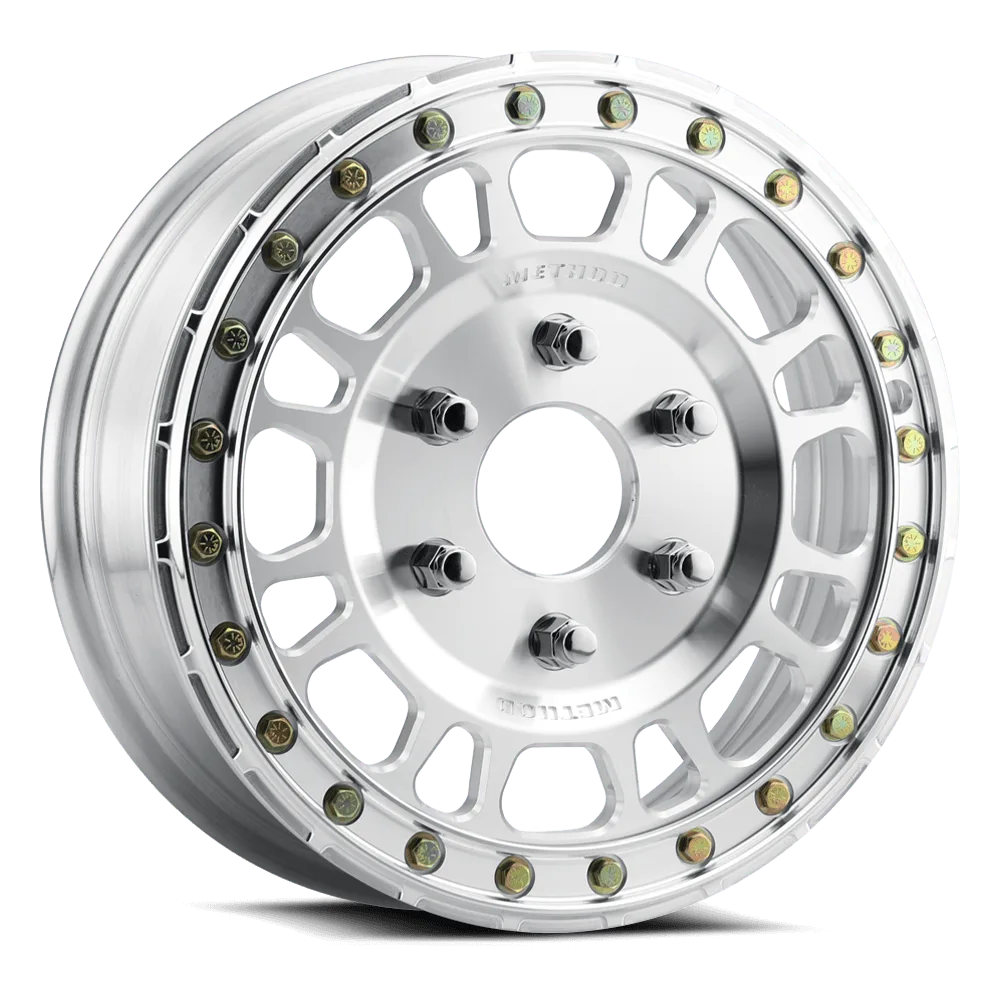
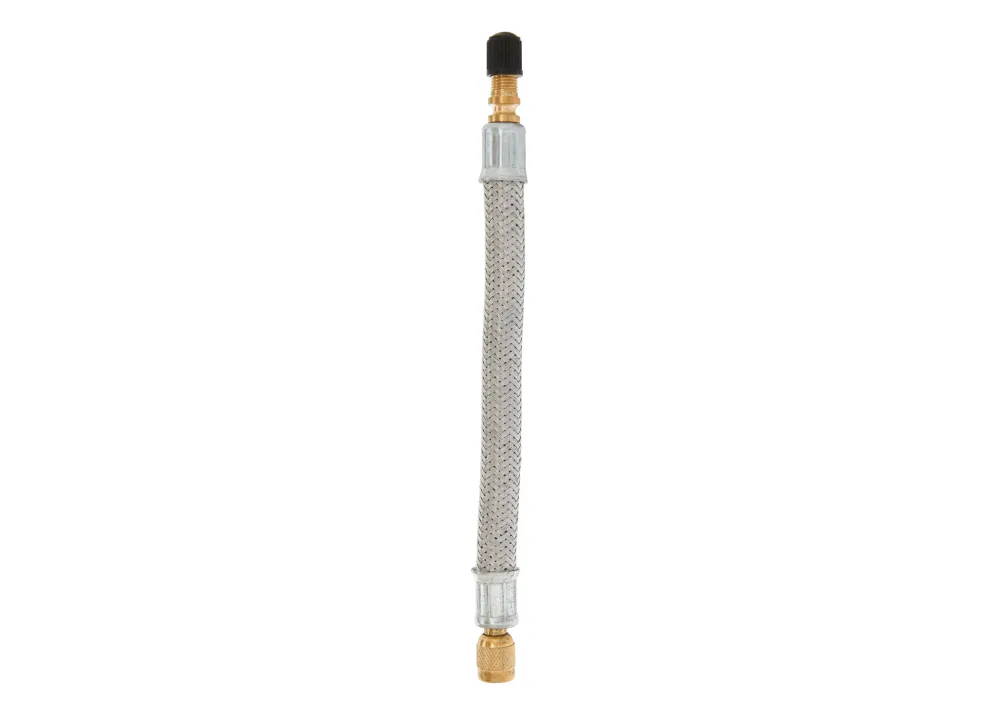
Extensions are wheel-specific because the valve hole location and wheel thickness determine the correct length and bend. For the 901 Series Dually Rear Wheel on a Ford Transit, Method offers a single extension valve designed for that application. Using a generic braided extension on a dually can work, but it adds a flexible joint that can chafe or loosen. If you run a forged UTV beadlock like the 412 | UTV Forged Beadlock | Machined - Raw, you generally do not need an extension because the stem is accessible; instead, focus on a stem that clears the beadlock ring and can survive rock contact.
Check access before you mount the tire
Once a tire is mounted and seated, rotating the wheel to reach the stem is difficult. Before mounting, test-fit the stem and extension on the bare wheel. Confirm that a pressure gauge and air chuck can engage the extension without binding, and that the extension does not protrude past the tire sidewall where a rock or curb can shear it. On a dually, also check clearance between the inner and outer wheel; the extension must not rub the outer wheel or its balance weights.
Step-by-step valve extension and stem setup
- 1. Confirm the valve hole and stem type: Remove the old stem and inspect the valve hole for burrs or corrosion. Match the new stem to the hole diameter and wheel thickness. On a dually rear wheel, confirm whether the wheel uses a standard snap-in or a metal clamp-in stem before ordering an extension. Checkpoint: if the hole is damaged or out-of-round, stop and have the wheel inspected before installing a new stem.
- 2. Install the stem and torque to spec: Lubricate the stem seal with the manufacturer-approved lubricant, seat it by hand, then torque the nut or seat the snap-in stem fully. Do not overtighten a clamp-in stem; that can cut the rubber seal and cause a leak that only shows up under load. Common mistake: guessing the torque. Use the wheel or stem maker's spec, not 'tight enough.'
- 3. Leak-test the stem before adding the extension: Inflate to the normal operating pressure and submerge the stem in water or apply soapy water. Look for bubbles at the base and at the valve core. Fix any leak now; an extension will hide the source and make diagnosis harder later. Checkpoint: no bubbles at the stem base or core before you proceed.
- 4. Fit the extension and route it clear of moving parts: Thread the extension onto the stem by hand until snug, then tighten the coupling per the extension maker's instruction. Route the extension so it does not contact the brake caliper, suspension, or outer wheel. On a dually, one extension valve per rear wheel is required, so confirm both sides are routed symmetrically. Common mistake: letting the extension hang loose. Secure it with a clip or bracket if the maker provides one.
- 5. Re-test the full assembly at operating pressure: Inflate to the pressure you actually run, then leak-test the extension joint and the stem base again. Check pressure with a gauge through the extension to confirm the reading matches a direct reading at the stem. If the gauge reads differently, the extension core may be sticking. Checkpoint: gauge reading through the extension should match the direct stem reading within 1-2 psi.
- 6. Re-check after the first drive or trail run: Heat and vibration are what loosen extensions. After your first highway drive or off-road run, re-check torque on the extension coupling and inspect for rubbing. On off-road wheels, also clear mud and debris from the stem area so the next pressure check is accurate. Next step: add a stem and extension check to your pre-trip routine, especially before long towing or overland trips.
Parts that fit this process
- Valve Extension | 901 Transit Dually Rear Wheel: Single Extension Valve for 901 Series Dually Rear Wheel for the Ford Transit; one extension valve per rear wheel required. Buy the correct count the first time; a dually rear axle needs one per rear wheel, and using the wrong extension can leave the inner stem unreachable.
- 901 | Van Dually Wheel | Matte Black | FRONT: 901 Dually Wheel features Method's 12 window design with debossed logos for Mercedes Sprinter vans; 6-lug application with a maximum payload rating of 3,000-3,300 lbs. If you run this wheel, the stem and extension must be rated for the same load and heat as the wheel, not just for occasional off-road use.
- 412 | UTV Forged Beadlock | Machined - Raw: 412 UTV Forged Beadlock uses forged 6061 construction with T6 heat treatment for high strength and low weight; maximum tire security comes with a beadlock. On a beadlock wheel, the stem is usually exposed to trail debris, so stem choice and protection matter more than adding an extension.