Quick Answer
To set up the VANGUARD H.A.U.L. Accessory Set, first decide on your vehicle's role, then attach the windowless doors and armored panels, add the windshield armor, and finish with the brush guard and cow catcher. Test-fit the M240 rifle in the rear door frames before finalizing. The set fits all Action Force Vanguard vehicles, so you can swap pieces between builds.
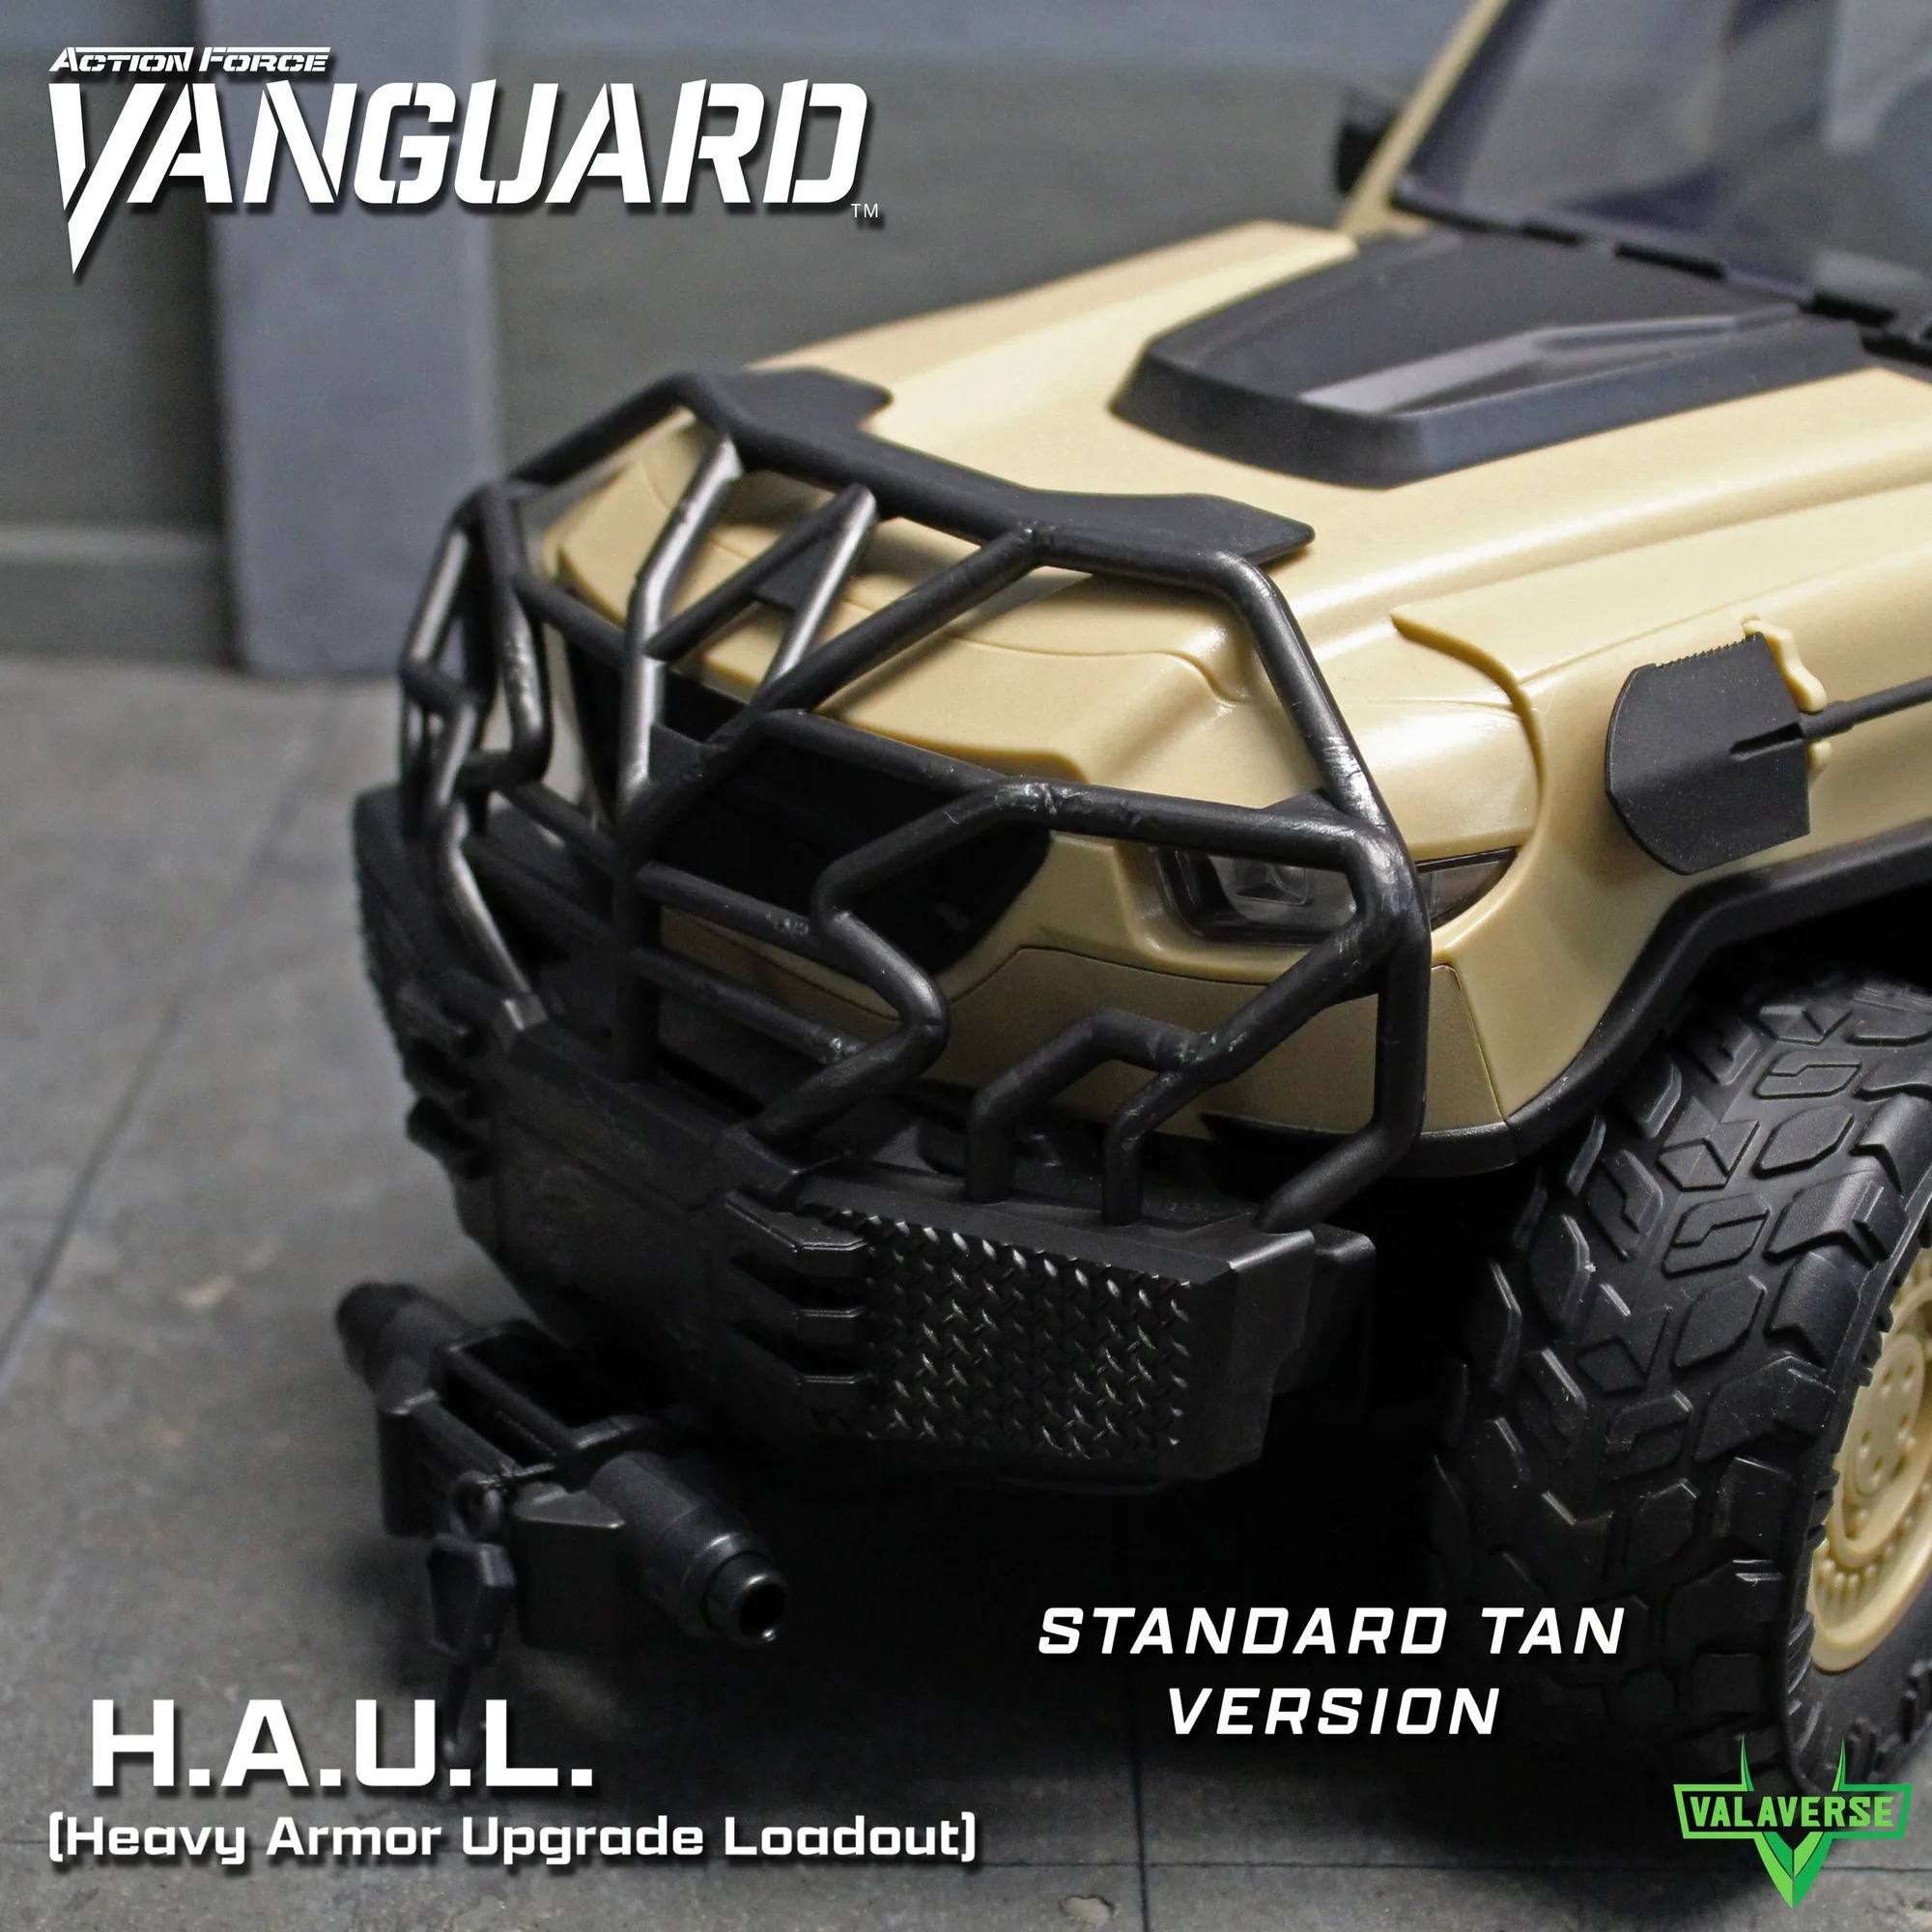
The VANGUARD H.A.U.L. Accessory Set turns your standard Action Force Vanguard vehicle into a mission-specific machine. With four windowless doors, four armored panels, two rear door frames, windshield armor, a brush guard, and a cow catcher, you have plenty of options—but also plenty of ways to get the installation wrong. This guide walks you through the process step by step, with checkpoints to keep you on track.
Whether you're upgrading a single vehicle or outfitting a whole motor pool, the same principles apply. The set is available in four colorways—Tan, Muddy Gray, Muddy Tan, and Gray—so you can match your existing paint scheme. We'll cover how to plan your build, install each component, and avoid the most common mistakes.
Plan Your Build Before You Touch a Piece
Before you start snapping parts together, decide what role your Vanguard vehicle will play. A troop carrier might prioritize windowless doors for maximum protection, while a command vehicle could benefit from the brush guard and cow catcher for a more aggressive look. The set includes four windowless doors, four armored panels that fit into the doors, and two additional armored frames for the rear doors. Knowing which pieces you'll actually use prevents unnecessary handling and reduces the risk of losing small parts.
Lay out all components on a clean, well-lit surface. Check that you have the correct colorway—Tan, Muddy Gray, Muddy Tan, or Gray—to match your vehicle. If you're working with multiple vehicles, keep each set separated to avoid mixing pieces. A muffin tin or small parts tray works well for organizing.
- Mistake to avoid: Rushing into installation without a plan often leads to mismatched panels or unused parts.
- Checkpoint: Confirm you have all pieces: 4 windowless doors, 4 armored panels, 2 rear door frames, windshield armor, brush guard, and cow catcher.
Install the Windowless Doors and Armored Panels
Start by removing the stock doors from your Vanguard vehicle if they are attached. The windowless doors are designed to fit directly into the existing door mounts. Once the doors are in place, insert the four armored panels into the doors. These panels add an extra layer of protection and give the vehicle a more armored appearance. The fit should be snug but not forced—if you need excessive pressure, check that the panel is oriented correctly.
The two additional armored frames for the rear doors are optional but useful if you plan to mount the M240 rifle (not included). These frames replace or supplement the rear door panels and provide a mounting point for the rifle. If you're not using the rifle, you can still install the frames for a consistent look.
- Mistake to avoid: Forcing the armored panels into the doors can bend the plastic. If it doesn't slide in easily, flip the panel over.
- Checkpoint: Once installed, open and close the doors to ensure they still function smoothly.
Add the Windshield Armor and Front Accessories
The windshield armor add-on attaches to the front of the vehicle, covering the windshield area. This piece is straightforward: align it with the windshield frame and press it into place. Next, decide how to configure the brush guard and cow catcher. The brush guard fits onto the bumper, while the cow catcher can be mounted either onto the bumper or on top of the brush guard. Both options are valid, but they change the vehicle's silhouette.
If you want a more aggressive, off-road look, mount the cow catcher on top of the brush guard. For a lower, sleeker profile, attach it directly to the bumper. Test-fit both configurations before committing, as swapping later may require removing other pieces.
- Mistake to avoid: Attaching the cow catcher on top of the brush guard without checking clearance can interfere with the windshield armor.
- Checkpoint: Ensure the brush guard and cow catcher are securely attached and don't wobble.
Finalize with the Missile Launcher Add-On (Optional)
If you're also using the VANGUARD Stealth Gray Missile Launcher Add-On, now is the time to install it. The launcher turret can be set in an upward firing position, and the set includes 12 non-firing missiles, 3 blasting missiles in different sizes, and 1 rear blast effect. The launcher fits all Action Force Vanguard vehicles, but note that the vehicle itself is not included with the add-on.
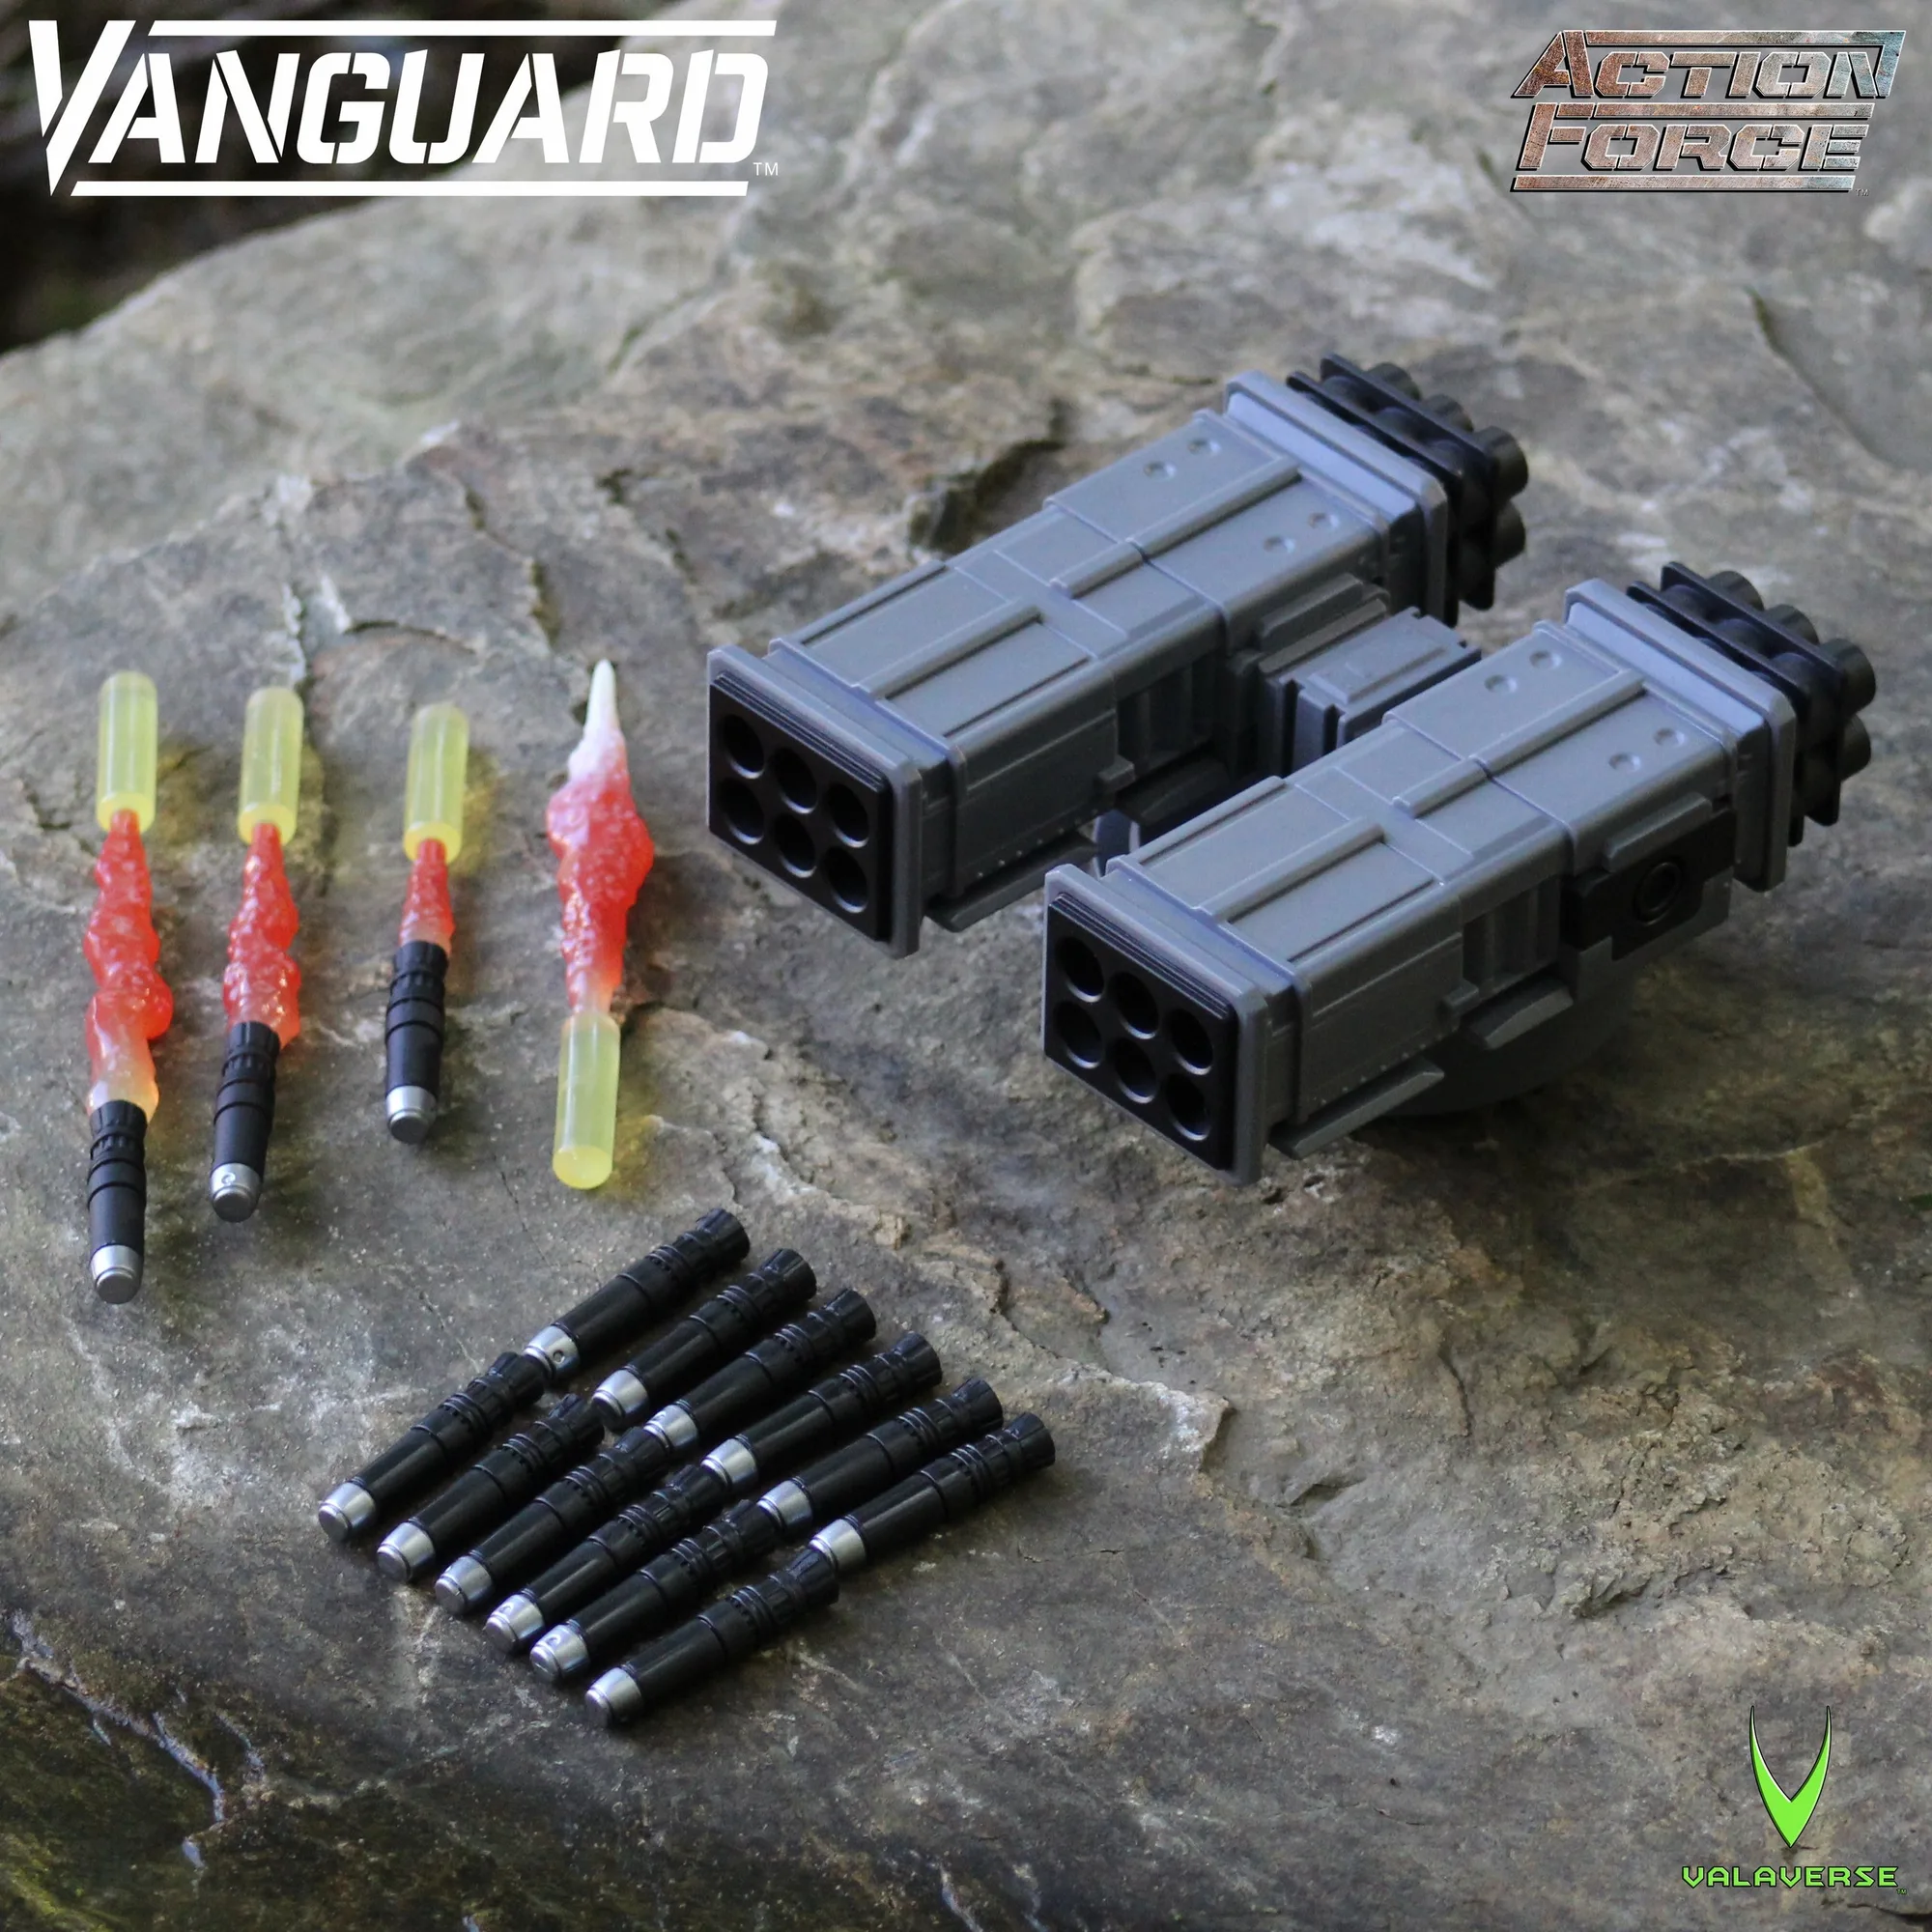
VANGUARD Stealth Gray Missile Launcher Add-On
Position the launcher turret so it doesn't obstruct the rear door frames or the M240 rifle mount. If you're using both the H.A.U.L. set and the missile launcher, you may need to adjust the rear door frames to avoid interference. Take your time and test the turret's rotation before finalizing.
- Mistake to avoid: Forgetting that the missile launcher add-on does not include the vehicle—it's an accessory only.
- Checkpoint: Rotate the turret through its full range to ensure it doesn't hit other accessories.
Step-by-Step Setup Checklist
- Plan and organize: Decide on the vehicle's role, choose your colorway, and lay out all pieces. Separate multiple sets to avoid mixing. Checkpoint: Verify you have all components before starting.
- Install doors and panels: Attach the windowless doors, then insert the armored panels. Add the rear door frames if using the M240 rifle. Checkpoint: Ensure doors open and close without binding.
- Add windshield and front accessories: Attach the windshield armor, then mount the brush guard and cow catcher in your preferred configuration. Checkpoint: Confirm all front pieces are secure and don't interfere with each other.
- Optional missile launcher: If using the missile launcher add-on, install the turret and check clearance with other accessories. Checkpoint: Rotate the turret to ensure full movement.
- Final review: Step back and inspect your build. Make sure all pieces are seated properly and the vehicle looks balanced. Takeaway: Adjust as needed for the best display or play experience.
Product Facts
- VANGUARD H.A.U.L. Tan Accessory Set: Fits all Action Force Vanguard vehicles and includes 4 windowless doors, 4 armored panels, 2 rear door frames, windshield armor, brush guard, and cow catcher. This comprehensive set lets you armor your Vanguard vehicle for any mission, and the universal fit means you can use it across multiple vehicles.
- VANGUARD Stealth Gray Missile Launcher Add-On: Includes 12 non-firing missiles, 3 blasting missiles in different sizes, and 1 rear blast effect; the launcher turret can be set in an upward firing position. Adds display and play options to your Vanguard vehicle, but remember the vehicle is not included.
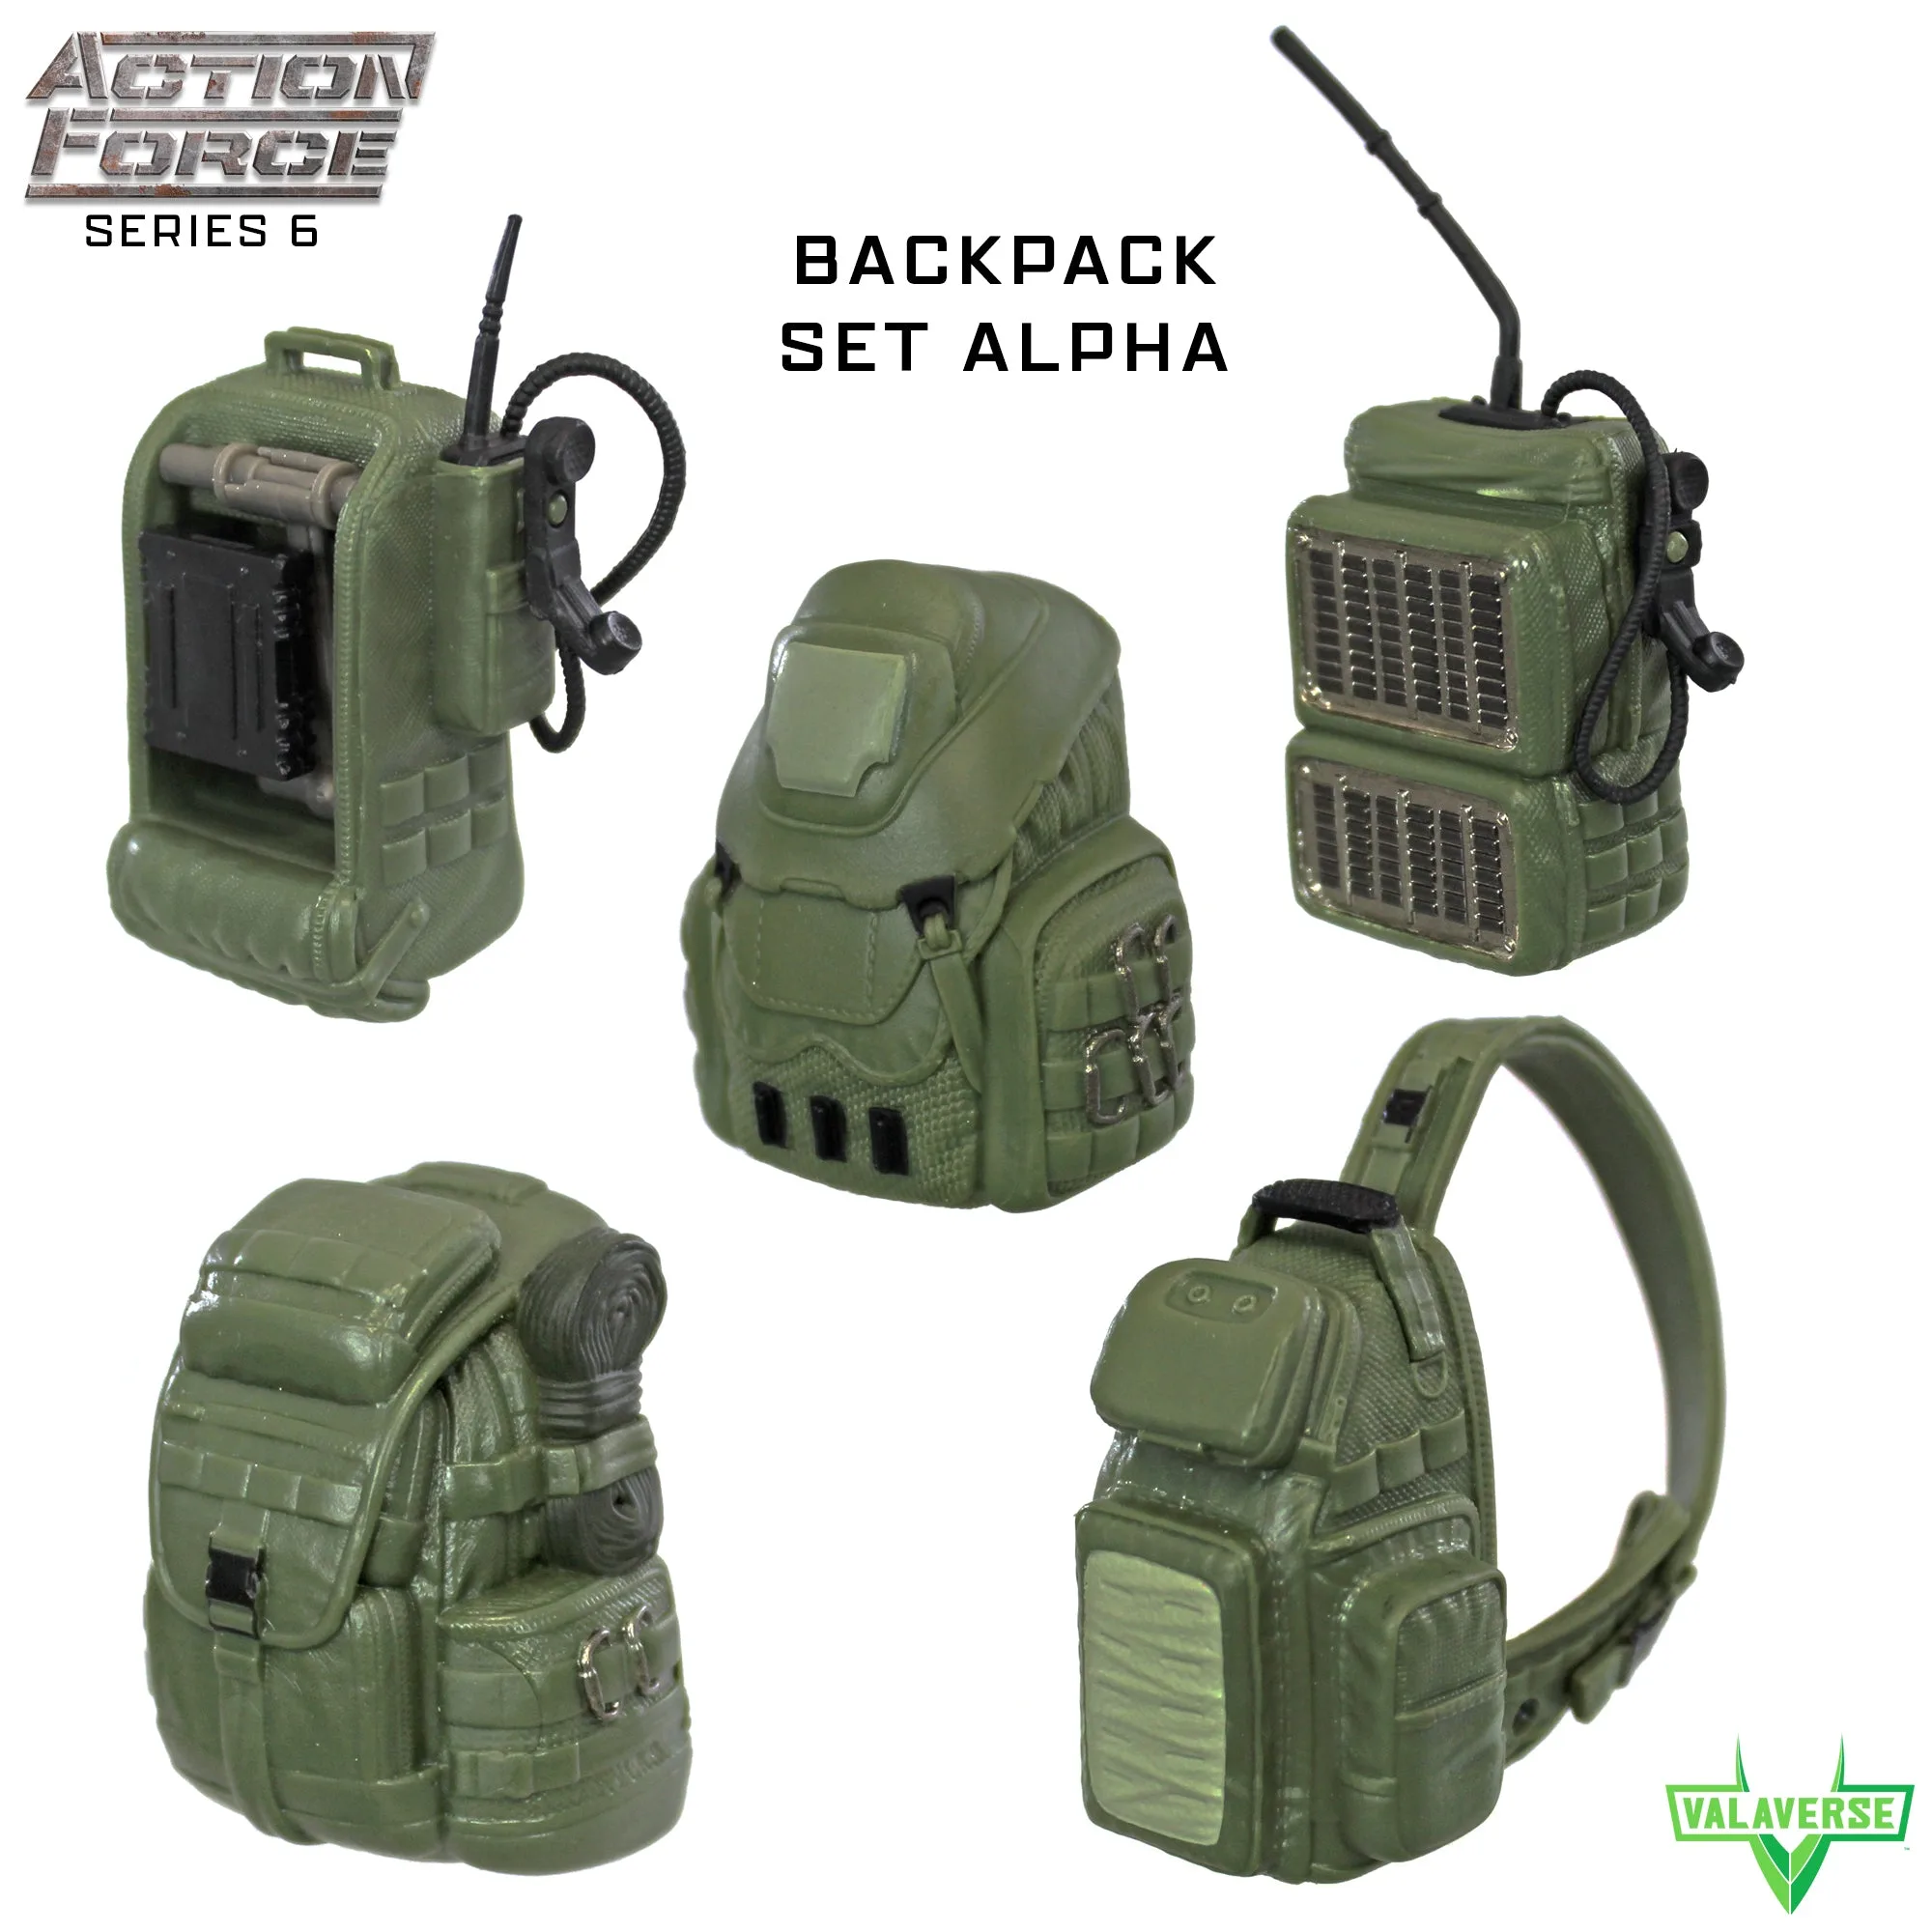
- Backpack Set Alpha: 1/12 scale backpack accessory set with 5 different backpack styles in military green; fits all Action Force figures. Equip your figures with matching gear to complete the scene, though it's intended for adult collectors due to small parts.
With these steps, you can get the most out of your VANGUARD H.A.U.L. Accessory Set and create a Vanguard vehicle that stands out. Remember to plan first, test-fit as you go, and don't rush the small parts. Whether you're a seasoned collector or new to Action Force, a thoughtful setup makes all the difference.