Start with Intent at Capture
Vibrant color in nature photography begins well before you open editing software. The camera settings, gear choices, and creative decisions you make in the field determine how much color information you capture. A flat, underexposed raw file may still contain recoverable color, but starting with a well-exposed image that preserves detail in highlights and shadows gives you a stronger base for editing.
The Visual Wilderness class recording "Vibrant Colors for Nature Photography" by Jay and Varina Patel focuses on exactly this: making the most of your camera settings, gear, and creative decisions to capture the vibrant colors you see in nature. It is a resource for photographers who want to understand the entire color pipeline, not just the post-processing stage.
Organize Your Editing Order
A consistent editing order helps you build color adjustments on a solid foundation. Start with global corrections before moving to local adjustments. A typical workflow might look like:
1. Lens corrections and white balance: correct any color casts and distortion first.
2. Exposure and contrast: set the overall brightness and tonal range.
3. Color adjustments: use tools like HSL (Hue, Saturation, Luminance) panels to target specific colors without affecting others.
4. Local adjustments: use masks or graduated filters to enhance color in specific areas, such as the sky or foreground.
5. Output sharpening and final review: sharpen for the intended display size and check for over-saturation or unnatural color shifts.
Key Color Enhancement Techniques
When enhancing colors, avoid simply pushing the saturation slider. Instead, use targeted adjustments that preserve natural-looking results:
- Increase vibrance rather than saturation: vibrance boosts muted colors while protecting skin tones and already-saturated areas.
- Use the HSL panel to adjust individual color ranges. For example, you can make greens more yellow or blues more cyan to match the scene you remember.
- Apply color grading to add subtle warmth to highlights or coolness to shadows, creating depth without making the image look over-processed.
- Use a luminance slider to lighten or darken specific colors, which can help separate tones that would otherwise blend together.
A Class Designed for Color Workflow
-
Vibrant Colors for Nature Photography: Vibrant Colors for Nature Photography is a class recording from Visual Wilderness, presented by Jay and Varina Patel. It teaches how to make the most of your camera settings, gear, and creative decisions to capture the vibrant colors you see in nature. This class covers the entire color pipeline from capture to edit, giving you a structured approach to color that goes beyond random slider adjustments.
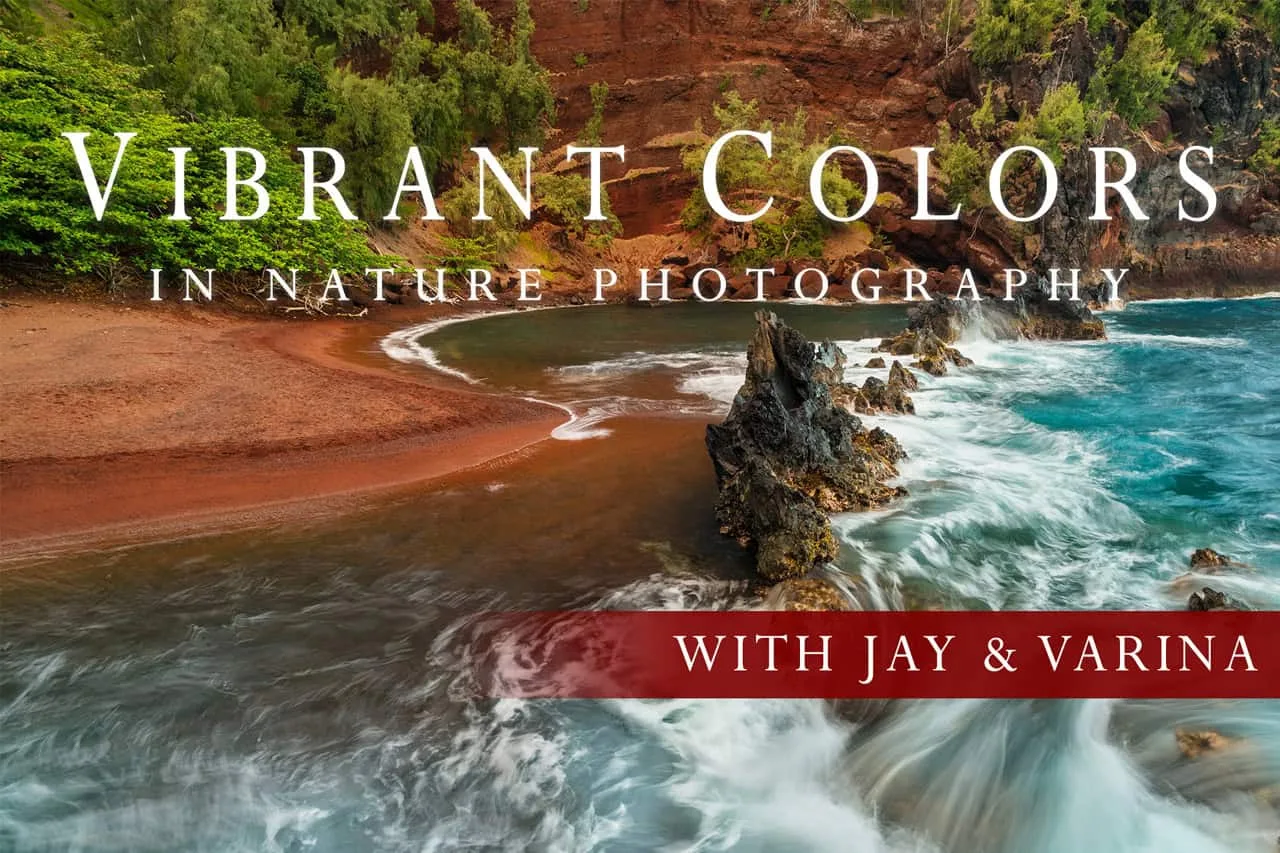
Vibrant Colors for Nature Photography
The Honest Trade-Offs in Color Editing
Editing vibrant colors requires a balance between impact and realism. Over-saturating can make an image look artificial, while under-saturating may fail to convey the scene's emotional impact. The key is to work with the color information your camera captured, rather than inventing colors that weren't there.
Another trade-off is time. A thorough color workflow takes more time than a quick preset, but it gives you control over each decision. The Visual Wilderness class recording can help you build an efficient workflow that doesn't sacrifice quality.
Finally, different display mediums (web, print, social media) have different color gamuts. What looks vibrant on a calibrated monitor may appear dull on a phone screen or oversaturated in print. Always proof your final image on the intended output device.