What the Kit Contains
The Victorian Capt. Gloria Leadhammer kit includes high-quality 3D prints: a body, left arm, right arm, three head options (with Pith Helmet, with Cap, and bare head), and a 25mm round base. This physical product lets you build a distinctive officer character for your Victorian squad.
Before you start, dry-fit all parts to confirm fit and decide on your head choice. The three heads give you different looks for the same figure, so pick the one that matches your unit's style or your painting plans.
Kit Components at a Glance
-
Victorian Capt. Gloria Leadhammer: This kit contains the following high quality 3D prints: -Body -Left arm -Right arm -Head with Pith Helmet -Head with Cap -Bare head -25mm round base Knowing exactly what's in the box lets you plan your assembly sequence and check for any missing parts before you start.
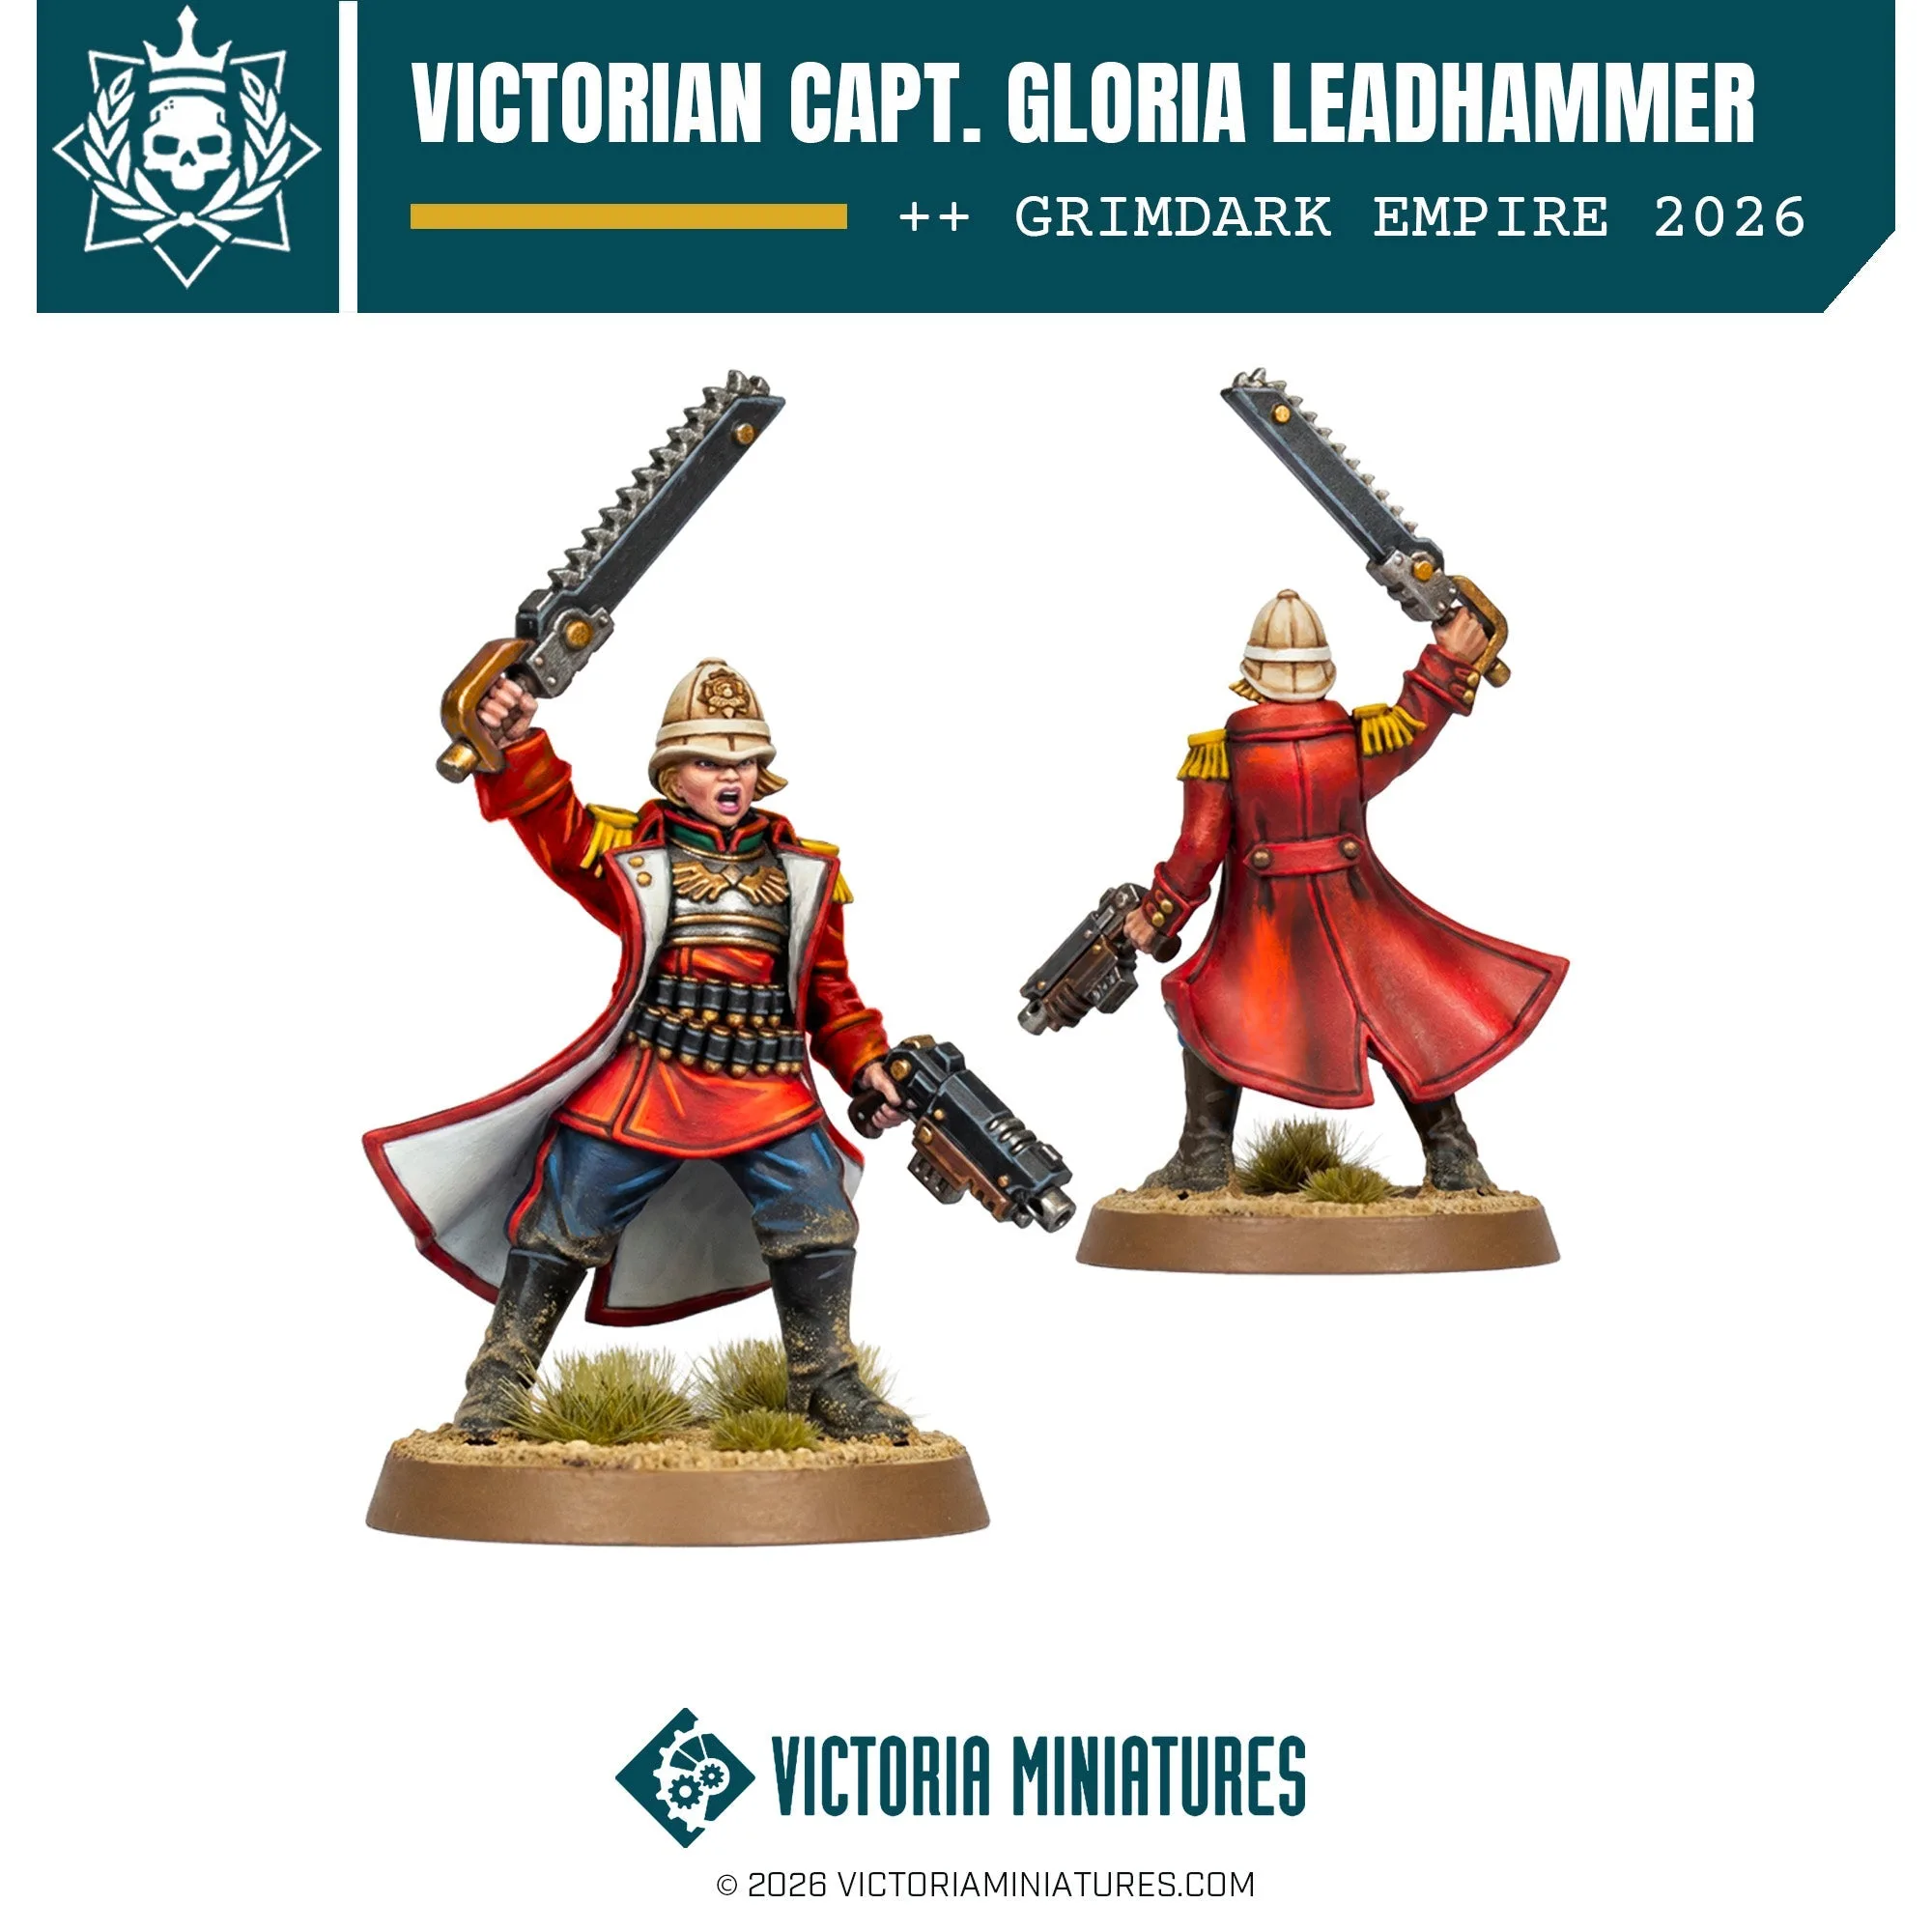
Victorian Capt. Gloria Leadhammer
Assembly Sequence
Follow this order to avoid rework and ensure a clean fit.
- 1. Clean and dry-fit the body: Remove any support material from the 3D print. Dry-fit the body onto the 25mm round base to check the connection. The base is designed for a single figure, so no trimming should be needed.
- 2. Choose and test the head: Try each head option (with Pith Helmet, with Cap, bare head) on the body. Select the one that best represents your Victorian officer. Dry-fit ensures the neck socket aligns before you apply glue.
- 3. Attach the arms: Dry-fit the left and right arms to the body. Check that both arms sit flush and the pose looks natural. Once satisfied, glue the arms in place, then attach the chosen head.
- 4. Mount on the base: Apply a small amount of super glue or epoxy to the base and press the assembled figure into place. Let it cure fully before painting.
Painting Tips for a Crisp Finish
Prime the miniature with a quality primer (spray or brush-on) to help paint adhere to the 3D print material. For an officer like Capt. Leadhammer, consider a uniform color that contrasts with your squad to make her stand out on the tabletop.
Paint the head separately if you prefer, then attach it after painting to keep detail crisp. Use thin coats to avoid obscuring the sculpted details, especially on the face and headgear. The supplied information does not specify paint types or brands, so use your preferred acrylic or enamel miniature paints.
The 25mm round base can be painted to match your army's basing scheme or left natural. A simple coat of sand-colored paint or static grass adds a finished look without extra work.
What the Supplied Information Does Not Confirm
The catalog does not specify the scale of this miniature explicitly, though it is intended for Victorian-era wargaming. It also does not provide instructions for painting or assembly beyond the kit contents. Use standard miniature techniques and your own judgment for basing and finishing.
If you need a specific scale confirmation or detailed painting steps, consult the manufacturer or community resources. This guide covers what the supplied facts support.