Quick answer
Apply a die-cut vinyl bumper sticker to a clean, flat, non-porous panel, press it down firmly, and skip the brush wash. Touchless or hand washing with mild soap keeps the sticker stuck and readable; high-pressure spray aimed at its edges and hot wax cycles are what lift and fade it. Inspect edges after every wash and press them back down while the vinyl is still warm.
A bumper sticker fails in one of two ways: it peels off, or it fades until you can't read it. Both usually come down to the same handful of habits, and neither is about the sticker being cheap. Placement, surface prep, and how you wash the car do most of the work.
The routine below is ordered from before you stick it on through seasonal checks. Each step includes the mistake that causes most of the damage, so you can fix the problem before it starts.
Start with the surface, not the sticker
Vinyl needs a smooth, non-porous panel to bond to. A textured plastic bumper cover, a repainted panel with peeling clear coat, or a spot with old wax residue will let the adhesive fail early. Wipe the area with isopropyl alcohol and let it dry completely before you place anything.
Temperature matters as much as cleanliness. Adhesive grabs best when the surface is roughly room temperature, so avoid applying in direct sun or in freezing cold. If you're applying outdoors in winter, warm the panel with your hand or park in a garage first.
- Checkpoint: the panel should feel smooth and dry, with no grit or greasy film.
- Common mistake: sticking a bumper sticker over an existing one or over a scrape. The new vinyl bridges the uneven surface and lifts at the edges.
Press the edges down like they matter
The center of a sticker rarely fails; the edges do. After applying, work from the middle outward with your thumb or a squeegee, pushing trapped air ahead of you. Then go around the perimeter twice with firm pressure.
Give the adhesive 24 hours before you wash the car or drive through heavy rain. That cure time is short, but skipping it is the most common reason a fresh sticker is gone by the next weekend.
- Checkpoint: no lifted corners when you run a fingernail along the edge.
- Common mistake: pressing only the middle and assuming the edges will settle on their own.
Choose the right wash setting
For bumper sticker car wash trips, touchless is the safe default. Brush washes drag spinning bristles across the vinyl, and the bristles catch lifted edges and pull. If you use a hand wash, keep the nozzle at a shallow angle and don't hold it inches from the sticker.
Skip the hot wax and high-pressure pre-soak cycles when you can. Both blast the edges with force and heat, which softens adhesive and dulls matte vinyl faster than ordinary soap and water.
- Checkpoint: after the wash, look at the corners. If any edge has lifted, press it back down while the vinyl is warm.
- Common mistake: aiming a pressure washer directly at the sticker edge to 'clean underneath it.' That's how you remove it.
Handle sun, rain, and winter grit
UV is the main cause of car sticker fading, and it works slowly. A sticker on a rear bumper that faces the sun all day will dull before one tucked under a spoiler or on a shaded side. There's no coating that stops this entirely, so plan on replacing a sun-exposed sticker every couple of years if color matters to you.
Rain itself is harmless to vinyl. Road salt, sand, and grime are the real winter problem, because grit works into a lifted edge and pries it up. Rinse the bumper area after storms and after salted roads, and don't let a lifted corner sit through a freeze.
- Checkpoint: press edges down after any freeze-thaw cycle.
- Common mistake: scraping ice off the bumper with a plastic scraper. Go around the sticker, not over it.
Know when to stop maintaining and replace
A sticker that has curled, cracked, or lost more than a little color isn't coming back. Re-pressing a hardened edge buys you a few days at most. Remove it with gentle heat from a hair dryer, peel slowly, and clean the residue with alcohol before applying a new one.
If you rotate stickers seasonally, store the spares flat in a cool, dry place rather than in a hot glovebox. Heat and pressure are what make unused vinyl curl before it ever touches a bumper.
- Checkpoint: if the vinyl feels stiff or brittle rather than flexible, replace it.
- Common mistake: pulling a cold sticker off fast and taking paint or clear coat with it.
Your bumper sticker care routine, in order
- 1. Clean and dry the panel: Wipe with isopropyl alcohol, let it dry fully, and confirm the surface is smooth and non-porous. If the panel is textured or has peeling clear coat, pick a different spot.
- 2. Apply at room temperature: Avoid direct sun and freezing cold. Work from the center outward and press the perimeter twice. Let it cure for 24 hours before any wash or heavy rain.
- 3. Switch to touchless or hand washing: Skip brush washes, hot wax cycles, and close-range pressure spraying at the sticker edges. Check corners after every wash and press down any lifted edge while warm.
- 4. Rinse after salt and grit: Flush the bumper area after winter storms and salted roads so grit doesn't work under an edge. Never scrape ice over the sticker.
- 5. Replace when the vinyl stiffens: Remove with gentle heat, peel slowly, clean residue with alcohol, then apply a fresh sticker. Cracked or badly faded vinyl won't recover, no matter how well you maintain it.
What to look for in a bumper sticker
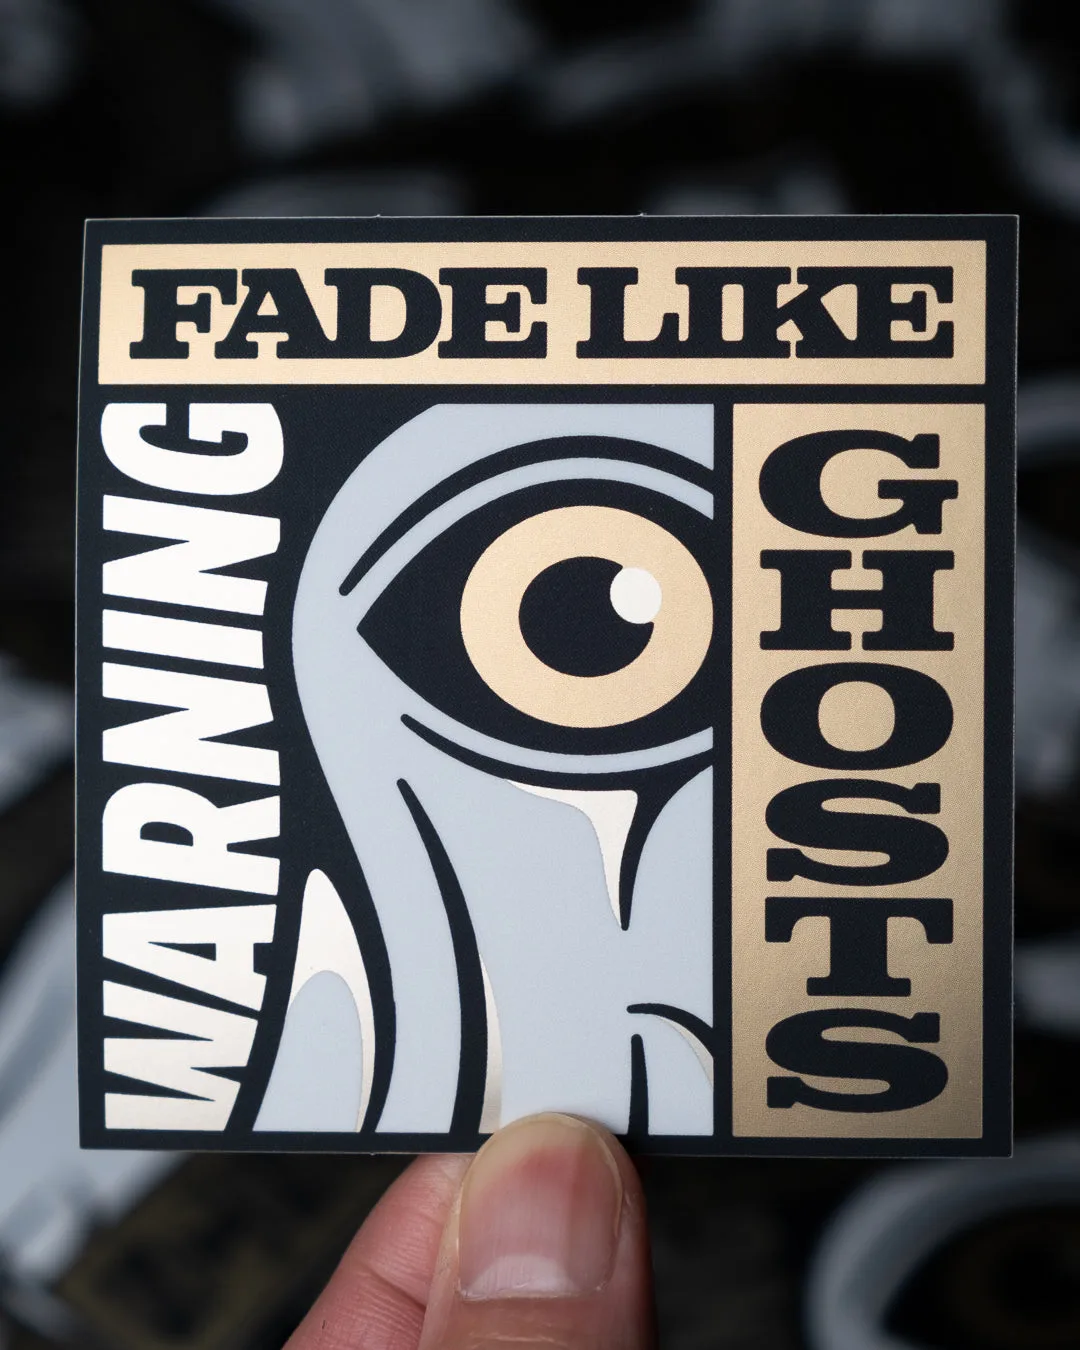
- Snake 'Shed Your Skin' - Die-Cut Vinyl Sticker: Durable vinyl matte die-cut sticker, approximately 3" x 3". Matte vinyl is the right material for a bumper: it doesn't throw glare and it holds up to washing better than paper or glossy laminated stickers. The 3" size fits a flat bumper panel without wrapping around a curve, where edges lift.
- Three Eyed Cat 'Beware' - Die-Cut Vinyl Sticker: Durable vinyl matte die-cut sticker, approximately 3" x 3", and the Alone Time Co. mascot since day one. A die-cut shape means no clear border to catch on a wash brush, so the perimeter stays tight. If you want a design you'll keep on the car long-term, a die-cut vinyl sticker is the safer pick than a rectangular one.
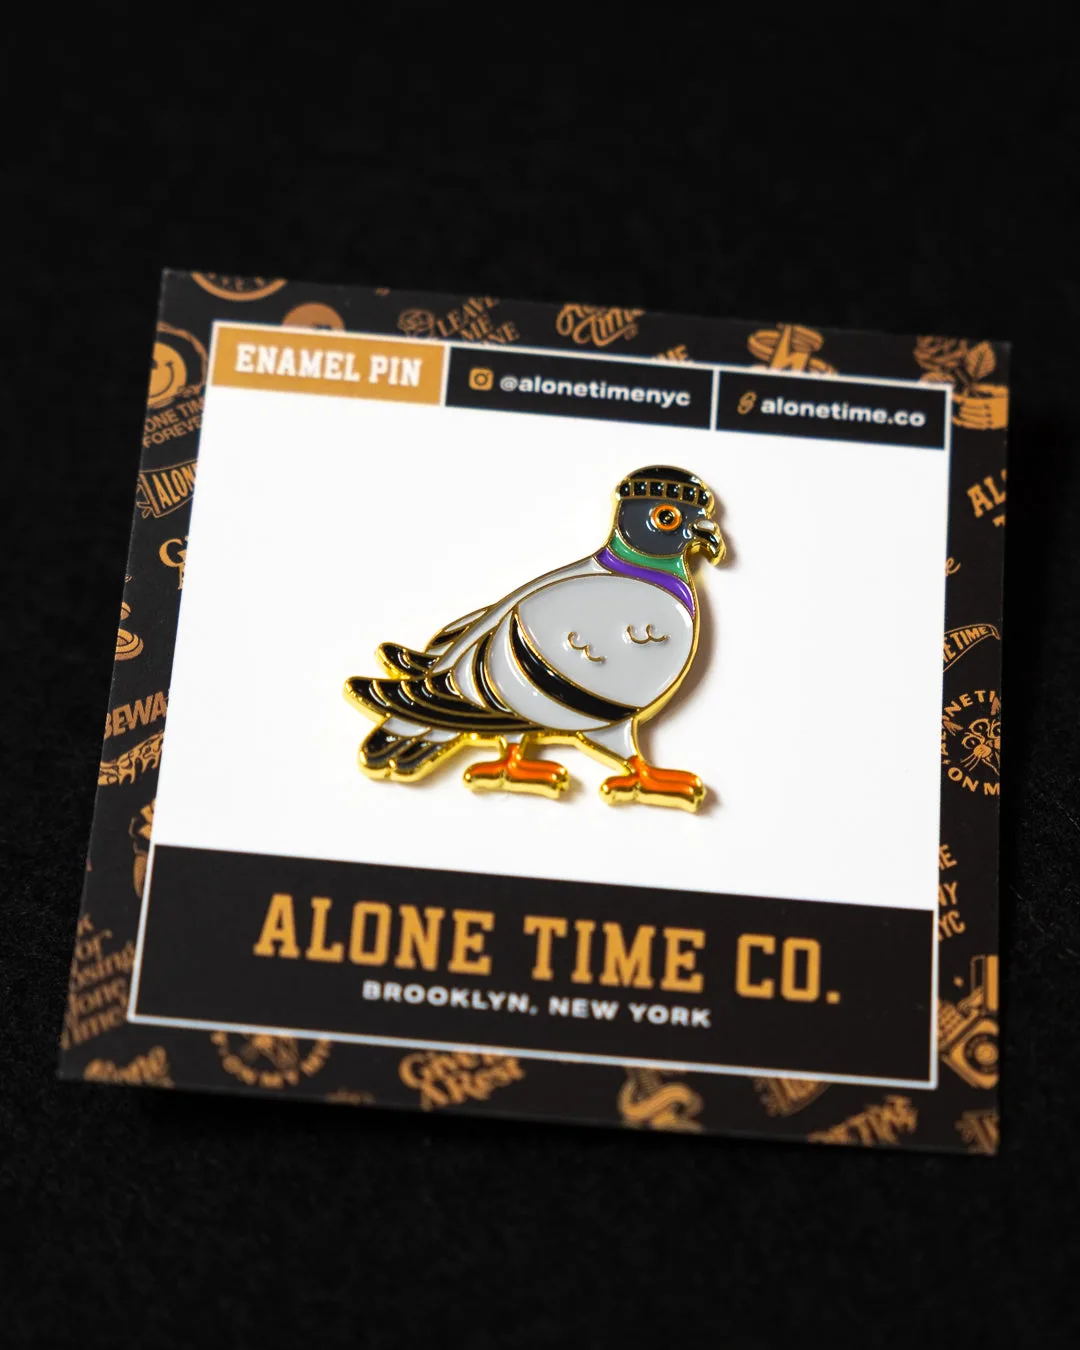
- Pigeon With Beanie - Soft Gold Enamel Pin With Backing Card: Approximately 1.23" x 1.25" soft enamel pin with 6 colors on polished gold metal and 2 rubber backings. Not everything belongs on a bumper. If you want the same design language without weather exposure, an enamel pin on a bag or jacket avoids the fading and peeling problem entirely.
Most bumper sticker problems are placement and wash-habit problems, not material failures. Get the surface right, keep the edges pressed, and choose touchless or hand washing, and a die-cut vinyl sticker will stay readable through several seasons of weather.