Quick answer
Start at the lowest pressure setting your model offers and work upward only if your gums stay comfortable for several days. Most people land on a low-to-mid setting for daily cleaning, while sensitive gums and braces usually need the gentler end of the dial. If you feel pain or see new bleeding, drop back down rather than pushing through.
Why the dial matters more than the model
A water flosser's pressure setting determines how forcefully the stream hits your gumline, and that force is what makes the difference between a comfortable clean and an irritating one. Higher pressure can blast away more debris, but it also pushes harder on gum tissue. Lower pressure is gentler, and for many people it is still enough to remove plaque from treated areas.
Manufacturers express this as a numbered dial or a PSI range on the unit or in the manual. The numbers are not universal: a 3 on one water flosser is not the same as a 3 on another. Treat the dial as your own personal scale rather than a standard measurement, and use the manual's PSI chart only as a rough map.
Where to aim before you touch the dial
Pressure only feels right when the stream is pointed correctly. Angle the tip at roughly 90 degrees to your gumline, or straight down between the teeth, and let the water flow along the gum edge. If you aim directly into the gum pocket at high pressure, even a mid setting will sting.
Lean over the sink with your mouth slightly open so water runs out instead of pooling. This keeps you from swallowing and makes it easier to judge whether the pressure feels sharp or simply thorough.
How to adjust for braces, crowns, and implants
Braces, crowns, and implants change where you aim and how much pressure you can tolerate, not just how often you floss. Around brackets and wires, use a lower setting and a specialized tip if your model includes one, and move slowly so the stream can slip under the wire rather than bouncing off it.
Around implants and crowns, keep the pressure gentle and focus on the gumline where plaque collects. A softer stream still reaches those margins; a hard one can make the tissue sore. If your dentist has given you a specific setting, follow that over any general rule.
Signs your setting is too high or too low
Too high: your gums feel tender or raw afterward, you see new bleeding that was not there before, or the stream feels like it is hammering one spot. Too low: food and plaque stay behind after a full pass, or you find yourself going over the same area repeatedly without feeling clean.
A good setting leaves your mouth feeling fresh and your gums calm a few minutes later. Mild pink tinge in the sink during the first week or two is common when you are new to water flossing; pain is not. Pain means turn it down.
Build a routine you can repeat
Once you find a comfortable level, use it for at least a week before changing anything. Consistency matters more than chasing a higher number. If you want more cleaning power later, raise the dial by one small step and hold there for several days before deciding.
Clean the reservoir and tip regularly, and replace tips on the schedule your manual recommends. A clogged or worn tip can make any pressure setting feel uneven, which makes it hard to judge whether the dial or the hardware is the problem.
Your step-by-step pressure routine
- Fill the reservoir with warm water: Warm water is more comfortable on sensitive gums than cold, and it helps the stream feel smoother at any setting. Fill only to the line your model marks. Checkpoint: if the reservoir is hard to fill or leaks, fix that before judging pressure.
- Set the dial to its lowest level: Turn the pressure control all the way down before you turn the unit on. Starting low lets you feel the stream without a surprise blast. Common mistake: starting at the middle because it looks like a neutral choice. It is not.
- Aim at the gumline, not the gum pocket: Angle the tip about 90 degrees to the gumline and follow the edge of each tooth. Let the water do the work instead of pressing the tip into the gum. Checkpoint: if the tip feels like it is stabbing, you are aiming too directly into the pocket.
- Work around the mouth in a set order: Start at the back of one side, move forward, then switch sides. A fixed order keeps you from lingering too long on one tender spot. Common mistake: camping on a sore area and blasting it. That irritates tissue instead of cleaning it.
- Raise the dial one step only if it feels too gentle: If you finish a full pass and your gums feel calm but your teeth do not feel clean, nudge the pressure up one step. Stay there for several days. Checkpoint: no pain, no new bleeding, and a clean feeling means you found your level.
- Drop back down if you see pain or new bleeding: Pain or bleeding that appears after raising the setting is your signal to return to the previous level. Give your gums a few days to settle before trying again. Next step: if tenderness persists at the lowest setting, talk to your dentist before continuing.
Models with adjustable pressure
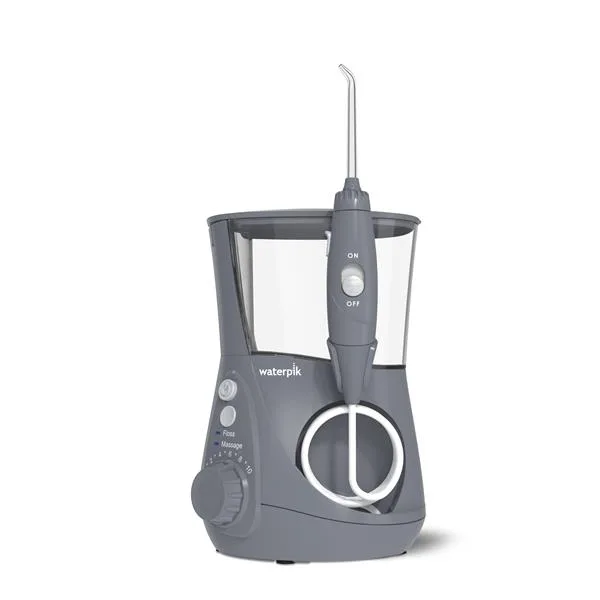
- Modern Gray Aquarius Water Flosser – Gray (WP-667): The Gray Aquarius water flosser is the most advanced water flosser ever and is clinically proven up to 50% more effective for improving gum health vs. string floss. If you want a wide pressure range to experiment with, a countertop model like this gives you more room to find a comfortable setting than a basic unit.
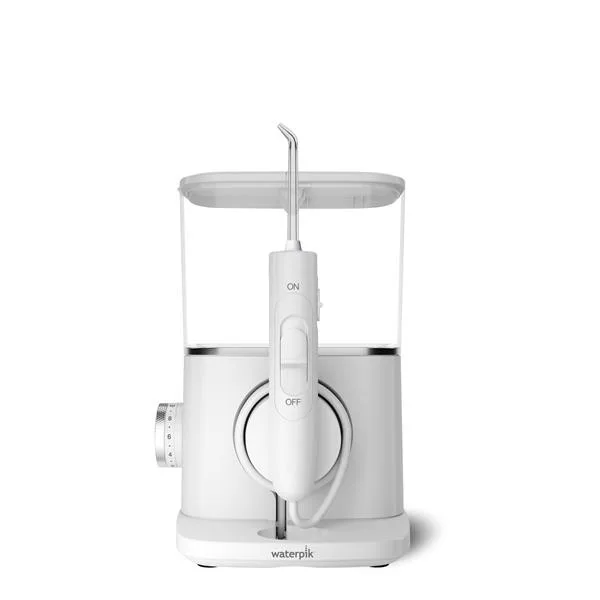
- Evolution Water Flosser – White (WF-33W010): The Evolution Water Flosser removes up to 99.9% of plaque from treated areas and includes multiple tips for different dental needs. Multiple tips let you match the tool to braces, crowns, or general cleaning, so you can keep pressure low and still reach tricky spots.
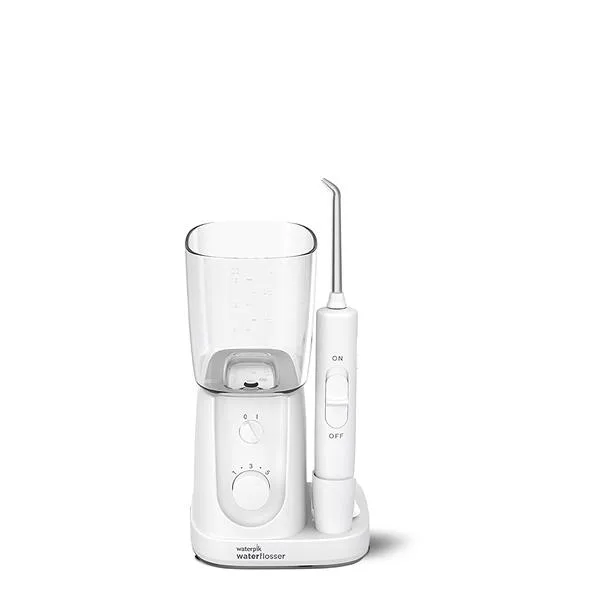
- Nano Plus Water Flosser – White (WP-320): The Nano Plus Water Flosser delivers full-size water flosser performance in a compact design, making it practical for smaller spaces and domestic travel. If counter space is tight, a compact model still gives you adjustable pressure, so you do not have to trade control for size.