Quick answer
Mount the drinks wall holder at a reachable height near your bar table, anchor it so it cannot tip, then load cups and drinks only after you have tested the setup with empty cups. This keeps a self-serve drinks wedding station tidy and lets guests help themselves without queueing.
Why a wall-mounted drinks holder suits a wedding bar station
A wall-mounted drinks holder frees up table space for glasses, ice and napkins, which matters when your wedding bar station setup is sharing a table with a treats stand or cake. It also lifts drinks to eye level, so guests spot the station from across the room and can serve themselves without staff.
The trade-off is that a wall holder depends on a stable fixing point. If your venue will not allow wall fixings, plan a freestanding alternative or ask the venue coordinator where a temporary mount is permitted. Check the fixing method and weight guidance before you commit to a wall location.
Plan the station around guest flow, not just decoration
Place the drinks wall at the start of the drinks run, with cups and bubbles first, then ice and napkins further along. That order stops guests doubling back into the queue. Keep the station away from dance-floor traffic and doorways, and leave a clear approach of about a metre so two guests can serve at once.
For a self-serve drinks wedding setup, add a small bin or tray for used cups nearby. It is a small detail that keeps the display looking fresh through the evening.
How to set up your wedding drinks wall holder stand
- Choose and clear the wall spot: Pick a wall behind or beside your bar table at roughly chest to eye height, then clear the area of frames, signage and cables. Common mistake: mounting too high, which makes cups hard to reach for shorter guests. Stand where a guest would and check the top of the wall is within easy reach before you fix anything.
- Check the fixing surface and permission: Confirm with the venue what the wall is made of and whether fixings are allowed. Use the appropriate fixing for plaster, brick or wood, and ask about weight limits. Common mistake: assuming a venue wall can take screws without asking. Get venue approval in writing or from the coordinator before drilling or applying adhesive.
- Assemble the wall and stands on the table: Build the drinks wall and its two stands on the table first, so you can see the footprint before fixing. Adjust the table position so the wall sits centred over the serving area. Common mistake: fixing the wall before checking the table height and reach. Do a dry run with the empty wall in place and step back to check the display reads clearly.
- Anchor the wall securely: Fix the wall to the chosen point and test it with a gentle press. If the wall is not to be fixed, weight the stands and keep the display out of walkways. Common mistake: leaving a wall-mounted drinks holder party display unsecured on a busy route. Give the fixing a firm nudge test before any drinks or cups go on.
- Load cups and drinks in serving order: Place cups and bubbles first, then ice, napkins and a small bin at the end of the run. Keep heavy bottles on the table, not on the wall. Common mistake: overloading the holder with full bottles. Keep the wall for cups and light items, and leave bottles on the table.
- Do a final guest-eye check: Walk up to the station as a guest would, check the sign is readable, the path is clear and nothing blocks the approach. Common mistake: styling the table so tightly that guests cannot set down a cup. Leave a clear landing space at the end of the run for guests to set down and pick up.
Product facts
-
Drinks Wall Holder Stand: Each pack contains one drinks wall with two stands, finished with gold foil script spelling 'Bubbles'. The two stands give you a ready-made base for the wall, so you can plan the table layout around a single display rather than sourcing separate supports.
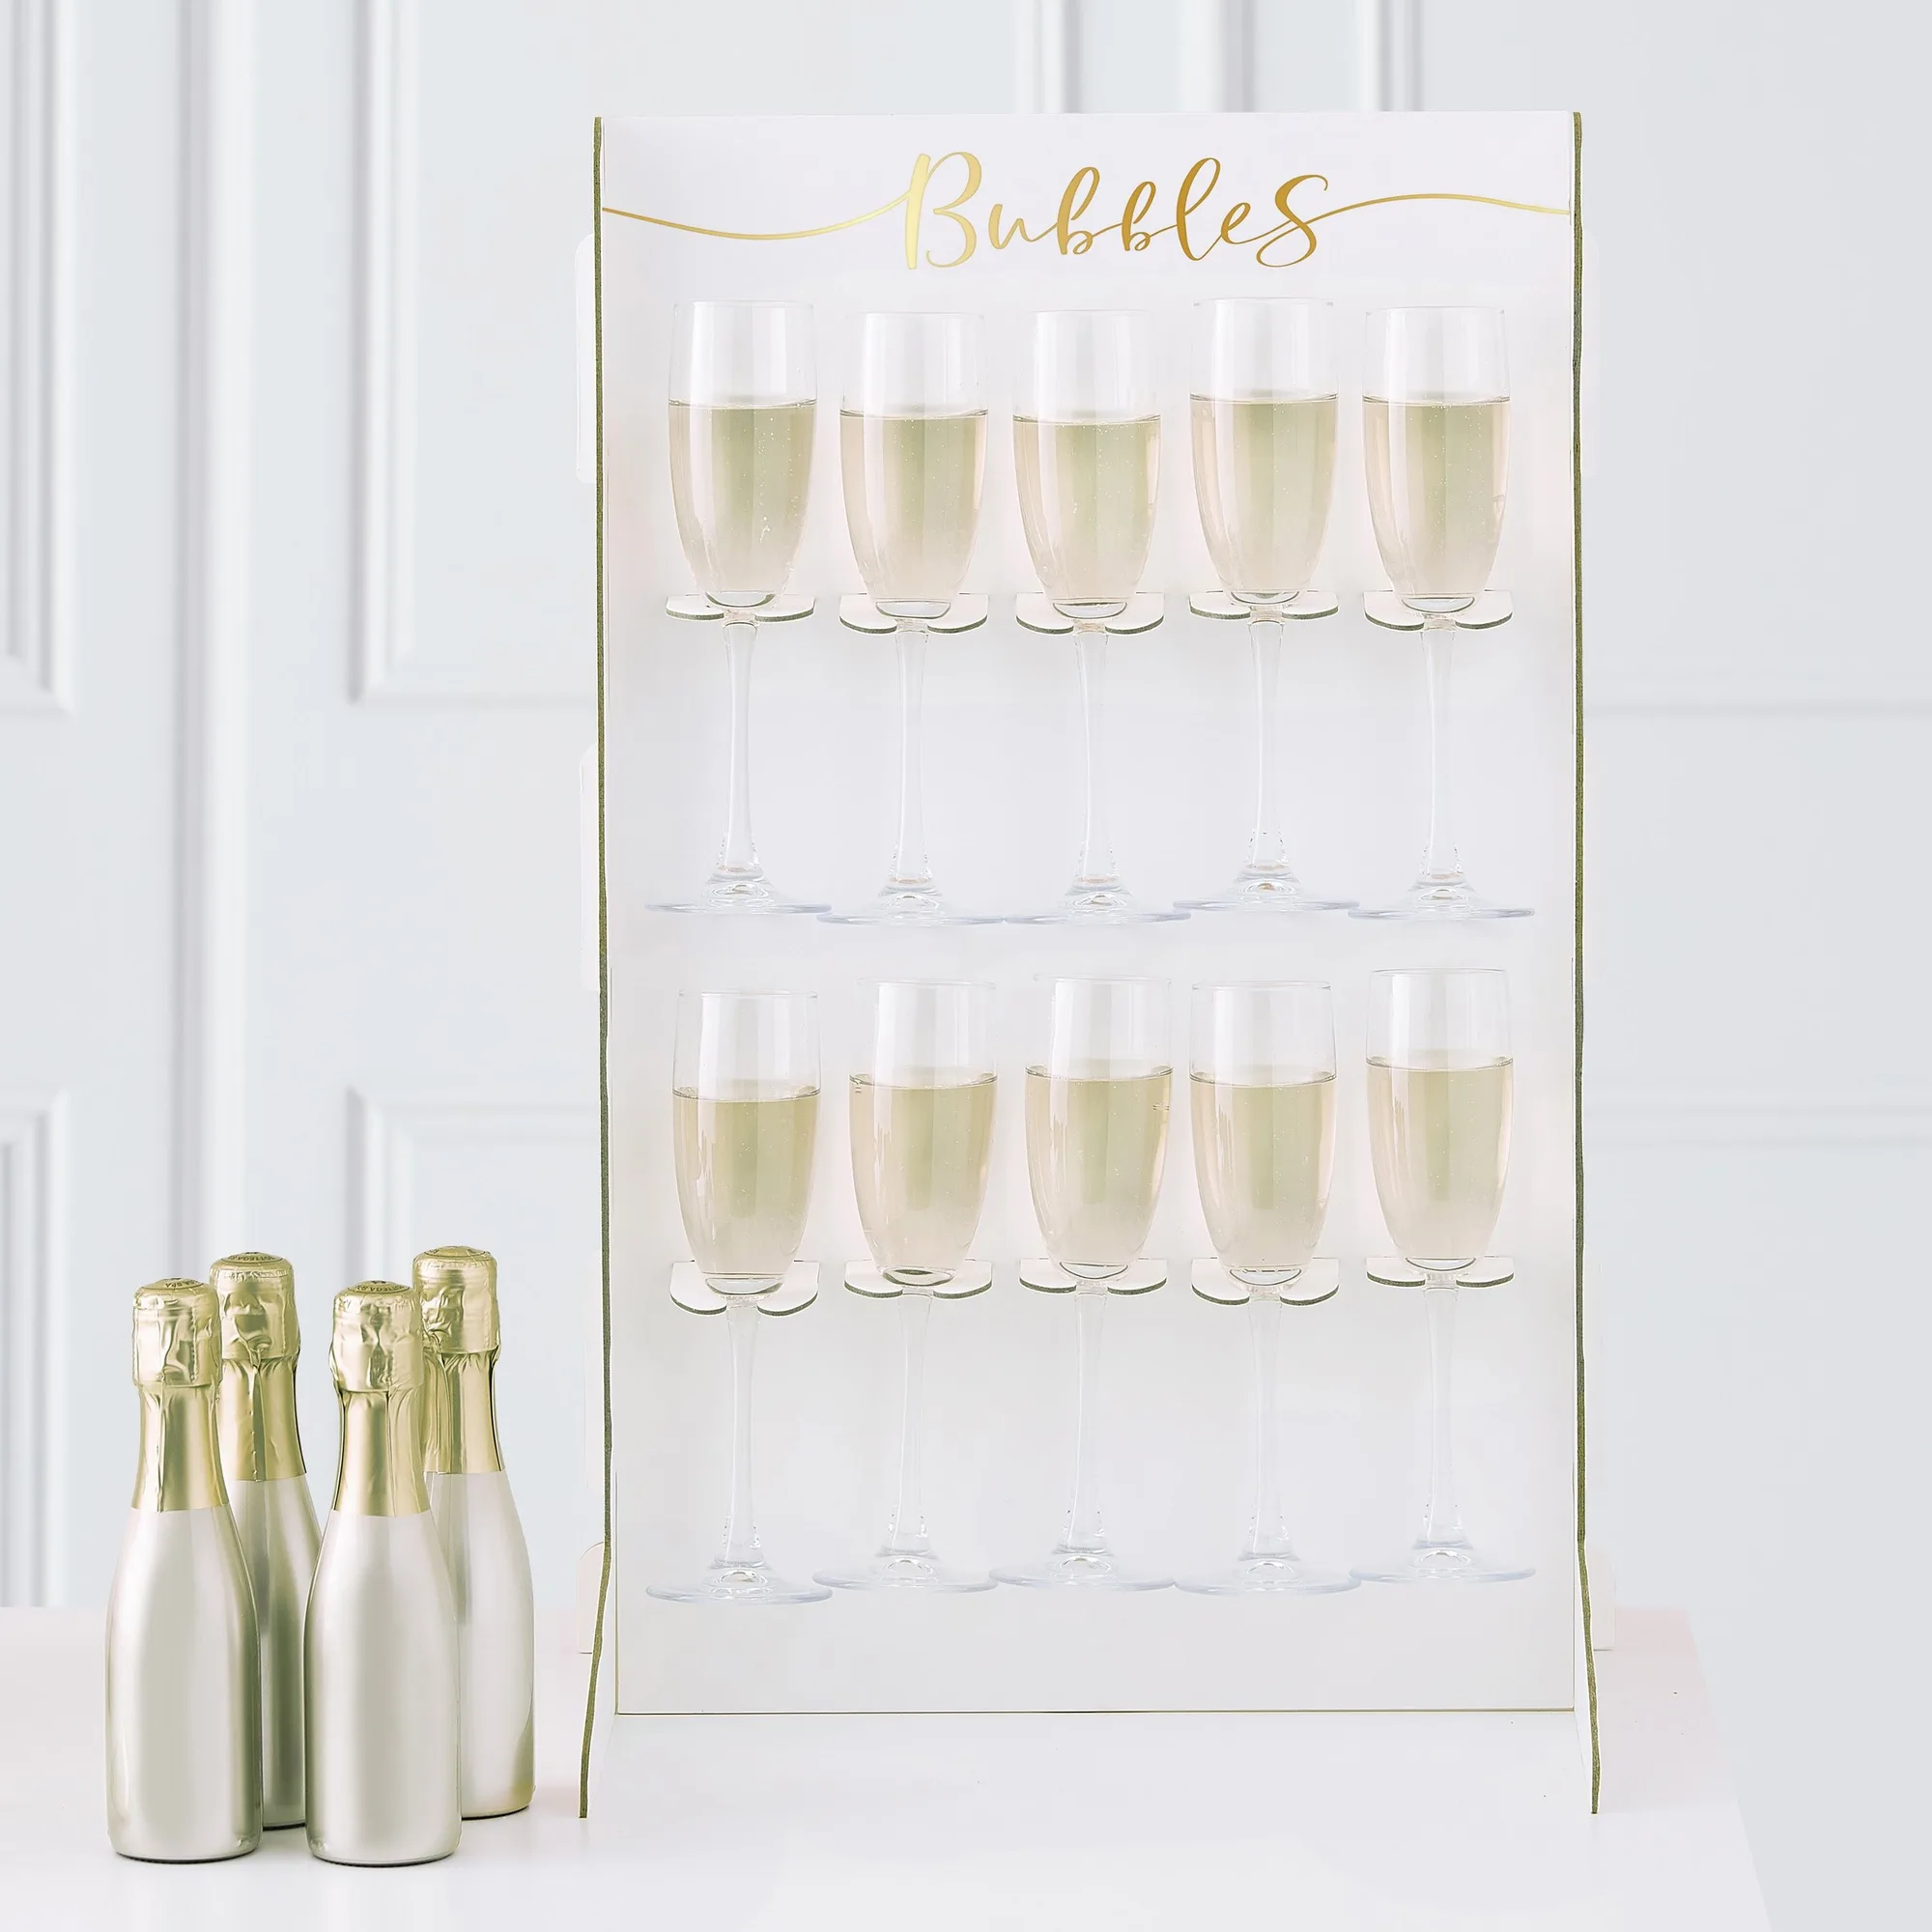
Drinks Wall Holder Stand