Why Combine a Battery Shield and Motor Shield on a Wemos D1 Mini?
Pairing the Wemos D1 Mini Lithium Battery Charging Shield with the AT8870 Motor Shield lets you build a compact, battery-powered motor controller that communicates over I2C. This combo is ideal for portable robots, small automation projects, or any application where you need to drive two DC motors without a tether to a wall outlet.
The battery shield provides a regulated 5V supply from a 3.7V lithium cell, while the motor shield handles the higher voltage and current needed by the motors. The Wemos D1 Mini sits in the middle, running your code and coordinating I2C commands.
What You Need to Know About Power
The Wemos D1 Mini Lithium Battery Charging Shield accepts a micro USB input at 5V (max 1A) and uses a built-in DC-DC converter to step up the 3.7V lithium battery voltage to a stable 5V output. This 5V rail powers the Wemos D1 Mini itself.
The AT8870 Motor Shield requires a separate motor power supply (VM) of a specific voltage range. This voltage is not provided by the battery shield, so you must connect an external power source to the VM and GND terminals on the motor shield. The motor shield can deliver up to 2A average (3.6A peak) per channel. Follow the supplied product instructions for the correct voltage range.
In short: the battery shield powers the Wemos D1 Mini logic, and a separate supply powers the motors. Do not try to run the motor shield from the battery shield's 5V output.
Key Specifications at a Glance
-
Wemos D1 mini/Pro Shield Lithium Battery Charging Board V1.1.0: Input: Micro USB, 5V (max 1A); output: 5V from 3.7V lithium battery via DC-DC converter. This tells you the battery shield can only supply 5V at up to 1A—enough for the Wemos D1 Mini but not for motor loads.
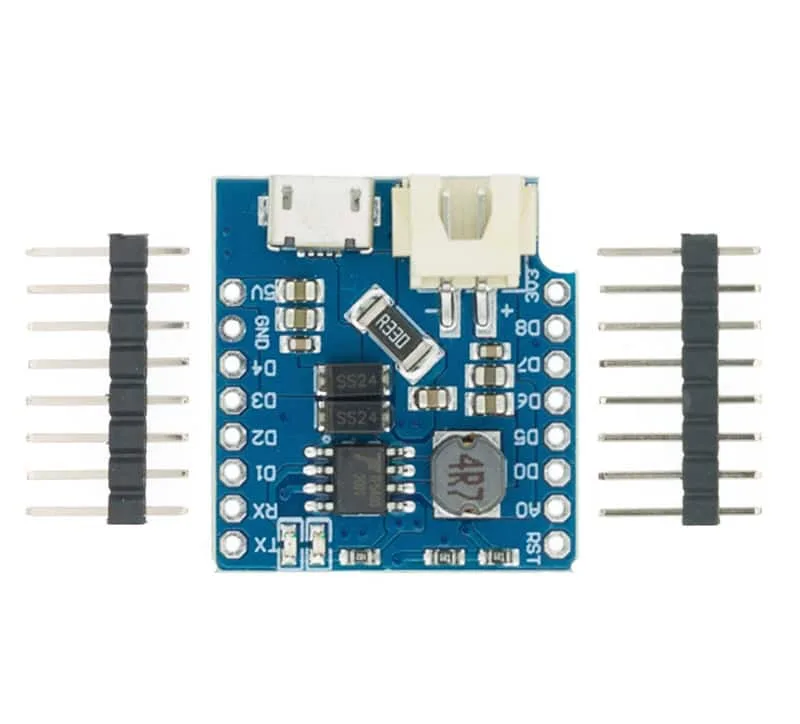
Wemos D1 mini/Pro Shield Lithium Battery Charging Board V1.1.0
-
AT8870 Motor Shield v1.0.0 for Wemos D1 mini I2C Dual Motor: Motor power supply voltage: VM = 6.5–38 VDC; output current: 2A average / 3.6A peak per channel. You need a separate battery or power supply in this voltage range to drive the motors. The shield's I2C interface reduces wiring to just four pins.
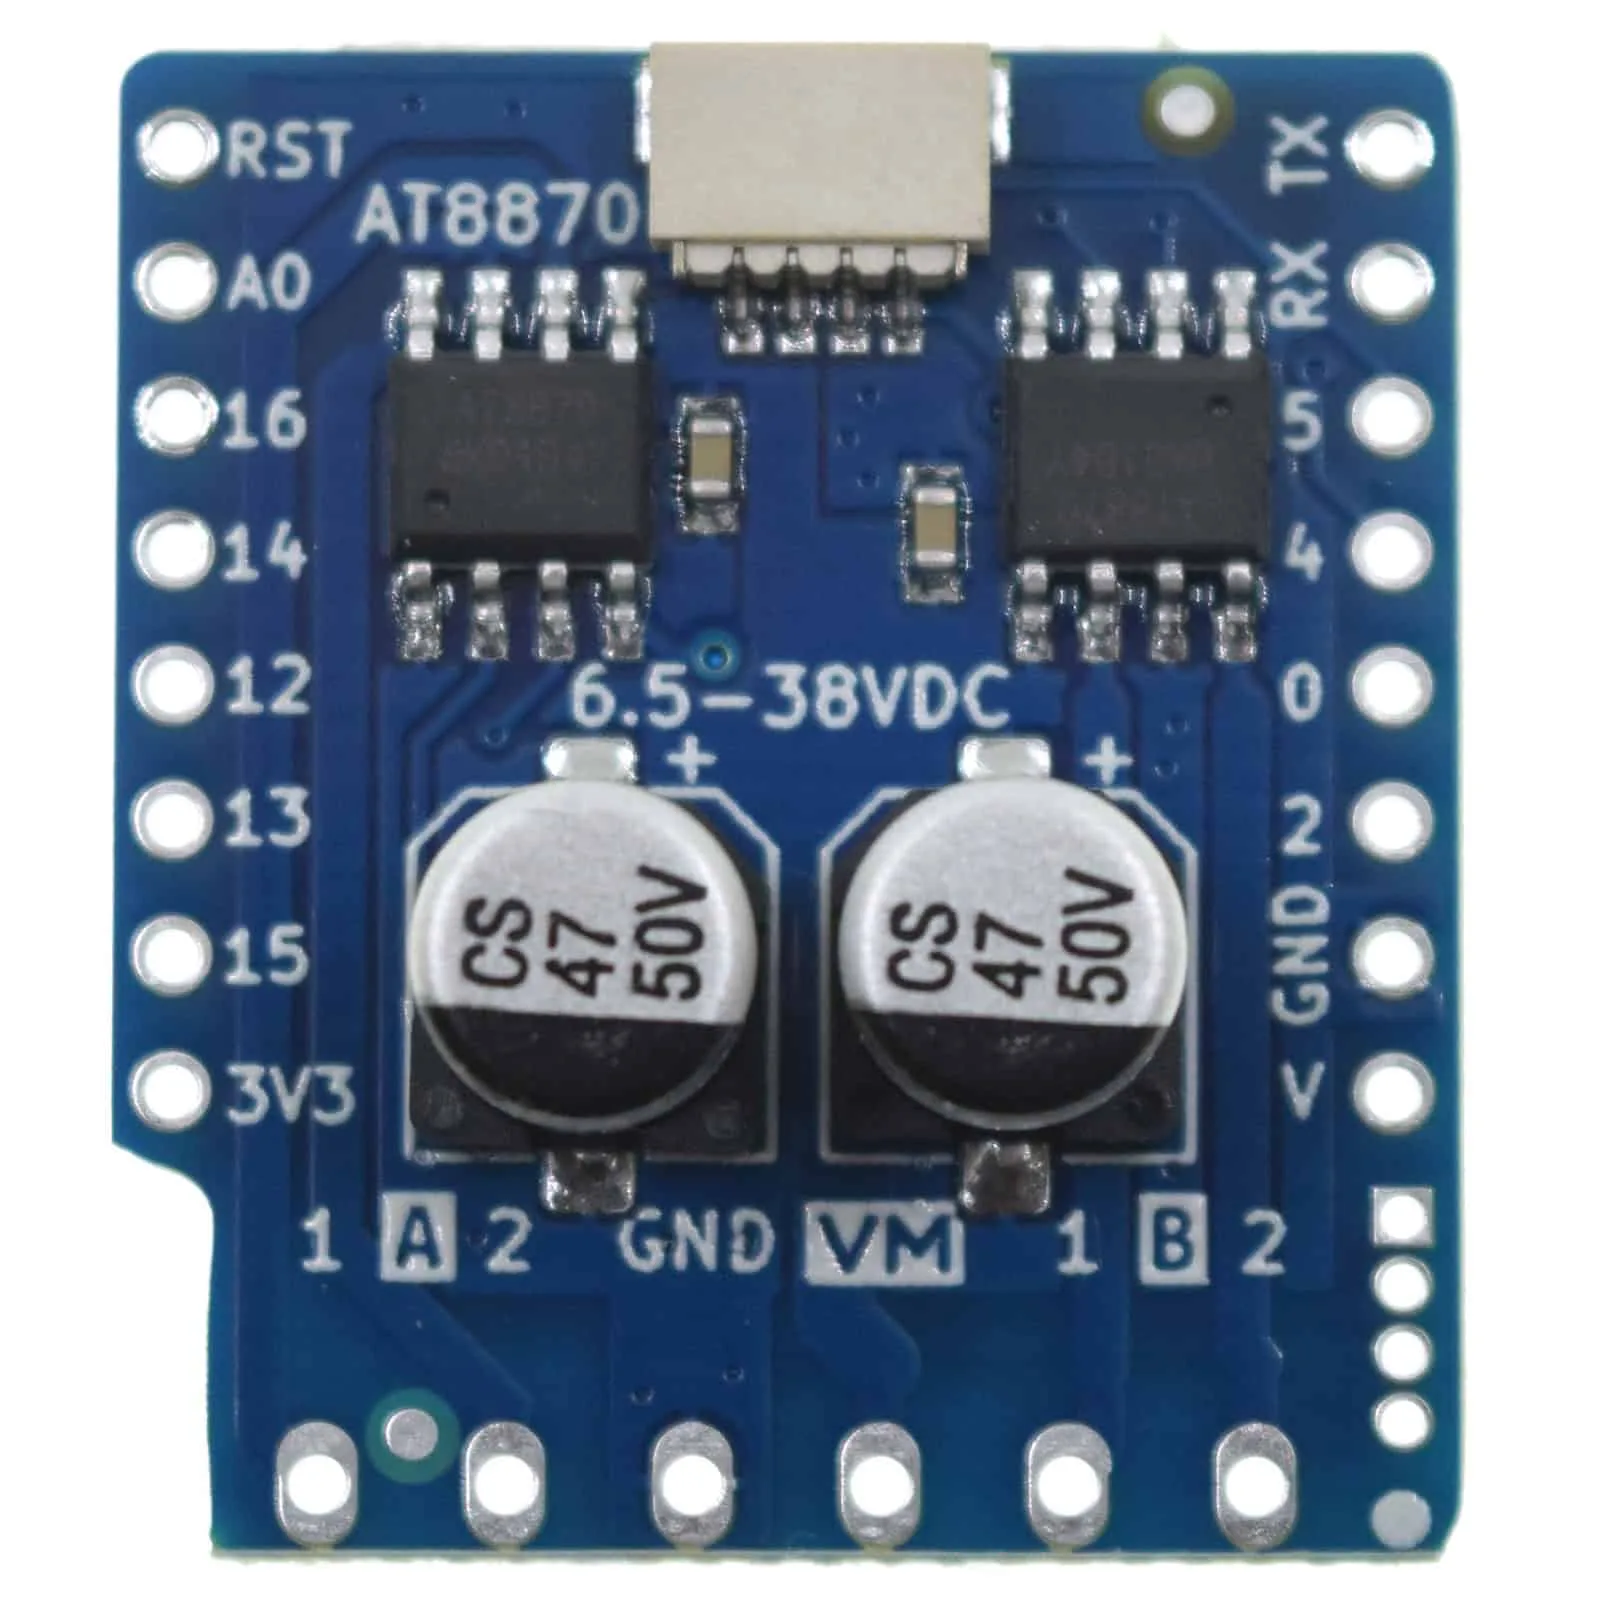
AT8870 Motor Shield v1.0.0 for Wemos D1 mini I2C Dual Motor
Step-by-Step: Stacking and Wiring the Combo
The following steps assume you have a Wemos D1 Mini, the lithium battery charging shield, the AT8870 motor shield, a 3.7V lithium battery, and a suitable motor power supply.
- 1. Stack the shields: Place the Wemos D1 Mini on the battery charging shield (the one with the micro USB and battery connector). Then stack the AT8870 motor shield on top. The headers align vertically—make sure all pins engage fully.
- 2. Connect the battery: Attach a 3.7V lithium battery to the JST connector on the battery shield. The red LED will indicate charging when USB power is present.
- 3. Connect motor power: Wire your external supply to the VM (+) and GND (–) terminals on the motor shield. Do not exceed the voltage specified in the product instructions.
- 4. Connect motors: Connect Motor A to the 1-A-2 terminal and Motor B to the 2-B-1 terminal on the motor shield.
- 5. Power up and test: Plug a micro USB cable into the battery shield to power the Wemos D1 Mini. The motor shield will be powered by the external supply. Upload an I2C motor control sketch to verify operation.
I2C Communication and Library Setup
The AT8870 Motor Shield uses the LOLIN I2C Port, so you control it via the I2C bus (SDA and SCL pins on the Wemos D1 Mini). The official Arduino library is available at the linked GitHub repository (see product details).
In your sketch, include the library, initialize the I2C motor object, and use functions like motor.drive() to set speed and direction. The shield supports CW/CCW, short brake, and stop modes—no PWM pins required.
Practical Considerations
The battery shield's J2 connector lets you monitor battery voltage via the A0 pin—useful for low-battery warnings in your code. The J1 jumper selects the max charging current (0.5A or 1A).
The motor shield includes 2x 8P pins and 1x 6P 3.5mm pin header in the package. You may need to solder these headers if they are not pre-attached.
Remember: the supplied information does not include specific charging times or battery protection details. Use a protected lithium cell and follow standard Li-ion safety practices.