Quick answer
Plant upright, tap-rooted or trailing plants that tolerate the cone's narrower base and wider rim, and always check that the glazed pot has a drainage hole before you fill it. For most patios, a single architectural grass or a compact evergreen plus a trailing spill plant gives the cleanest result.
Why the cone shape changes your plant list
A cone shaped outdoor planter narrows toward the bottom, so the root zone is smaller than the rim suggests. Plants with deep taproots or aggressive runners struggle, while shallow-rooted grasses, succulents and compact shrubs settle in well. The wide top also means the surface dries faster than in a straight-sided pot, so glazed planter planting tips should start with moisture control rather than decoration.
Glaze matters too: a glazed exterior slows evaporation through the walls, but it also hides the soil line. Leave an inch or two of headspace below the rim so water does not spill over the glaze and stain the patio.
Plant choices that suit a glazed cone planter
For a modern, minimalist look, choose one upright focal plant such as a dwarf ornamental grass, a boxwood or a compact Japanese maple in a larger cone. For seasonal color, fill the top with trailing plants like trailing rosemary, ivy or calibrachoa so they cascade over the rim. Succulents and sedums work well in smaller cones because they tolerate the quick-drying surface.
Avoid plants that demand constantly wet soil, and avoid tall, top-heavy shrubs in a narrow-based cone unless you weight the base or place it against a wall. If you want a mixed planting, use the thriller-filler-spiller formula: one upright center, a few mounding fillers and one trailer.
How to plant a glazed cone planter step by step
- Check drainage and size: Turn the cone planter over and confirm there is a drainage hole; if the glaze has sealed it, drill one or use a slightly smaller nursery pot as a liner. Match the plant's mature root spread to the narrowest part of the cone, not the rim. A pot without drainage will waterlog faster in a cone because the base holds water.
- Add a drainage layer and soil: Place a shallow layer of gravel or broken pottery in the base, then fill with a free-draining potting mix blended with grit for succulents or a moisture-retentive mix for grasses. Stop filling about 2 inches below the rim. Do not use garden soil straight from the border; it compacts in a glazed pot.
- Position the root ball: Set the plant so the top of its root ball sits level with or slightly above the surrounding soil, then backfill and firm gently. For a mixed planting, place the tallest plant slightly off-center toward the back of the cone. Planting too deep is the most common mistake; the crown should stay visible.
- Water in and top-dress: Water slowly until it runs from the drainage hole, then add a thin layer of gravel or decorative stone to reduce splashing onto the glaze. Wait a week before adding a balanced slow-release fertilizer. Skip the gravel top-dress if your plant is a self-seeder you want to spread.
- Place and rotate: Put the cone where it gets the light your chosen plant needs, and rotate it a quarter turn every week or two so the glazed surface and the plant grow evenly. In windy spots, group the set of three or weight the base. A cone's wide rim catches wind; a top-heavy planting can tip in exposed positions.
Product facts
-
Cone Planter - (Glazed) By Plantatorem: Cone Planter - (Glazed) By Plantatorem is sold as a set of three cone-shaped planters in a glazed finish, with Size and Color options. A graded set lets you repeat the same planting scheme at different heights along a walkway or patio edge without buying mismatched pots.
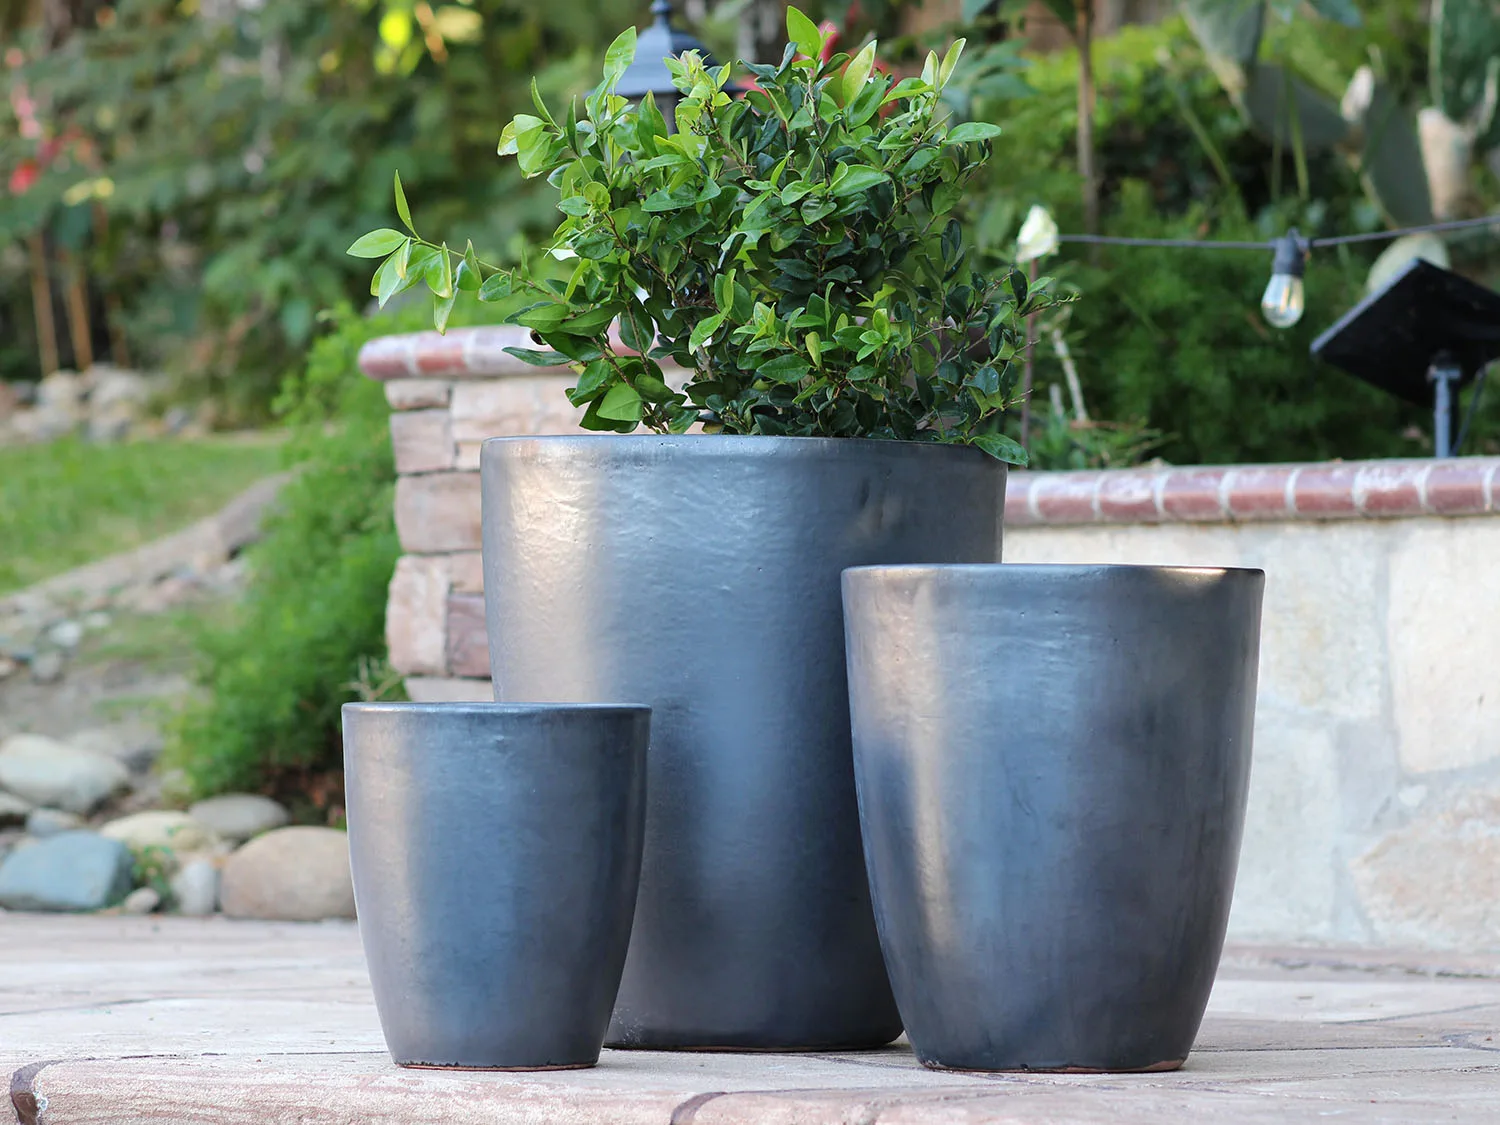
Cone Planter - (Glazed) By Plantatorem