Quick answer
Put your disco ball vinyl sticker on a clean, flat surface where it will be seen and not rubbed—think laptop lid, water bottle, phone case, notebook, or planner cover. Choose a finish that matches the look you want, and apply it with a smooth, bubble-free technique.
Pick a spot that suits the sticker's size and your daily use
At 2.2 by 2.5 inches, the disco ball vinyl sticker is small enough for a phone case but large enough to be a focal point on a laptop lid. Avoid areas that flex, like the hinge of a water bottle or the edge of a curved phone case, because repeated movement can lift the edges. Also consider how often you clean the item—high-touch spots like a water bottle need a sticker that can handle moisture and wiping.
Match the finish to the surface and your style
The sticker comes in matte, glossy, or holographic finishes. Matte hides fingerprints and looks subtle on dark laptops; glossy pops on light-colored bottles; holographic catches light and adds sparkle, but may show smudges more. Think about where the item will be used: a holographic sticker on a water bottle looks great in sunlight, while a matte finish on a planner cover keeps things understated.
Prepare the surface for a long-lasting hold
Even waterproof vinyl needs a clean, dry surface to adhere properly. Oils from your hands, dust, or leftover residue from other stickers can prevent a strong bond. Use a lint-free cloth with a little rubbing alcohol to wipe the area, then let it dry completely before applying. Avoid using oily cleaners or lotions right before application.
Step-by-step placement guide
- Clean the surface thoroughly: Wipe the area with a lint-free cloth and a small amount of rubbing alcohol. Let it dry completely. Common mistake: skipping this step or using a oily cleaner, which leaves a film that prevents adhesion. A clean, dry surface is the foundation for a sticker that stays put.
- Test the position before peeling: Hold the sticker in place without removing the backing to check alignment and visibility. For laptops, center it on the lid or align with an edge; for water bottles, place it on a flat section away from curves. Common mistake: rushing and sticking it crooked, then trying to reposition—which weakens the adhesive. Take a photo with your phone to check the placement from a distance.
- Peel and apply from one edge: Peel a small section of the backing and press the sticker down from one edge, smoothing outward with your thumb or a credit card. Common mistake: peeling the entire backing at once, which can cause bubbles or misalignment. Work slowly and smooth as you go to avoid trapped air.
- Burnish the edges: Once applied, rub firmly around the edges with your thumb or a soft cloth to seal them. This is especially important on curved surfaces like water bottles. Common mistake: ignoring the edges, which can lead to peeling after washing. Pay extra attention to edges on items that get wet or handled often.
- Let it set before use: Wait at least an hour before washing or heavy use to allow the adhesive to bond fully. Common mistake: immediately putting the item in a bag or washing it, which can cause the sticker to shift. A little patience helps the sticker last longer.
- Avoid extreme heat and repeated rubbing: Keep the sticker away from direct heat sources like car dashboards in summer, and avoid scrubbing it with abrasive cleaners. Common mistake: using a rough sponge or harsh chemicals, which can scratch the vinyl or lift the edges. Gentle cleaning with mild soap and water keeps the sticker looking new.
Product facts
-
Disco Ball Vinyl Sticker -Laptop Sticker, Waterbottle sticker, Waterproof Stickers, Pink Girly Sticker, Cute Stickers, Holographic Stickers: Crafted from premium waterproof and scratch-proof vinyl, available in matte, glossy, or holographic finishes, and sized 2.2”x2.5”. This means the sticker can handle outdoor use on water bottles and laptops, and the finish choice lets you match the look to the surface.
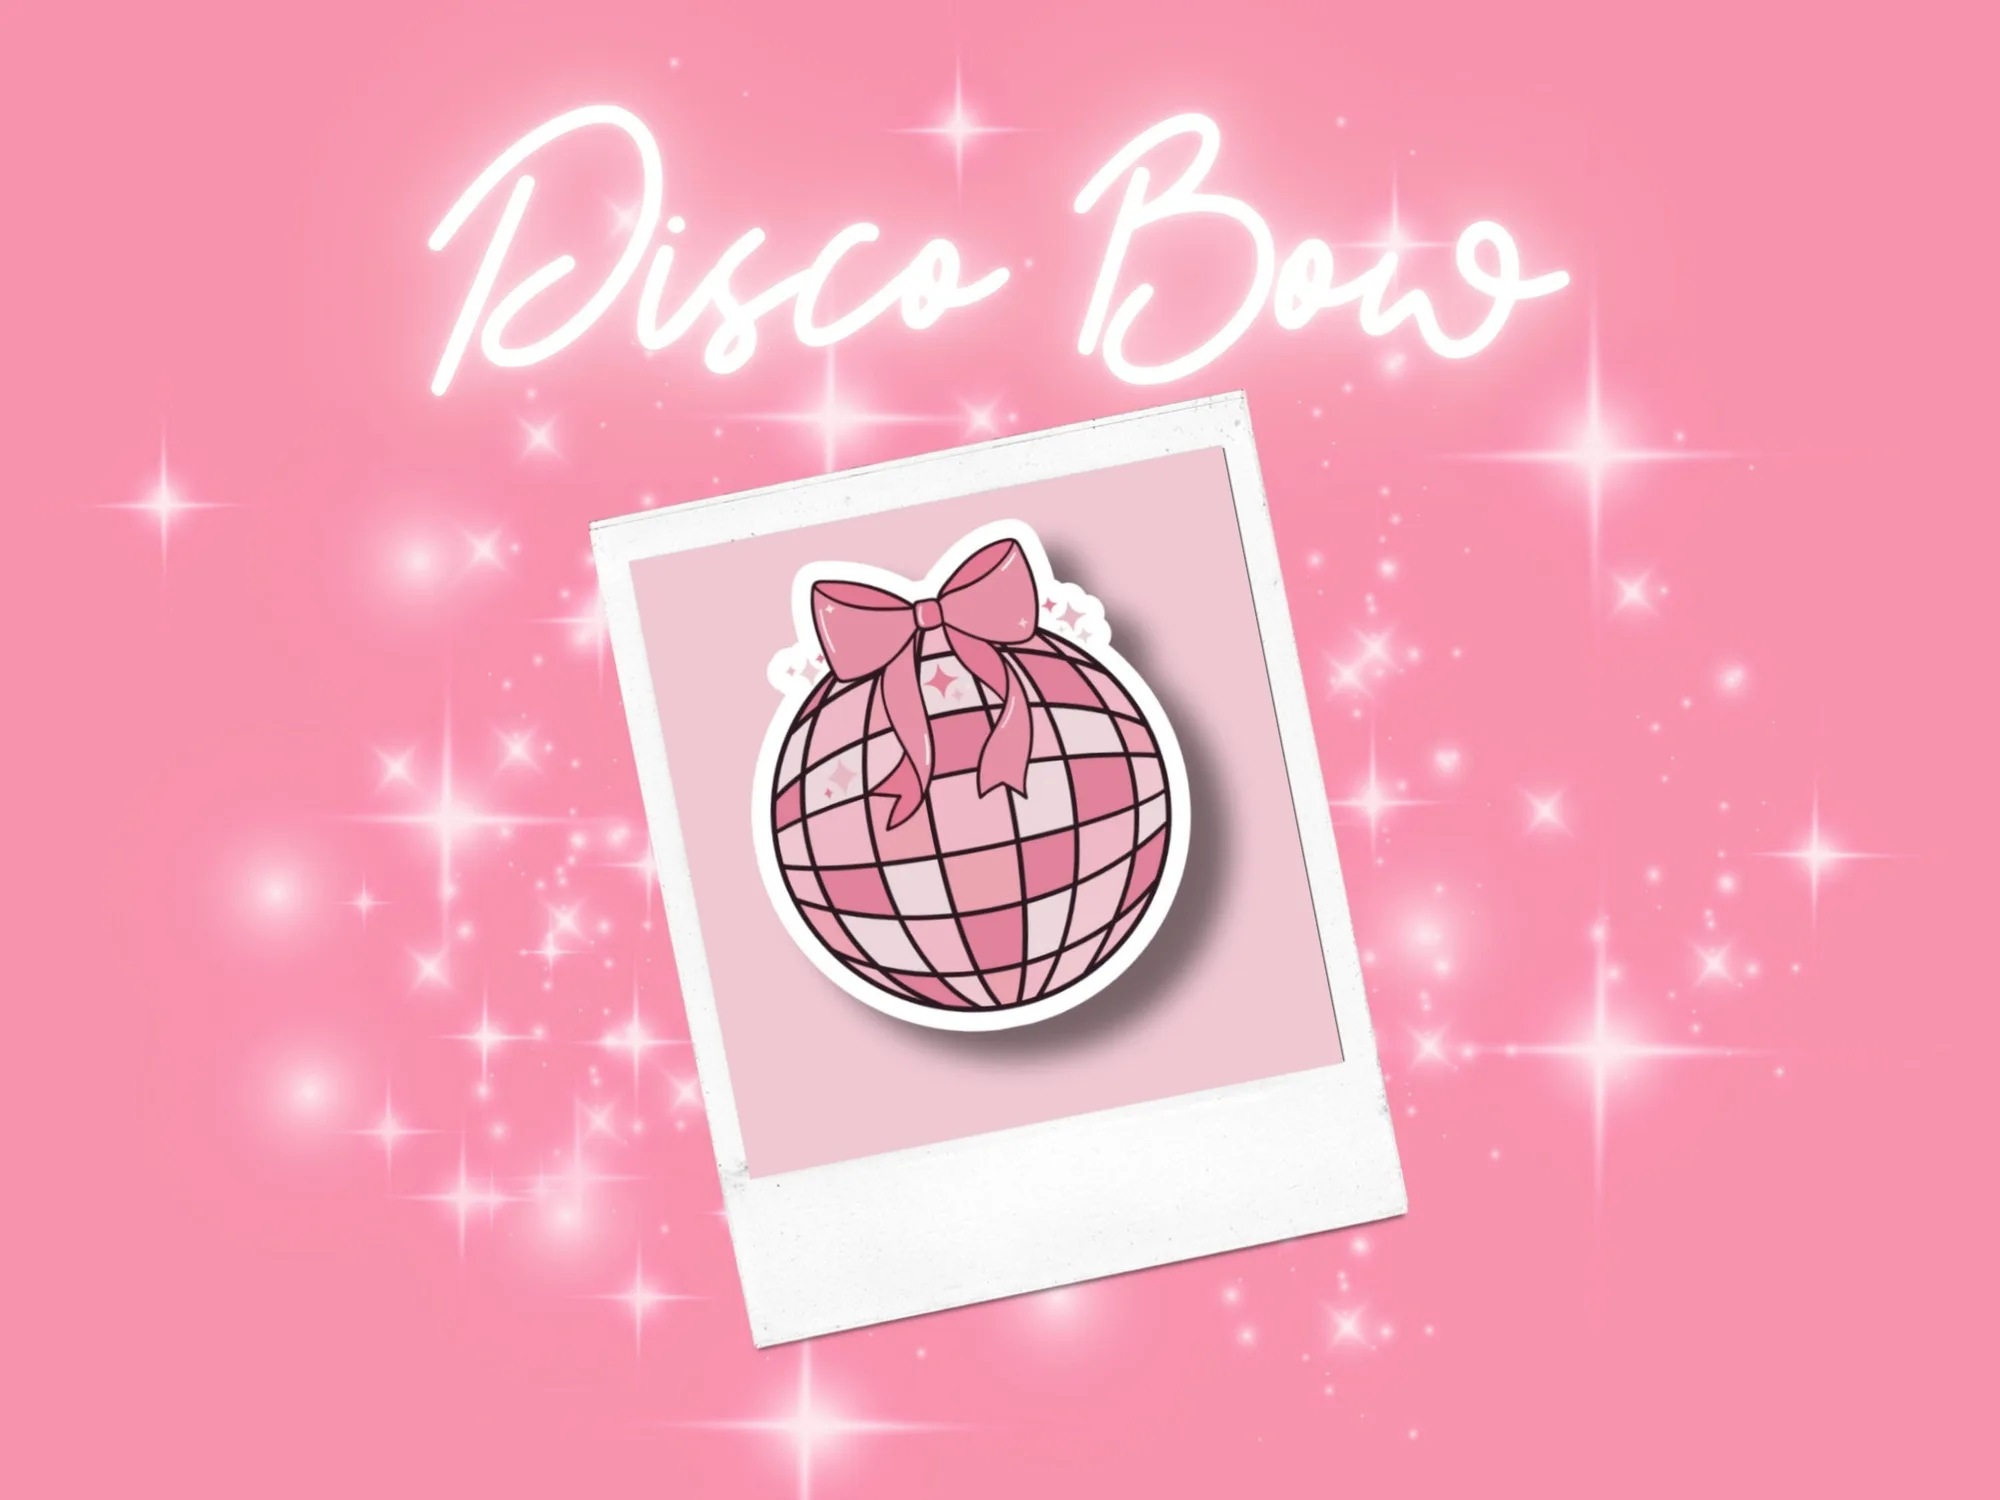
Disco Ball Vinyl Sticker -Laptop Sticker, Waterbottle sticker, Waterproof Stickers, Pink Girly Sticker, Cute Stickers, Holographic Stickers