Quick answer
Grout lines in cement tile crack because the tile or the substrate beneath it is moving, not because the grout itself is weak. The fix is to find the movement: check for missing expansion joints, a flexible or uneven substrate, or grout that was mixed and cured incorrectly. Repair the cause first, then replace the grout. If cracks keep returning in the same line, stop patching and get the substrate assessed.
Why cement tile is more sensitive to movement than ceramic
Cement tile is a thick, dense, hand-poured product, and it behaves differently from a thin porcelain or ceramic tile. It expands and contracts with moisture and temperature, and it has relatively low flexural strength, so it does not tolerate a moving substrate the way a fired tile can. That is why the same grout that holds up fine in a ceramic bathroom can crack in a cement tile floor. The grout is often the first visible sign of a problem that started below the surface.
This also means the failure is rarely a grout brand issue. If the tile beneath is deflecting, the grout line is the weakest point in the assembly and it will crack there first. Diagnosing the cause before you touch the grout saves you from repeating the repair every season.
The four causes behind most cracked grout lines
Most cracked grout in cement tile traces back to one of four conditions. Movement at the perimeter is the most common: tile installed tight to walls, cabinets, or door frames with no soft joint has nowhere to expand, so the stress shows up as a crack. Substrate deflection is second: a wood subfloor that flexes underfoot, or a slab with a crack that was not isolated, transfers that movement straight into the grout.
The third cause is installation error. Grout mixed too wet, over-wiped joints, or grout that dried too fast in direct sun or forced air produces weak, powdery grout that crumbles rather than flexes. The fourth is thermal or moisture cycling in wet areas or sunrooms, where the tile and the grout move at different rates. Each cause has a different repair, so match the symptom to the right one before you act.
Getting the grout width right for cement tile
Cement tile is not rectified, so the edges vary slightly from piece to piece. That variation is part of the handmade look, but it means very tight joints are risky: they leave no room for the tile to move and they make lippage more visible. A grout joint in the range of roughly 1/8 inch to 3/16 inch is a practical target for most cement tile floors and walls, wide enough to absorb minor movement and to let you align the tiles visually.
If your tile has a pronounced size variation, go toward the wider end of that range rather than forcing tight joints. Confirm the manufacturer's recommended joint width for your specific tile before installation, and keep the joint consistent. Uneven joint width concentrates stress and is a common precursor to cracking.
Expansion joints and perimeter joints: the step most installers skip
Cement tile needs room to move, and that room comes from expansion joints. Interior installations generally need perimeter joints at all restraining surfaces and expansion joints at intervals across large fields, with the exact spacing set by the tile manufacturer and local code. These joints are filled with a flexible sealant, not grout, so they can compress and stretch instead of cracking.
If your floor has no soft joint at the wall line, that is the first thing to check when grout cracks near the perimeter. Cutting a clean joint along the wall and filling it with sealant is a straightforward correction that often resolves recurring perimeter cracks without replacing tile.
How to repair a cracked grout line without making it worse
Wait until the crack is stable, then rake out the loose grout along the full length of the crack, not just the visible gap. Vacuum the joint, dampen it slightly, and re-grout with a grout that matches the original. If the crack sits at a perimeter or a field expansion joint, use flexible sealant instead of grout. Let it cure fully before traffic or water exposure.
Do not fill a moving crack with rigid grout and expect it to hold. If the same line cracks again within a season, the movement is still active and the repair is cosmetic. At that point the next step is a substrate or deflection assessment, not another patch.
When to stop and call a professional
Stop and bring in a tile contractor or structural professional if cracks follow a straight line across the room, if tiles sound hollow when tapped, if grout cracks reappear in the same location after repair, or if you see cracking in the slab or subfloor itself. Those signs point to a structural or substrate problem that grout work cannot fix. Also call a pro if the installation is over a heated floor, a suspended wood subfloor, or an exterior application, where the tolerance for error is much lower.
If you are still in the planning stage, the cheapest insurance is a sample. Evaluating color, texture, and scale on a small format before you commit to a full installation helps you confirm layout and joint width up front, when changes are still easy.
Diagnose your cracked grout line
- Crack runs along the wall or cabinet line: This usually means the tile was installed tight with no perimeter expansion joint, so it has nowhere to move. Cut a clean perimeter joint and fill it with flexible sealant instead of grout.
- Crack follows a straight line across the middle of the floor: A long, straight crack often tracks a substrate joint, a slab crack, or a deflection line in the framing below. Stop patching and have the substrate assessed before any grout repair.
- Grout is powdery, crumbly, or washes out: This points to grout mixed too wet, over-wiped joints, or grout that cured too fast in sun or forced air. Remove the weak grout fully and re-grout with correct mixing and curing conditions.
- Same crack returns within a season: Recurring cracks mean the movement is still active and the repair is only cosmetic. Move to a professional substrate or deflection assessment rather than repeating the patch.
Products that help you plan the installation
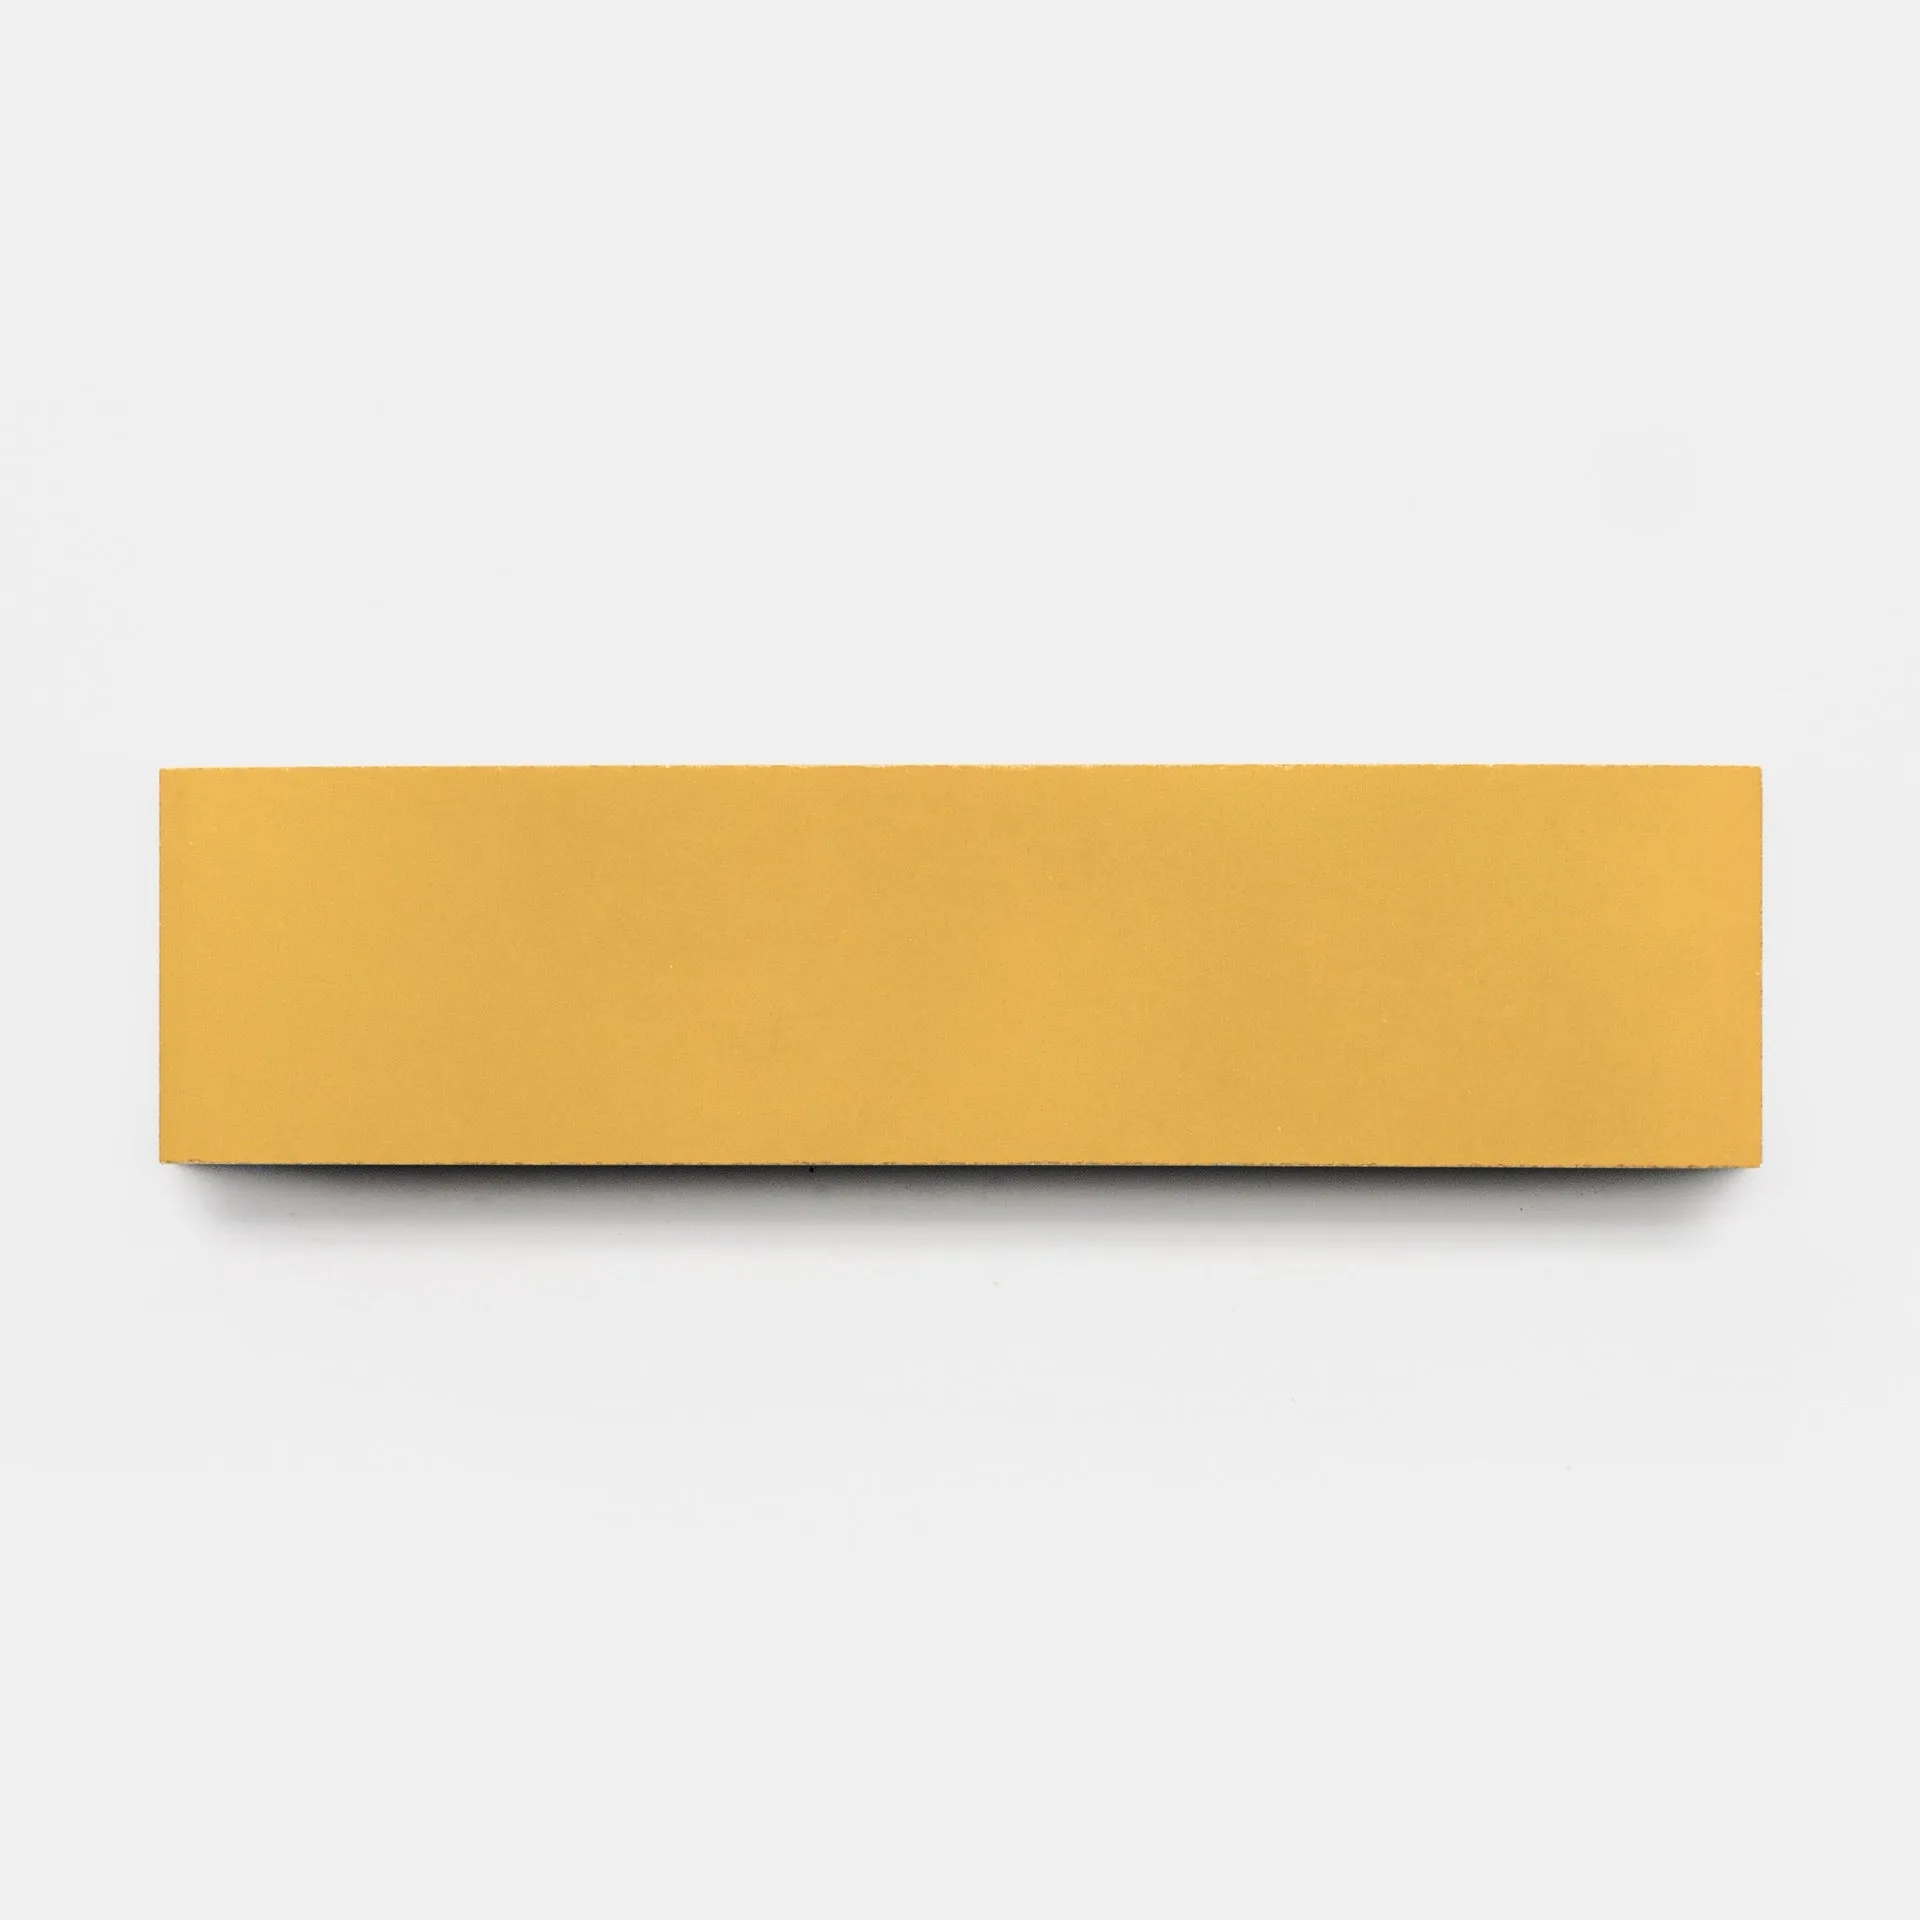
- Cadmium 2x8, Sample: The Cadmium 2x8 sample is a compact handcrafted cement tile intended for evaluating color, texture, and scale before a full installation. Testing a narrow 2x8 format lets you see how joint width and layout will read in your space before you commit to a full order.

Cadmium 2x8
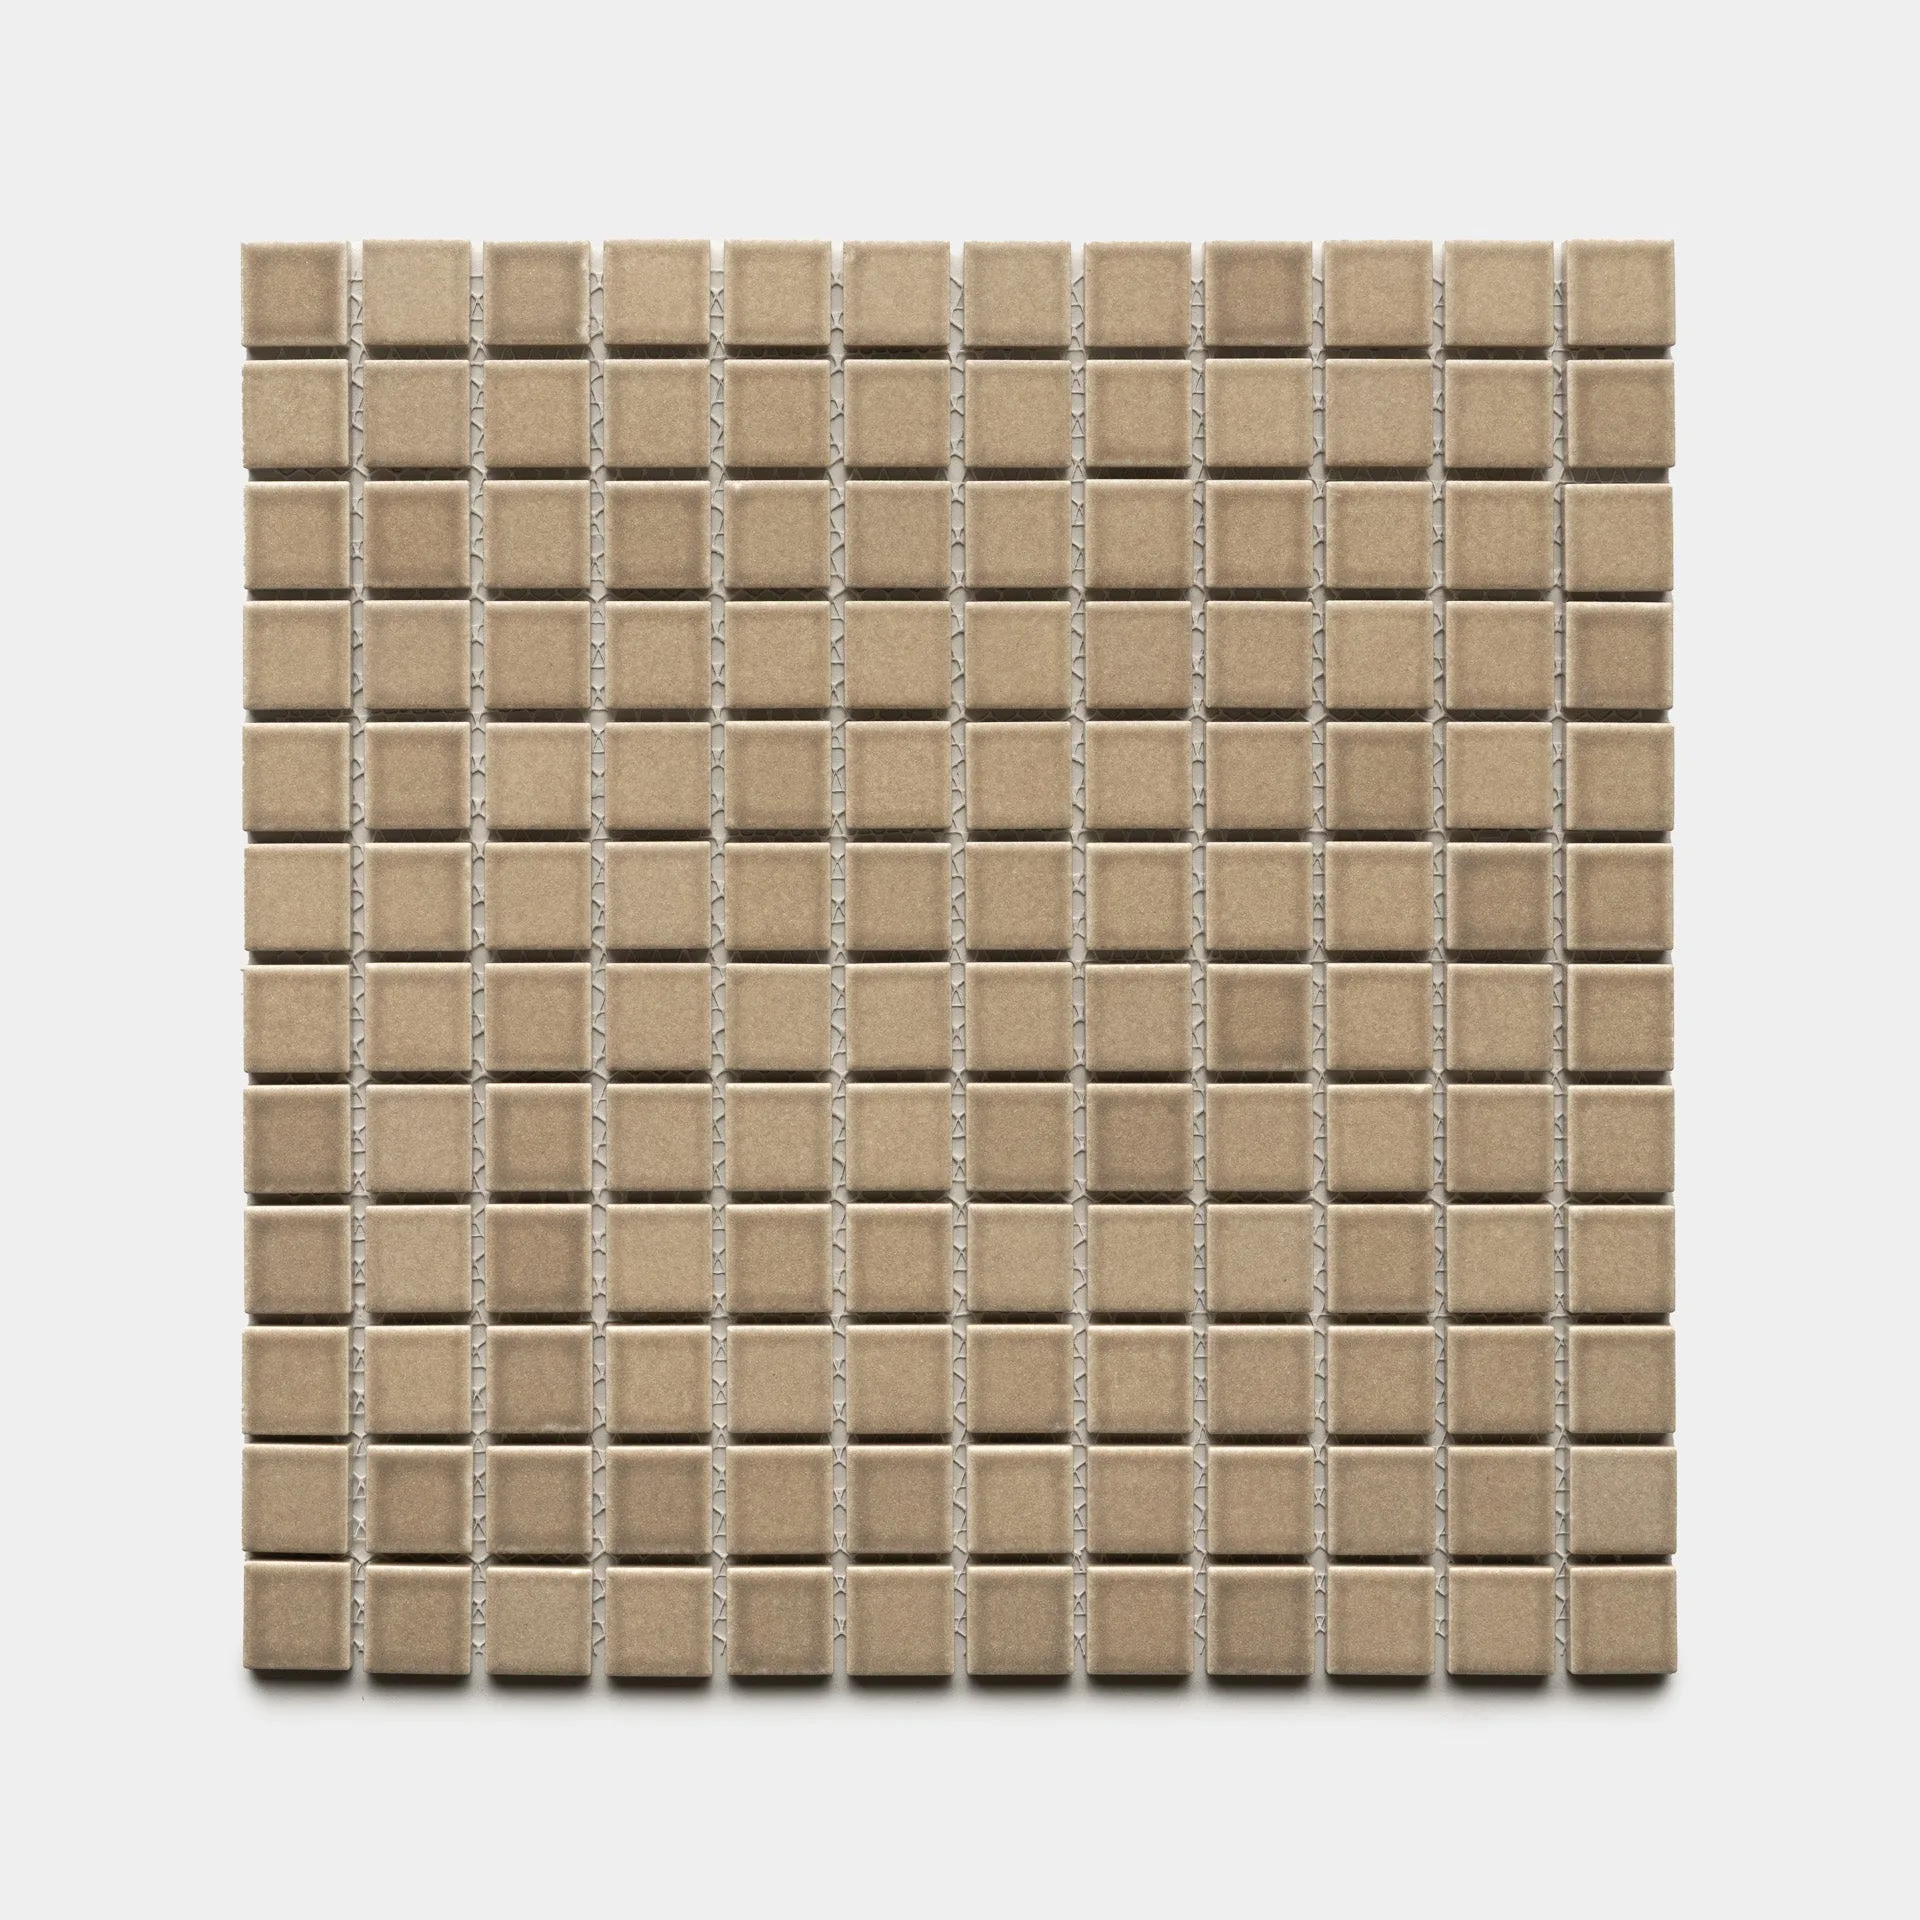
- Barley 1x1: Barley 1x1 is a compact ceramic tile in a neutral barley tone, available as a standard option and as a sample variant. A small square format is useful for detailed tilework and for checking how a neutral tone coordinates with cement tile grout and adjacent surfaces.