Quick answer
Most CNC engraving bit breakage comes from four fixable causes: too much depth per pass, wrong feed and speed for the material, poor tool holding or runout, and chips that are not clearing. Fix the cause that matches your break pattern before you buy another bit.
The break pattern tells you which cause to fix first
Where the bit fails matters more than how loud it snapped. A tip that shears off cleanly points to cutting load, while a break higher up the shank points to holding or alignment. A bit that dulls and then breaks points to heat and wear. Reading the pattern first keeps you from changing five settings at once.
- Tip snaps off in one pass: depth per pass or feed rate is too aggressive for the tip diameter.
- Breaks above the cutting edge: the tool is slipping, bottoming out, or running with too much runout.
- Tip turns blue or dulls fast: spindle speed is too high or chips are recutting in the channel.
- Breaks only on tight corners: direction changes are overloading a small tip.
Depth per pass is the setting most people get wrong
Small tips have very little cross-section, so they tolerate side load poorly. If you are cutting 1/8 in. deep in one pass with a 0.062 in. tip, the tip is doing far more work than it was designed for. Step down in smaller increments and let the spindle do the cutting rather than forcing the tool through the material.
Runout and holding problems look like bad bits
A bit that is not seated squarely in the collet or holder will flex on every rotation, which fatigues the shank and eventually snaps it. Check that the shank is clean, seated fully, and tightened to the holder manufacturer's spec. On top-loading engraving machines, the brass cutter knob sets the cutter depth, so confirm the depth is locked before the spindle starts.
When to stop troubleshooting and switch tools
If you have corrected depth, feed, speed, and holding and the bit still breaks, the job may simply be asking too much of a small-diameter tool. A 0.062 in. tip is not the right choice for deep pockets or hard materials. Move up to a larger tip diameter or a different flute count rather than continuing to replace broken bits.
Symptom-to-cause diagnosis
- Tip shears off in the first pass: Reduce depth per pass and lower the feed rate until the tip survives a full cut. If it still breaks at shallow depth, the tip diameter is too small for the material. If the tip survives at half depth but not full depth, the depth setting was the cause.
- Break occurs above the cutting edge: Stop the spindle, remove the bit, clean the shank and collet, reseat the bit fully, and retighten to spec. Check for runout before restarting. A shank that shows rubbing marks confirms a holding problem, not a bad bit.
- Tip discolors or dulls before breaking: Lower spindle speed and improve chip evacuation. On soft materials, a single flute geometry clears chips faster than a multi-flute bit. Discoloration means heat, and heat means the speed or chip load is wrong.
- Breaks only on corners or direction changes: Slow the feed through corners or add a small radius so the tip is not loaded sideways. If the geometry cannot change, use a larger tip diameter. Corner-only breakage is a toolpath problem, not a bit defect.
- Breaks continue after all corrections: Stop replacing the same bit. Move to a larger tip diameter or a shorter length of cut, or switch to a different flute count for the material. Repeated breakage after corrections means the job needs a different tool, not more adjustment.
Bits that match common breakage fixes
-
2 Flute Square End Mill .062 – 11/64″ Shank x 6-1/2″ w/ Knob: 2 flute square end mill with a 0.062 in. cutting tip and 0.125 in. length of cut, on an 11/64 in. shank. The short length of cut limits how deep this tip can safely go, so it suits shallow detail work rather than deep pockets.
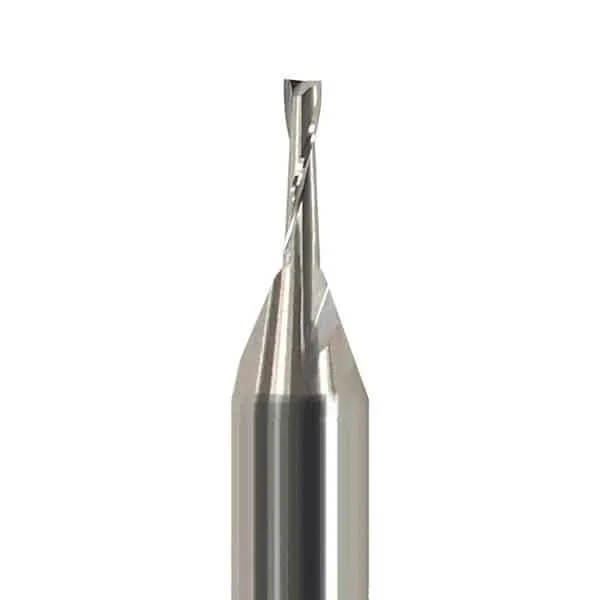
2 Flute Square End Mill .062 – 11/64″ Shank x 6-1/2″ w/ Knob
-
2 Flute Square End Mill .125 – 11/64″ Shank x 6-1/2″ w/ Knob: 2 flute square end mill with a 0.125 in. cutting tip and 0.375 in. length of cut, on an 11/64 in. shank. The larger tip and longer cut give more rigidity and reach, which reduces the side load that snaps smaller tips.
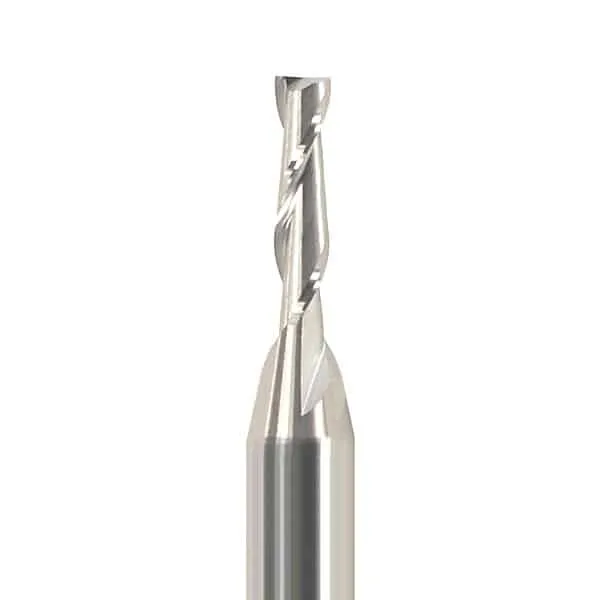
2 Flute Square End Mill .125 – 11/64″ Shank x 6-1/2″ w/ Knob
-
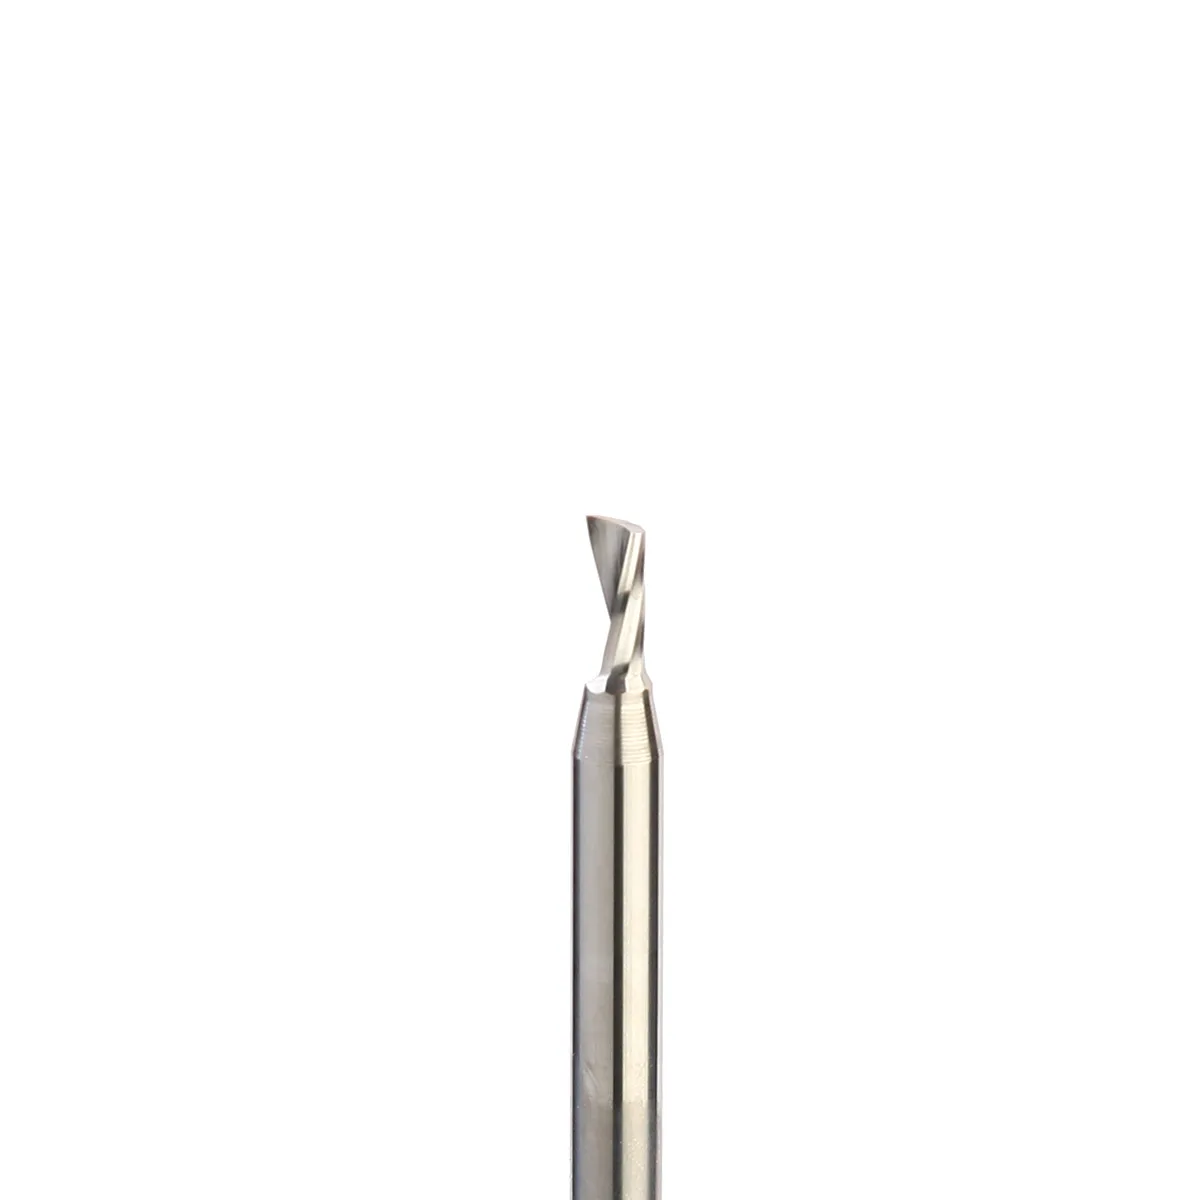
1/8″ (.125″) Single Flute End Mill – 11/64″ Shank x 6-1/2″: Single flute end mill with a 0.125 in. cutting tip and 0.375 in. length of cut, also available in 2 flute. A single flute clears chips faster in soft materials, which lowers the recutting and heat that shorten engraving cutter life.