Quick Answer
Diptyque candles tunnel when the first burn doesn't last long enough to melt the wax to the edges. To prevent tunneling, burn your candle for at least 2-3 hours on the first use, until the entire top layer is liquid. If tunneling has already started, you can fix it by wrapping the candle in foil and burning it until the wax pools evenly.
There's nothing more frustrating than lighting your favorite Diptyque candle and watching it burn down the middle, leaving a thick rim of wax around the edges. This is called tunneling, and it can waste a lot of wax and shorten the life of your candle. But why does it happen, and more importantly, how can you fix it?
In this guide, we'll walk you through the causes of tunneling in Diptyque candles and give you practical solutions to ensure an even burn every time. Whether you're new to scented candles or a seasoned enthusiast, these tips will help you get the most out of your Diptyque.
What Causes Candle Tunneling?
Tunneling occurs when a candle burns down the center without melting the wax near the glass. The most common cause is not burning the candle long enough on the first use. When you light a candle and extinguish it before the entire top layer has melted, the wax 'remembers' that initial burn path. On subsequent burns, the flame follows that same path, creating a tunnel.
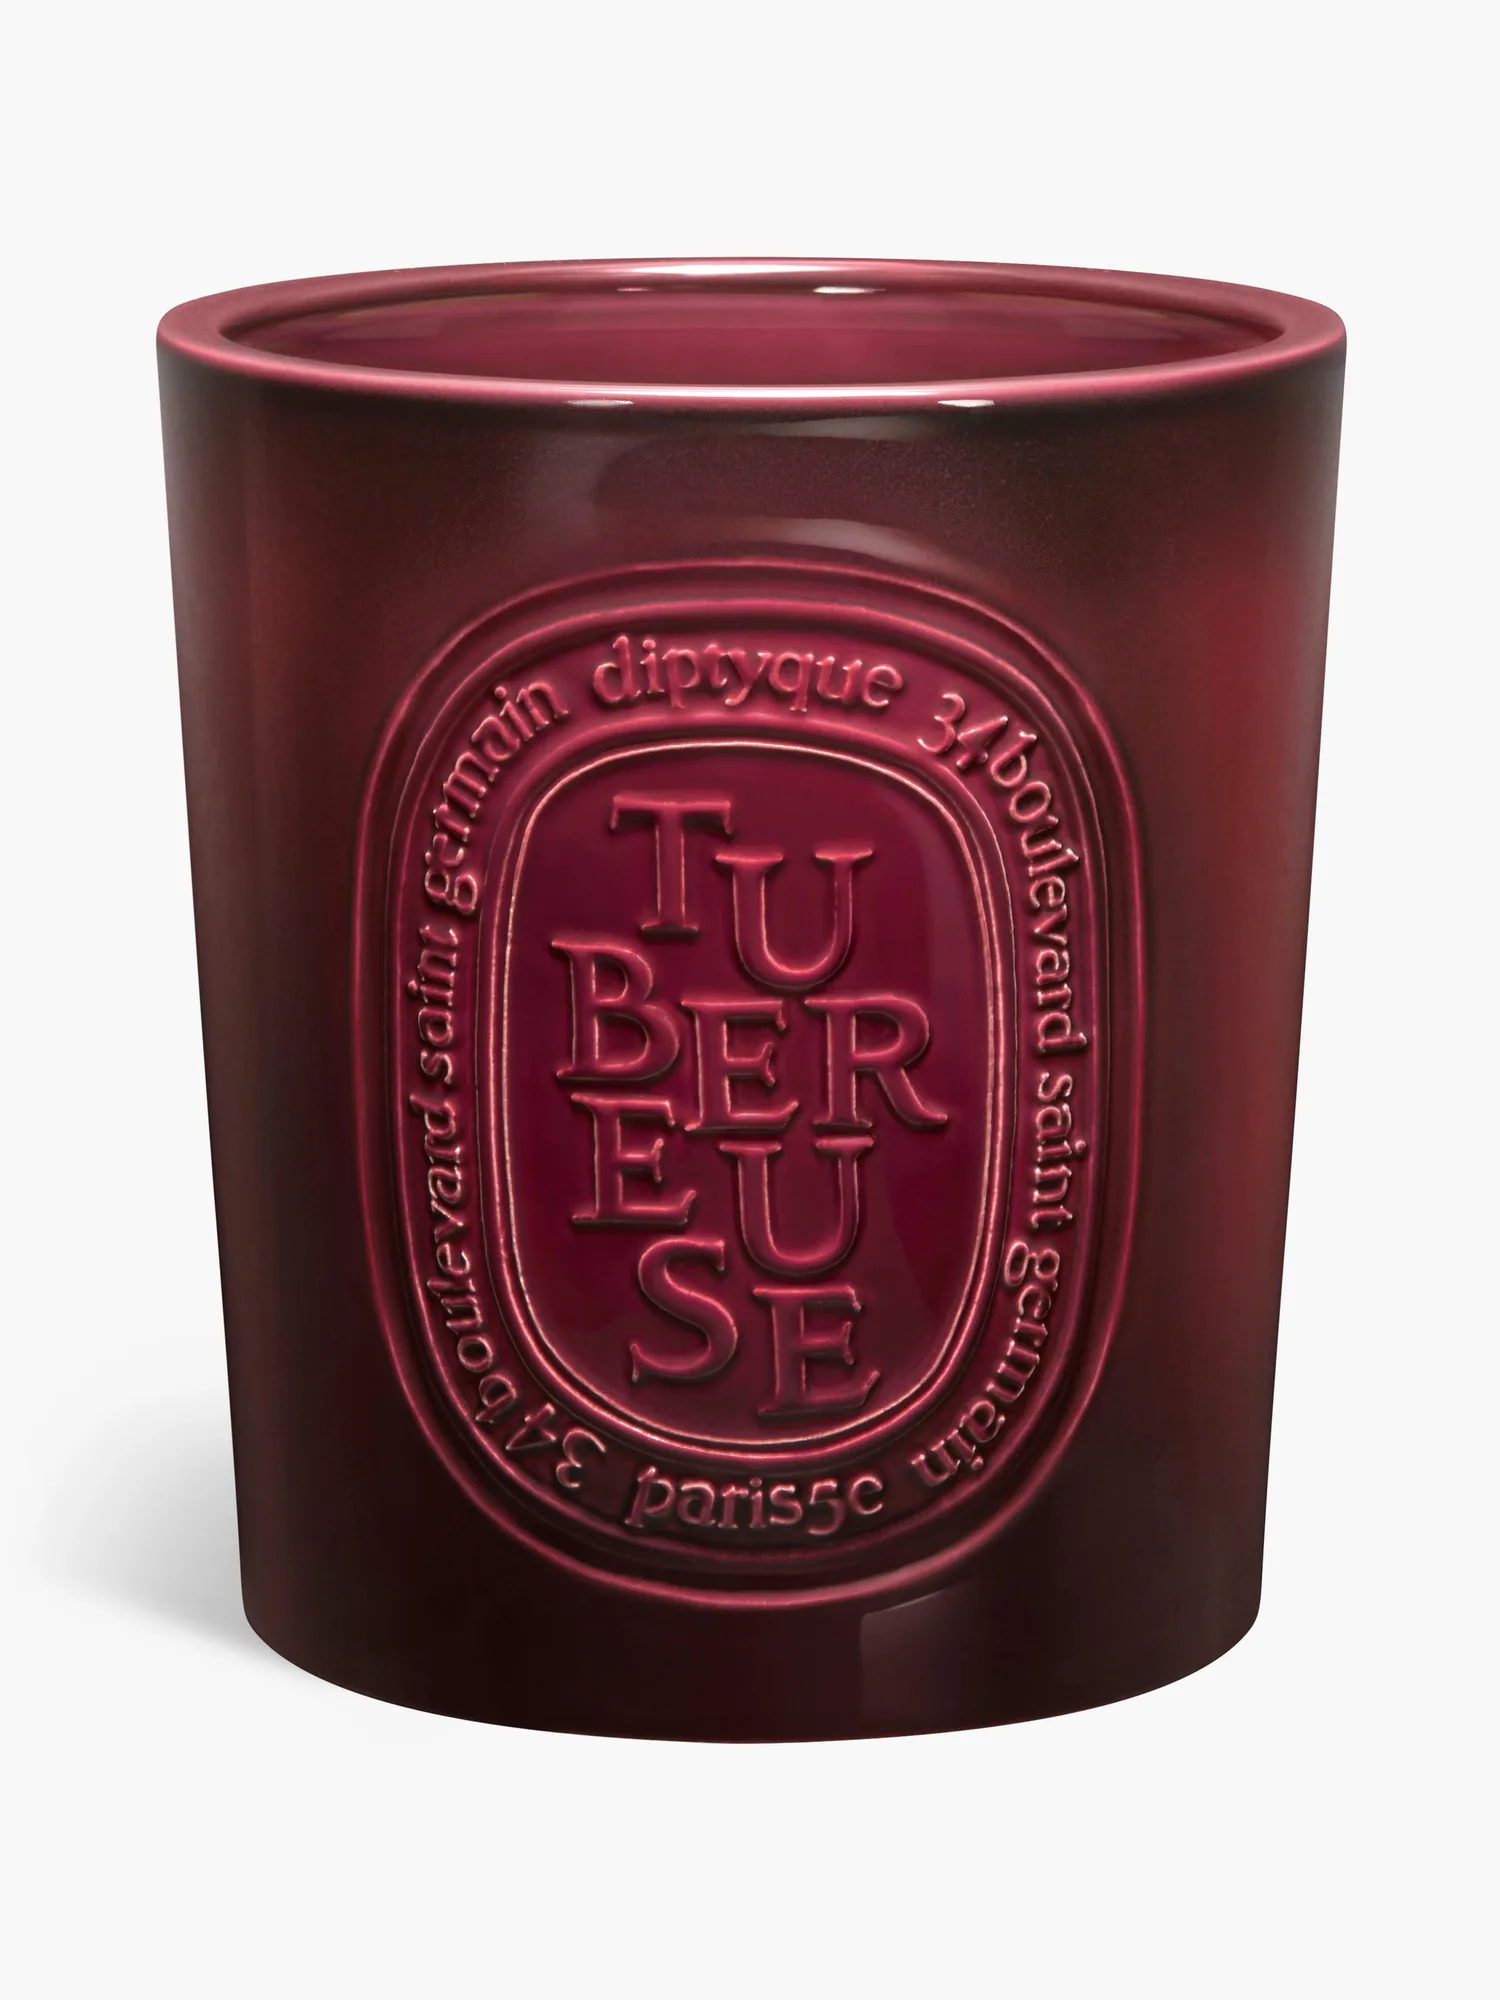
Another factor is the candle's diameter. Diptyque candles come in various sizes, from the small 70g to the large 300g and extra-large formats. Larger candles require a longer first burn to create an even melt pool. Additionally, drafts can cause uneven burning, and a wick that's too short can produce a weak flame that doesn't generate enough heat to melt the outer wax.
- Always trim the wick to about 5mm before lighting to ensure a steady flame.
- Avoid burning your candle for less than 1 hour at a time, even for small sizes.
How to Fix a Tunneling Diptyque Candle
If your Diptyque candle has already started to tunnel, don't worry—it's often fixable. The simplest method is the foil trick. Wrap the top of the candle loosely with aluminum foil, leaving a small opening for the flame. Light the candle and let it burn for about 2 hours. The foil traps heat and helps melt the outer wax, allowing it to pool evenly with the center.
Another approach is to use a candle warmer or heat gun to gently melt the top layer of wax before lighting. This can help redistribute the wax and create a level surface. However, be careful not to overheat the wax, as this can affect the fragrance throw. If tunneling is severe and the wick is buried too deep, you may need to remove some of the excess wax with a spoon or a paper towel while it's still soft.
- Use the foil trick for a quick fix—just remember to remove the foil once the top is even.
- If the wick is too short to light, you can use a wick trimmer to expose more wick, but avoid cutting it too close to the wax.
Preventing Tunneling in the Future
Prevention is always better than cure. To ensure an even burn from the start, follow the 'first burn rule': light your new Diptyque candle and let it burn until the entire surface is liquid, which typically takes 2-3 hours for a classic size. This initial melt pool sets the stage for all future burns.
Also, make sure to place your candle away from drafts and on a heat-resistant surface. Always trim the wick to 5mm before each lighting, and never burn your candle for more than 4 hours at a time to prevent soot and overheating. By following these simple Diptyque candle burning tips, you'll enjoy a clean, even burn and a consistent fragrance release.
- Consider using a candle snuffer to extinguish the flame without smoke, which can cause soot to build on the glass.
Diagnose Your Tunneling Issue
- Symptom: Your Diptyque candle burns down the center, leaving a thick rim of unmelted wax along the sides. This is classic tunneling.
- Likely Cause: The first burn was too short, or the candle is exposed to drafts, causing uneven heat distribution. Check your burning habits and environment.
- Corrective Action: Use the foil trick to melt the outer wax, or gently heat the top with a hair dryer. Then burn for 2-3 hours until the pool is even. After fixing, always follow the first burn rule for new candles.
- When to Stop or Choose Another Option: If the wick is buried too deep to light, or the wax is completely wasted, it may be time to replace the candle. Consider a smaller size like the Baies petit modèle for easier management. If tunneling persists despite your best efforts, the candle may be beyond repair. Dispose of it properly and start fresh with a new one.
Diptyque Products to Enhance Your Candle Experience
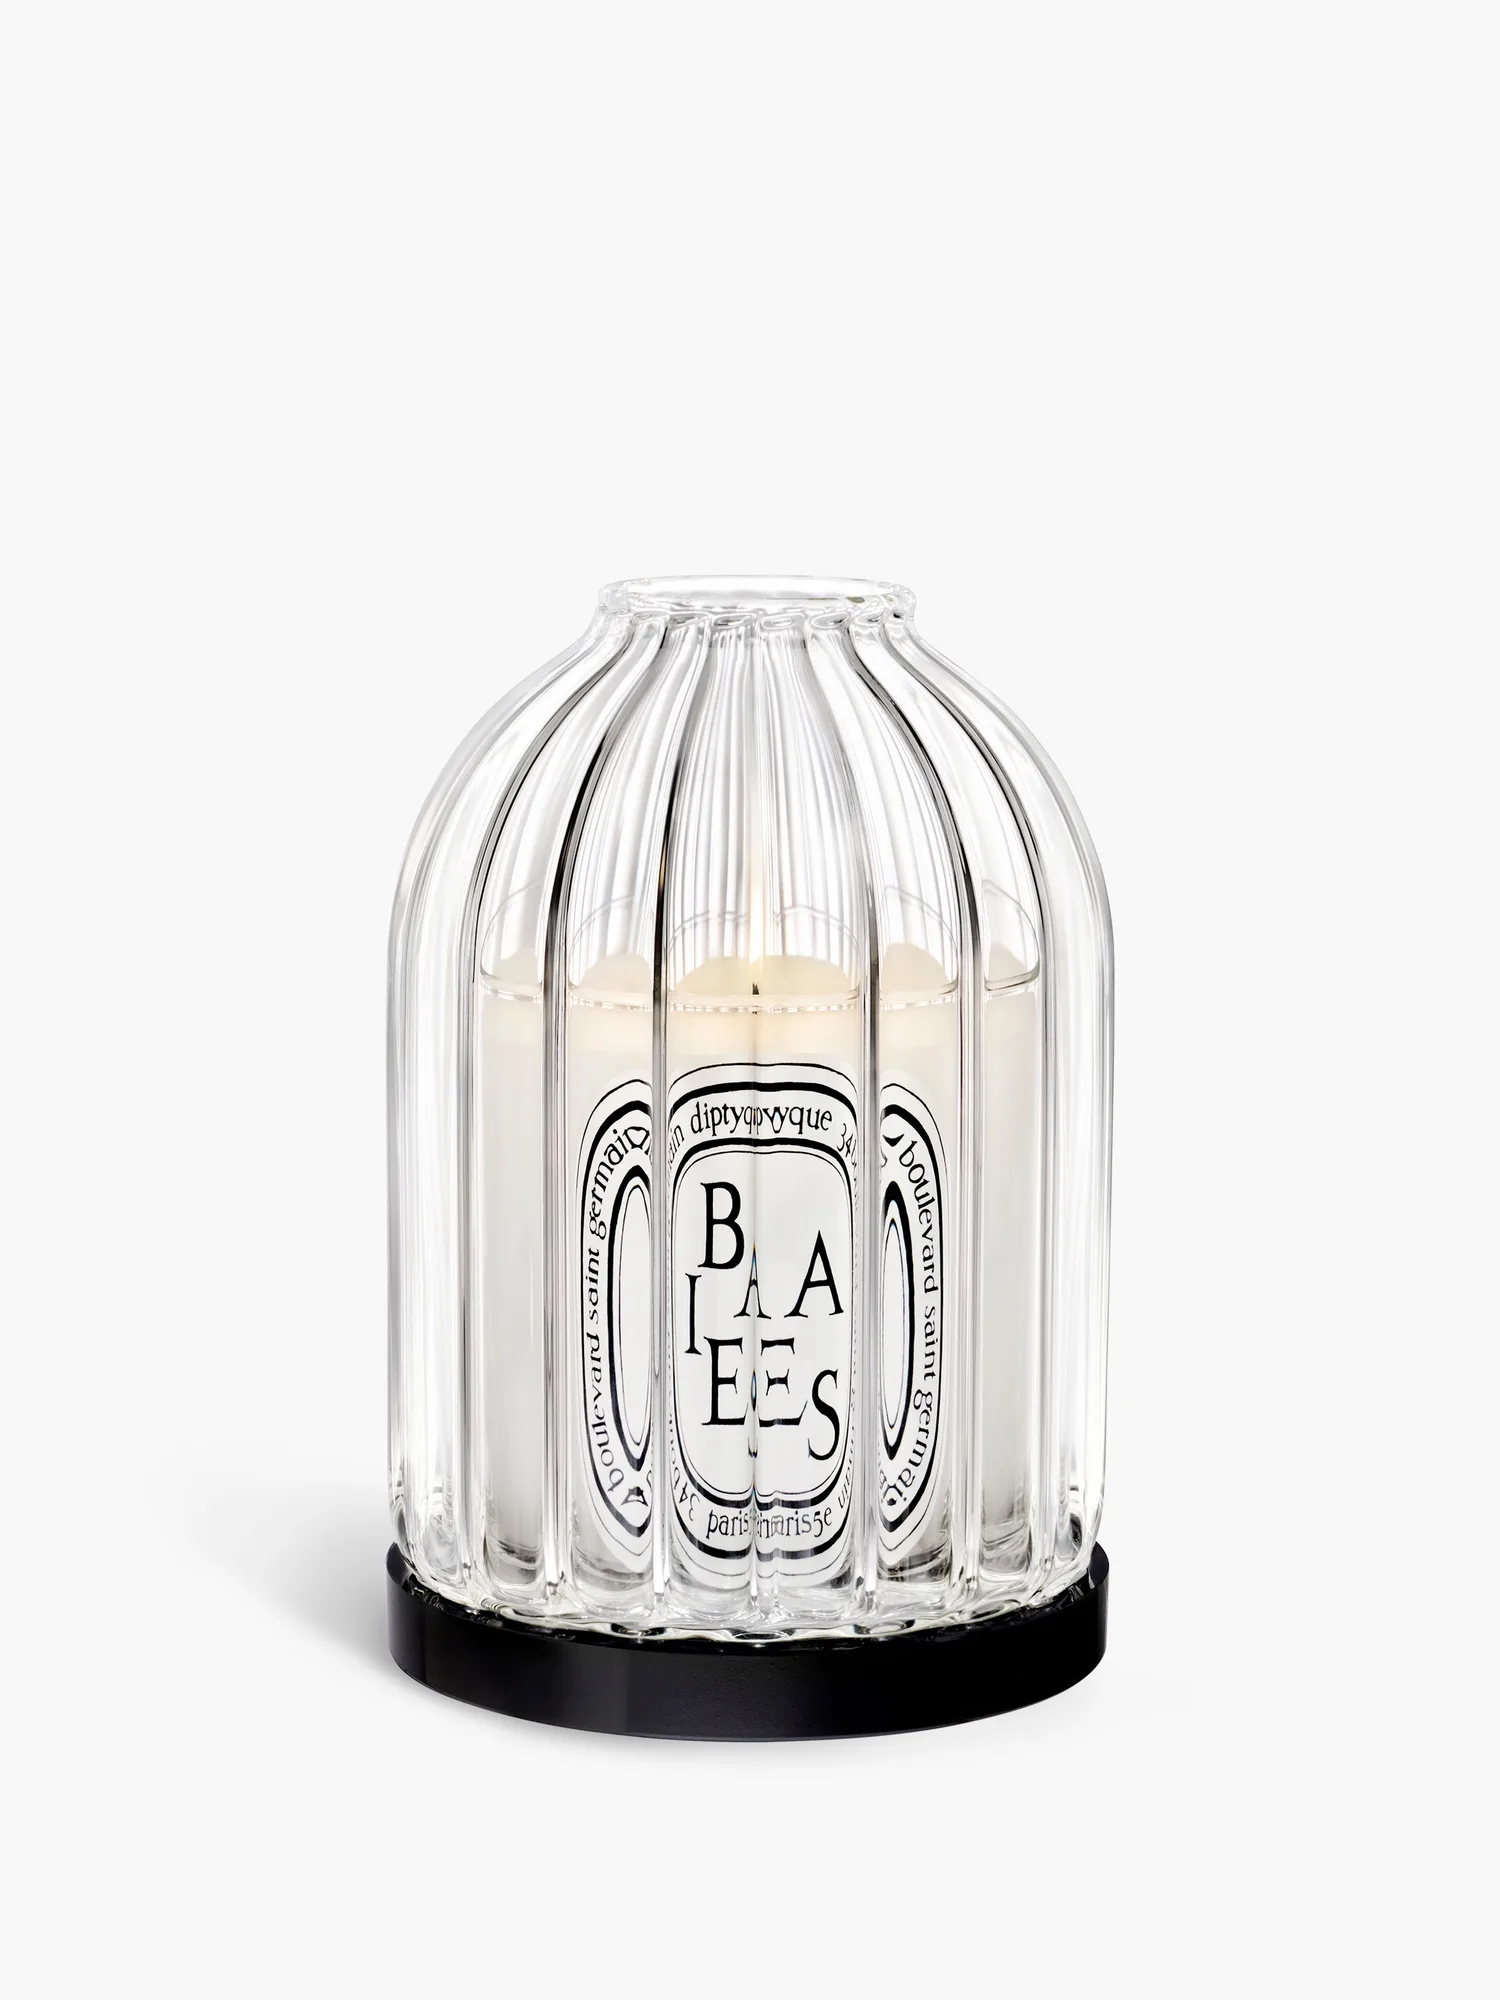
- Baies - Bougie petit modèle: Un petit format aux allures de grand bouquet. Dans sa cire, le parfum acidulé des baies de cassis mêlé à celui des roses aux accents vifs, fleuris. If you're new to Diptyque or prefer a smaller burn time, the petit modèle is perfect for shorter sessions. Its smaller diameter melts evenly in about 1.5 hours, making it easier to avoid tunneling.
- Bougeoir Echiquier moyen modèle - Pour bougie modèle classique: This medium-sized Echiquier candle holder is designed to hold a classic Diptyque candle. Crafted with artisanal care in a Portuguese workshop, it features a deep, matte black finish in molded wax, adding a refined and understated accent to your space. Using a candle holder like the Echiquier not only elevates your decor but also helps stabilize the candle and protect surfaces, ensuring a safer, more even burn.
Tunneling is a common issue, but with the right knowledge, you can prevent it and fix it easily. By following these Diptyque candle care tips, you'll enjoy a beautiful, even burn and a longer-lasting fragrance. Remember, the key is patience on the first burn and consistent maintenance. Happy candle burning!