Quick Answer
Candle tunneling happens when the first burn doesn't melt the entire top layer, leaving a well that deepens each time. To fix it, let the candle burn long enough to create a full melt pool, trim the wick to about 1/4 inch before every use, and keep it away from drafts. For persistent soot, extinguish properly and consider a shorter burn time.
You light a new candle, and after a few hours, you notice a ring of wax clinging to the glass while the center melts away. That's tunneling, and it's the most common reason a luxury candle doesn't last as long as it should. It also often comes with a sooty wick and a flickering flame, which can make you wonder if you're doing something wrong.
The good news is that uneven burning is almost always fixable, and most fixes are about simple habits. Whether you're new to candles or have been burning them for years, this guide walks through the symptoms, the likely causes, and the corrective steps—plus when it's time to stop troubleshooting and accept a different approach.
What Causes Candle Tunneling?
Tunneling happens when the flame doesn't get hot enough to melt the entire surface of the candle. The wax in the center melts, but the outer edges stay solid, creating a crater that gets deeper with each burn. The most common cause is not burning the candle long enough on the first use. Most candles need at least one to two hours to create a full melt pool—that's the liquid wax that reaches the edges of the container.
A wick that's too short can also cause tunneling, because a short wick produces a smaller flame that can't heat the full diameter. Drafts are another culprit: a breeze can make the flame lean and burn unevenly, melting one side more than the other. And if you always extinguish the candle before the melt pool reaches the edges, the tunnel will just get deeper over time.
- Always trim the wick to about 1/4 inch before lighting.
- Give the candle a solid 1–2 hour first burn to establish a full melt pool.
- Keep the candle away from windows, fans, and air vents.
How to Fix an Already-Tunneled Candle
If a candle has already started to tunnel, you can often rescue it. Wrap the top of the candle in aluminum foil, leaving a small opening over the wick, and light it. The foil traps heat and helps melt the outer wax, so the surface evens out. Let it burn until the entire top is liquid, then remove the foil and let the candle cool. This method works best when the tunnel isn't too deep.
Another option is to use a heat gun or hairdryer on low to gently melt the raised edges, but that can be messy and risks overheating the glass. If the tunnel is very deep—more than a quarter of the way down—it may be safer to stop burning it. Deep tunnels can create uneven stress on the container, and the flame can get too close to the bottom, which isn't worth the risk.
- Wrap the top in foil and burn until the surface is level.
- Use a heat tool only if you're comfortable and the candle is in a heat-safe container.
- Stop using a candle if the tunnel is more than halfway down—it's a fire hazard.
Dealing with Soot and a Smoky Flame
Soot on the wick or the glass is usually a sign that the flame is too big or the wick is too long. A properly trimmed wick burns cleaner and produces less smoke. If you see black smoke, extinguish the candle, let it cool, trim the wick to 1/4 inch, and relight. Also, avoid burning the candle in a draft, which can make the flame dance and deposit soot on the jar.
Another common cause of soot is burning the candle for too long at a stretch. Most candles should not be burned for more than four hours at a time. After that, the wick can mushroom and produce a smoky flame. If you notice a mushroom-shaped tip on the wick, that's a sign to extinguish and trim. Regular maintenance—trimming before every use—prevents most soot problems.
- Trim the wick before every lighting, not just after.
- Keep burn sessions under four hours.
- If soot appears, extinguish, cool, trim, and relight in a draft-free spot.
Diagnosis: Is It Tunneling, Soot, or Something Else?
- Symptom: The candle burns down the center, leaving a well of solid wax around the edges. The flame may look small or the melt pool may not reach the glass. This is classic tunneling, usually caused by short first burns or a wick that's too short.
- Likely Cause: The flame isn't hot enough to melt the full diameter. This happens when the wick is trimmed too short, the candle is burned in a draft, or it's extinguished before the first full melt pool forms. Adjust your burn habits: trim the wick, avoid drafts, and give the candle a longer first burn.
- Corrective Action: For a minor tunnel, use the foil method to even out the surface. For soot, trim the wick and shorten burn sessions. If the tunnel is deep or the candle smokes excessively after multiple attempts, it's time to stop. If the candle still tunnels after two or three corrective burns, the issue may be the wick or the candle itself—consider a different candle.
Candles That Reward Good Care
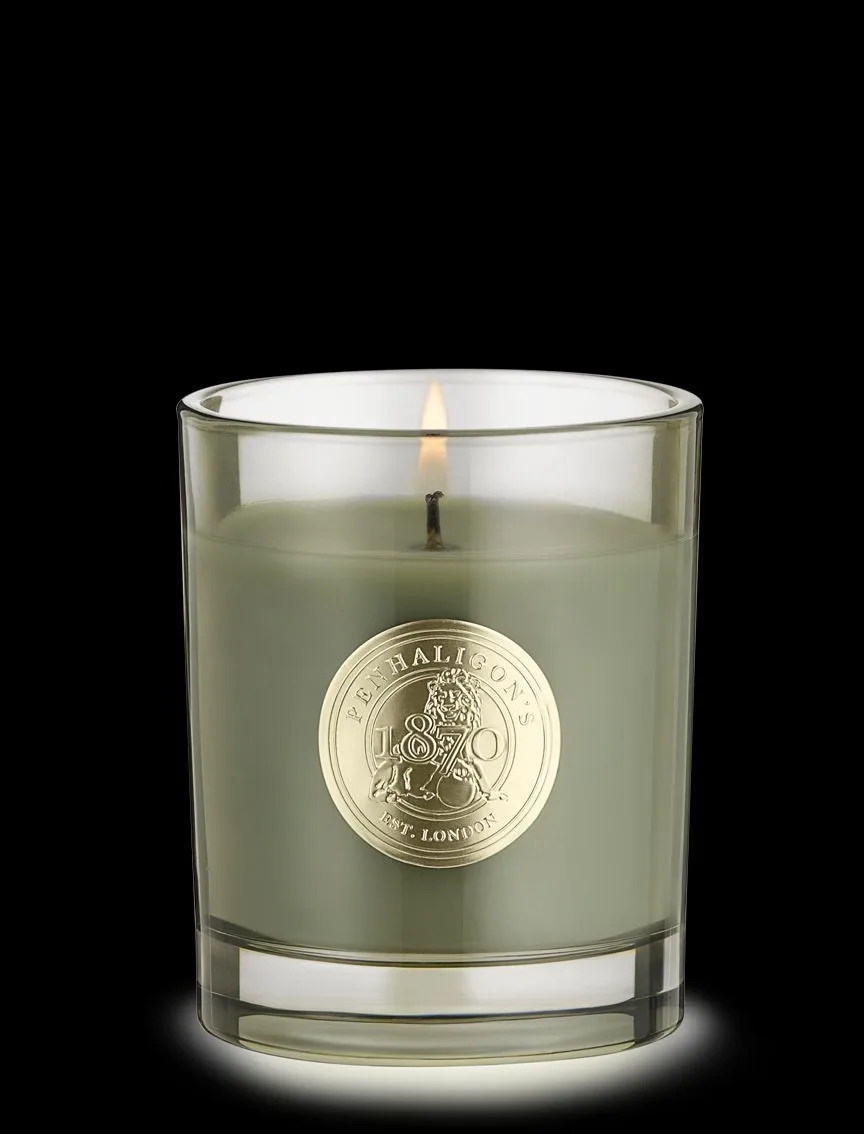
- Pen Posh House Woody Rose Candle 200g G: 200g candle size, ideal for extended burn time, with a woody rose fragrance offering a balanced and sophisticated scent profile. A larger candle like this benefits from a patient first burn—giving it the full melt pool time will help you enjoy the extended burn time without tunneling.
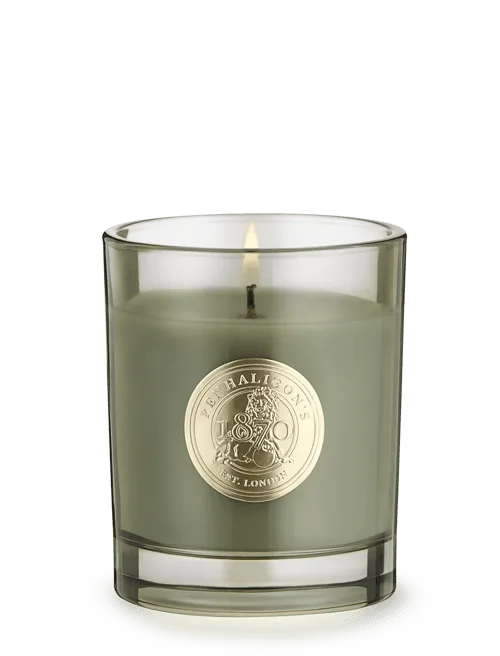
- https://penhaligonswo.com/products/pekoe-candle-306048PEKOE CANDLE: Green tea, gently steeped. Freesia flickers. A burning blend of cardamom and musk wrapped in sweet spices. This is warmth and comfort disguised as a candle. Burn time: approximately 32 hours. With a stated burn time, this candle rewards consistent wick care and even burning, so you get the full 32 hours of fragrance rather than losing wax to tunneling.
Tunneling and soot are common but fixable problems. With a little attention to wick length, burn time, and drafts, you can enjoy your Penhaligon's candle to the last drop. If a candle consistently misbehaves, don't force it—choose a well-made candle and start with good habits from the first light.