Quick answer
Install the hinged canister stand by clipping it onto the canister base before attaching the stove, then verify all three legs are fully deployed and level. This simple step prevents tip-overs and keeps your WindBurner stable on uneven ground.
Why a canister stand matters for stove stability
A canister-mounted stove raises the center of gravity, so a small bump or soft ground can tip the whole setup. The hinged canister stand widens the footprint at the base, reducing that risk without adding setup complexity.
The stand is a dedicated replacement part for WindBurner Stove Kits, so it fits the intended canister and stove combination. Using a generic stand may not seat correctly and can compromise stability.
When the stand is not the right fix
If your stove still feels unstable after installing the stand, the issue may be an uneven surface or a canister that is too small for the stand's clips. In those cases, reposition the stove or use a flat, firm base rather than forcing the stand.
The stand is not a substitute for a full windscreen or a heat reflector; it only addresses base stability. For windy conditions, pair it with the stove's integrated wind protection.
Step-by-step setup for the hinged canister stand
- Unfold the hinged legs: Open the stand until all legs are fully extended and lock into their open position. Common mistake: leaving one leg partially folded, which creates a wobbly base. Check that each leg clicks or seats firmly before moving on.
- Clip the stand onto the canister base: Align the stand's clips with the rim at the bottom of the canister and press down evenly until it sits flush. Common mistake: forcing it onto a canister it does not fit—stop if the clips do not engage smoothly. The stand should not rotate freely once clipped; if it does, reseat it.
- Attach the stove to the canister: Thread the stove onto the canister as usual, making sure the stand remains in place. Common mistake: overtightening the stove, which can twist the stand off-center. Hand-tighten only; the stand should stay centered under the canister.
- Set the setup on a level surface: Place the stove on firm, flat ground and press down lightly to seat the stand's legs. Common mistake: setting up on soft dirt or a slope, which lets the legs sink or slide. If the ground is soft, shift to a rock or a flat, hard patch before lighting.
- Test stability before cooking: Gently nudge the stove from several sides to confirm it does not tip. Common mistake: skipping this check and discovering instability only after the pot is full. A light push should meet firm resistance; if not, reposition or recheck the leg locks.
Product facts
-
WindBurner® Hinged Canister Stand: Replacement canister stand designed for WindBurner Stove Kits, with a hinged design for easy setup and storage. The hinge lets you deploy or fold the legs quickly, so you spend less time fiddling and more time cooking.
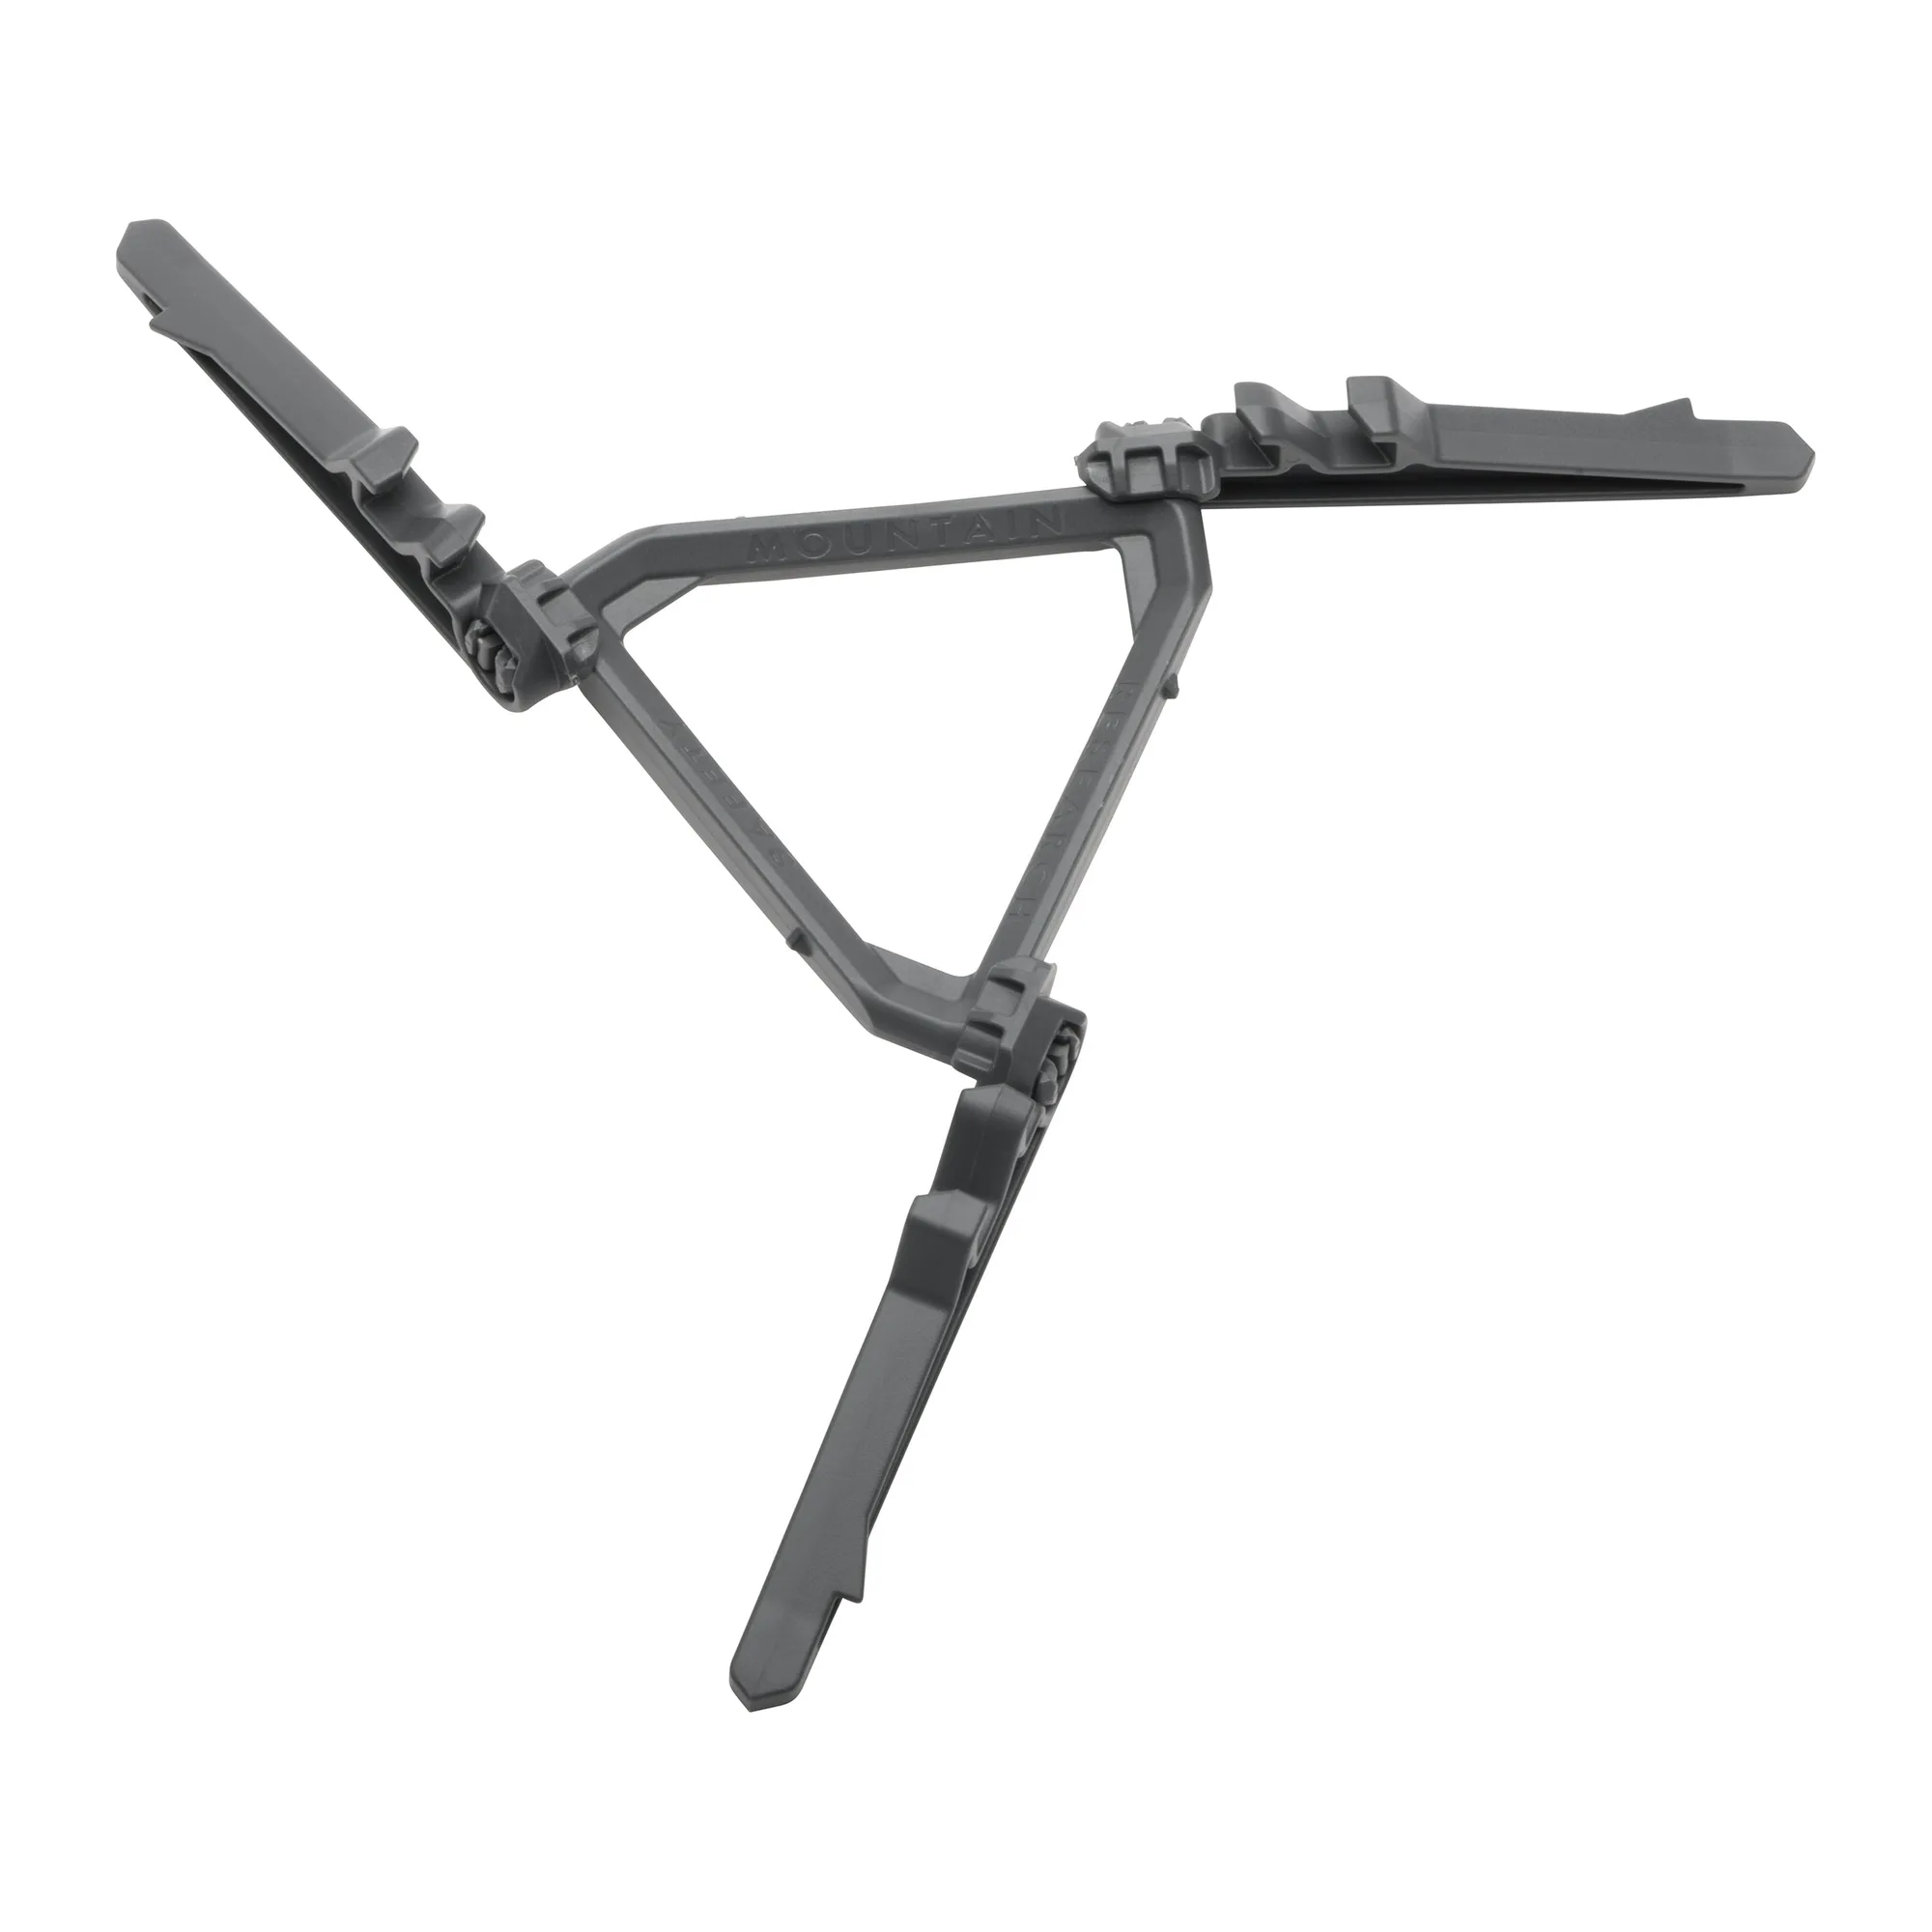
WindBurner® Hinged Canister Stand