Quick answer
Sow your Winter/Fall Seeds Kit in late summer to early fall, following the kit’s included varieties and your local first frost date. Start cool-season seeds indoors or direct-sow outdoors, then harden off and transplant before cold weather settles in.
Why timing matters more than variety selection
Cool-season crops grow best in mild weather, so the goal is to have plants established before the first hard frost. If you sow too early, heat can stress seedlings; too late, and plants won’t size up before cold slows growth. The Winter/Fall Seeds Kit gives you a curated mix, but you still need to match sowing dates to your local frost date and the days-to-maturity of each crop.
When the kit may not be enough
The kit does not include a planting calendar or frost-date guidance, so you’ll need to look up your first fall frost date separately. Also, if you garden in a short-season climate, some varieties may need to be started indoors earlier than the kit suggests. Treat the kit as a seed source, not a complete scheduling tool.
Step-by-step sowing schedule
- 1. Find your first fall frost date: Look up the average first frost date for your area using a local extension service or weather database. Count backward from that date using each crop’s days to maturity (listed on the seed packet) to set your sowing window. Write the frost date and calculated sowing dates on a calendar before opening any seed packets.
- 2. Sort seeds by sowing method: Check the kit’s varieties and divide them into direct-sow and transplant crops. Leafy greens and root vegetables usually direct-sow well; crops like broccoli or cabbage often benefit from an indoor start. If the kit lacks specific instructions, use the seed packet’s recommendation. Group seeds into two piles: indoor start and direct sow, so you don’t mix up timing.
- 3. Start slow-growing crops indoors: Sow seeds that need a head start 4–6 weeks before your intended transplant date, using clean trays and a light seed-starting mix. Keep soil moist but not soggy and provide bright light. A common mistake is starting too early, which leads to leggy seedlings that struggle after transplanting. Check seedling roots after 3 weeks; if they fill the cell, pot up or transplant sooner.
- 4. Direct-sow fast-growing crops outdoors: Sow leafy greens, radishes, and other quick crops directly into prepared beds once soil temperature is below 75°F (24°C) for cool-season types. Sow at the depth recommended on the packet and keep the bed evenly moist until germination. Avoid sowing in dry, crusty soil; water gently after sowing. Thin seedlings once they have two true leaves to prevent crowding and bolting.
- 5. Harden off and transplant: About a week before transplanting, gradually expose indoor seedlings to outdoor conditions: start with 1–2 hours of morning sun and increase daily. Plant on a cloudy day or in the evening to reduce shock. A common mistake is skipping hardening off, which can set plants back by weeks. Water transplants deeply at planting time and check soil moisture daily for the first week.
- 6. Protect against early frost: Keep row cover or frost blankets handy once plants are established. If a light frost is forecast, cover crops in the evening and remove covers the next morning. For winter gardening seeds, choose the most cold-hardy varieties from the kit and mulch around plants to insulate roots. Harvest leafy greens before a hard freeze; they often regrow if roots are protected.
Product facts
-
Winter/Fall Seeds Kit: Includes self-blanching varieties that whiten without labor-intensive processes. These crops are easier to grow for tender, mild harvests because you don’t need to tie or cover stems to blanch them.
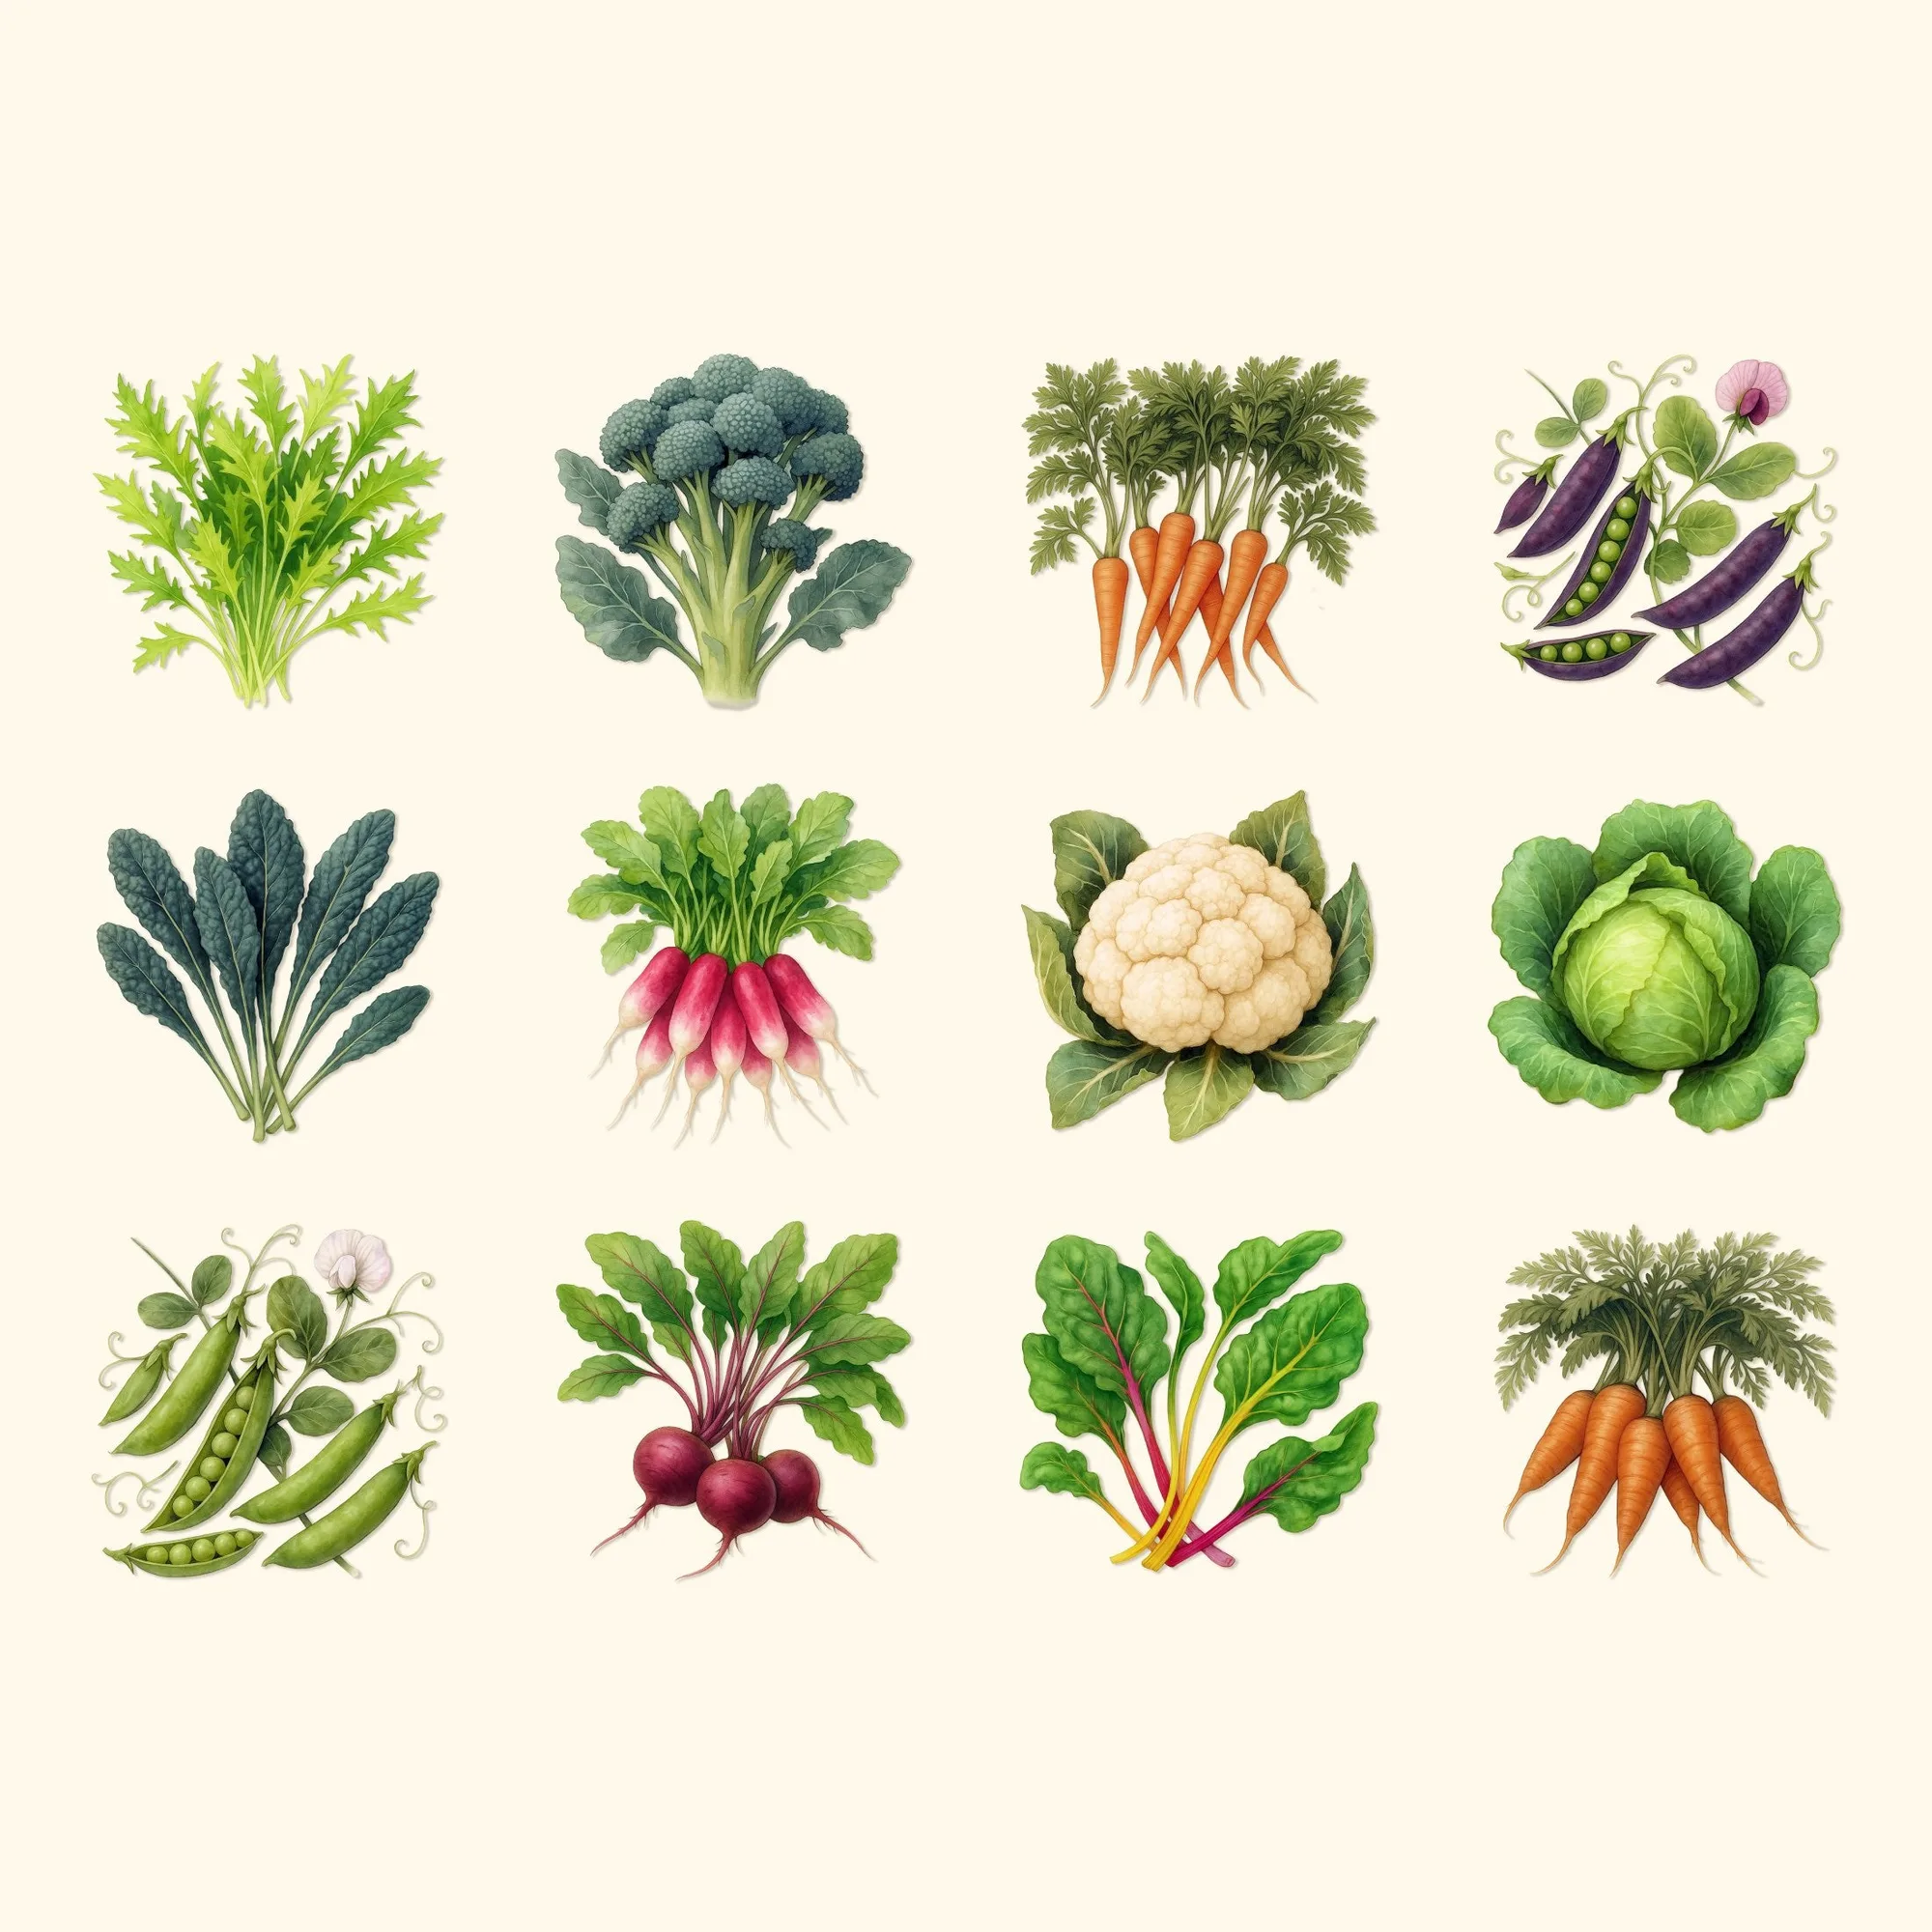
Winter/Fall Seeds Kit
-
Winter/Fall Seeds Kit: Designed as a cool-weather crop collection for spring and fall gardens. You can sow the kit in mild weather and avoid the heat stress that often affects cool-season seeds in summer.