Quick answer
Mount the Fotodiox Pro 145mm ND4 filter in your WonderPana 145 holder, meter without the filter, then open up two stops (or double your shutter speed twice) to compensate. For waterfalls, aim for 1/4–2 seconds to blur water while keeping some texture.
Why a 2-stop ND is the versatile middle ground
A 2-stop ND filter cuts light by a factor of four, giving you more flexibility than a 1-stop without the deep density of a 6- or 10-stop. It’s ideal for adding motion blur to waterfalls, streams, and traffic in bright conditions while still allowing hand-held shooting if you push ISO. The WonderPana 145 system’s large 145mm size means you can use it on wide-angle lenses without vignetting, and the double-threaded design lets you stack additional filters if needed.
When 2 stops isn’t enough (and when it’s too much)
If you’re shooting in harsh midday sun and want exposures longer than a few seconds, a 2-stop ND may not be sufficient—you’ll need a stronger filter or to stop down your aperture. Conversely, for subtle motion blur in dim light, 2 stops can be too much and force impractically slow shutter speeds. Know your light: the ND4 works best in bright to moderate conditions where you want to slow things down without going completely dark.
Step-by-step: shooting with the WonderPana 145mm ND4
- Set up your WonderPana 145 holder: Attach the WonderPana 145 filter holder to your lens, ensuring it’s secure and level. Common mistake: forcing the holder if it doesn’t align—check the adapter ring for proper seating. Always test the holder without the filter first to confirm smooth rotation and no vignetting.
- Compose and meter without the filter: Frame your shot and take a meter reading in Aperture Priority or Manual mode. Note the shutter speed and aperture. This baseline is critical for calculating your adjusted exposure. Use spot metering on a mid-tone area to avoid under- or over-exposing after adding the filter.
- Slide the ND4 filter into the holder: Gently insert the Fotodiox Pro 145mm ND4 filter into the holder’s slots. Avoid touching the glass; use a microfiber cloth to remove fingerprints. Common mistake: inserting the filter at an angle—make sure it sits flush. Double-check that the filter is fully seated; a partially inserted filter can cause light leaks.
- Adjust exposure by two stops: If your baseline was 1/125s at f/8, you now need 1/30s (or 1/125s at f/4). Alternatively, double the shutter speed twice: 1/125 → 1/60 → 1/30. Use Manual mode to maintain consistency. If you change aperture instead, remember that each full stop doubles/halves light—don’t mix up stops and thirds.
- Fine-tune for waterfalls and motion: For silky water, aim for 1/4–2 seconds; for retaining texture, try 1/15–1/4 sec. Adjust ISO or aperture to hit your target shutter speed. Common mistake: overexposing highlights—check your histogram and recover in post if needed. Use a remote shutter or 2-second timer to avoid camera shake during long exposures.
- Focus and shoot: Autofocus may hunt with the filter on; switch to manual focus and use live view magnification. Take a test shot, review the histogram, and adjust shutter speed if necessary. Enable Long Exposure Noise Reduction if your camera has it, especially for exposures over 1 second.
Product facts
-
Fotodiox Pro 145mm Neutral Density 4 (2-Stop) Filter - Coated ND4 Filter (works with WonderPana 145 & 66 Systems): Premium grade optical glass with double-threaded, coated construction. The coating reduces flare and the threads allow stacking with other filters, giving you flexibility in changing light.
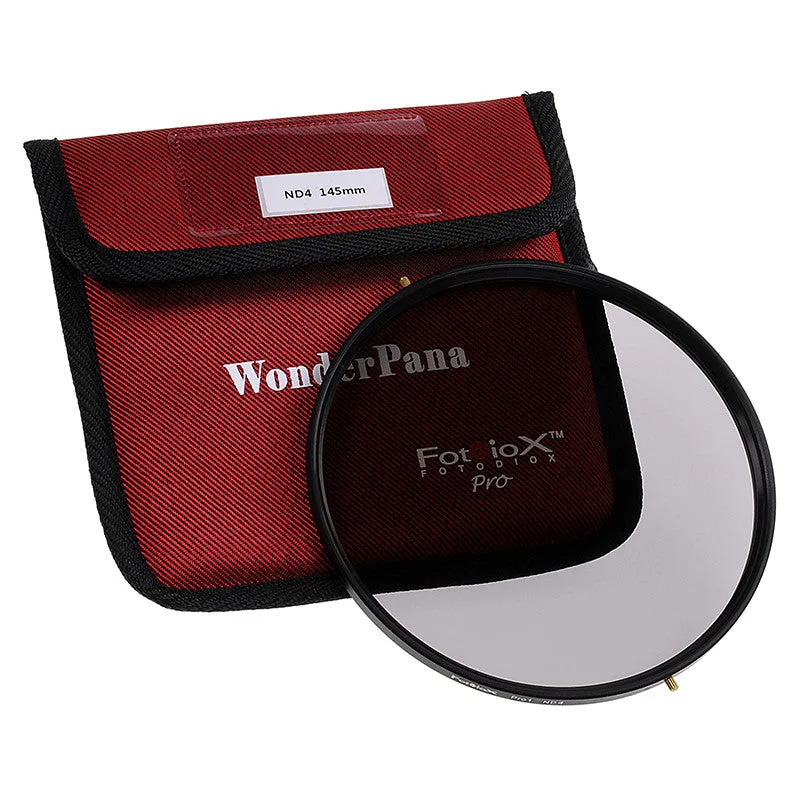
Fotodiox Pro 145mm Neutral Density 4 (2-Stop) Filter - Coated ND4 Filter (works with WonderPana 145 & 66 Systems)