Why a 2-stop soft-edge grad ND earns a place in your bag
A graduated neutral density filter darkens part of the frame without changing the color of the scene. The WonderPana 200mm x 260mm Graduated Neutral Density 0.6 filter does exactly that, reducing light by up to 2 stops at its densest edge and tapering to clear. That makes it a practical tool when the sky is much brighter than the land and you want a more balanced exposure without resorting to a complex blend.
The soft edge is the key. Unlike a hard-edge grad, which transitions abruptly, this filter has a soft-edged line of transition between the dense and clear areas. That gentler falloff suits scenes where the horizon is irregular or where you want the effect to blend in naturally. If you are shopping for a landscape graduated ND filter, understanding that difference will help you choose the right tool for the scene in front of you.
Filter specs that matter for your workflow
-
WonderPana 200mm x 260mm Graduated Neutral Density 0.6 (Grad-ND4, 2-Stop) Soft Edge Filter for WonderPana XL Filter Systems: Provides up to a 2-stop reduction of light in selective areas. Two stops is often enough to bring a bright sky closer to the foreground exposure without over-darkening the entire frame.
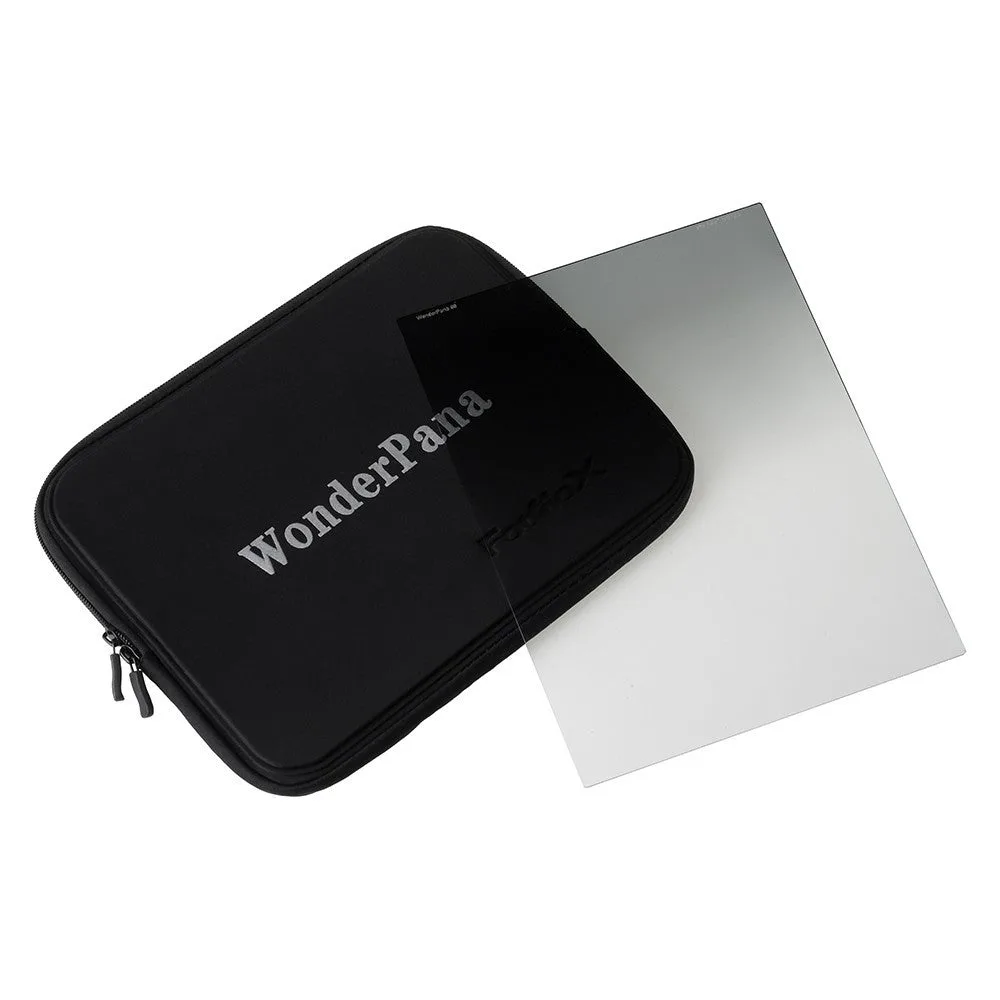
WonderPana 200mm x 260mm Graduated Neutral Density 0.6 (Grad-ND4, 2-Stop) Soft Edge Filter for WonderPana XL Filter Systems
-
WonderPana 200mm x 260mm Graduated Neutral Density 0.6 (Grad-ND4, 2-Stop) Soft Edge Filter for WonderPana XL Filter Systems: Soft-edged line of transition between the dense and clear areas. The soft transition helps avoid a visible line across the image, especially with uneven horizons.
-
WonderPana 200mm x 260mm Graduated Neutral Density 0.6 (Grad-ND4, 2-Stop) Soft Edge Filter for WonderPana XL Filter Systems: Filter does not affect the overall coloration of the image. You can darken the sky without introducing a color cast, keeping white balance straightforward.
-
WonderPana 200mm x 260mm Graduated Neutral Density 0.6 (Grad-ND4, 2-Stop) Soft Edge Filter for WonderPana XL Filter Systems: Compatible with WonderPana XL Filter Holder Systems (186mm/200x260mm). Confirms this filter is designed for the XL holder system, so you can check your existing holder before ordering.
Soft edge vs. hard edge: picking the right transition
The choice between soft and hard edge comes down to the horizon. A soft-edge grad like this 0.6 is forgiving when the horizon is broken by trees, mountains, or buildings. The gradual transition means you can position the dense area over the sky and let the clear area cover the land without a stark line. A hard-edge grad, by contrast, is better suited to a perfectly flat horizon like an open ocean, where a more defined transition can be placed precisely.
If you frequently photograph scenes with irregular skylines, the soft edge is the safer default. It gives you more room for error in positioning and often looks more natural. Keep in mind that the filter is densest at the top edge and tapers to clear by the middle, so you will want to align that dense edge with the brightest part of the sky.
How to position and use the filter
Once you have confirmed compatibility with your WonderPana XL holder, follow these steps to get predictable results.
- Mount the filter in the holder: Slide the 200mm x 260mm filter into the WonderPana XL holder system. The holder is designed for this size, so the filter should seat securely. Check that the dense edge is at the top.
- Compose and focus first: Set up your shot and focus before adding the filter. The filter reduces light, which can make autofocus hunt in low light. Once focus is locked, slide the filter into place.
- Align the transition: Look through the viewfinder or at the live view screen and adjust the filter up or down so the soft transition line sits where the sky meets the land. For an uneven horizon, you can rotate the filter slightly to follow the terrain.
- Check exposure and histogram: Take a test shot and review the histogram. The goal is to retain detail in the sky without underexposing the foreground. Because the filter does not affect coloration, you can adjust exposure compensation as needed without worrying about a color shift.
When a 2-stop soft-edge grad is the right call—and when it isn't
This filter shines in high-contrast landscapes: sunrise or sunset over hills, coastal scenes with a bright sky and darker foreground, or any situation where the sky is several stops brighter than the land. The 2-stop density is a good middle ground—strong enough to make a visible difference but not so strong that it looks artificial in most cases. If you need more density, a 0.9 (3-stop) version is also available in the WonderPana lineup, but the 0.6 is a versatile starting point.
On the other hand, if the horizon is perfectly flat and you want a more pronounced effect, a hard-edge grad might be more appropriate. And if the sky is only slightly brighter, you may not need a grad at all—sometimes a simple exposure adjustment or a graduated filter in post is enough. The soft-edge 0.6 is a tool for when you want to control the light in-camera and keep your workflow simple.
What the supplied information does not cover
The product record confirms compatibility with WonderPana XL Filter Holder Systems (186mm/200x260mm) and notes the filter's dimensions and weight, but it does not include step-by-step mounting instructions or specific exposure recommendations. Always test the filter with your own camera and lens combination to see how it performs. Also, note that the filter is constructed from optical polycarbonate (CR39) and comes with a limited 2-year manufacturer warranty; handle it with care to avoid scratches.