German helmet decals are among the most sought-after details for collectors and reenactors, yet they are also some of the most misunderstood. Whether you are restoring a vintage M1916 or building a WWII impression, knowing the difference between WWI and WWII decals is crucial for authenticity. This visual guide breaks down the key design, color, and placement differences between the eras, helping you identify genuine pieces and avoid common reproduction pitfalls.
From the iconic Heer eagle to the rare SS runes, each decal tells a story of military history and manufacturing evolution. We'll explore the major decal types used by Germany in both world wars, explain how to spot fakes, and recommend reliable reproduction gear to complete your impression. Whether you are a seasoned collector or a new reenactor, this guide will sharpen your eye for detail.
WWI German Helmet Decals: Simplicity and National Pride
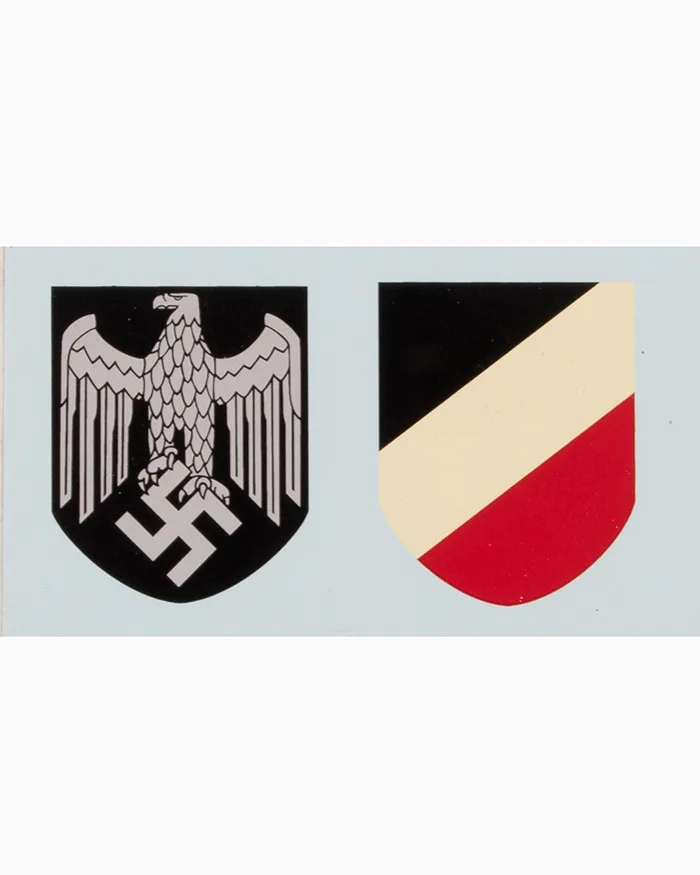
During the First World War, German helmet decals were relatively simple and focused on national identity. The most common decal was the Reichswehr tricolor shield—black, white, and red—placed on the left side of the helmet. Some units also added a unit number or regimental marking, but these were often painted rather than decal-applied. The decals were typically large and covered most of the helmet side, with a matte finish to reduce reflection.
WWI decals were printed on paper or linen and then varnished over, making them prone to chipping and wear. They lacked the intricate details of later WWII designs. Collectors should look for a rough, hand-painted look on originals, while reproductions often appear too crisp or glossy. For reenactors seeking a WWI impression, pairing a correct M1916 helmet with a period-style decal is essential for authenticity.
- WWI decals are usually tricolor shields; no branch-specific insignia like Heer or Luftwaffe.
WWII German Helmet Decals: Branch-Specific and Highly Detailed
World War II introduced a wide array of branch-specific decals, each with unique designs and colors. The most common were the Heer decal (silver eagle on a black shield) on the left and the national tricolor on the right. The Luftwaffe decal featured a flying eagle in silver on a blue-grey background, while the SS decal used a silver death's head or runes on a black shield. These decals were applied using a water-slide transfer process, resulting in sharp, detailed images.
Authenticity in WWII decals is critical for collectors. Original decals have a slight translucency and age-related cracking, while modern reproductions often look too bright or have a plastic sheen. For reenactors building a German impression, using high-quality reproduction decals is acceptable, but they must match the correct branch and time period. For example, a Heer decal from 1940 differs slightly from one made in 1943.
- Always check the decal's position: WWII Heer decal on left, national tricolor on right (until 1943 when decals were phased out).
Key Visual Differences Between WWI and WWII Decals
The most obvious difference is the level of detail. WWI decals are simple, often just a shield with broad stripes, while WWII decals feature intricate eagles, wreaths, and runic symbols. Color palettes also differ: WWI decals use basic red, white, and black, whereas WWII decals incorporate silver, grey, and blue tones. Size matters too—WWI decals cover more of the helmet side, while WWII decals are smaller and more centered.
Another clue is the manufacturing method. WWI decals were often hand-painted or applied as paper stickers, leaving brush strokes or a paper texture. WWII decals were machine-printed and water-slide, giving a smooth, thin layer. Under a magnifying glass, original WWII decals show tiny dot patterns from the printing process, while fakes may have solid colors. For a complete German impression, consider pairing your helmet with a German Tunic and Trouser Package to ensure consistent era-accuracy.
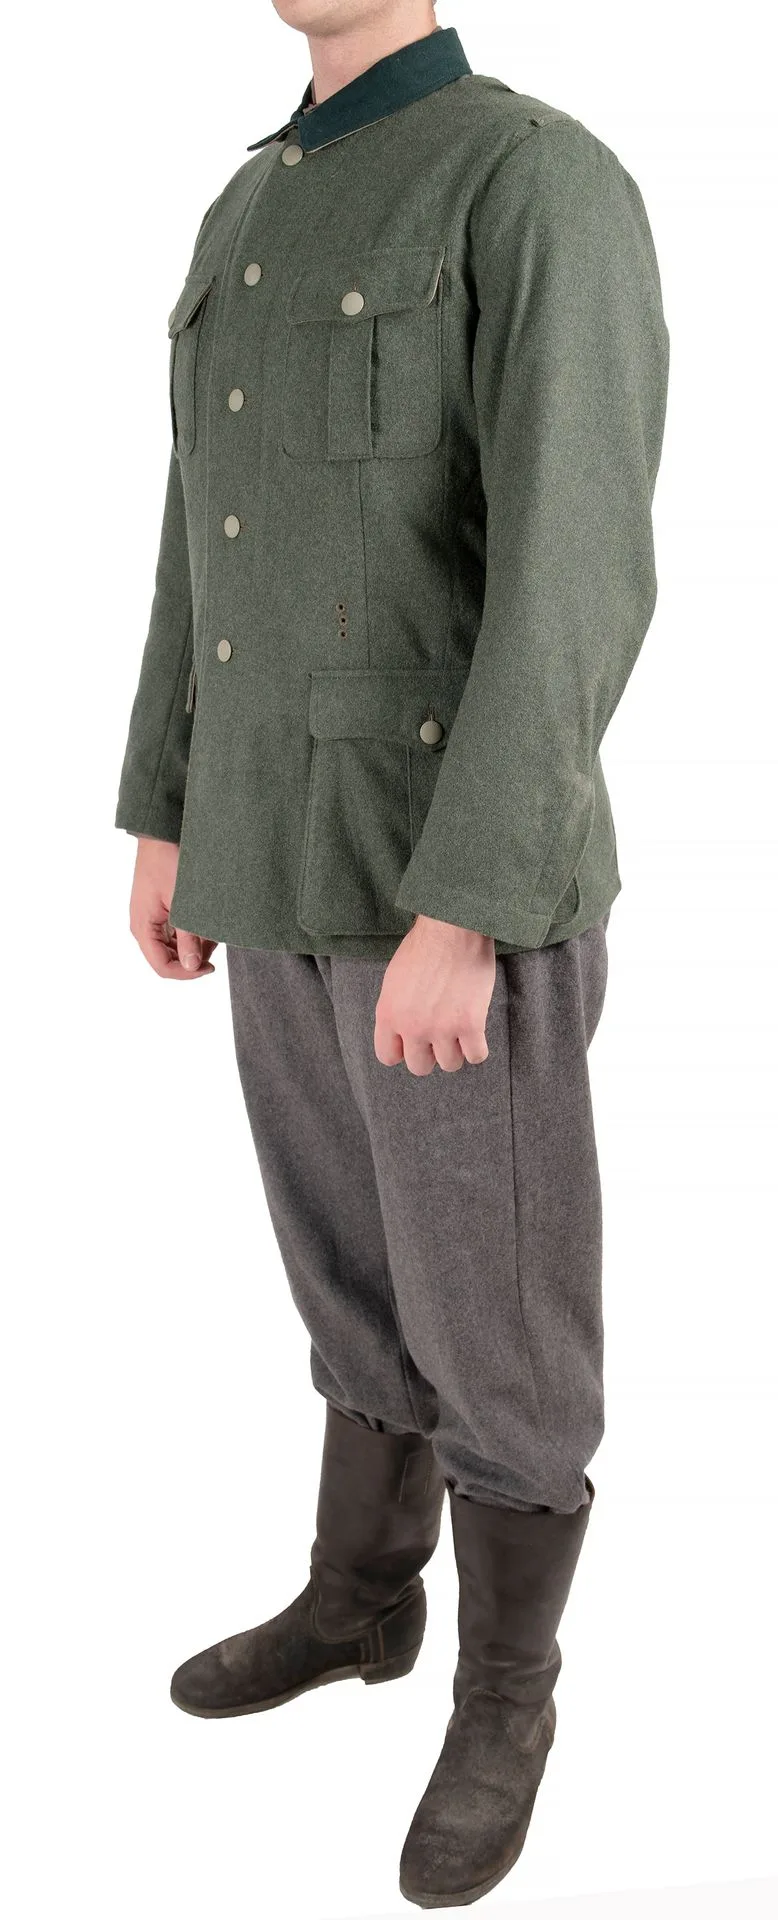
German Tunic and Trouser Package
- Use a jeweler's loupe to inspect decal edges for paper texture (WWI) vs. smooth transfer (WWII).
Identifying Common Reproduction Decals and Fakes
The market is flooded with reproduction decals, ranging from poor-quality stickers to near-perfect copies. Common red flags include overly bright colors, lack of age cracks, and incorrect proportions. For example, many fake SS decals have runes that are too thick or placed at the wrong angle. Likewise, Heer decals with a glossy finish are almost certainly reproduction, as originals had a matte or semi-matte appearance.
To avoid buying fakes, always compare decals to known originals using reference photos or collector guides. Reputable reenactment suppliers offer decals that are historically accurate in design but clearly marked as reproductions. For collectors seeking original parts, items like https://wildernessworks.shop/products/m1-helmet-wwii-parts-99258https://wildernessworks.shop/products/m1-helmet-wwii-parts-99285M1 Helmet WWII Parts can be a safer starting point. Remember, a decal's value depends on its authenticity, so invest in knowledge before you invest in gear.
- Check for decal placement: WWII decals should be 1–2 cm from the helmet's edge, not centered.
Caring for Original and Reproduction Helmet Decals
Preserving decals requires careful handling. Original decals are fragile and can flake off if exposed to moisture or direct sunlight. Store helmets in a climate-controlled environment away from heat sources. For reproduction decals, apply a thin layer of matte clear coat to protect against rubbing, but avoid this on originals as it can damage the patina. When cleaning, use a soft brush and avoid solvents.
For reenactors, reproduction decals offer the advantage of durability. They can withstand light rain and sweat better than originals. However, they still require care—store your helmet in a padded bag and avoid stacking heavy items on it. If you are building a full impression, consider adding a Liner Chinstrap, Leather to your helmet for both authenticity and comfort. Proper maintenance ensures your gear looks great for years.
- Never use alcohol or acetone on original decals; use a dry microfiber cloth instead.
Mastering the art of identifying German helmet decals takes practice, but it is a rewarding skill that deepens your appreciation for military history. Whether you are restoring an original M1916 or building a WWII impression, knowing the difference between WWI and WWII decals ensures your gear is authentic. For collectors seeking reliable reproduction gear, explore the US Highneck Sweater and other carefully sourced items at atthefront to complement your helmet display.