Building a historically accurate WWII US medic impression requires more than just a red cross armband. Medics were the lifeline of frontline units, often operating under fire to treat and evacuate wounded soldiers. Their equipment was specialized, practical, and carefully regulated. Whether you are a reenactor aiming for authenticity or a collector assembling a display, understanding the full medic loadout is essential.
This guide walks you through the key components of a WWII US medic impression, from webbing and pouches to medical kits and uniforms. We will cover the gear that made these soldiers effective in the field, and highlight some of the best reproduction items available today to help you complete your setup with confidence.
Understanding the Role of a WWII US Medic
WWII US medics were assigned to infantry platoons and company aid stations. Their primary duty was to provide immediate first aid, stabilize casualties, and coordinate evacuation to battalion aid stations. They carried no weapons—only medical equipment—and were protected by the Geneva Convention, though in practice they often faced danger.
Medics were trained to treat wounds, splint fractures, control bleeding, and administer morphine. Their loadout was designed for mobility and efficiency. A typical medic carried a mix of standard issue webbing and specialized medical pouches, along with a canvas bag or haversack filled with bandages, sulfa powder, and other supplies. Understanding this context helps you choose gear that matches historical use.
- Medics were unarmed but often carried a helmet with a red cross marking for identification.
- They used the https://wildernessworks.shop/products/m1-helmet-wwii-parts-99258https://wildernessworks.shop/products/m1-helmet-wwii-parts-99285M1 Helmet WWII Parts to ensure proper head protection while maintaining the iconic medic look.
Essential Components of the Medic Loadout
The core of any medic impression is the medical bag and its contents. The standard US medic bag was a canvas haversack with multiple compartments for bandages, tourniquets, scissors, and morphine syrettes. Many medics also carried a canteen, mess kit, and a small personal aid kit. The webbing system was usually the M1936 or M1928 pattern, with a pistol belt and suspenders.
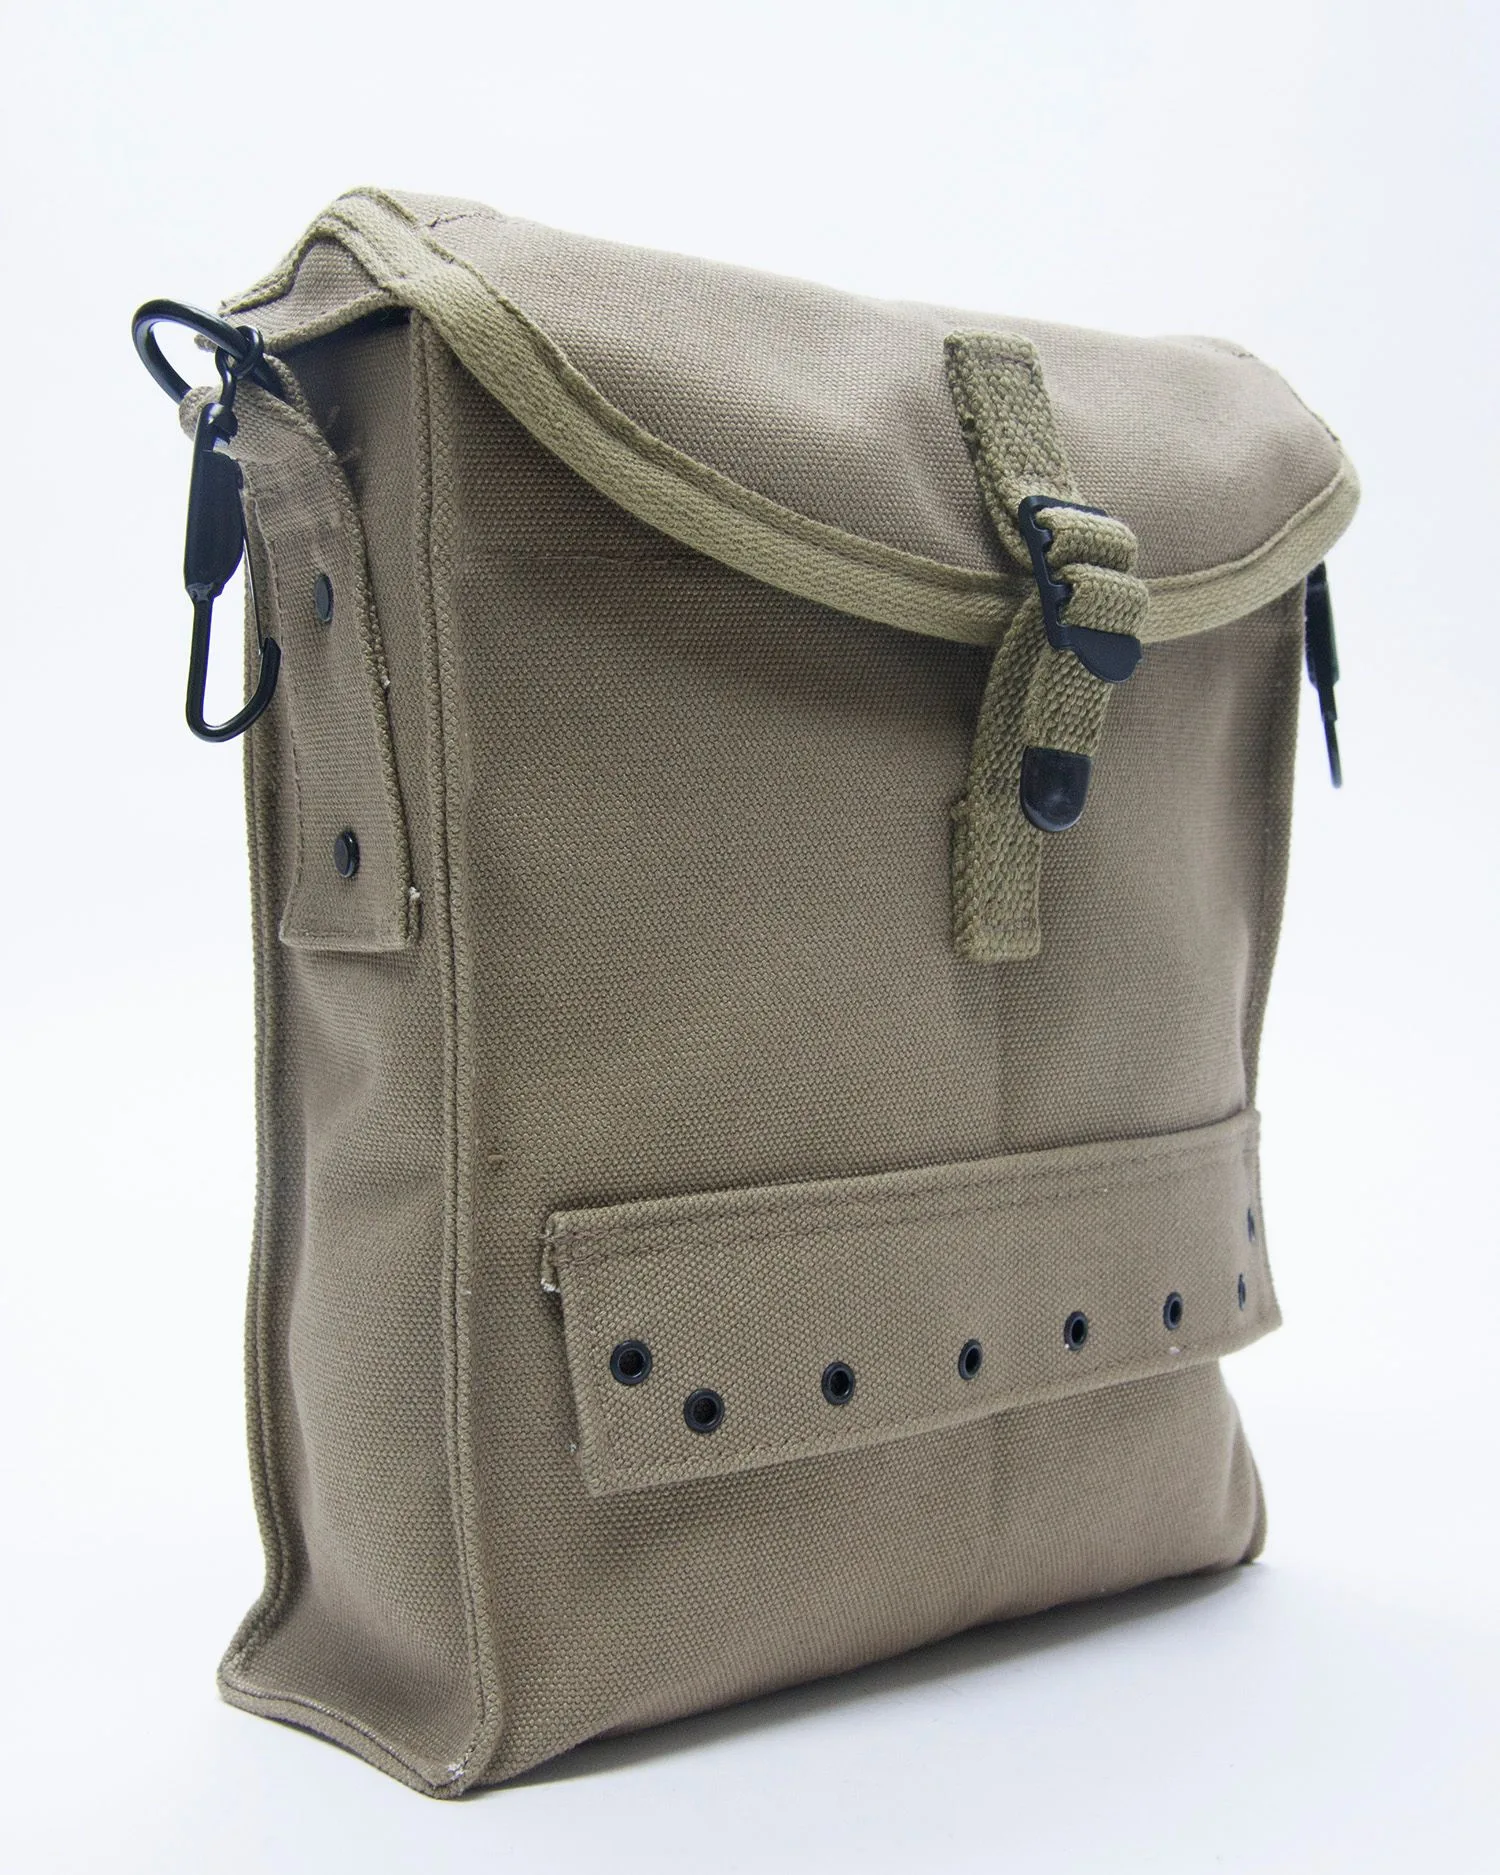
medic bag
For reenactors, high-quality reproductions are key. Items like the US Mess Kit provide an authentic way to carry rations, while the Medic Equipment Package, Made in USA offers a complete set of period-correct medical supplies. These pieces ensure your impression looks and functions like the real thing.
- Start with the medical bag and fill it with reproduction bandages, sulfa packets, and scissors.
- Add a canteen and mess kit for field sustainment.
Uniform and Insignia for the Medic Impression
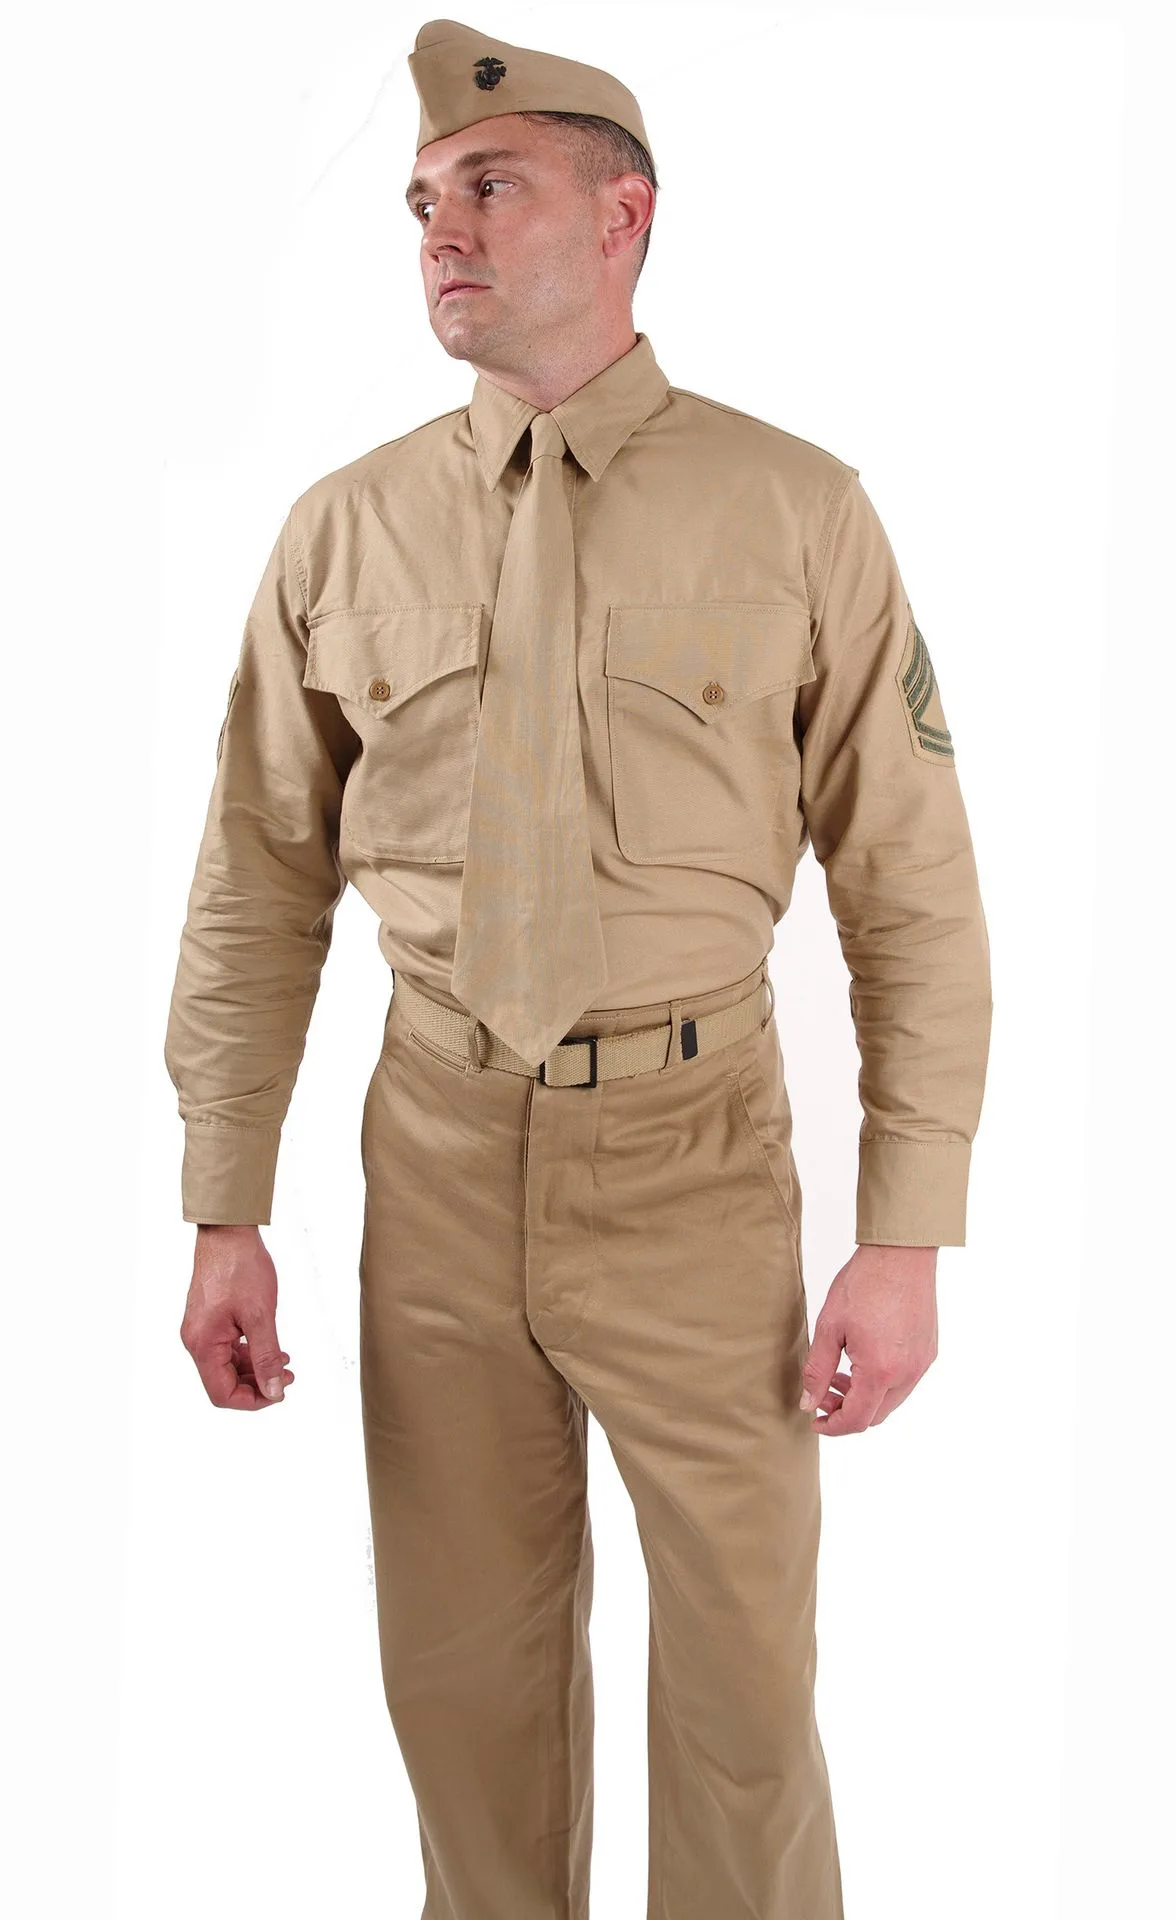
WWII US medics wore the standard olive drab wool or HBT uniform, depending on the theater and season. The M1942 Paratrooper Trousers were sometimes used by airborne medics, but most infantry medics wore standard issue trousers and field jackets. A helmet liner with a painted red cross was common, though some medics used a red cross armband instead.
Unit insignia also mattered. Medics assigned to specific regiments often wore their unit crest on the shoulder loop. For example, the 506th Unit Crest (Pair) is a great addition for those portraying the 101st Airborne. Similarly, patches like the 507th PIR Pocket Patch help identify the unit and add historical depth to your impression.
- Choose the correct uniform for your impression: HBT for summer, wool for winter.
- Add a red cross armband or helmet marking for clear identification.
Webbing and Pouches: Carrying the Load
The medic's webbing system was crucial for carrying medical supplies and personal gear. The M1936 pistol belt with M1923 cartridge belt or medical pouch attachments was standard. Some medics used the BAR Magazine Belt for extra storage, though this was more common for automatic riflemen. For a medic, a dedicated medical pouch on the belt worked well.
Reproduction webbing from trusted sources ensures durability and historical accuracy. Items like the Thread, U.S. od#3 are perfect for repairing or customizing your gear. Properly adjusted suspenders and belt keep the load balanced and comfortable during long reenactments.
- Use an M1936 pistol belt with one or two medical pouches.
- Consider adding a canteen cover and first aid pouch for a complete look.
Putting It All Together: A Sample Loadout Checklist
To help you assemble your medic impression, here is a step-by-step checklist. Start with the uniform and helmet, then add the webbing system. Fill your medical bag with reproduction supplies. Finally, add unit insignia and optional items like a compass or flashlight. Each piece should be period-correct and well-maintained.
A complete loadout might include: M1 helmet with red cross, wool or HBT uniform, M1936 pistol belt with suspenders, medical haversack filled with bandages and sulfa, canteen and mess kit, and unit patches. For a more specialized impression, airborne medics can use the Standard M1942 Paratrooper Trousers and 506th Unit Crest.
- Uniform: wool or HBT shirt and trousers, field jacket, boots.
- Helmet: M1 with liner and red cross marking.
- Medical bag: filled with reproduction bandages, tourniquets, scissors, morphine syrettes.
- Webbing: M1936 belt, suspenders, canteen, mess kit.
- Insignia: unit crest, red cross armband, pocket patch.
Building a WWII US medic impression is a rewarding project that honors the courage and service of these frontline caregivers. By carefully selecting each piece of gear and understanding its historical use, you can create an authentic and functional loadout. Start with the Medic Equipment Package, Made in USA for a solid foundation of medical supplies, and build from there. Explore our full collection of medic and infantry gear to complete your impression with confidence.