Quick Answer
The XL Treetop Cottage Chicken Coop is a spacious wooden coop for 2–3 medium birds or 4–5 bantams, featuring a metal pull-out tray for easy cleaning. Follow the step-by-step setup below to get it ready for your flock.
Why the XL Treetop Cottage Stands Out
The XL Treetop Cottage Chicken Coop is designed with practical features that make daily care simpler. The metal-lined pull-out tray slides out for quick cleaning, saving you time and effort. The big front door and ventilation window improve airflow, which is essential for your hens' health.
The internal access ramp helps your birds move easily between the coop and the run, reducing stress and preventing injuries. This coop suits 2–3 medium birds or 4–5 bantam-sized birds, making it a flexible choice for small to medium flocks.
What to Check Before Assembly
Before you start, ensure you have a level, dry area for the coop. The wooden construction requires a stable base to prevent warping. Also, check that all parts are present by reviewing the parts list in the manual.
Because the coop is designed for outdoor use, consider placing it in a spot with some shade but good airflow. Avoid low-lying areas where water might pool.
Step-by-Step Setup Guide
- 1. Prepare the Site: Choose a flat, dry area with good drainage. Lay a level base like paving slabs or gravel to keep the coop stable and prevent moisture from seeping into the wood. Check that the ground is level before assembling to avoid gaps that let in drafts.
- 2. Inventory Parts: Open the box and lay out all panels, screws, and tools. Refer to the manual's parts list and sort items by size to speed up assembly. Missing a screw? Contact support before starting to avoid a half-built coop.
- 3. Assemble the Base and Frame: Attach the floor panels to the side walls using the provided screws. Ensure the metal pull-out tray slot is aligned correctly so the tray slides smoothly. Double-check that the tray slides freely before securing the frame fully.
- 4. Attach the Roof and Ventilation Window: Fix the roof panels securely, then install the ventilation window. This window is crucial for airflow, so make sure it opens and closes properly. Test the window after installation to confirm it seals well when closed.
- 5. Install the Access Ramp and Run: Position the access ramp inside the run so it connects the coop floor to the ground. Ensure it is stable and has a non-slip surface for your hens. Check that the ramp angle is not too steep; adjust the run position if needed.
- 6. Final Safety Check: Inspect all screws for tightness, check for sharp edges, and ensure the pull-out tray is in place. Then introduce your hens to their new home. Monitor your flock for the first few days to ensure they use the ramp and settle in comfortably.
Product Facts
-
XL Treetop Cottage Chicken Coop: The Treetop Cottage Chicken Coop provides space for 2 to 3 medium birds or 4 to 5 bantam sized birds, depending on size, breed, and type. This helps you choose the right flock size to avoid overcrowding, which can lead to stress and health issues.
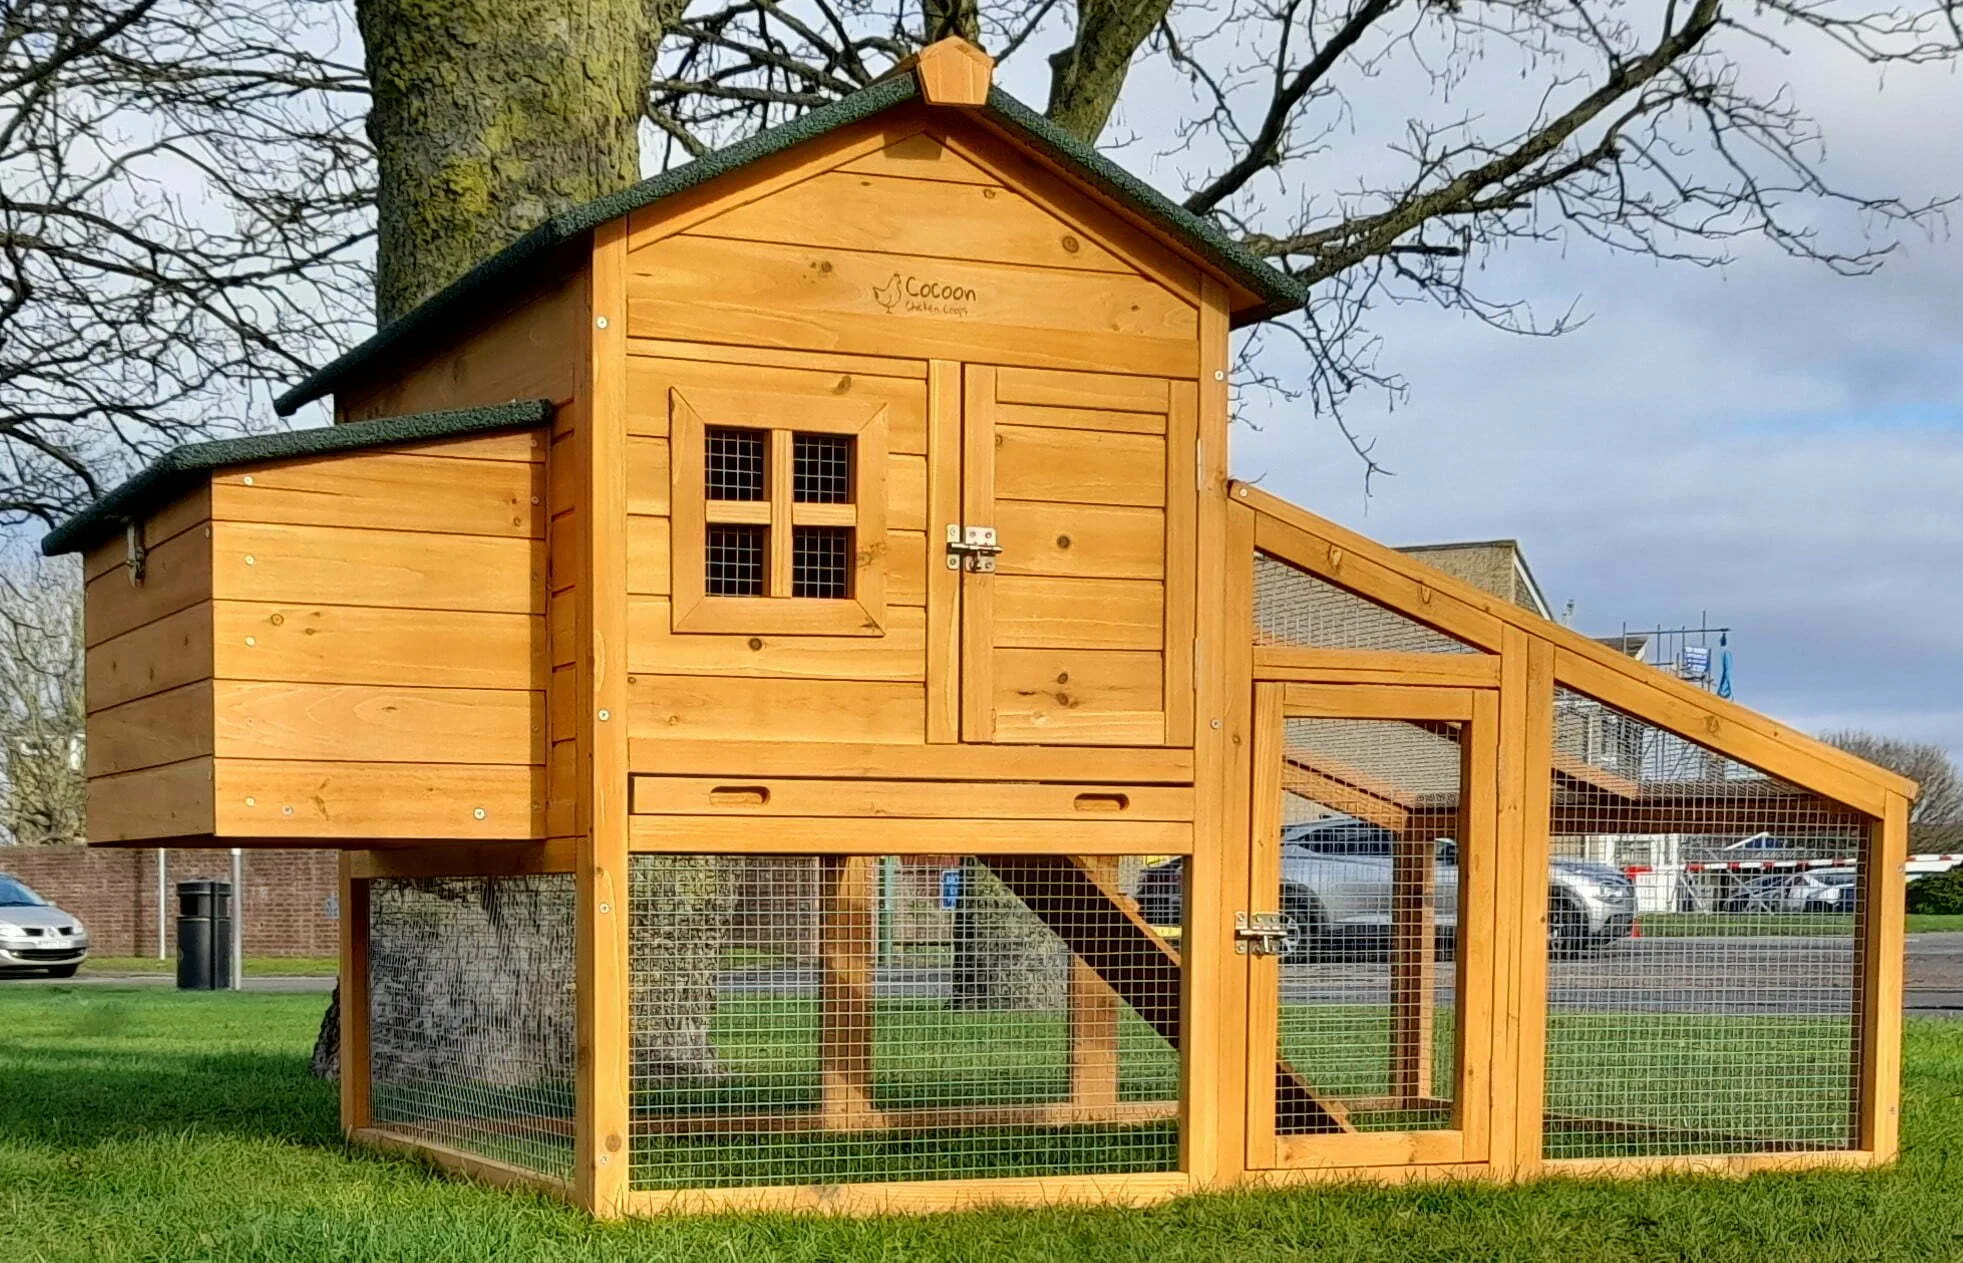
XL Treetop Cottage Chicken Coop
-
XL Treetop Cottage Chicken Coop: It has a metal lined pull out tray for easy cleaning, a big front door, a ventilation window, and an access ramp inside the run. These features simplify daily maintenance and improve airflow, making the coop more comfortable for your hens.