Quick answer
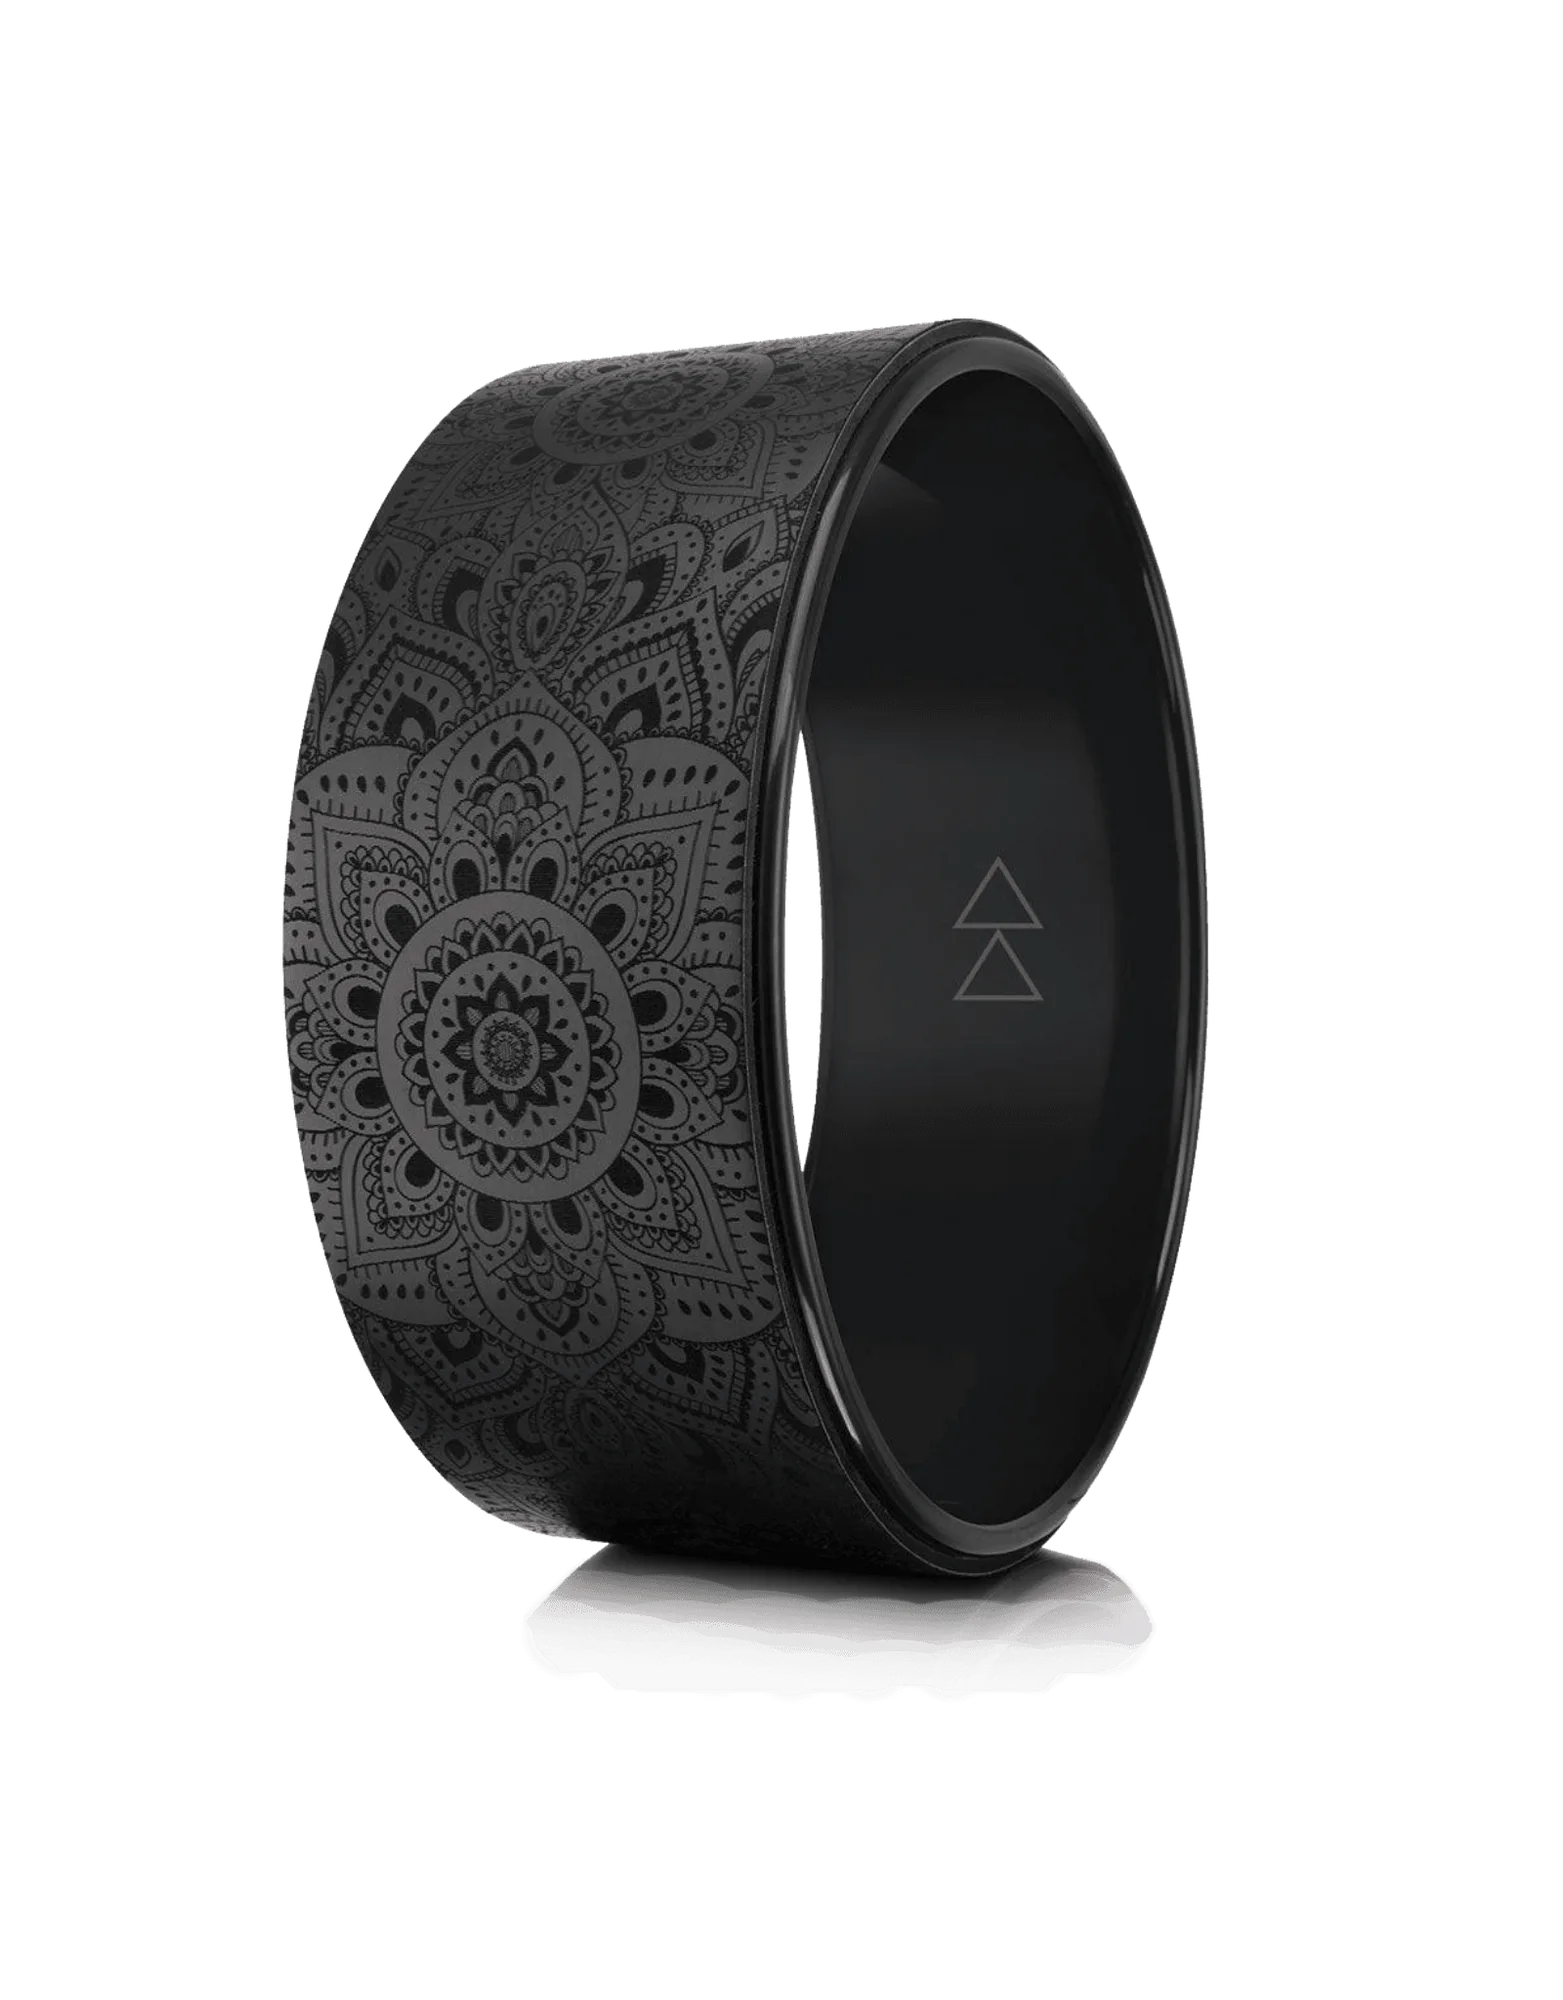
Start by warming up your spine with gentle cat-cow and child's pose, then place the wheel under your mid-back and roll slowly with hands supporting your head. Keep movements small, breathe steadily, and stop if you feel pinching. A beginner yoga wheel guide works best when you treat the wheel as a support tool, not a challenge to conquer.
A yoga wheel looks simple: a round hoop you roll on. But used without a plan, it can strain your lower back or shoulders fast. The good news is that beginners get the most from a wheel by starting with a few controlled poses and building confidence before deeper backbends.
This beginner yoga wheel guide walks you through a safe sequence, from warm-up to cool-down. You will learn how to use a yoga wheel for gentle stretches, where to place it for backbends, and the mistakes that send people to the couch instead of the mat.
Why beginners benefit from a yoga wheel
A yoga wheel supports your spine while you open the chest and shoulders. Because the wheel is rigid, it gives you feedback: you feel exactly where you are stiff and where you can relax. That feedback makes it easier to avoid overstretching than when you use a strap or blanket alone.
For beginners, the wheel also makes backbends more accessible. Instead of forcing your lower back to do all the work, you rest your mid-back on the wheel and let gravity gently lengthen your spine. Keep sessions short at first, five to ten minutes, and focus on smooth breathing rather than depth.
- Use a wheel with a textured surface for grip, especially if your hands or feet get sweaty.
- Place a non-slip mat under the wheel so it does not slide during rolls.
A step-by-step beginner yoga wheel routine
Warm up first with cat-cow, child's pose, and a few standing side bends. Cold muscles resist sudden extension, so this step prevents the most common beginner injury: a tweaked lower back. Spend at least three minutes here before you touch the wheel.
Next, sit on the floor with the wheel behind you. Lean back until the wheel rests under your mid-back, not your lower back. Support your head with your hands, keep your chin slightly tucked, and breathe. Roll forward and back by an inch or two, never forcing. When you finish, counter with a gentle forward fold and a supine twist.
- Checkpoint: if your lower back arches sharply, move the wheel higher up your back.
- Keep your feet hip-width apart and press them into the mat for stability.
Yoga wheel stretches for tight shoulders and hips
For shoulders, kneel and place the wheel in front of you. Rest your forearms on the wheel and slowly roll it forward until you feel a stretch through the armpits and upper back. Keep your ribs down so your lower back does not take over. Hold for three to five breaths, then roll back.
For hips, lie on your back and place one calf on the wheel, then gently roll the wheel toward and away from you. This creates a moving massage for the hamstrings and hip flexors. Switch sides and keep the movement slow. If you feel a sharp pinch, reduce your range immediately.
- Never roll directly over your neck or lower back; those areas need support, not compression.
- Breathe out as you roll into the stretch, and breathe in as you return.
Common mistakes and how to fix them
The biggest mistake is going too deep too soon. Beginners often push into a backbend because the wheel makes it feel easy, but the spine needs time to adapt. Fix it by limiting your first sessions to a small range and holding each pose for only a few breaths.
Another mistake is letting the wheel slide. A smooth wheel on a slick floor will roll away and can cause a fall. Use a mat with grip, or place a towel under the wheel. Finally, do not hold your breath. If you cannot breathe steadily, you are working too hard.
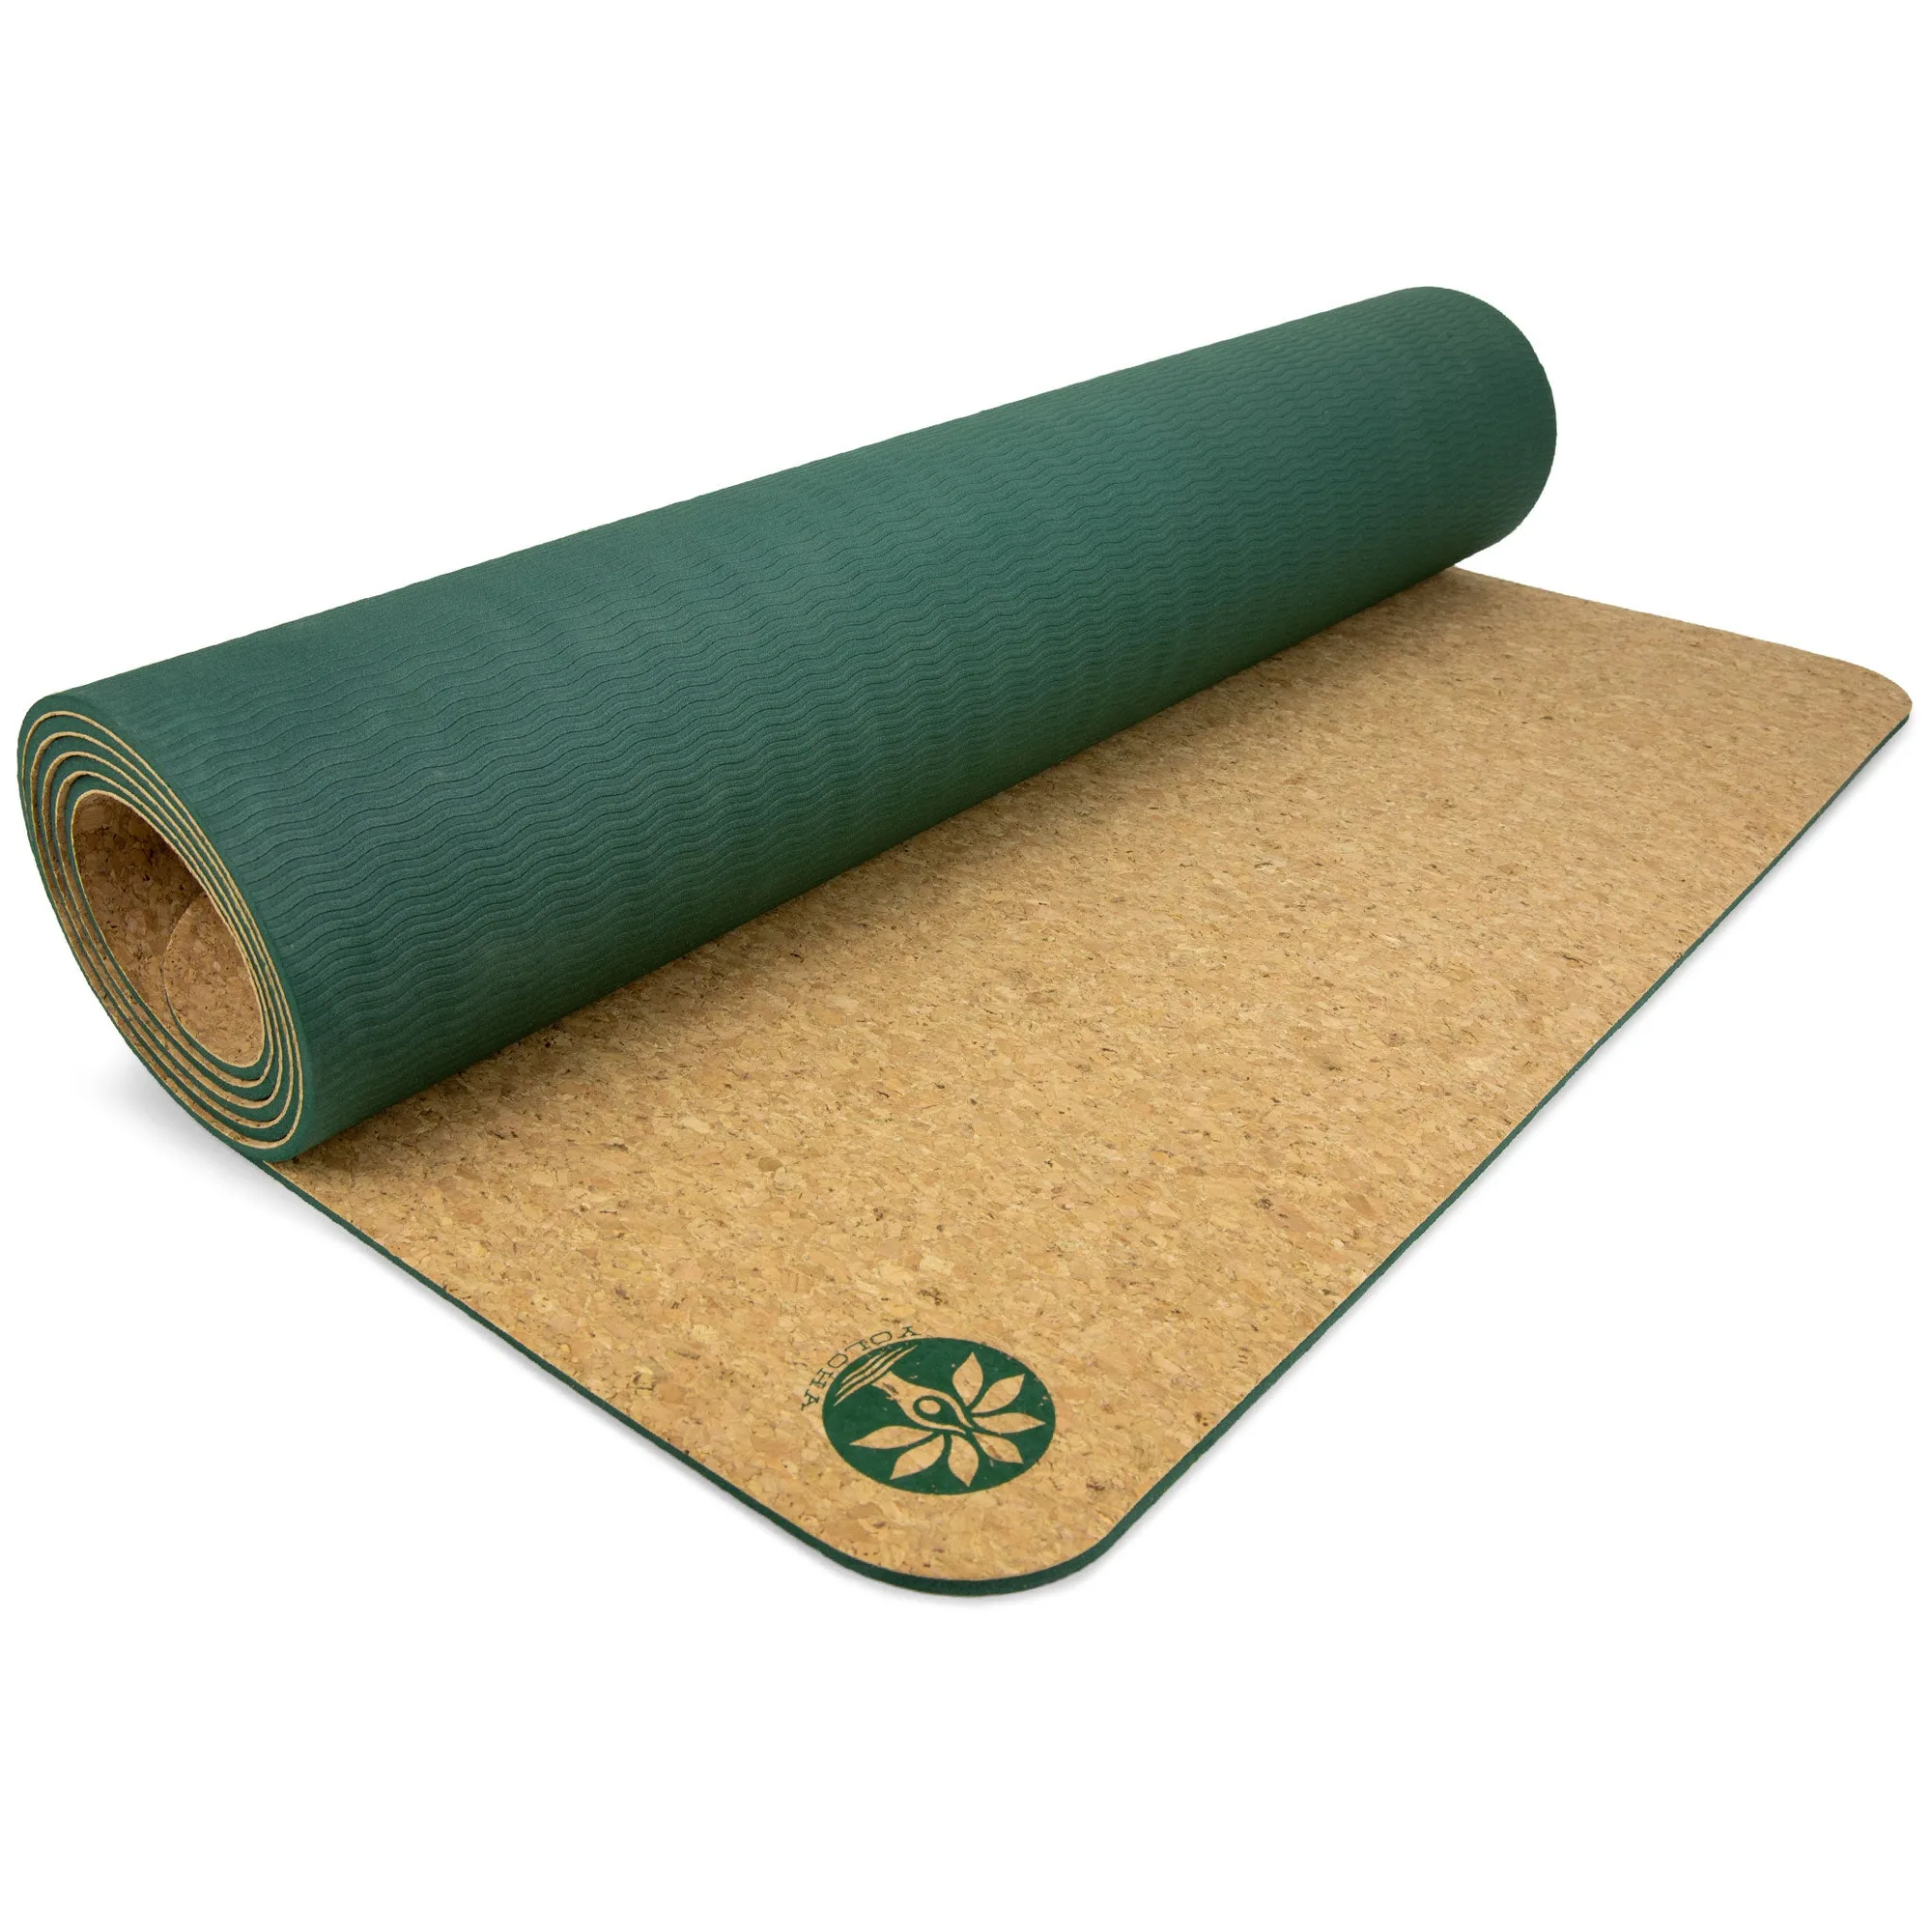
- If your hands slip, dry them or use a cork-topped mat for extra traction.
- Stop immediately if you feel numbness, tingling, or sharp pain.
Your first yoga wheel session, step by step
- Warm up without the wheel: Spend 3–5 minutes on cat-cow, child's pose, and gentle side bends to prepare your spine and shoulders. Checkpoint: you should feel warm and loose before you lie back on the wheel.
- Set up on a non-slip surface: Place your mat on a level floor and position the wheel under your mid-back, not your lower back. Mistake to avoid: using a slippery mat or a wheel with no texture.
- Roll slowly with support: Support your head with your hands, keep your chin tucked, and roll forward and back by only an inch or two. Checkpoint: if your lower back arches or pinches, move the wheel higher.
- Add one shoulder or hip stretch: Choose either the forearm shoulder stretch or the hamstring roll, and hold for 3–5 breaths per side. Mistake to avoid: rushing through both stretches in your first session.
- Cool down and clean your mat: Finish with a forward fold and supine twist, then spray and wipe your cork mat. Next step: repeat this sequence 2–3 times a week before adding deeper backbends.
Gear that supports your wheel practice
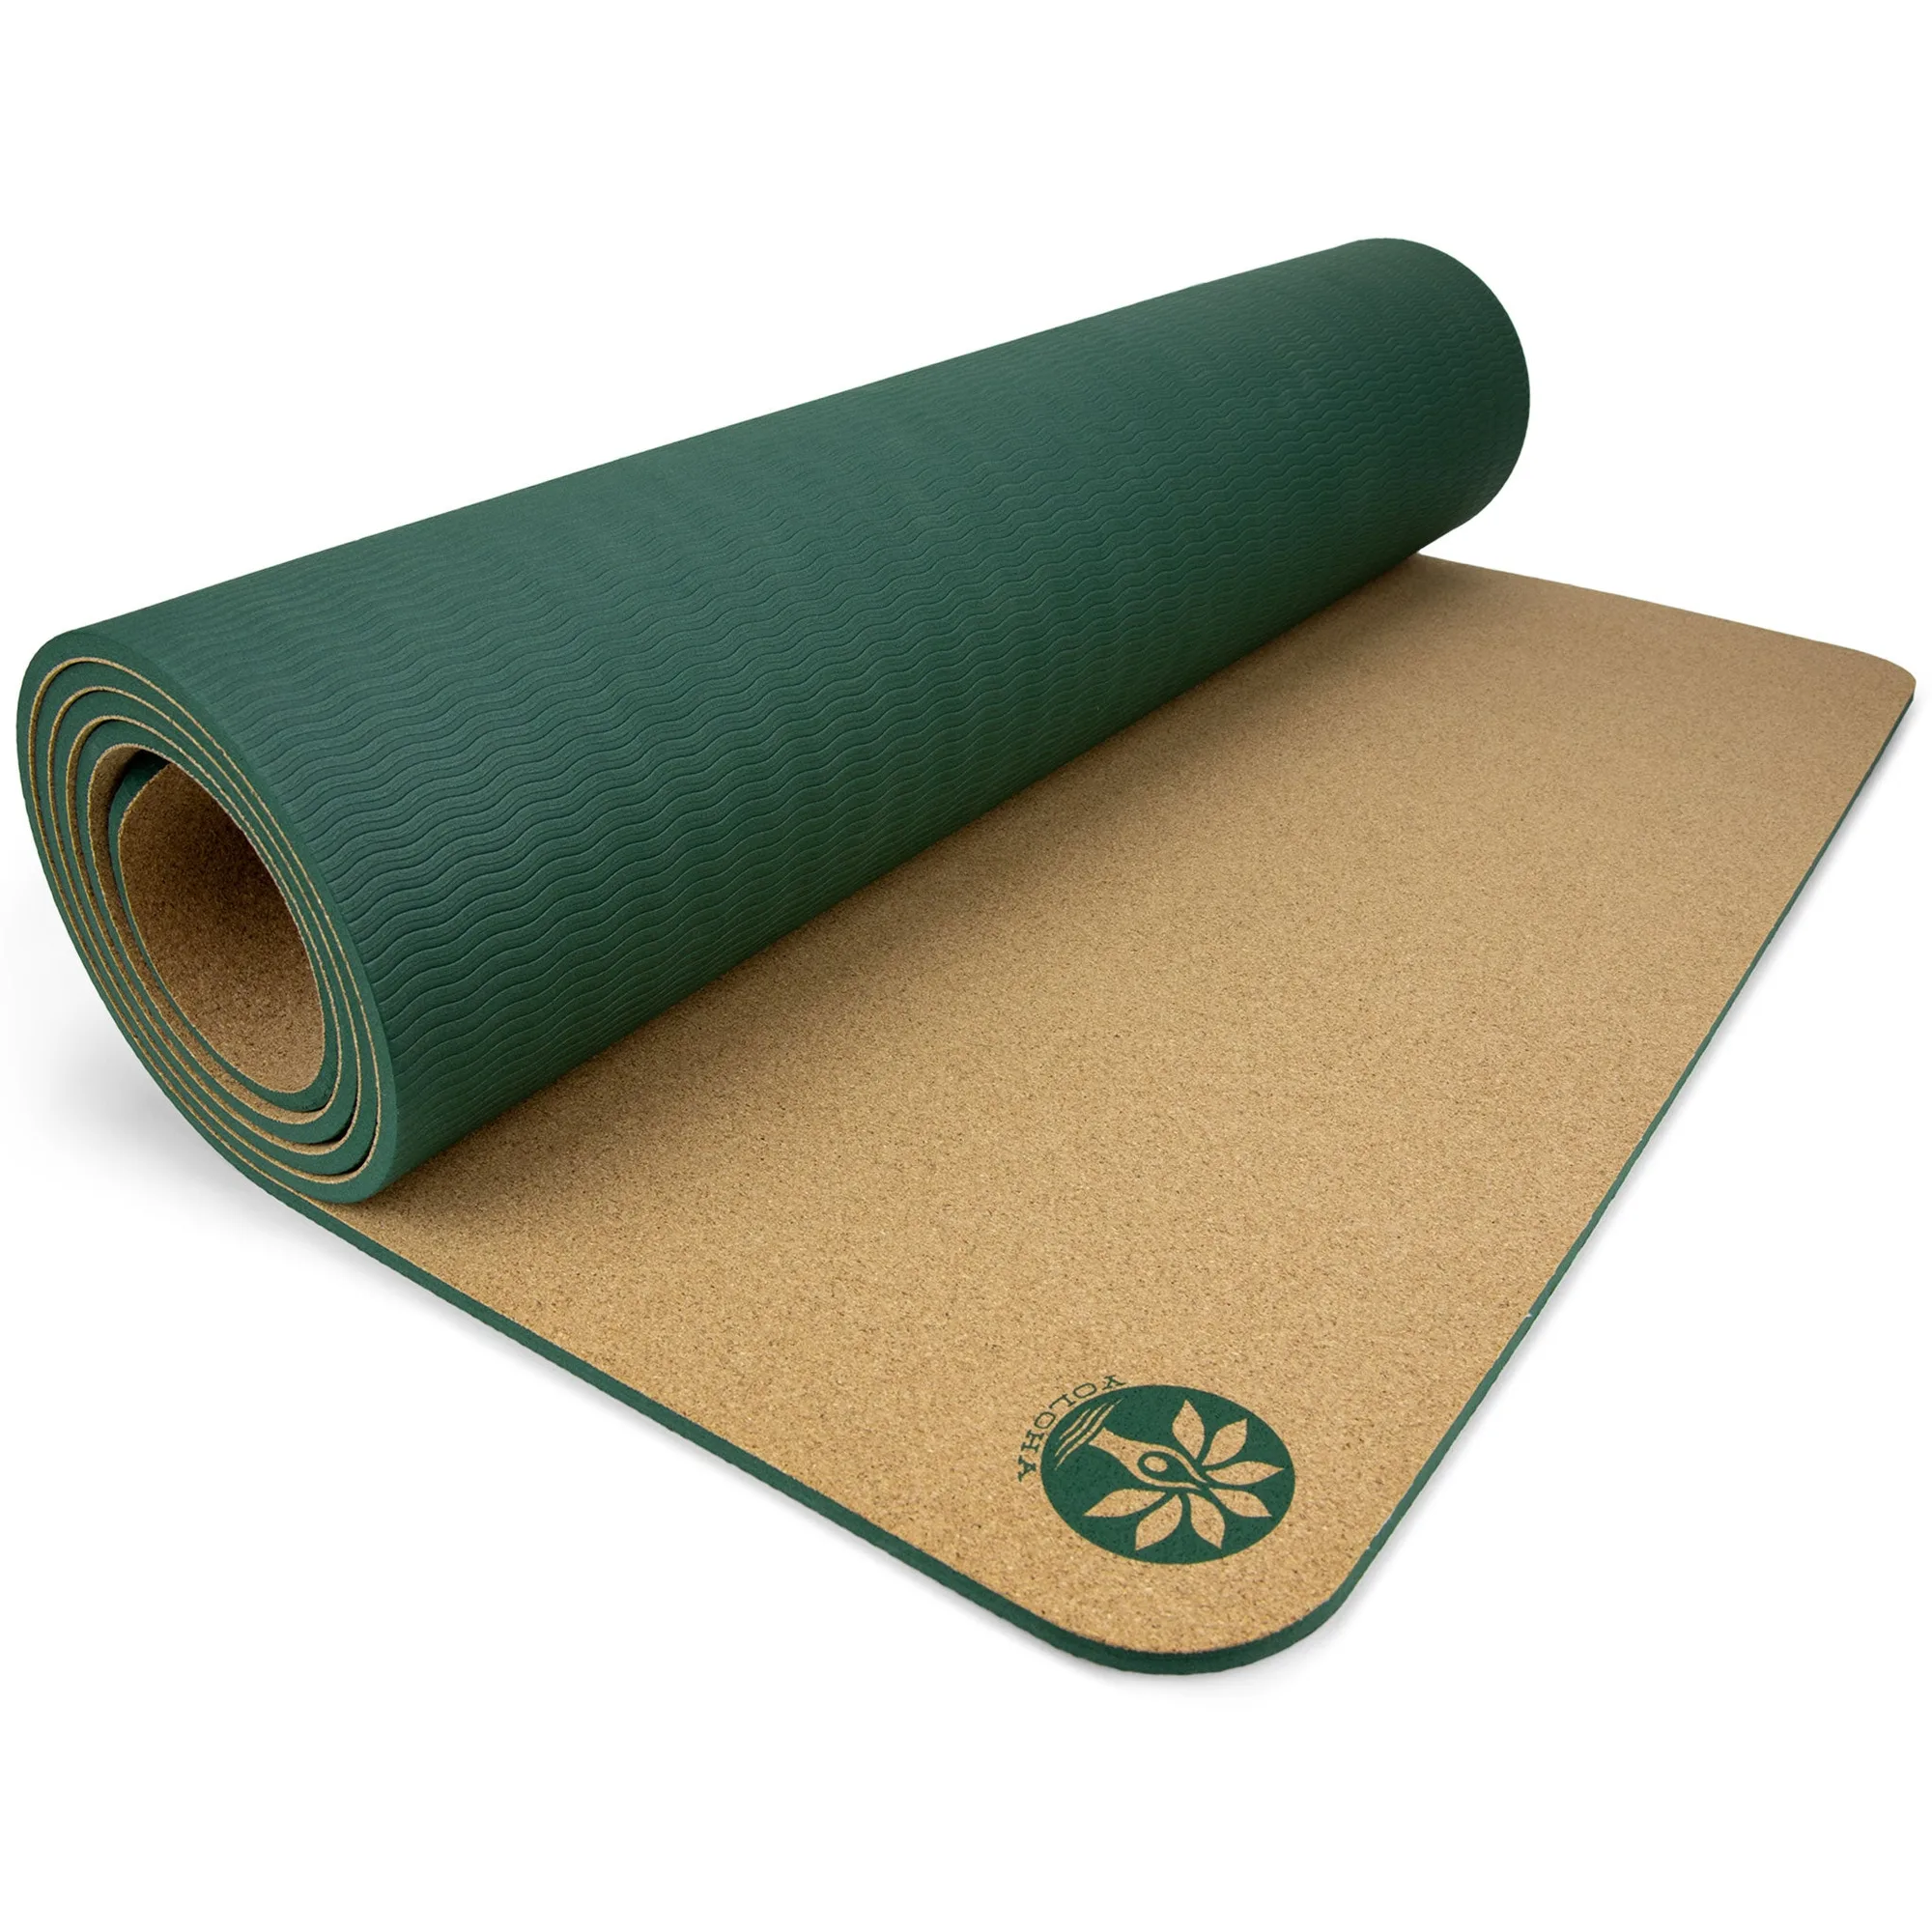
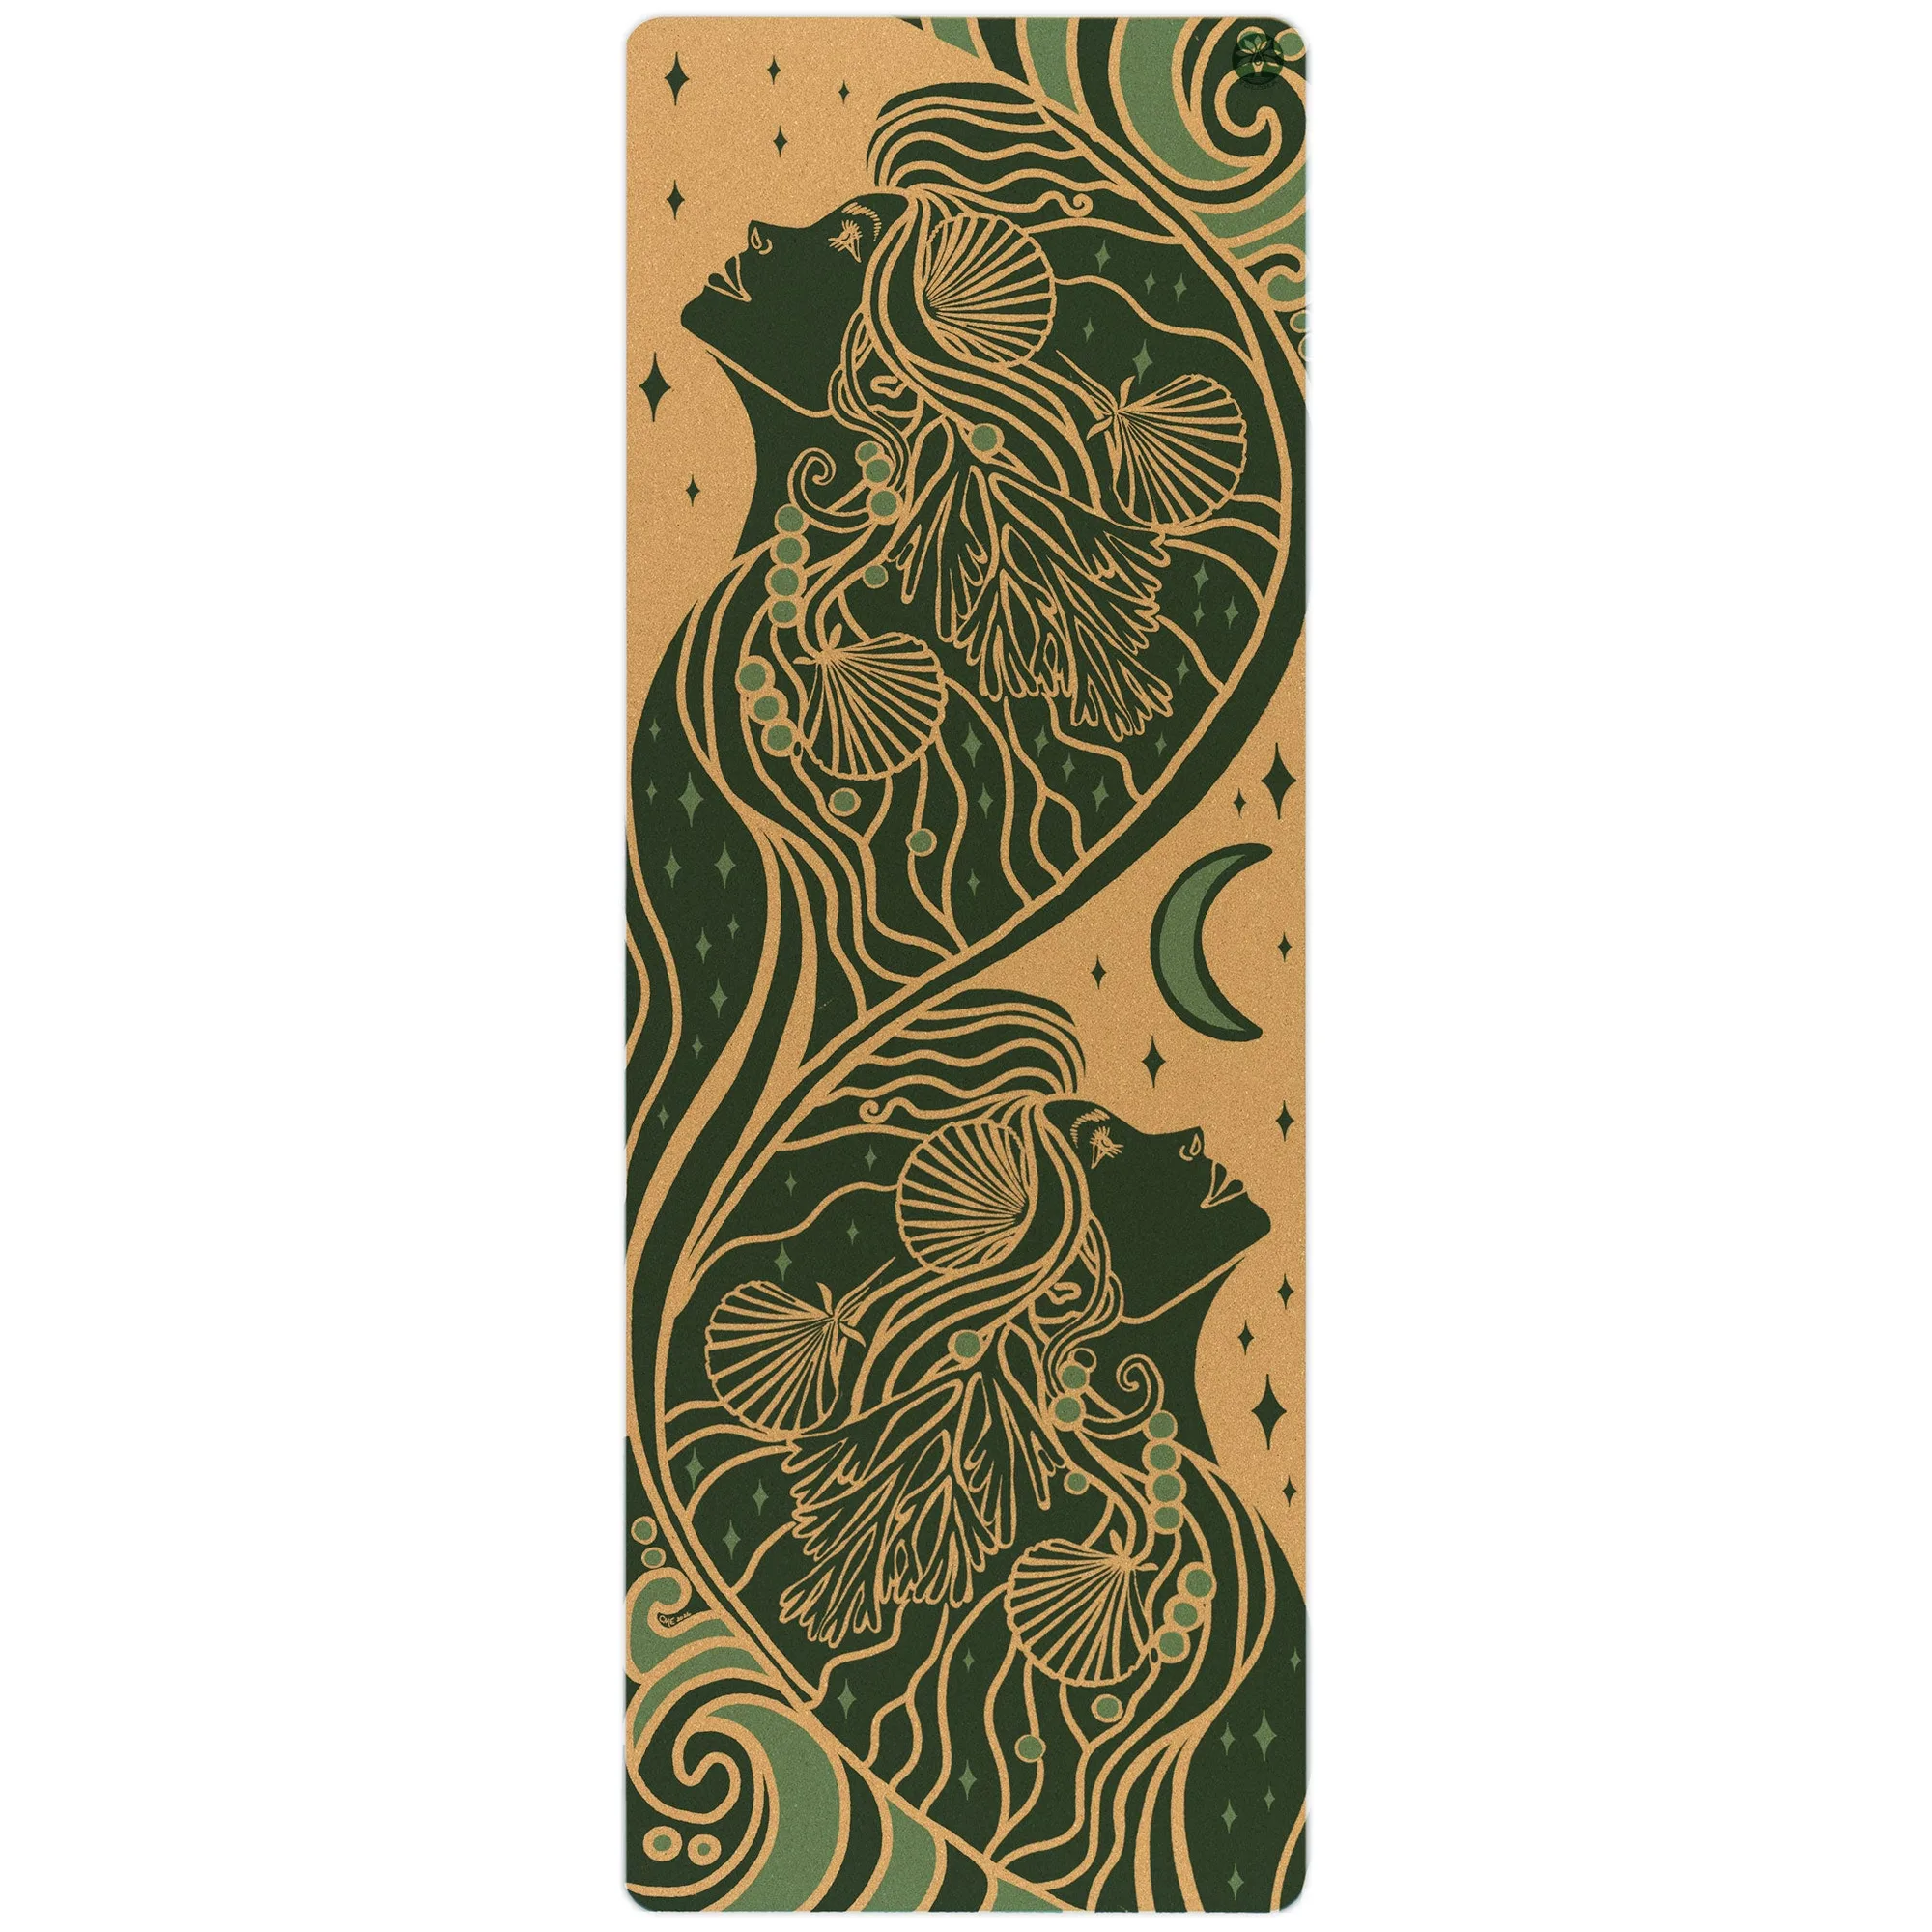
- Sea Witch Aura Cork Yoga Mat: Made from renewable materials with a fine-grained cork surface and plant foam bottom optimized for stability and energy return. Cork grips better as you sweat, so your hands and the wheel stay put during balance-focused poses.
- Yoga Mat Cleaner 16oz: Formulated to clean, renew, and extend the life of your cork yoga mat, and safe for daily use on body and mat. A quick spray after wheel sessions removes sweat and keeps the cork surface tacky for longer.
- Nomad Cork Yoga Mat: Extra light and versatile, with a non-slip antimicrobial cork surface and a dense plant foam base free of PVCs and latex. Easy to roll up and carry, so you can take your wheel and mat to a studio or outdoor session without extra bulk.
A yoga wheel can open your back and shoulders safely if you start small and stay consistent. Warm up, support your head, and keep the wheel on your mid-back. With a few short sessions each week, beginner yoga wheel poses will start to feel natural.