Quick answer
Lay out zellige from the most visible edge and push cut tiles into corners, not the center of the room. Dry-lay a full course, set your grout joint width early, and order 15% extra because handmade tile has natural size variation. That sequence keeps zellige cutting waste low and the finished wall or floor balanced.
Start with the sightline, not the room center
Zellige is prized for its irregular surface and hand-shaped edges, which means a perfectly centered grid can still look off if the first course drifts. Pick the wall or edge people see first, such as the top of a backsplash or the main doorway, and run your first full course there. Let the cut course land in the least visible corner. This one decision usually saves more tile than any other layout choice.
Dry-lay a full course before you open thin-set
Dry-laying one full row on the floor or against the wall shows you how the tile actually sits together. Because handmade tile varies in size, a dry-lay reveals whether your planned grout joint will absorb that variation or fight it. If the course runs long, tighten the joint slightly rather than trimming every tile. If it runs short, widen the joint before you consider cutting.
Set handmade tile spacing early and keep it consistent
Handmade tile spacing is the single variable you control most easily. Choose a joint width and hold it across the whole installation, using spacers or wedges rather than eyeballing. Zellige edges are not machine-straight, so a consistent joint is what makes the irregularity read as intentional. Changing joint width mid-wall is the fastest way to create a cut you did not plan for.
Plan cuts around the tile module, not the wall
Measure the wall, then divide by the tile plus joint to find how many full tiles fit. The leftover is your cut. If that leftover is under half a tile, shift the layout so the cut lands in a less visible spot instead of forcing a sliver. Slivers are the main source of zellige cutting waste because they break and cannot be reused.
Match the pattern to the tile format you actually bought
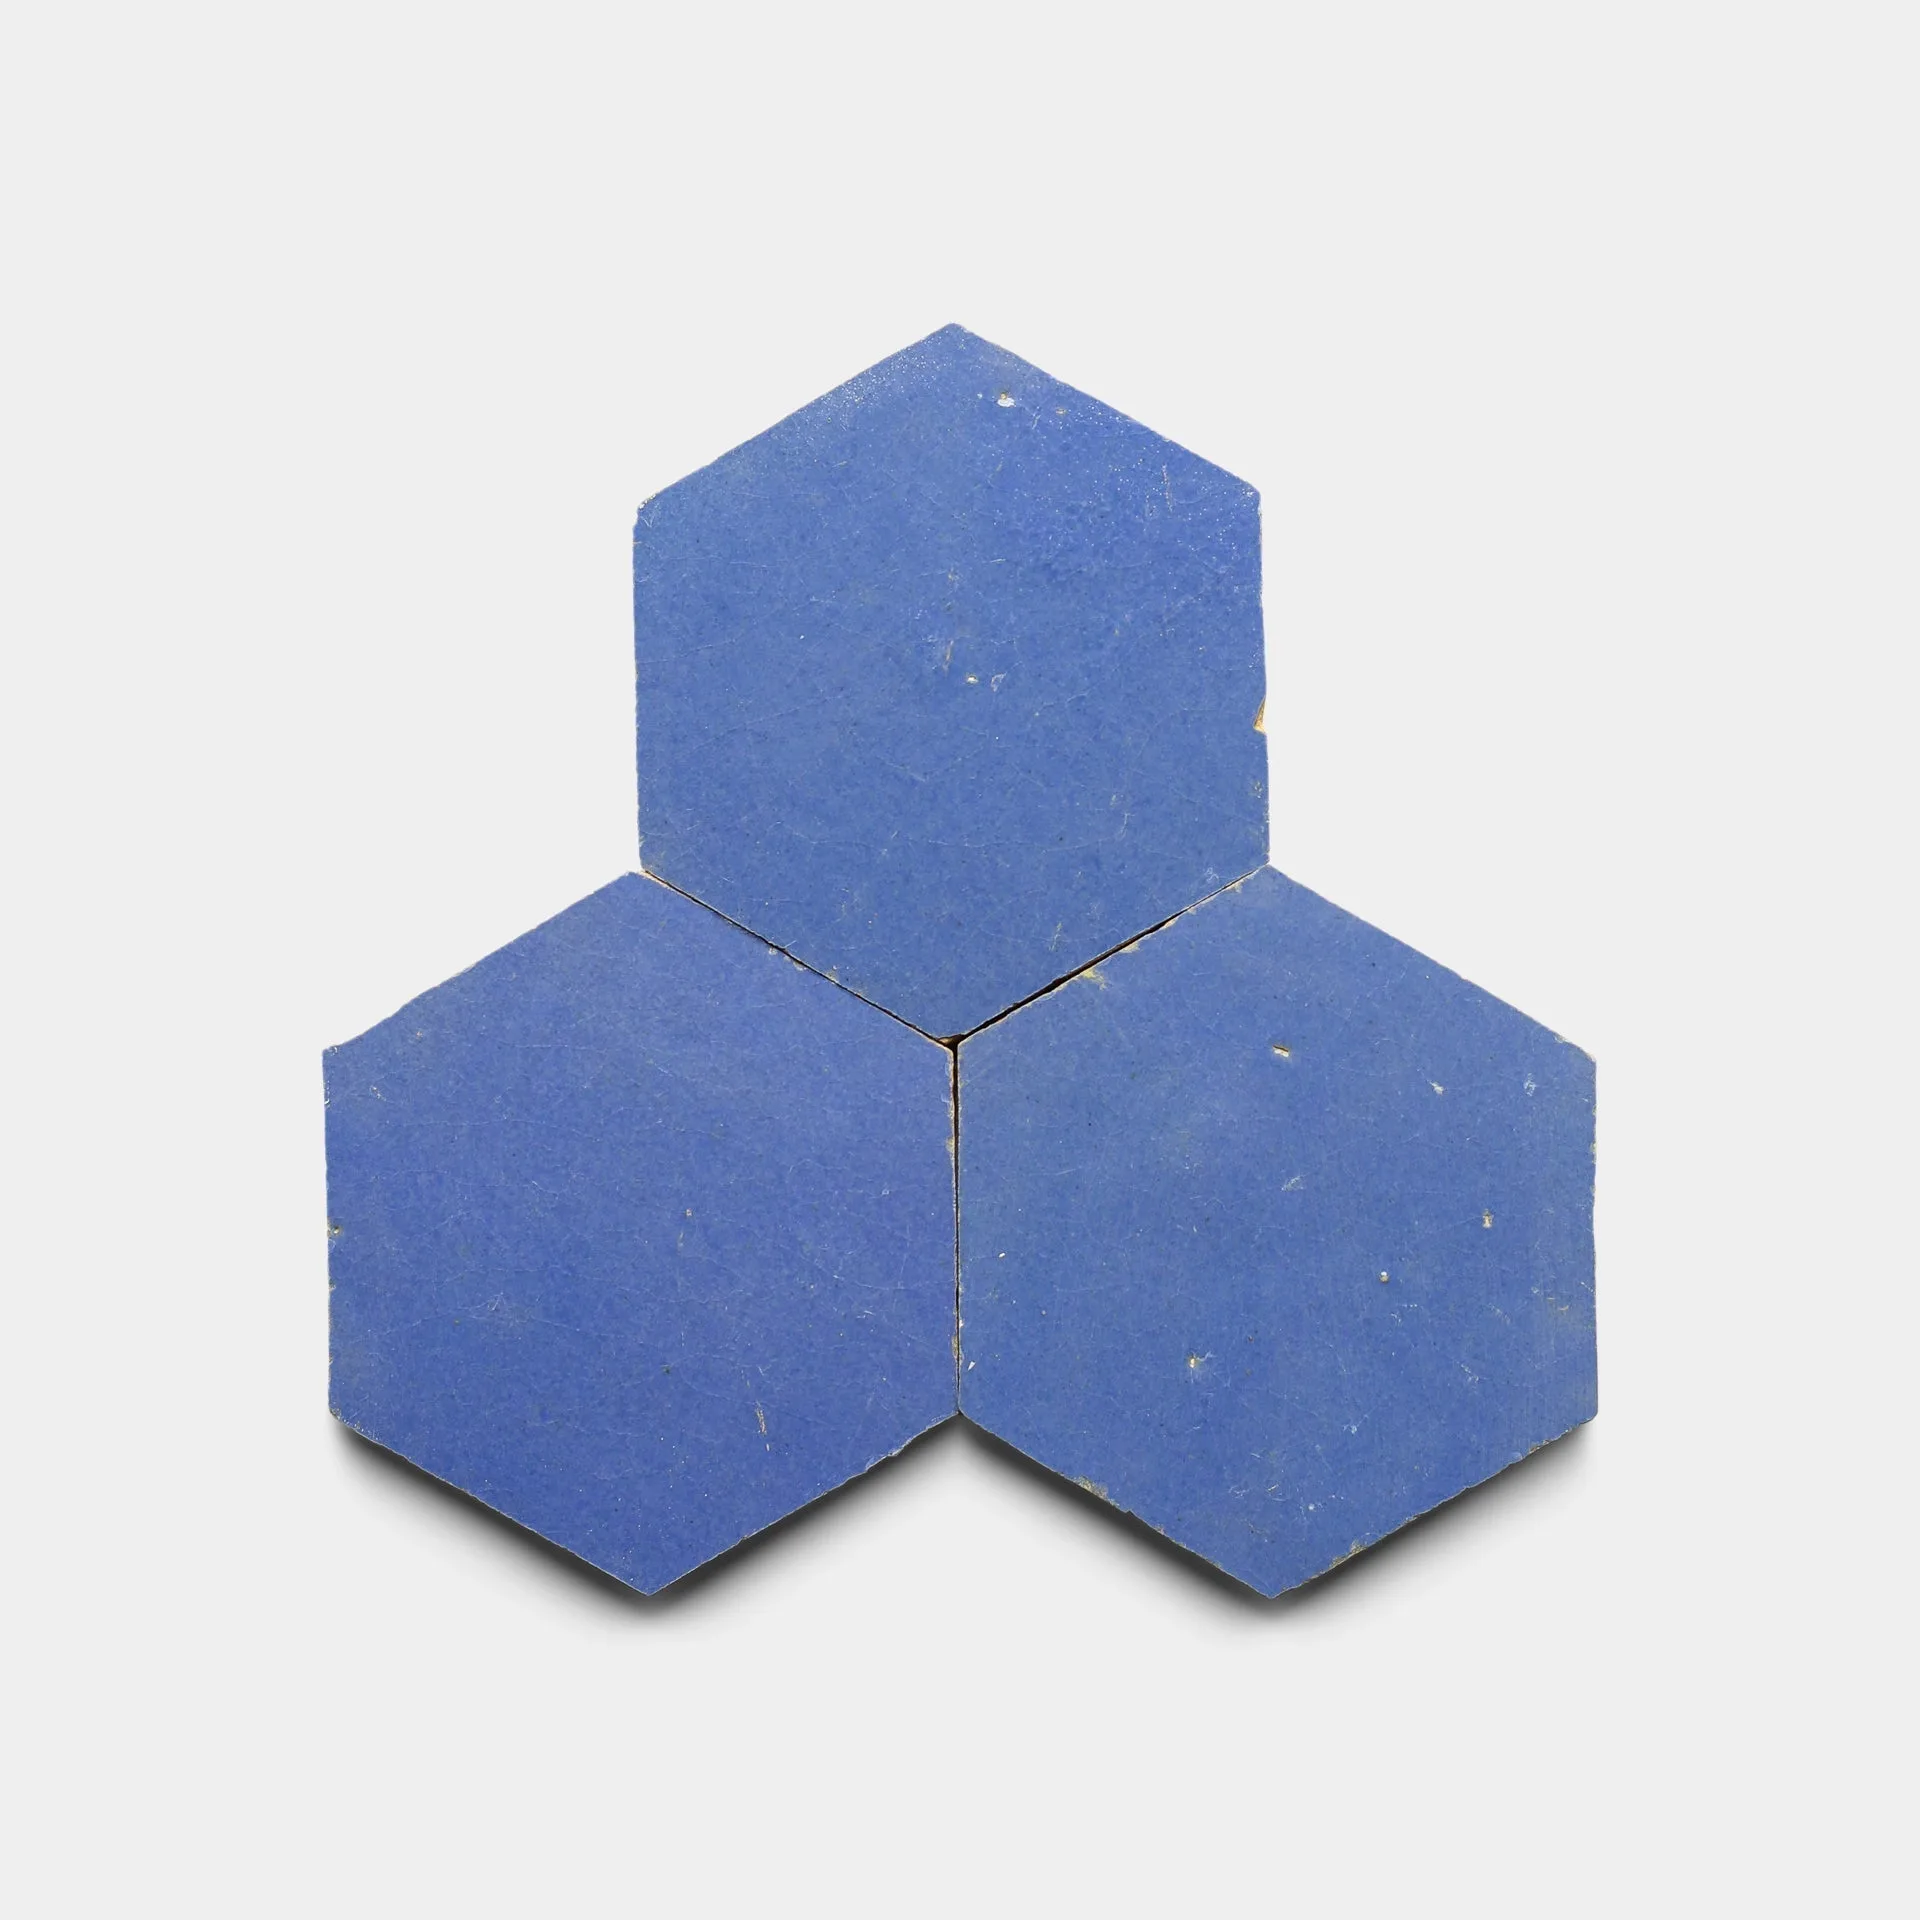
A hexagonal zellige and a rectangular ceramic behave differently on the wall. Hexagons need a layout that respects their points, while a 2x8 rectangle rewards a running bond or stacked set. Decide the pattern before you cut anything, because switching mid-installation wastes both tile and time. If you are unsure how a color or shape will read in your space, order a sample first and view it in your actual light.
Step-by-step zellige layout process
- Measure the full installation and find the module: Measure width and height, then divide by tile size plus your chosen joint to see how many full tiles fit and what is left for cuts. Checkpoint: if the leftover is a sliver, shift the layout before cutting.
- Dry-lay one full course on the floor or against the wall: Place tile without adhesive to see how handmade size variation affects the run and whether your joint width works. Mistake to avoid: adjusting joint width tile by tile instead of holding one consistent spacing.
- Mark the cut line and test on a spare tile: Mark the cut, then cut a scrap piece first to confirm the blade and technique suit the tile body. Checkpoint: if the test cut chips, adjust your method before cutting the visible course.
- Set the full tiles first and keep cuts in the least visible corner: Install from your sightline outward, leaving the cut course for last so you can fine-tune the joint to fit. Mistake to avoid: starting at a corner and forcing the layout to meet the visible edge.
- Order 15% overage and keep spares: Handmade tile varies in size and color, so extra pieces cover breakage, future repairs, and any layout changes. Checkpoint: keep unopened spares stored flat for later repairs.
Product facts that affect layout
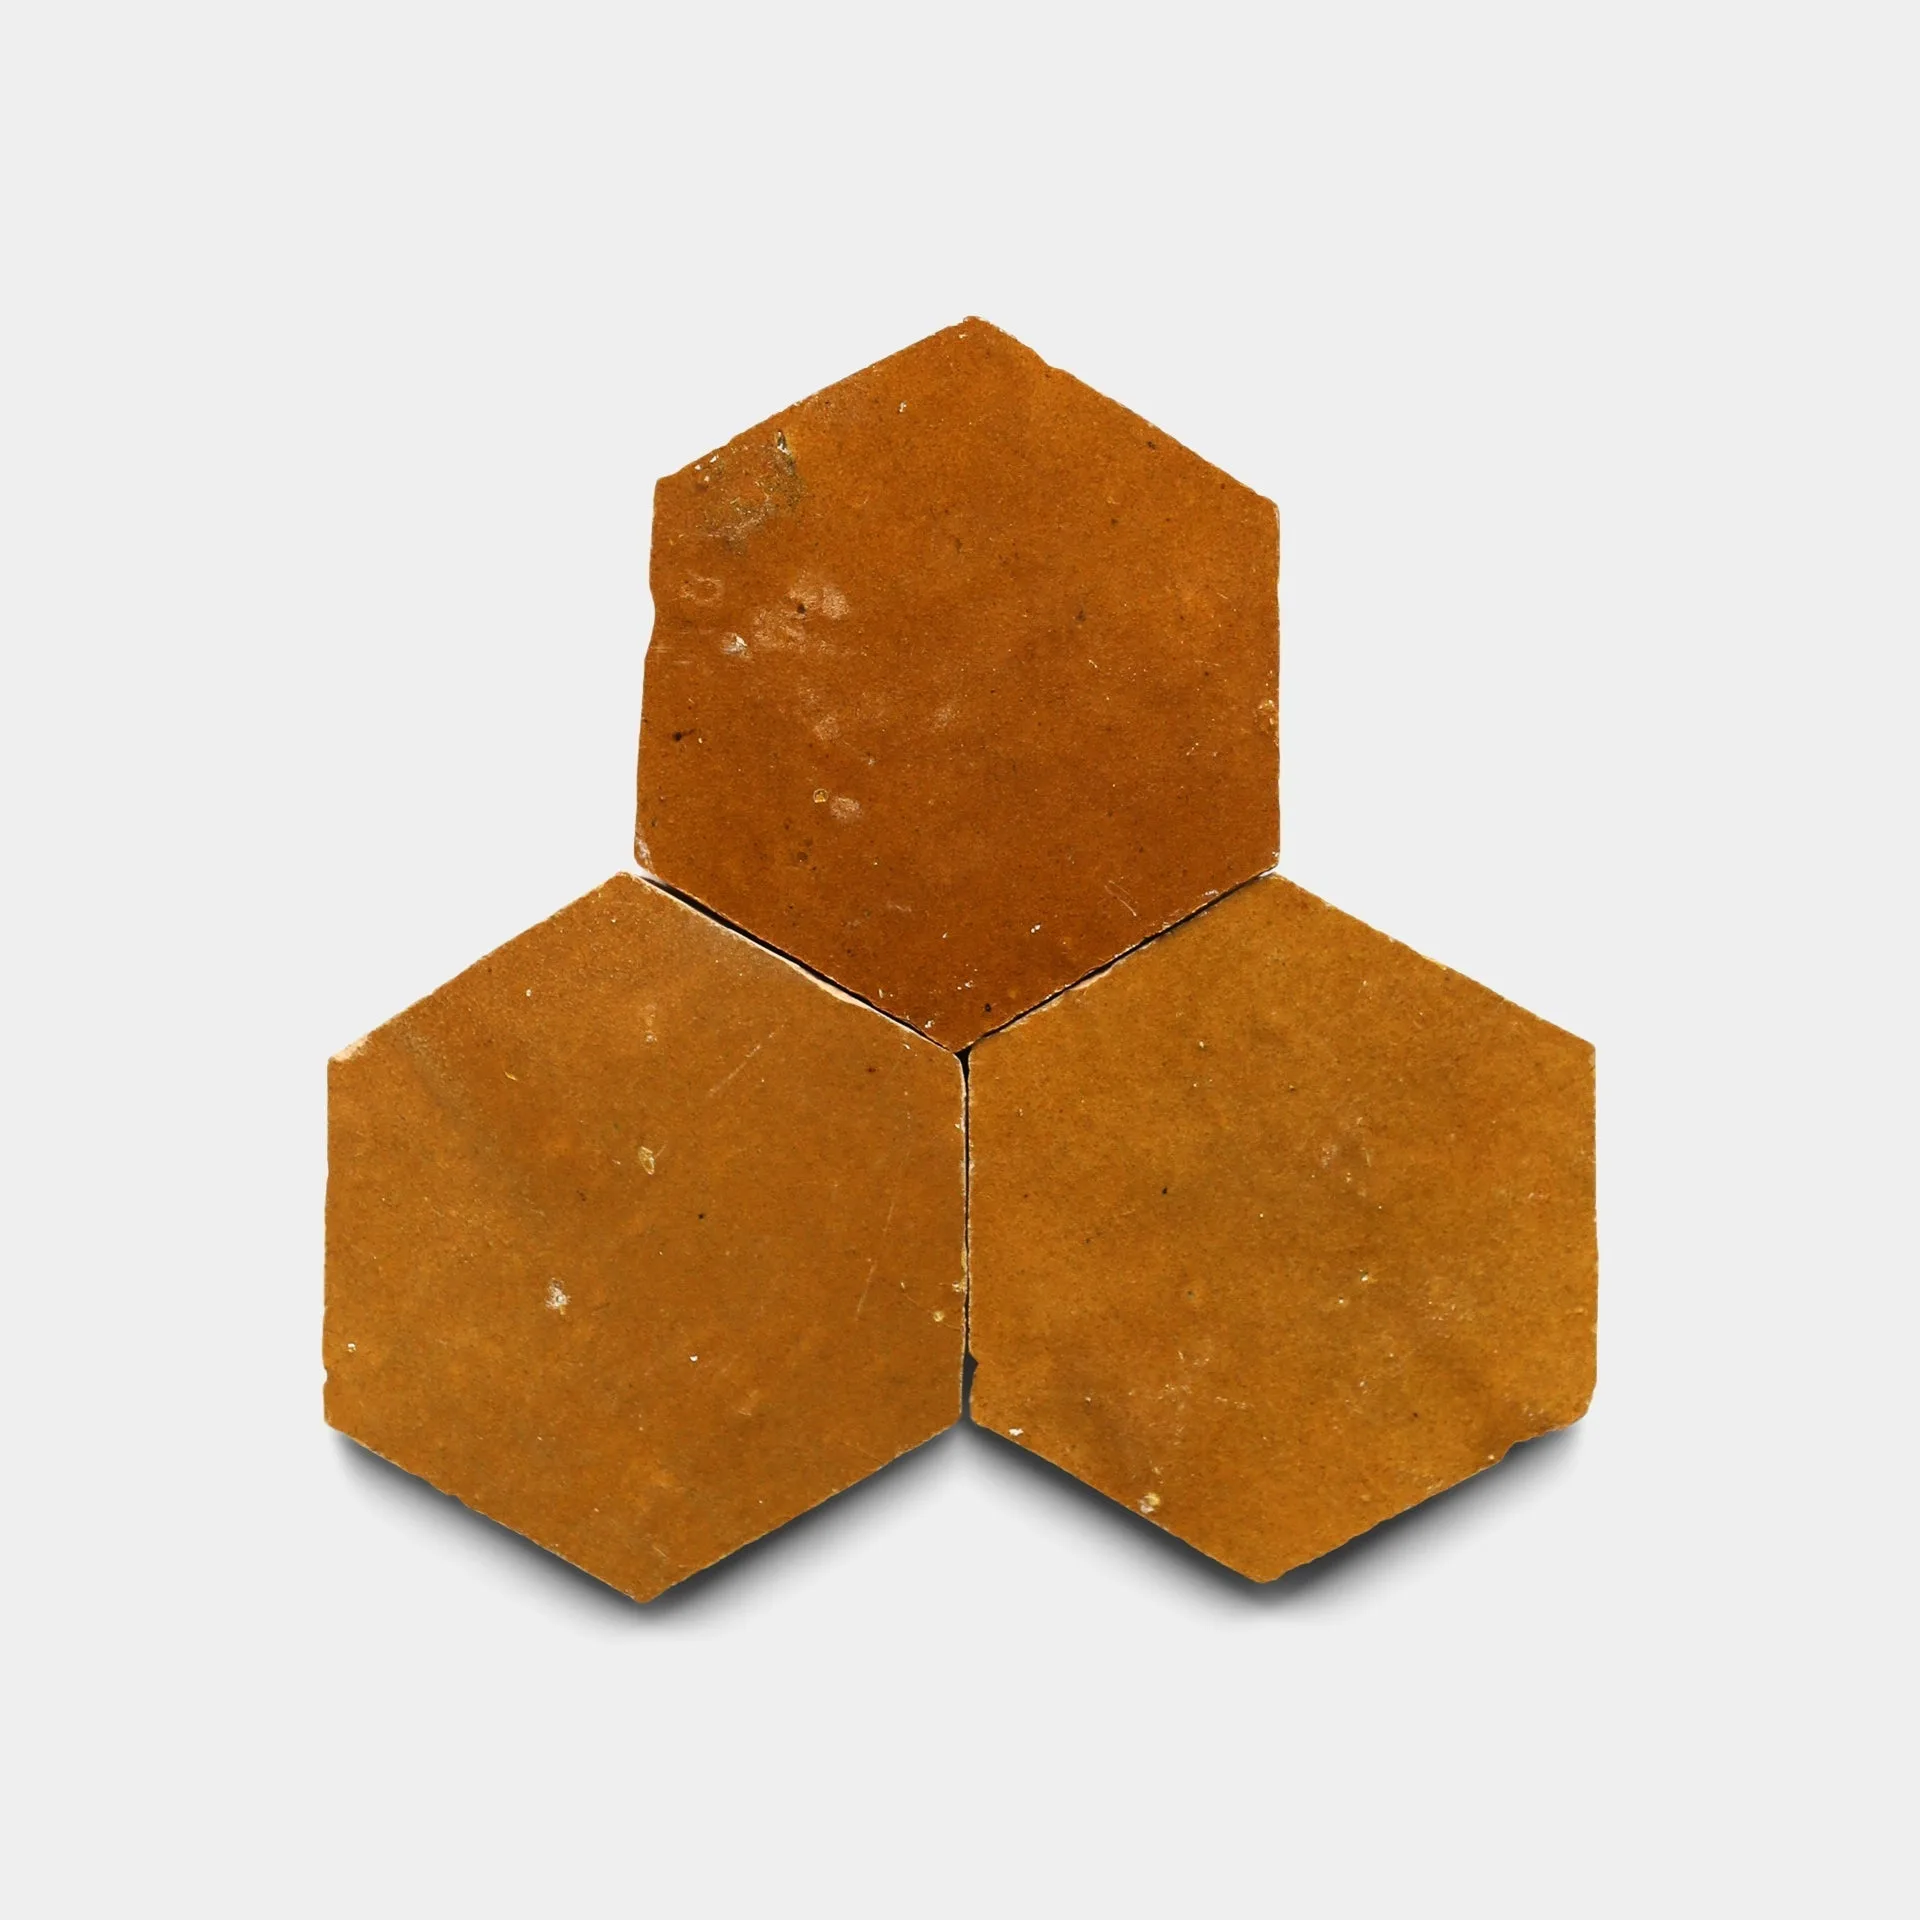
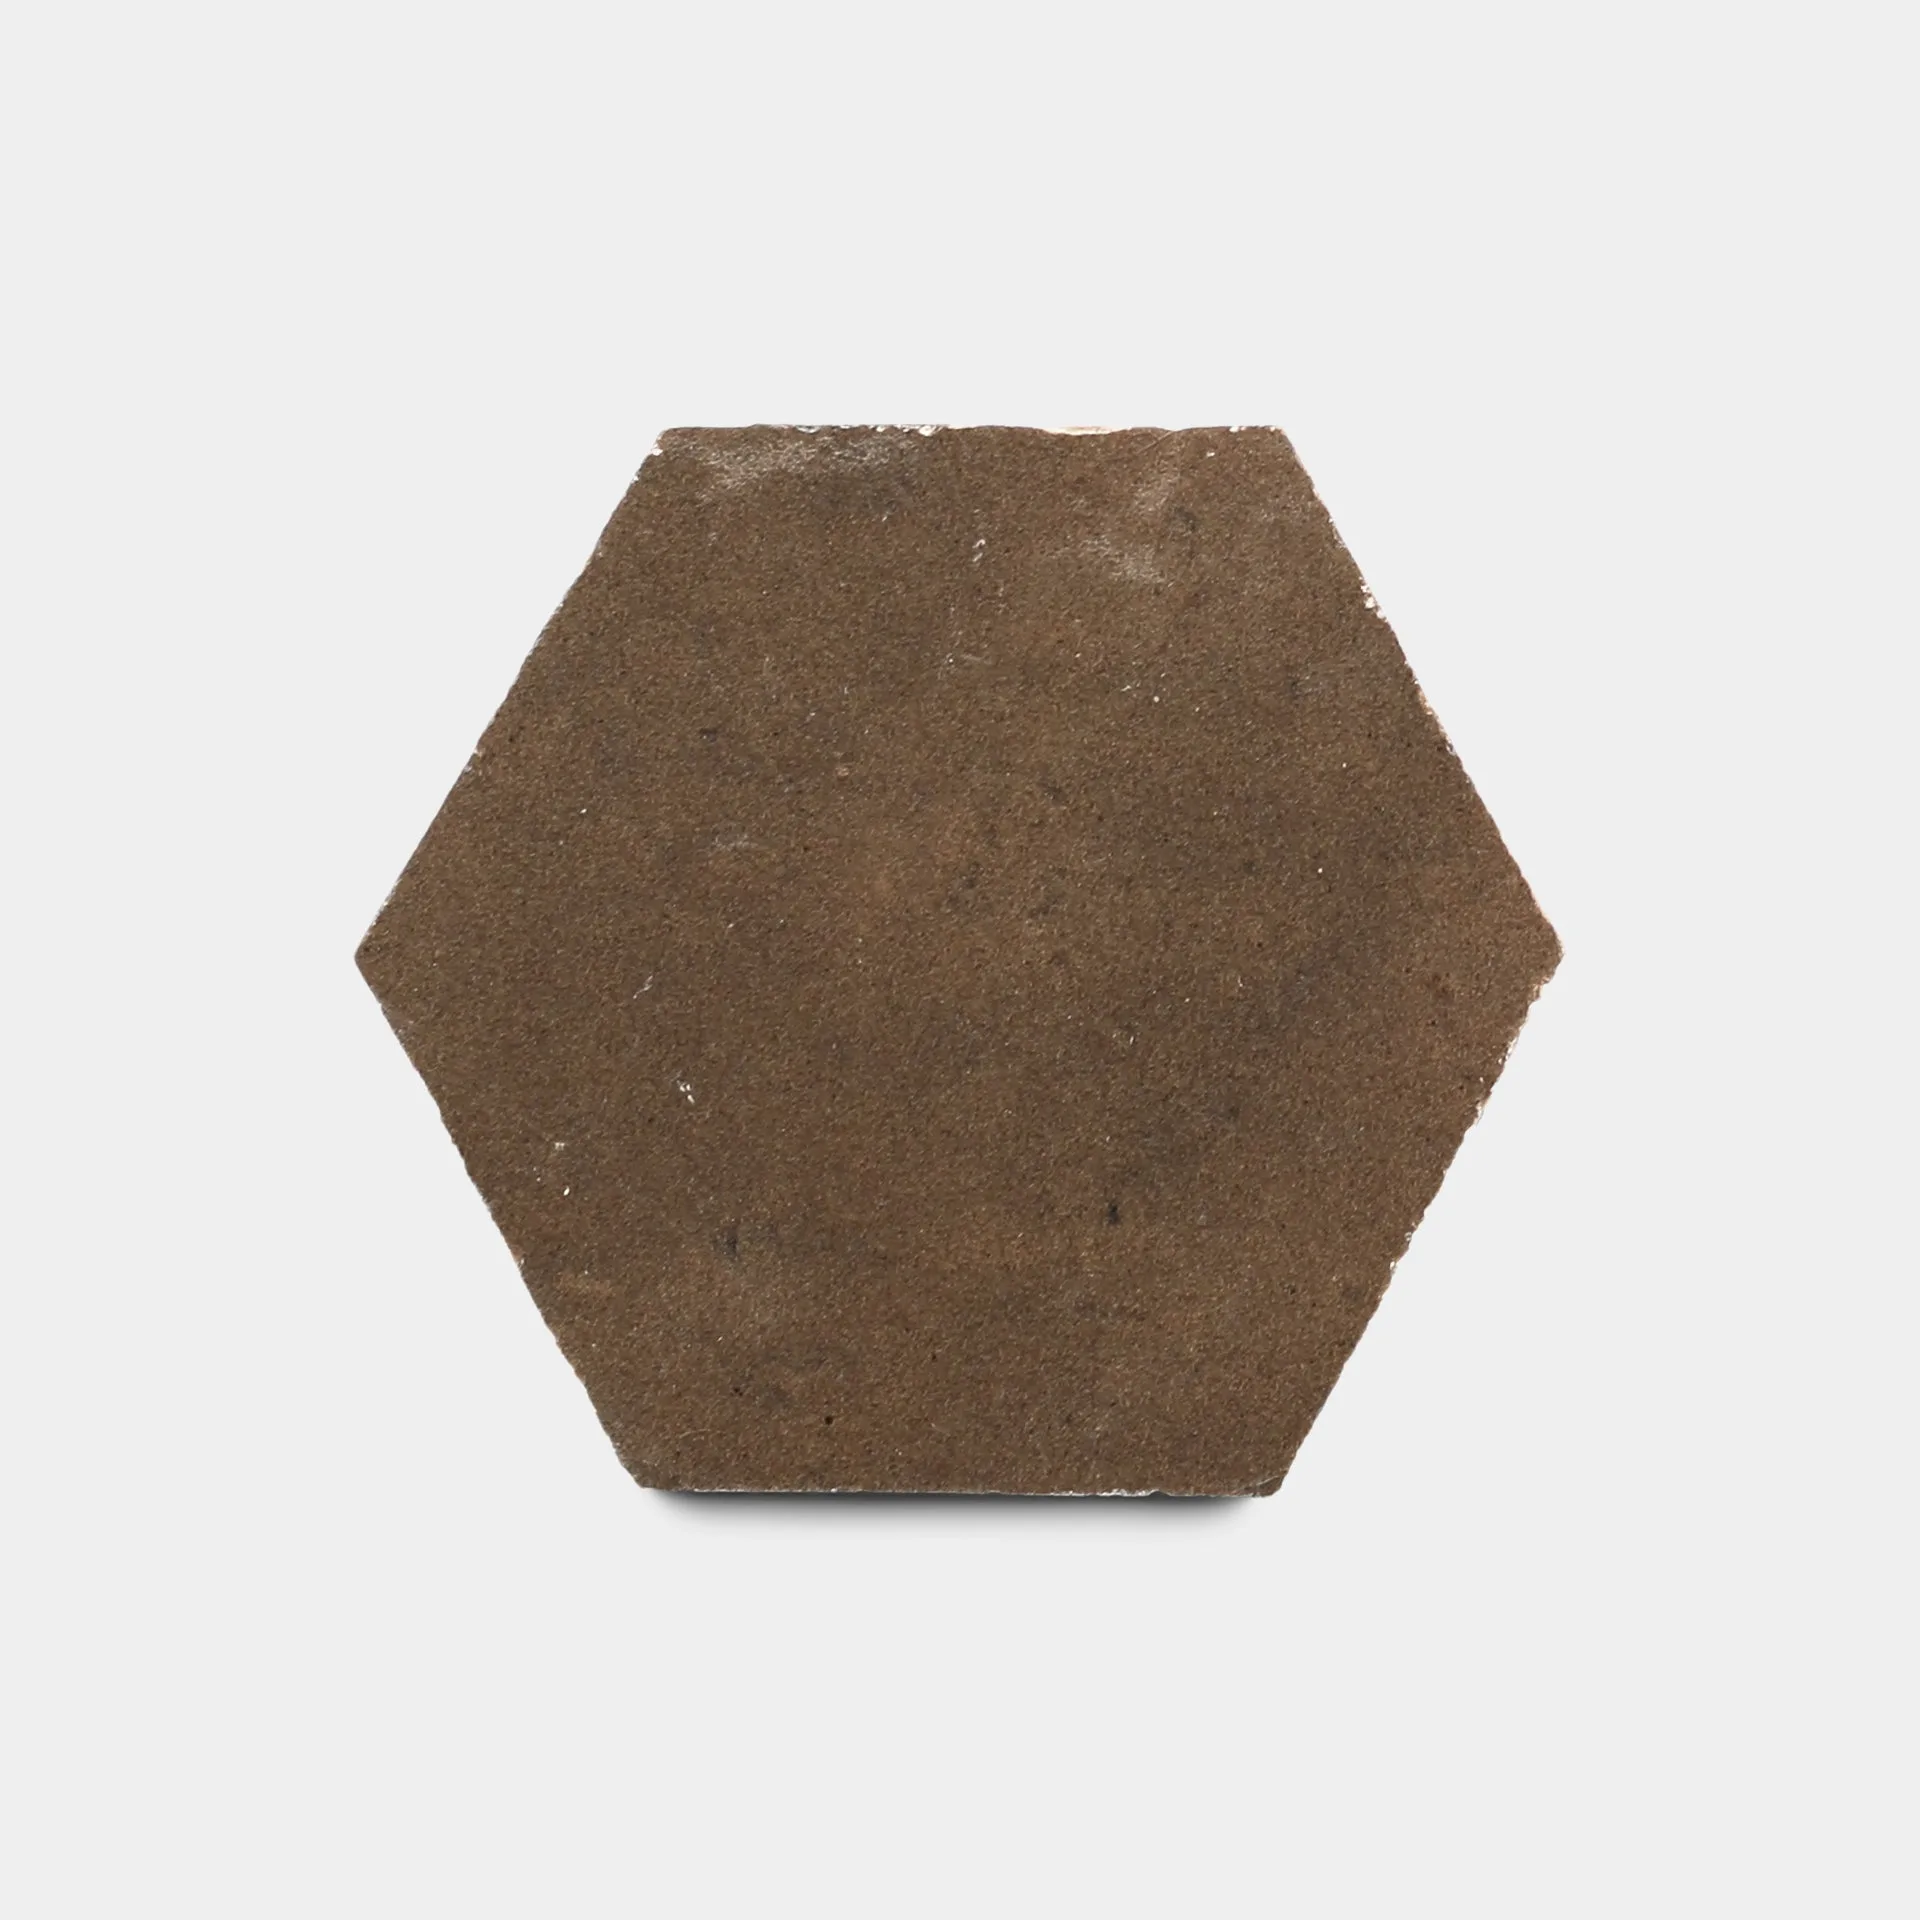
- Amber Hex: Amber Hex is a Zellige tile described as an ancestral north African art, with complex geometric mosaic work made by skilled craftsmen. Hexagonal geometry changes your cut plan, so dry-lay the points and plan corner cuts before setting.
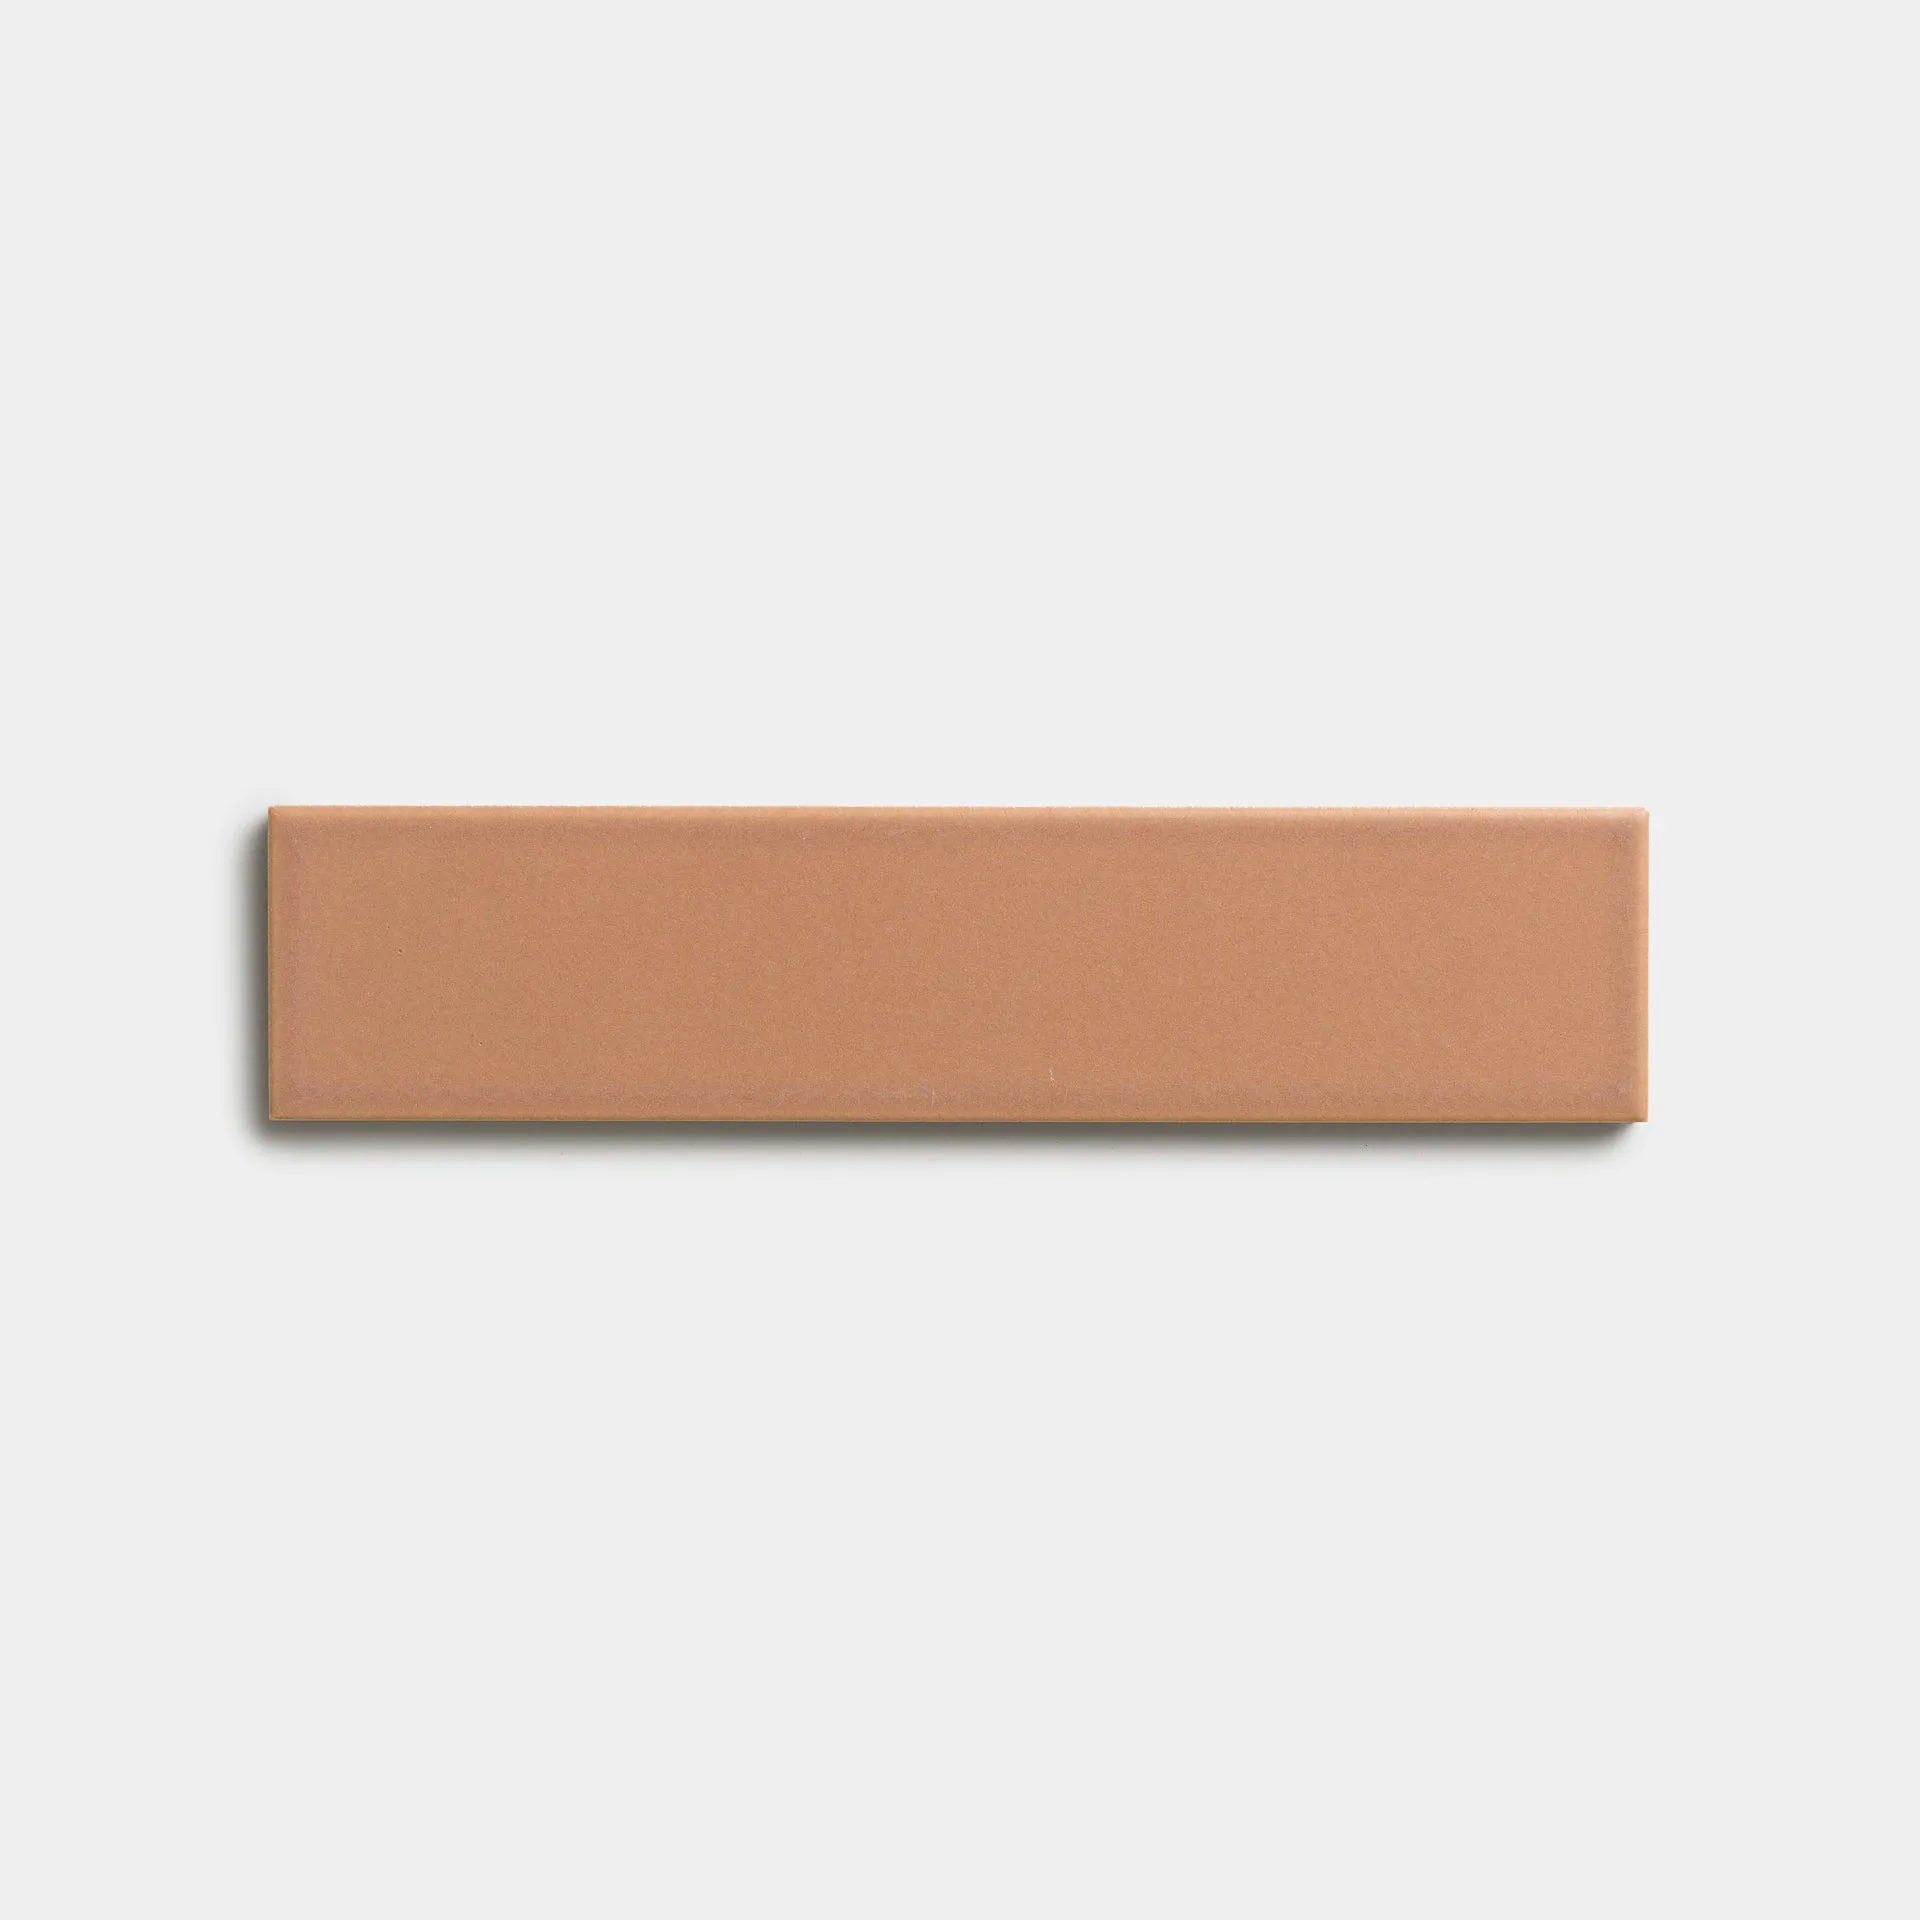
- Rhubarb 2x8: Rhubarb 2x8 is a handmade ceramic tile in a standard 2 inch by 8 inch rectangular format, suitable for wall and floor installations. A fixed rectangle makes running bond and stacked layouts predictable, so you can calculate cuts from the module.
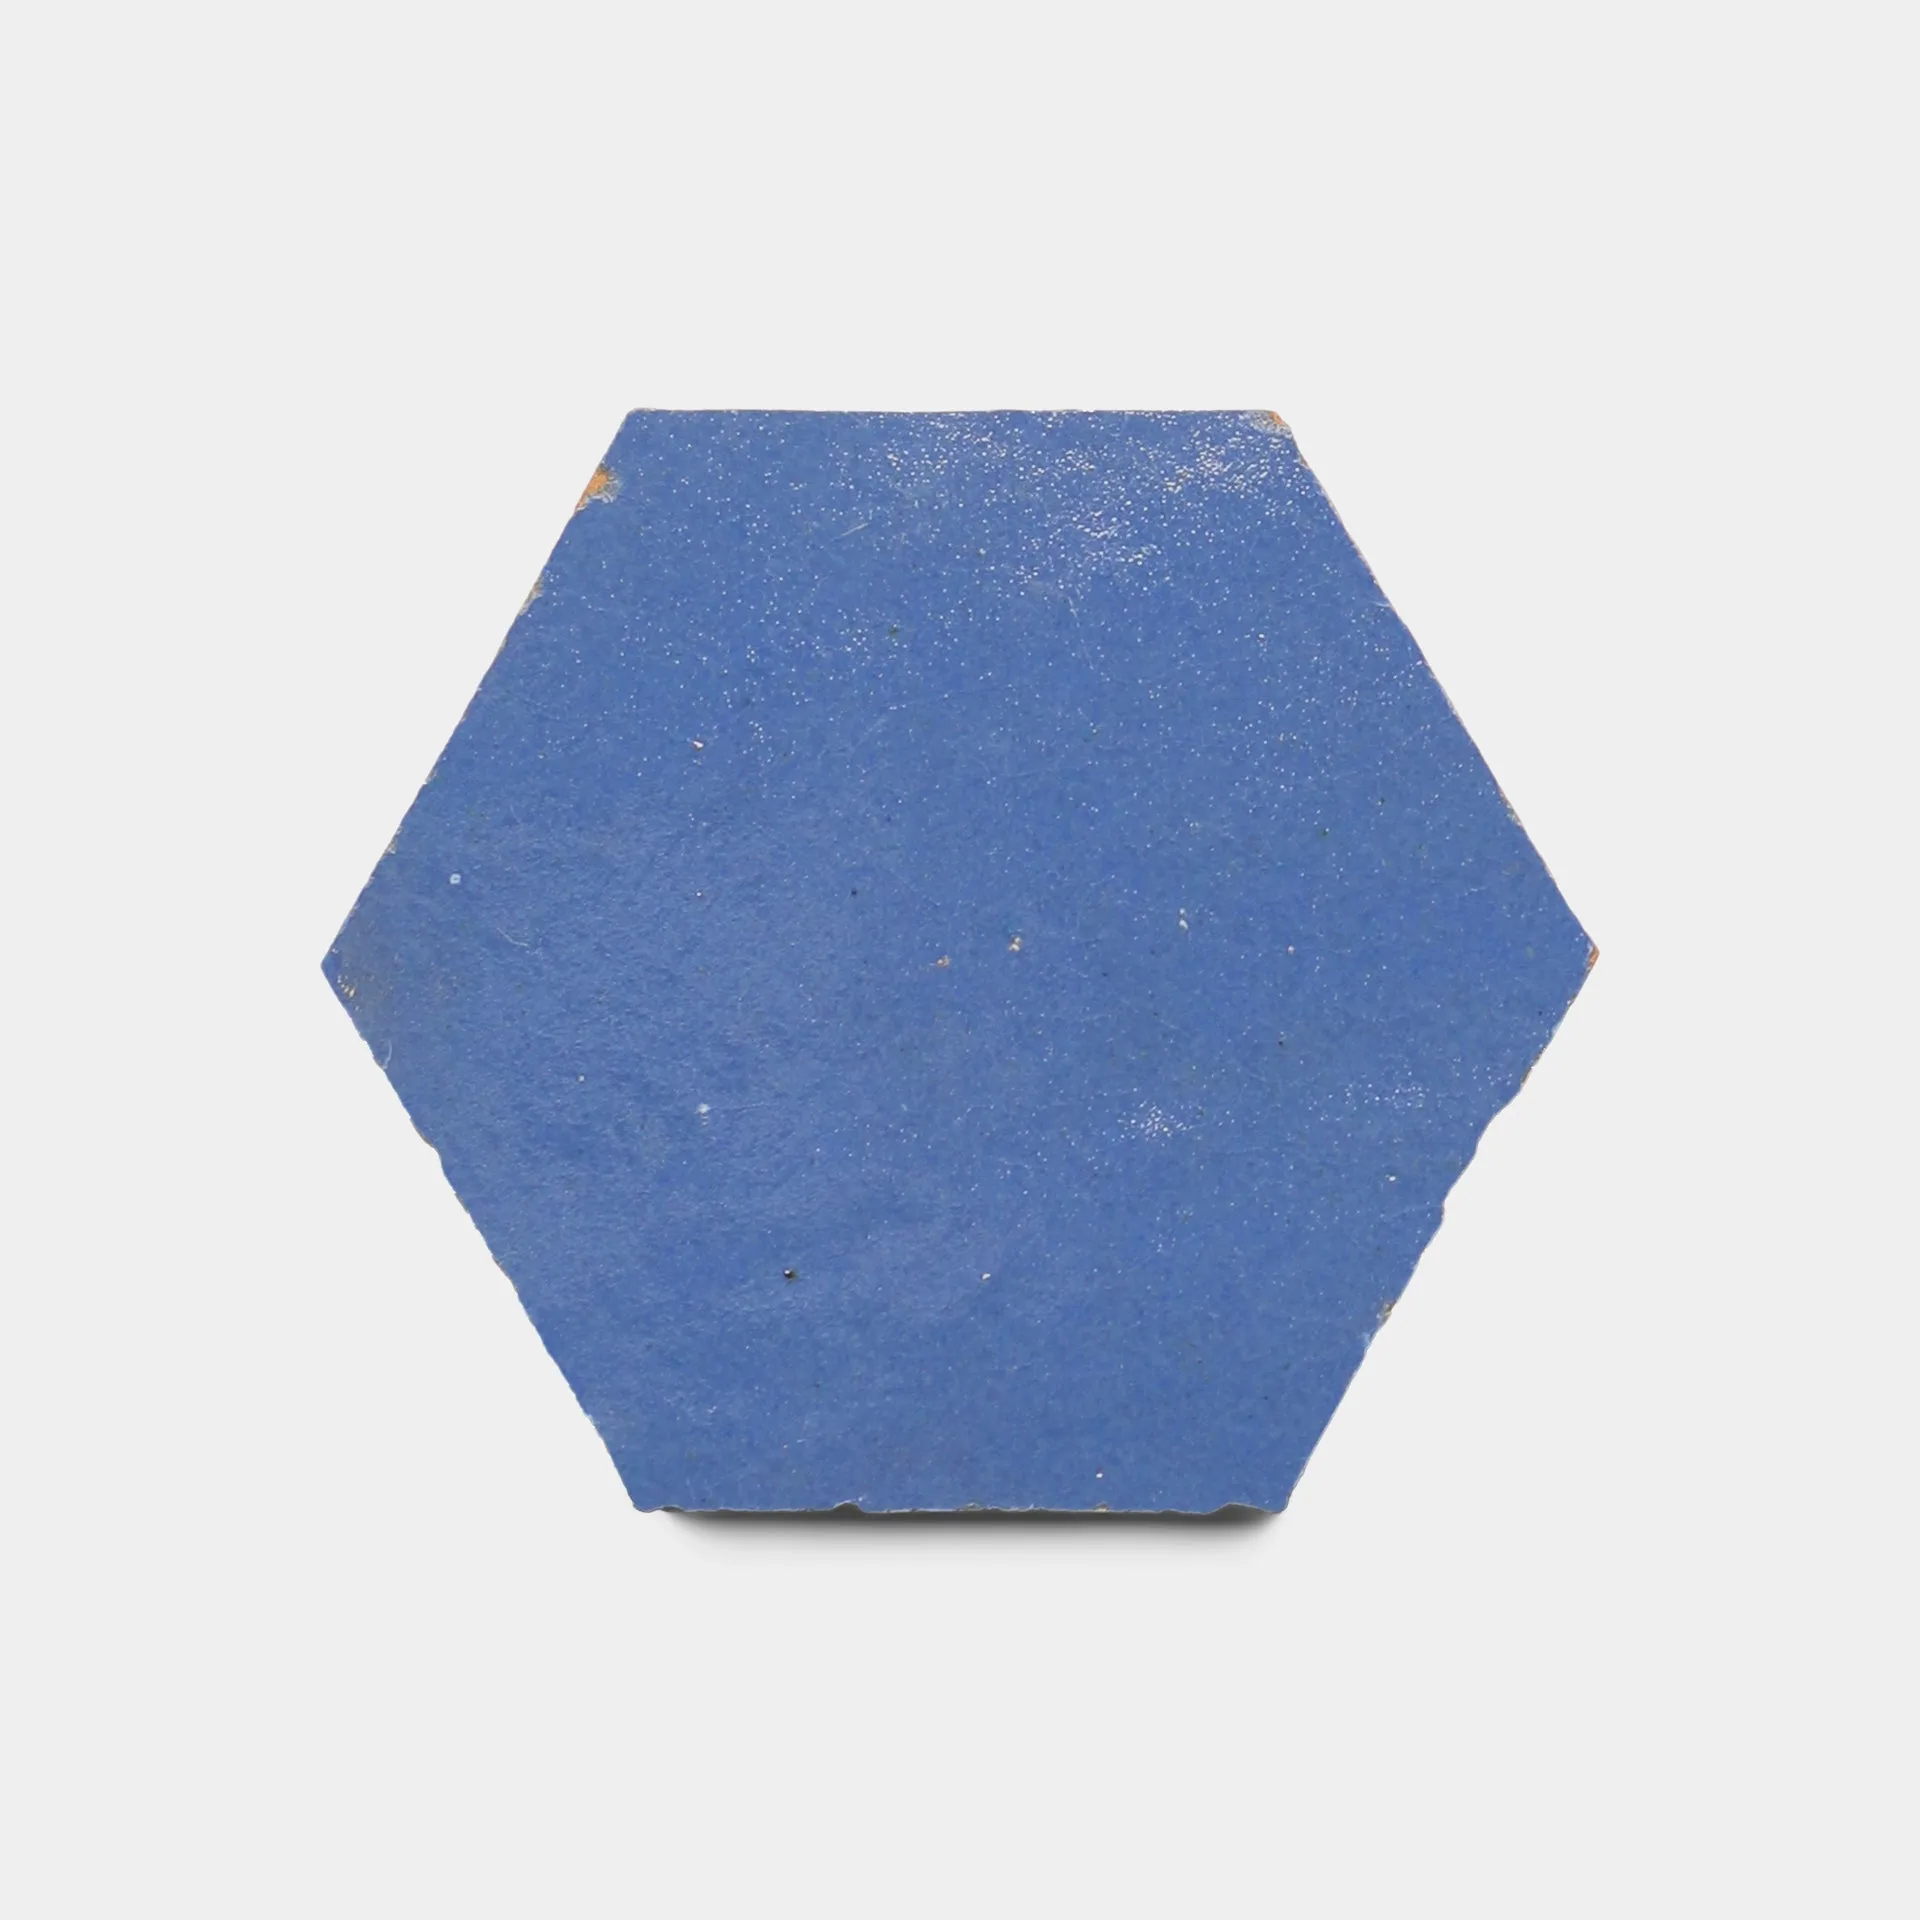
- Portuguese Blue Hex, Sample: Portuguese Blue Hex is offered as a sample so you can review color, shape, and layout before committing to a full order. Ordering a sample first lets you test spacing and pattern against your space before cutting full-size tile.