Getting Started with Your Zipper Pouch Kit
The Klum House Zipper Pouch Black Leather + Hardware Kit is a beginner-friendly project that sews up in just a couple of hours. It includes premium leather, a brass zipper, and strong metal hardware. The kit is designed to teach you how to sew a luxe lined pouch with a leather pull, and it also works as the accompanying pouch for The Belmont Pack + Pouch.
What's in the Kit
The kit contains the zipper, leather pieces, and hardware needed to make the pouch. You can add the pattern separately if you don't already have it. All you need is a hammer to set the hardware. The kit is available in several color combinations: choose from Black, Field Tan, Plum, or Rust zipper, paired with Brass, Antique Brass, or Black hardware.
Step-by-Step Assembly Tips
These tips are based on the kit's supplied description and are meant to guide your sewing process. Always follow the pattern instructions for exact measurements and seam allowances.
- Prepare the zipper and leather: Lay out your zipper and leather pull. The kit includes a leather pull tab that you'll attach to the zipper. Use a hammer to set the hardware according to the pattern instructions. The hardware is strong metal, so a firm tap should secure it.
- Sew the lining and outer fabric: The pouch is lined. Sew the lining and outer fabric separately, then join them with the zipper in between. The kit does not include fabric for the outer shell—it includes leather for the pouch itself. The lining fabric is not specified in the kit contents, so you'll need to supply your own lining fabric or use the pattern's recommendation.
- Attach the zipper: Pin the zipper to the top edge of the outer pouch piece and the lining piece. Sew close to the zipper teeth using a zipper foot. The brass zipper is sturdy and should slide smoothly. Take your time to keep the seam straight.
- Finish the pouch: After sewing the zipper, sew the remaining sides of the pouch together, leaving a small opening in the lining to turn it right side out. Turn the pouch, stitch the opening closed, and push the lining inside. Your pouch is ready to use.
Turning Your Pouch into a Wristlet, Clutch, or Crossbody
After you've made your pouch, you can turn it into a wristlet, clutch, or crossbody bag! The kit's design is versatile. To make a wristlet, attach a wrist strap to the zipper pull or hardware. For a crossbody, add a longer strap—you can use a separate strap or make one from leftover leather. The kit itself does not include strap hardware, so you'll need to source that separately if you want to convert it.
Kit Details at a Glance
-
Zipper Pouch - Black Leather + Hardware Kit: The Zipper Pouch Black Leather + Hardware Kit includes premium leather, a brass zipper, and strong metal hardware. It is beginner-friendly and sews up in just a couple of hours. This confirms the kit is suitable for sewists new to zippers and hardware. The short project time makes it a good confidence builder.
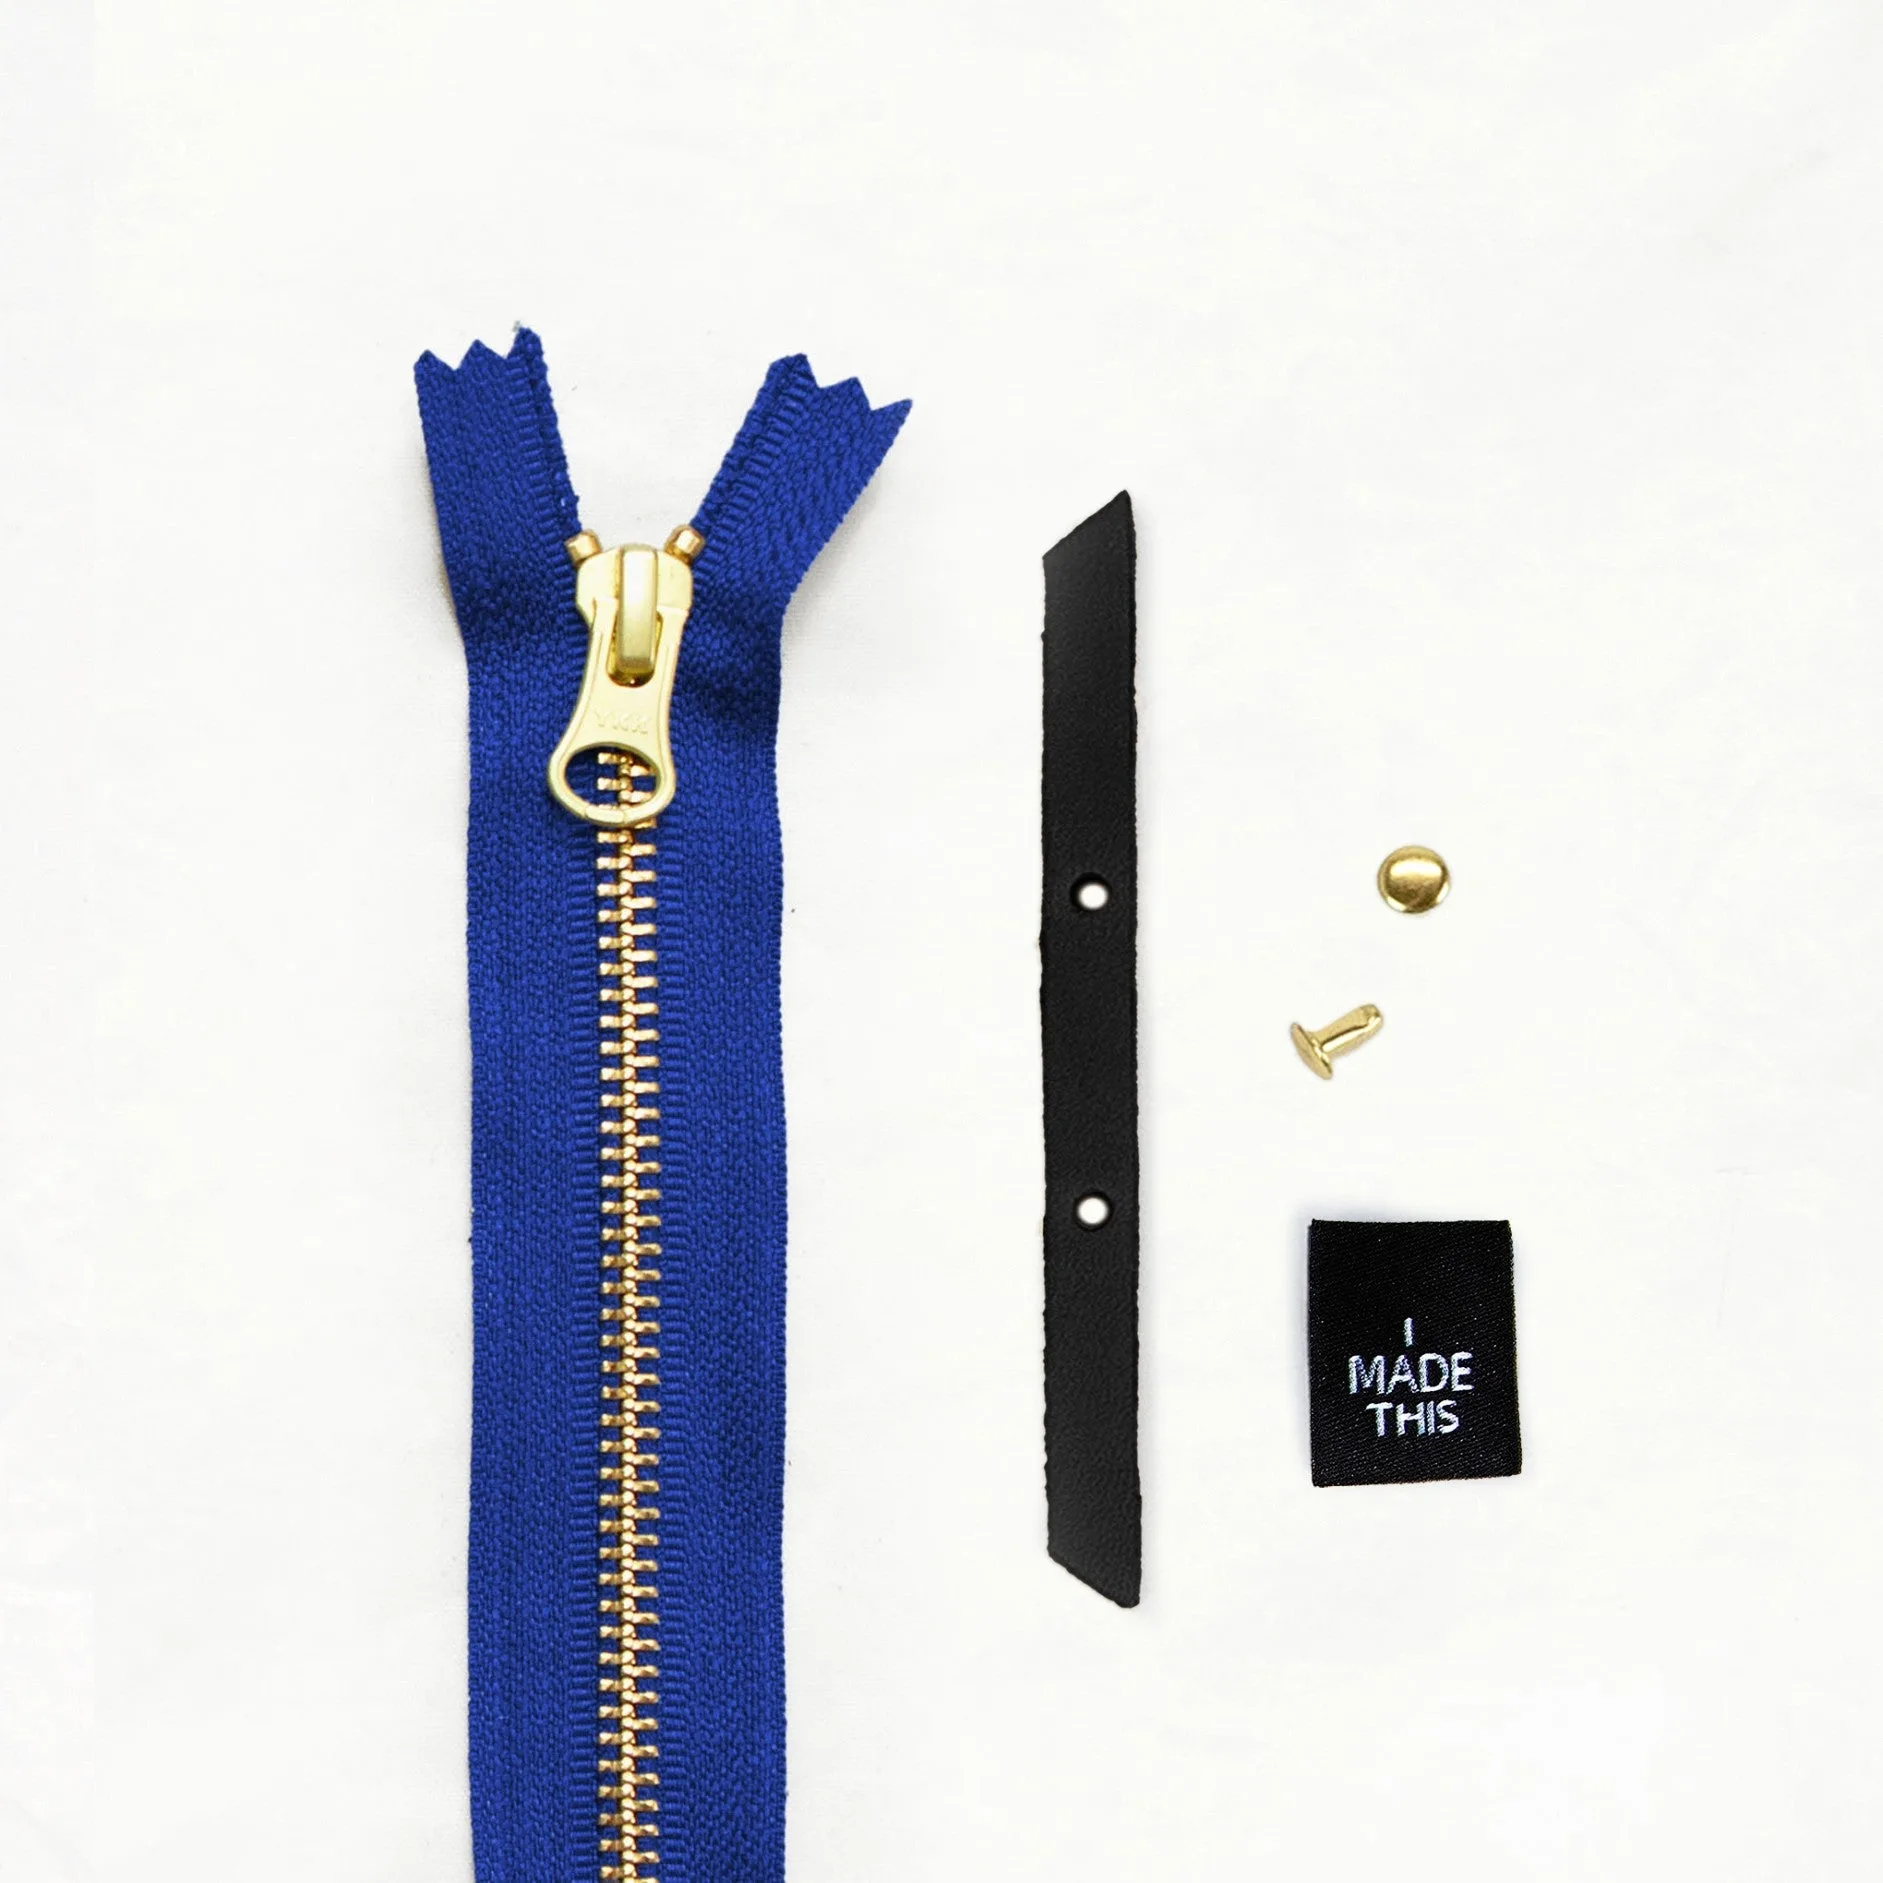
Zipper Pouch - Black Leather + Hardware Kit
-
Zipper Pouch - Black Leather + Hardware Kit: This kit also works with The Belmont Pack + Pouch! If you plan to sew the Belmont pack, you can use this pouch kit as a coordinated accessory, saving you from buying separate materials.
-
Zipper Pouch - Black Leather + Hardware Kit: After you've made your pouch, you could turn your pouch into a wristlet, clutch, or crossbody bag! The pouch is not just a standalone project—it can be adapted for different carry styles, adding value beyond the basic kit.