Quick answer
Start with the ZM Acrylic Basic 5-Color Set when you want a small, pigmented palette for doll face-ups. Mix the five natural tones into custom shades, apply thin layers, and build up color gradually rather than painting opaque strokes.
Why a five-color set works for face-ups
A face-up needs only a handful of natural hues: skin, blush, shadow, brow, and lip. The ZM Acrylic Basic 5-Color Set gives you those starting points without buying large bottles you may never finish. Because the paints are highly pigmented, a little goes a long way, and you can thin them without losing vibrancy.
The trade-off is that you must mix your own variations. If you prefer ready-made shades for every feature, a larger set may suit you better. But for a beginner learning basic acrylic color mixing, five colors force you to understand how tones relate—an advantage that carries over to future face-ups.
When to choose this set over other acrylics
This set is formulated for dolls but works on any project that needs natural, blendable color. Use it if you are painting resin dolls and want a compact palette that fits in a small case. Skip it if you need metallic, neon, or highly specialized colors—those are outside the scope of these five natural tones.
For face-up painting beginners, the small squeeze bottles make it easy to dispense a tiny amount onto a palette. That control matters because acrylics dry quickly; you can always add more paint, but you cannot easily remove a heavy stroke.
Step-by-step: using the five-color set for a face-up
- Prepare your palette and thin the paint: Squeeze a small drop of each color onto a ceramic or plastic palette. Dip your brush in thinner and mix a tiny amount into the paint you plan to use first. Aim for a consistency like skim milk—thin enough to flow but still pigmented. Test the thinned paint on a spare resin piece or the back of the head to check opacity before touching the face.
- Mix a base skin tone: Combine the lightest color with a touch of the warmest tone to create a base that matches your doll's resin. Mix more than you think you need, because matching a second batch later is difficult. Apply a thin, even layer over the face with a soft brush. If the color looks too strong, add thinner rather than more paint; you can always add pigment later.
- Build blush and shadows in layers: Use a separate brush for each color family to avoid muddying your mixes. Apply blush in small, circular motions on the cheeks and nose, then let it dry completely before adding another layer. For shadows, mix a cooler tone and apply it under the brow bone and along the jawline. Stop one layer earlier than you think you should—acrylics darken slightly as they dry.
- Paint brows and lashes with a fine brush: Mix a dark tone from the set and thin it just enough to flow from a fine liner brush. Paint individual brow hairs in short strokes, following the natural direction of hair growth. For lashes, work from the outer corner inward, keeping the strokes light. Keep a clean, dry brush nearby to quickly correct mistakes before the paint sets.
- Seal and check your work: Once the face-up is completely dry, apply a thin layer of top coat to protect the acrylics. Check the face from different angles under good lighting to spot uneven areas before the top coat fully cures. Always seal acrylic face-ups; unsealed paint can wear off with handling or wig changes.
Product facts
-
ZM Acrylic - Basic 5-Color Set: The Basic 5-Color Set contains common, natural colors used when painting faces. You get a focused palette for skin, blush, and features without buying full-size bottles of each shade.
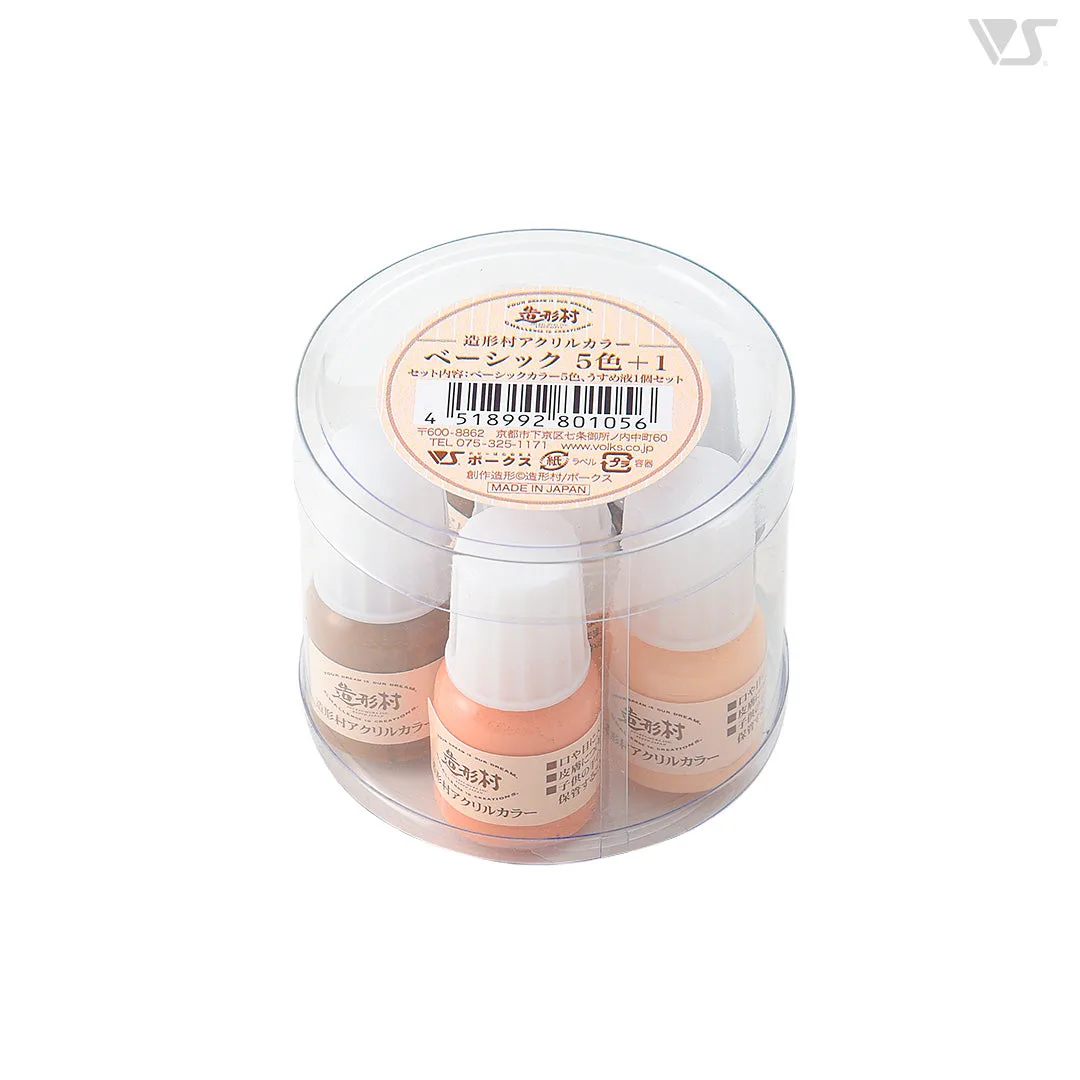
ZM Acrylic - Basic 5-Color Set
-
ZM Acrylic - Basic 5-Color Set: The paints are highly pigmented and stay vibrant after adding thinner. You can thin them for soft, translucent layers without the color turning weak or chalky.
-
ZM Acrylic - Basic 5-Color Set: The paints come in small squeeze bottles that are easy to handle and refill. You can dispense controlled drops onto a palette, which reduces waste and keeps your mixing area tidy.