Snel antwoord
Bewaar beha's plat of genesteld in een lade met de cups naar boven, zodat ze hun vorm behouden, en zet slips rechtop neer, zodat je elk paar in één oogopslag ziet. Houd de lade koel, droog en uit direct zonlicht, en vouw nooit moulded cups dubbel. Een sorteersessie van 20 minuten is genoeg om een systeem op te zetten dat blijft werken.
Een rommelige lingerielade kost je meer dan een paar seconden per ochtend. Beha's worden platgedrukt onder slips, beugels buigen en je draagt uiteindelijk steeds dezelfde twee stukken terwijl de rest vergeten achterin ligt. Goede lingerie-opbergruimte draait minder om het kopen van organisers en meer om een herhaalbare routine.
Deze gids behandelt zeven stappen, van sorteren tot langdurige opslag. Onderweg zie je hoe specifieke stukken, zoals een moulded push-up beha of een delicate lace Brazilian, iets andere behandeling nodig hebben. Het doel is een lade waarin alles zichtbaar, beschermd en klaar om te dragen is.
Waarom lingerie-opbergruimte ertoe doet
Bras zijn technische kledingstukken. Moulded cups, beugels en stretch lace behouden hun vorm alleen als ze met een beetje zorg worden opgeborgen. Het stapelen van zware items op een moulded beha kan de cup indeuken, en het dubbelvouwen van een beugelbeha zet spanning op de beugelcasing. Slips zijn vergevingsgezinder, maar kant en mesh raken snel beschadigd als ze langs haakjes en ritsen schuren.
Een goed opbergsysteem verandert ook hoe je koopt. Wanneer je elke beha en slip ziet die je bezit, stop je met het opnieuw kopen van dezelfde zwarte basics en begin je de stukken te gebruiken die je al hebt. Dat is de praktische kant van ondergoed-opbergtips: minder gedoe in de ochtend, langer leven voor elk kledingstuk.
- Houd de lade koel, droog en uit direct zonlicht om elastaan en kant te beschermen.
- Geef beha's hun eigen ruimte in plaats van ze te mengen met zware kleding.
Wat je nodig hebt
Je hebt geen op maat gemaakte kledingkast nodig. Een schone lade, een paar ladeverdelers of kleine dozen, en een lingeriezak voor de was zijn voldoende. Verdelers zijn belangrijk omdat ze voorkomen dat beha's op een hoop schuiven wanneer je de lade opent en sluit. Als je de voorkeur geeft aan hangende opbergruimte, werkt een hanger met meerdere niveaus en brede, ronde armen voor beha's, maar die neemt meer ruimte in dan een lade.
Avoid vacuum bags and tight plastic bins for everyday storage. They compress moulded cups and trap moisture. If you are storing out-of-season pieces, use a breathable cotton bag or a pillowcase instead.
- Drawer dividers or small open boxes
- A breathable lingerie bag for washing and travel
- Optional: a hanging organiser with rounded arms for bras
Step 1: Sort everything out
Empty the drawer completely onto a bed or table. Group by type first: bras, briefs, and any sleepwear or accessories. Then sort each group by how often you wear it. This is also the moment to pull out anything with a broken wire, stretched elastic or torn lace. A bra that no longer supports you takes up space and tempts you into an uncomfortable day.
As you sort, check the care labels. Most bras and briefs are hand-wash or gentle-cycle items, and pieces that need different handling are easier to manage if you keep them in one section. If you are unsure whether a bra is past its best, the signs are usually a stretched band, bent wires or cups that no longer lie flat.
- Common mistake: sorting by colour first. Sort by type and wear frequency instead, then arrange by colour inside each group.
Step 2: Wash and dry before storing
Never store worn lingerie. Oils and deodorant residue set into fabric over time and attract pests. Wash bras and briefs according to their care labels, then dry them flat or on a line away from direct heat. Heat is the enemy of elastane, so keep bras out of a hot dryer even on a gentle cycle.
Make sure everything is completely dry before it goes back in the drawer. Even slightly damp fabric in a closed drawer can develop a musty smell. If you are washing a batch, let pieces rest for an hour after they feel dry, then store.
- Checkpoint: press a cup against your palm. If it feels cool or damp, give it more drying time.
Step 3: Fold bras to keep their shape
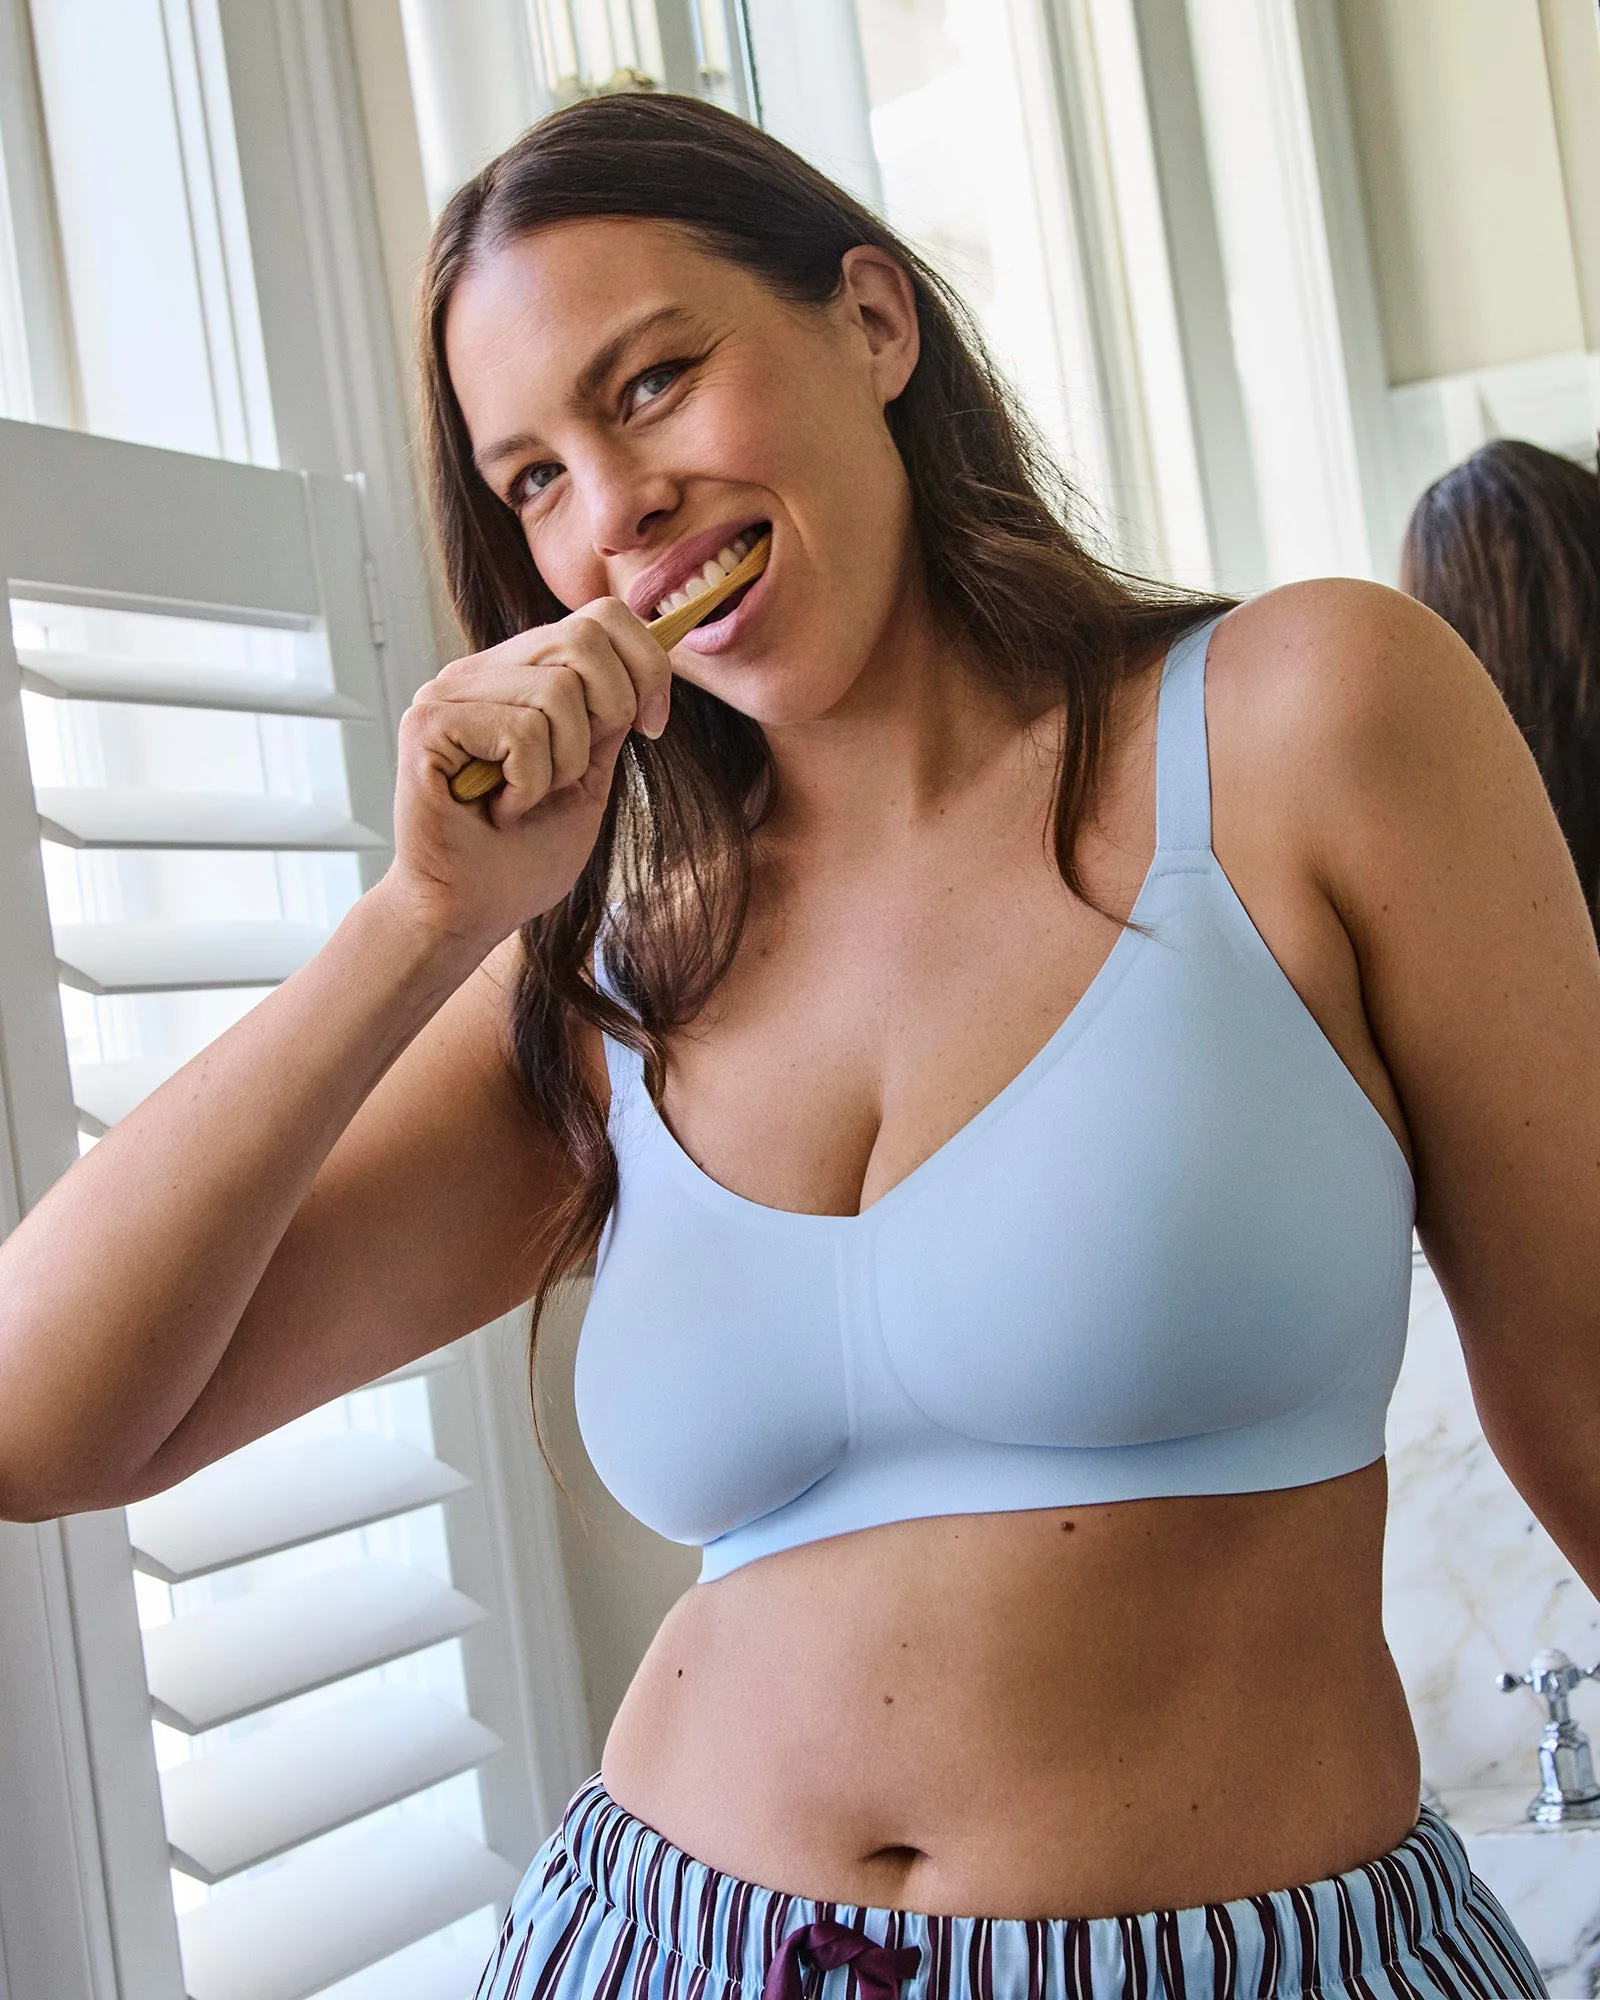
For moulded and push-up styles, the best method is to nest bras rather than stack them. Lay one bra flat with the cups facing up, then place the next bra on top with its cups sitting inside the cups below. This distributes weight evenly and protects the moulded shape. For a plunge style such as the My Fit Lace 200% Boost Push Up Bra - Medieval BlueAvoid vacuum bags and tight plastic bins for everyday storage. They compress moulded cups and trap moisture. If you are storing out-of-season pieces, use a breathable cotton bag or a pillowcase instead.
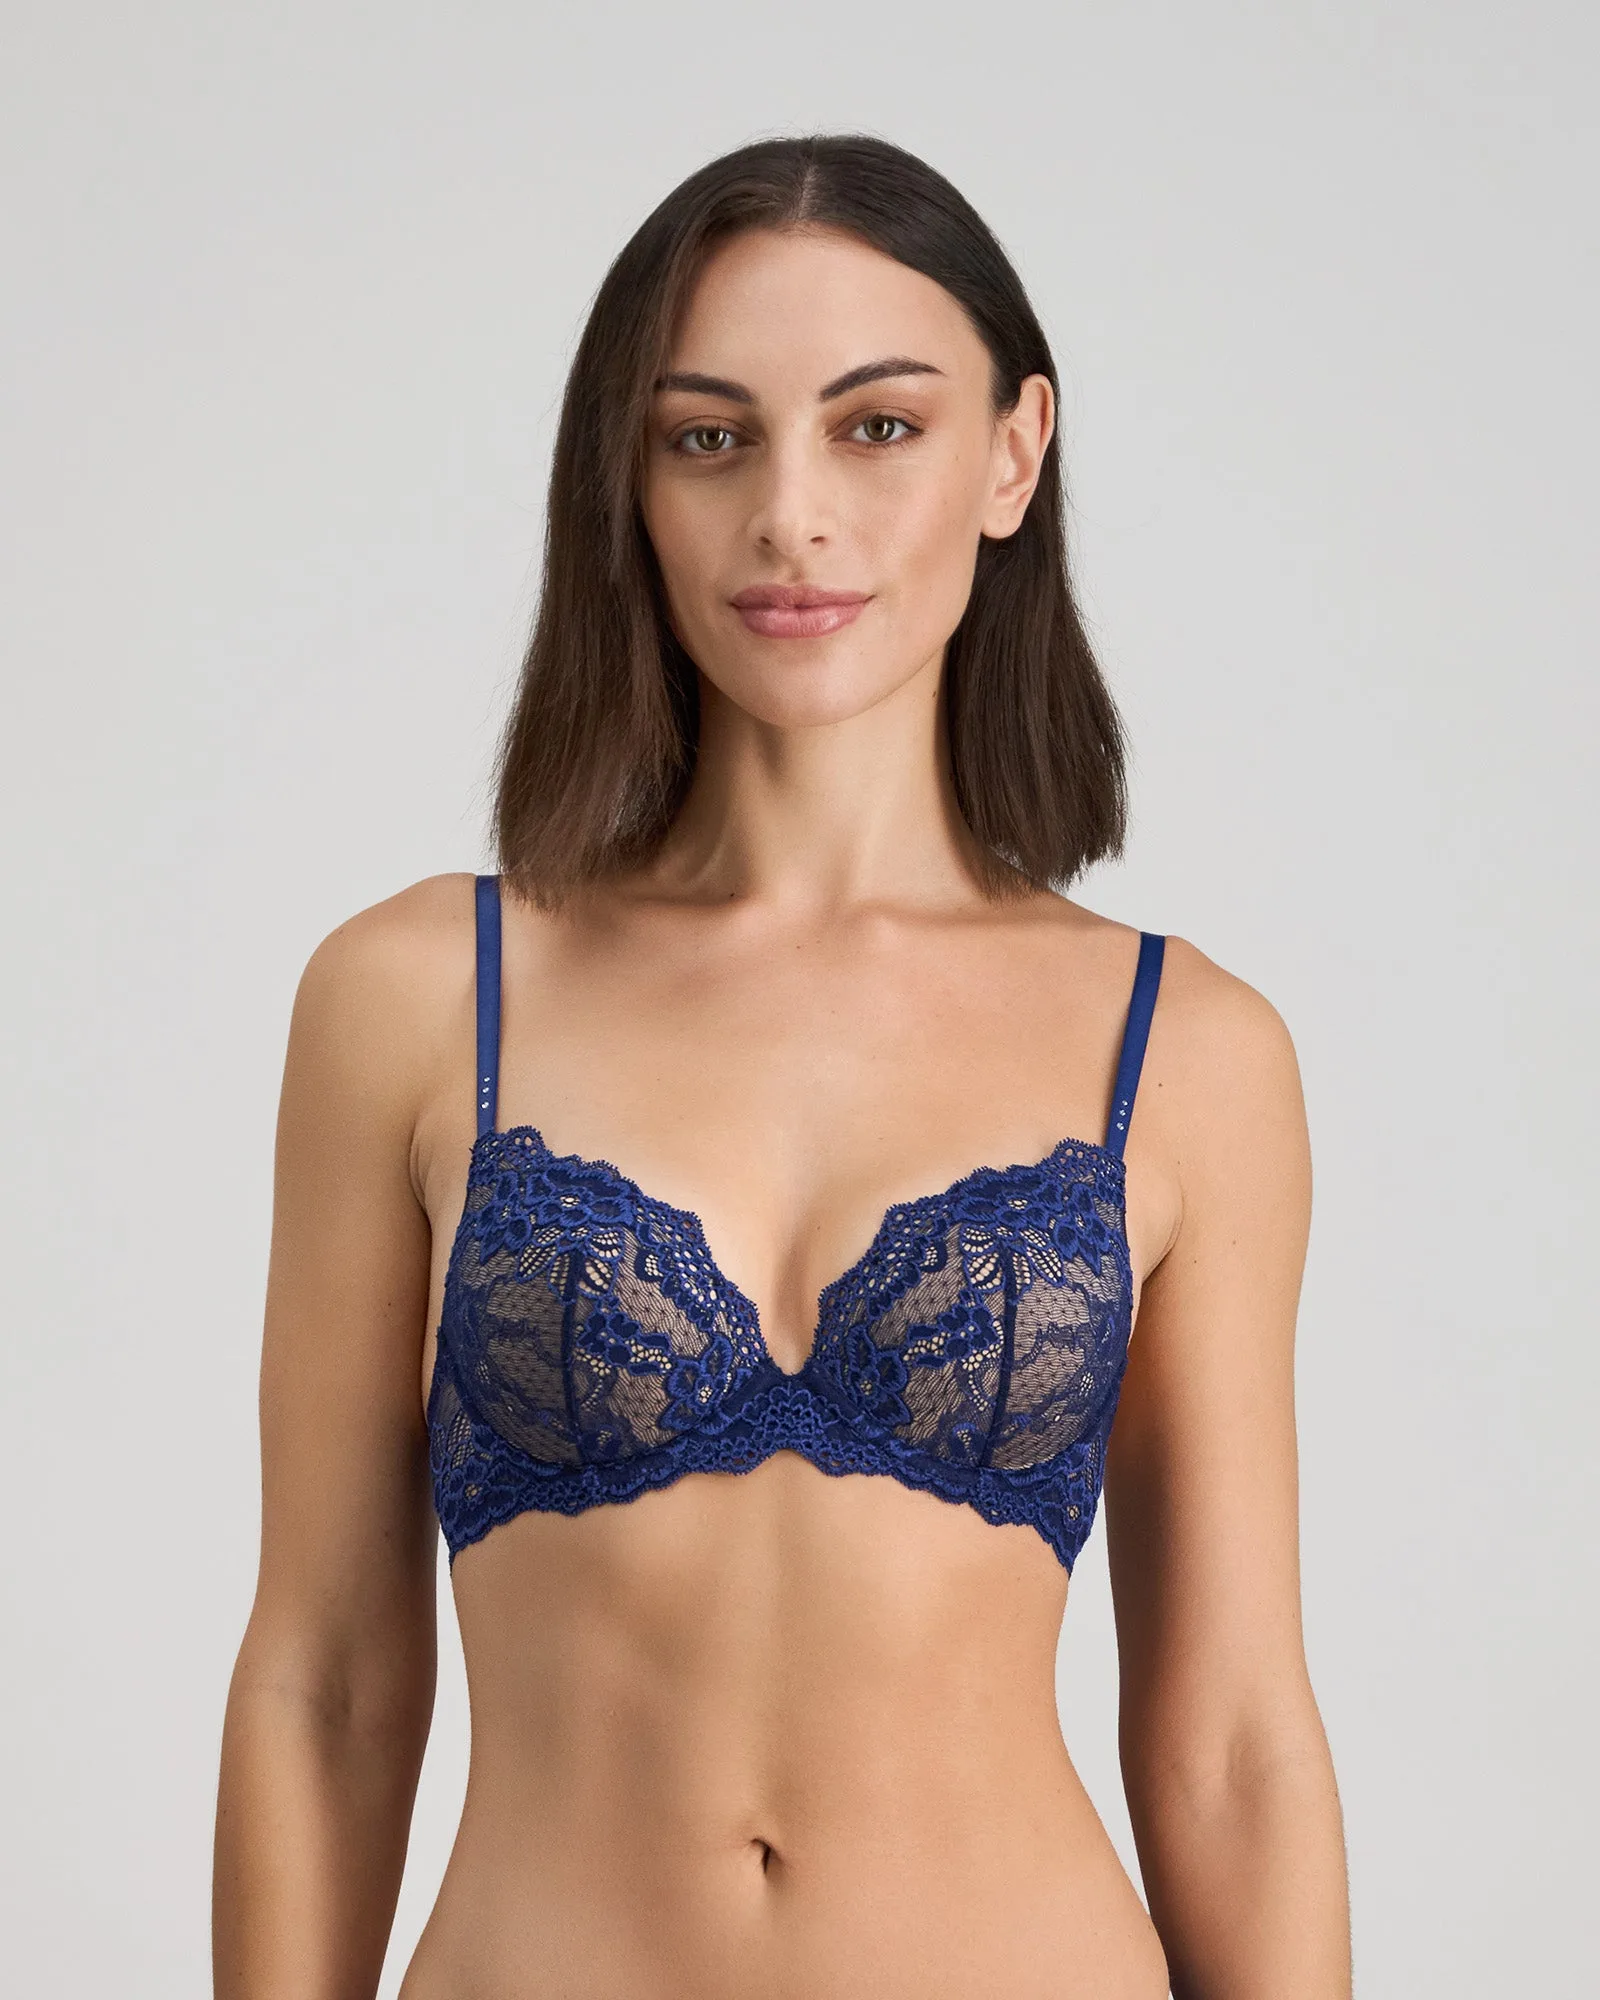
My Fit Lace 200% Boost Push Up Bra - Medieval Blue
Drawer dividers or small open boxes https://bendonlingeriecim.com/products/bendon-comfit-collection-wire-free-bra-black-25-7637-f64c37f7645c3933c37c4088-1319385https://bendonlingeriecim.com/products/bendon-comfit-collection-wire-free-bra-black-21-7637x-15b5c98d22fa512768aba8c5-1319449A breathable lingerie bag for washing and travel Optional: a hanging organiser with rounded arms for bras Step 1: Sort everything out
- Empty the drawer completely onto a bed or table. Group by type first: bras, briefs, and any sleepwear or accessories. Then sort each group by how often you wear it. This is also the moment to pull out anything with a broken wire, stretched elastic or torn lace. A bra that no longer supports you takes up space and tempts you into an uncomfortable day.
As you sort, check the care labels. Most bras and briefs are hand-wash or gentle-cycle items, and pieces that need different handling are easier to manage if you keep them in one section. If you are unsure whether a bra is past its best, the signs are usually a stretched band, bent wires or cups that no longer lie flat.
Common mistake: sorting by colour first. Sort by type and wear frequency instead, then arrange by colour inside each group.
Step 2: Wash and dry before storing
- Never store worn lingerie. Oils and deodorant residue set into fabric over time and attract pests. Wash bras and briefs according to their care labels, then dry them flat or on a line away from direct heat. Heat is the enemy of elastane, so keep bras out of a hot dryer even on a gentle cycle.
Make sure everything is completely dry before it goes back in the drawer. Even slightly damp fabric in a closed drawer can develop a musty smell. If you are washing a batch, let pieces rest for an hour after they feel dry, then store.
Checkpoint: press a cup against your palm. If it feels cool or damp, give it more drying time.
Step 3: Fold bras to keep their shape
- For moulded and push-up styles, the best method is to nest bras rather than stack them. Lay one bra flat with the cups facing up, then place the next bra on top with its cups sitting inside the cups below. This distributes weight evenly and protects the moulded shape. For a plunge style such as the
My Fit Lace 200% Boost Push Up Bra - Medieval Blue
, nesting is safer than folding because the boost cup is designed to hold a specific curve.
For unlined or wirefree bras, you can fold them in half at the centre gore and tuck one cup inside the other, as long as you do not crease the underwire casing. The
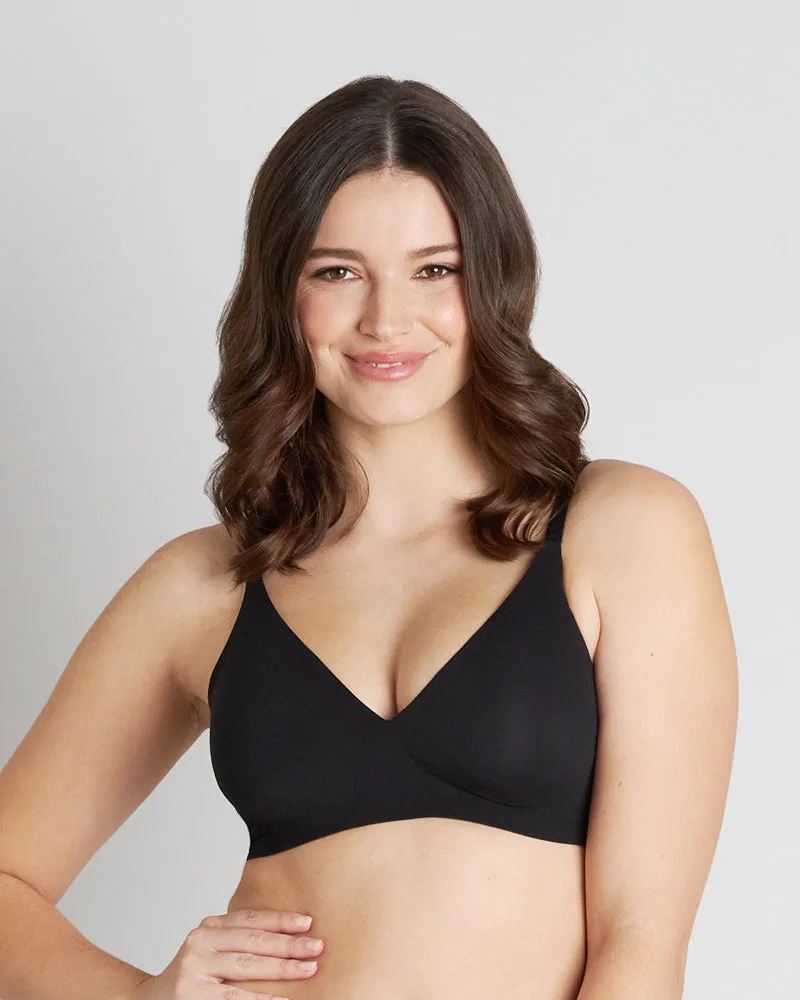
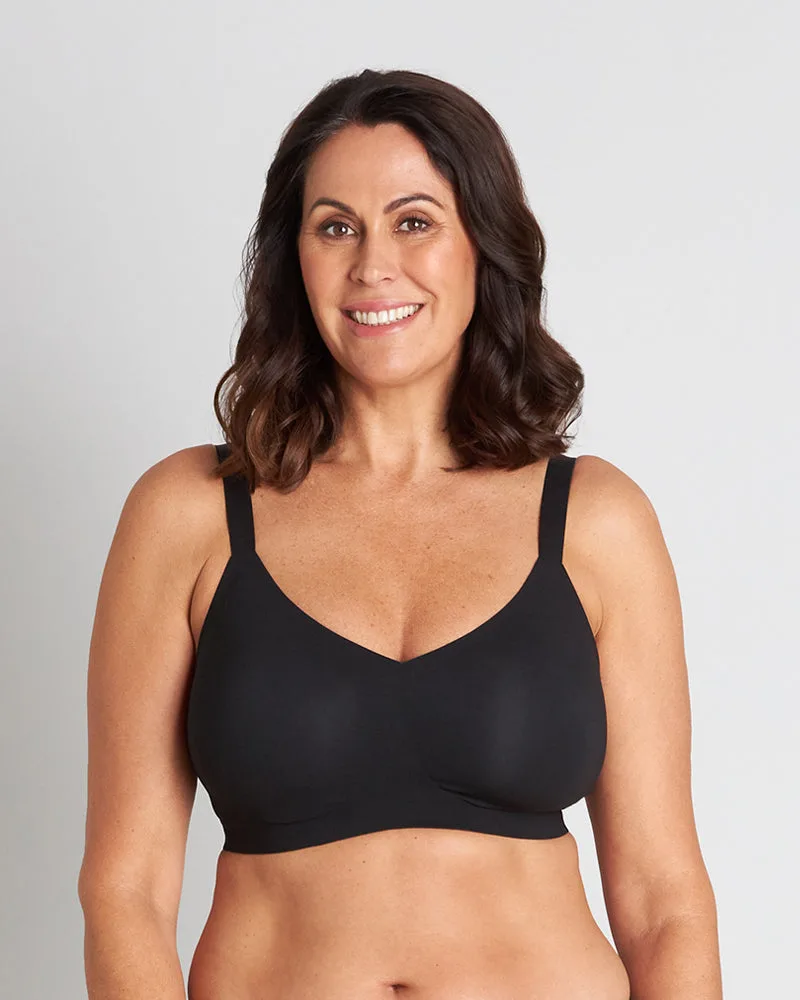
- Comfit Collection Wire Free Bra
- Black
has double layered moulded fabric cups, so it also benefits from flat or nested storage rather than being squashed into a corner.
Common mistake: folding moulded cups in half to save space. It dents the cup and shortens the bra's life.
- Step 4: File briefs upright
Briefs are easiest to manage when you file them upright, like folders in a drawer. Fold each pair into a neat rectangle and stand it on its edge so the waistband or a distinctive detail faces up. You can then see every colour and style without digging. This works especially well for lace and mesh styles that tangle when piled flat.
- If you own delicate pieces such as the Meshin' Around Brazilian, keep them in a separate section or a small bag so the scallop trim and satin rosette do not catch on hooks or zips. Everyday cotton-blend briefs can sit together in a slightly tighter row. Checkpoint: if you cannot see the waistband of every pair, the row is too deep. Remove a few and store them elsewhere. Step 5: Use dividers and zones
- Divide the drawer into zones: one for everyday bras, one for moulded or special-occasion bras, one for briefs and one for sleepwear or accessories. Dividers keep the zones from collapsing when you open the drawer. If you do not have dividers, small cardboard boxes or clean shoe boxes work just as well. Within the bra zone, place the bras you wear most at the front. A simple rule is to rotate from front to back so each bra gets rest days between wears. Elastane needs about a day to recover its stretch, which is one of the easiest underwear storage tips to apply. Common mistake: overfilling a zone. If you have to push garments down to close the drawer, remove one or two pieces.
- Step 6: Store by frequency, not just by type Your most-worn bras and briefs belong at eye level or in the front of the drawer. Special-occasion pieces, shapewear or spare sets can go in a second drawer or a storage box under the bed. This keeps the daily drawer light and easy to use. If you are short on space, a hanging organiser with one bra per tier works for a small collection. Just avoid hanging moulded bras by their straps for long periods, as the weight can stretch the straps and distort the cup.
- Checkpoint: count how many bras you wear in a typical week. Those are the only ones that need prime drawer space. Step 7: Maintain the system A storage system only works if it survives a busy week. Do a two-minute tidy every time you put laundry away, and a fuller sort once a season. During the seasonal sort, check for stretched bands, loose hooks and pilling. Replace anything that no longer does its job.
- Travel is the other test. Pack bras flat in a packing cube or at the top of your case, and put briefs inside a breathable bag. Never crush a moulded bra under shoes or heavy toiletries. Common mistake: treating the seasonal sort as optional. It is the step that stops the drawer from becoming a mess again. Frequently asked questions
- Can I hang bras instead of storing them in a drawer? Yes, but only if you use a hanger with wide, rounded arms and hang the bra by the centre gore, not by the straps. Hanging by the straps for long periods can stretch them. Moulded bras are better in a drawer or nested in a box. How often should I replace bras?
There is no fixed rule, but a bra usually needs replacing when the band stretches, the wires bend or poke, or the cups no longer lie flat. For everyday bras, that is often around 6 to 12 months of regular wear.
- Can I store bras in a drawer without dividers? Yes, if you keep the drawer tidy and do not overfill it. Dividers simply make it easier to keep zones from collapsing.
- Should I hang bras or fold them? Hanging works for some styles, but most bras do better flat or nested in a drawer. If you hang, use a wide, rounded hanger and never hang moulded bras by the straps for long periods.
- How often should I sort my lingerie drawer? Do a quick tidy every time you put laundry away and a deeper sort once a season. That is enough to keep the system working.
Final checklist