Quick answer
Store bras flat or nested in a drawer with cups facing up so they keep their shape, and file briefs upright so you can see every pair at a glance. Keep the drawer cool, dry and out of direct sunlight, and never fold moulded cups in half. A 20-minute sort-and-store session is enough to set up a system that lasts.
A messy lingerie drawer costs you more than a few seconds each morning. Bras get crushed under briefs, wires bend, and you end up wearing the same two pieces while the rest sit forgotten at the back. Good lingerie storage is less about buying organisers and more about a repeatable routine.
This guide walks through seven steps, from sorting to long-term storage. Along the way you'll see how specific pieces, such as a moulded push-up bra or a delicate lace Brazilian, need slightly different handling. The goal is a drawer where everything is visible, protected and ready to wear.
Why lingerie storage matters
Bras are engineered garments. Moulded cups, underwires and stretch lace all hold their shape only if they are stored with a little care. Stacking heavy items on top of a moulded bra can dent the cup, and folding an underwire bra in half puts stress on the wire casing. Briefs are more forgiving, but lace and mesh snag easily when they rub against hooks and zips.
A good storage system also changes how you buy. When you can see every bra and brief you own, you stop rebuying the same black basics and start using the pieces you already have. That is the practical side of underwear storage tips: less friction in the morning, longer life for each garment.
- Keep the drawer cool, dry and away from direct sunlight to protect elastane and lace.
- Give bras their own space rather than mixing them with heavy clothing.
What you'll need
You do not need a custom closet. A clean drawer, a few drawer dividers or small boxes, and a lingerie bag for laundry are enough. Dividers matter because they stop bras from sliding into a heap when you open and close the drawer. If you prefer hanging storage, a multi-tier hanger with wide, rounded arms works for bras but takes more space than a drawer.
Avoid vacuum bags and tight plastic bins for everyday storage. They compress moulded cups and trap moisture. If you are storing out-of-season pieces, use a breathable cotton bag or a pillowcase instead.
- Drawer dividers or small open boxes
- A breathable lingerie bag for washing and travel
- Optional: a hanging organiser with rounded arms for bras
Step 1: Sort everything out
Empty the drawer completely onto a bed or table. Group by type first: bras, briefs, and any sleepwear or accessories. Then sort each group by how often you wear it. This is also the moment to pull out anything with a broken wire, stretched elastic or torn lace. A bra that no longer supports you takes up space and tempts you into an uncomfortable day.
As you sort, check the care labels. Most bras and briefs are hand-wash or gentle-cycle items, and pieces that need different handling are easier to manage if you keep them in one section. If you are unsure whether a bra is past its best, the signs are usually a stretched band, bent wires or cups that no longer lie flat.
- Common mistake: sorting by colour first. Sort by type and wear frequency instead, then arrange by colour inside each group.
Step 2: Wash and dry before storing
Never store worn lingerie. Oils and deodorant residue set into fabric over time and attract pests. Wash bras and briefs according to their care labels, then dry them flat or on a line away from direct heat. Heat is the enemy of elastane, so keep bras out of a hot dryer even on a gentle cycle.
Make sure everything is completely dry before it goes back in the drawer. Even slightly damp fabric in a closed drawer can develop a musty smell. If you are washing a batch, let pieces rest for an hour after they feel dry, then store.
- Checkpoint: press a cup against your palm. If it feels cool or damp, give it more drying time.
Step 3: Fold bras to keep their shape
For moulded and push-up styles, the best method is to nest bras rather than stack them. Lay one bra flat with the cups facing up, then place the next bra on top with its cups sitting inside the cups below. This distributes weight evenly and protects the moulded shape. For a plunge style such as the My Fit Lace 200% Boost Push Up Bra - Medieval Blue, nesting is safer than folding because the boost cup is designed to hold a specific curve.
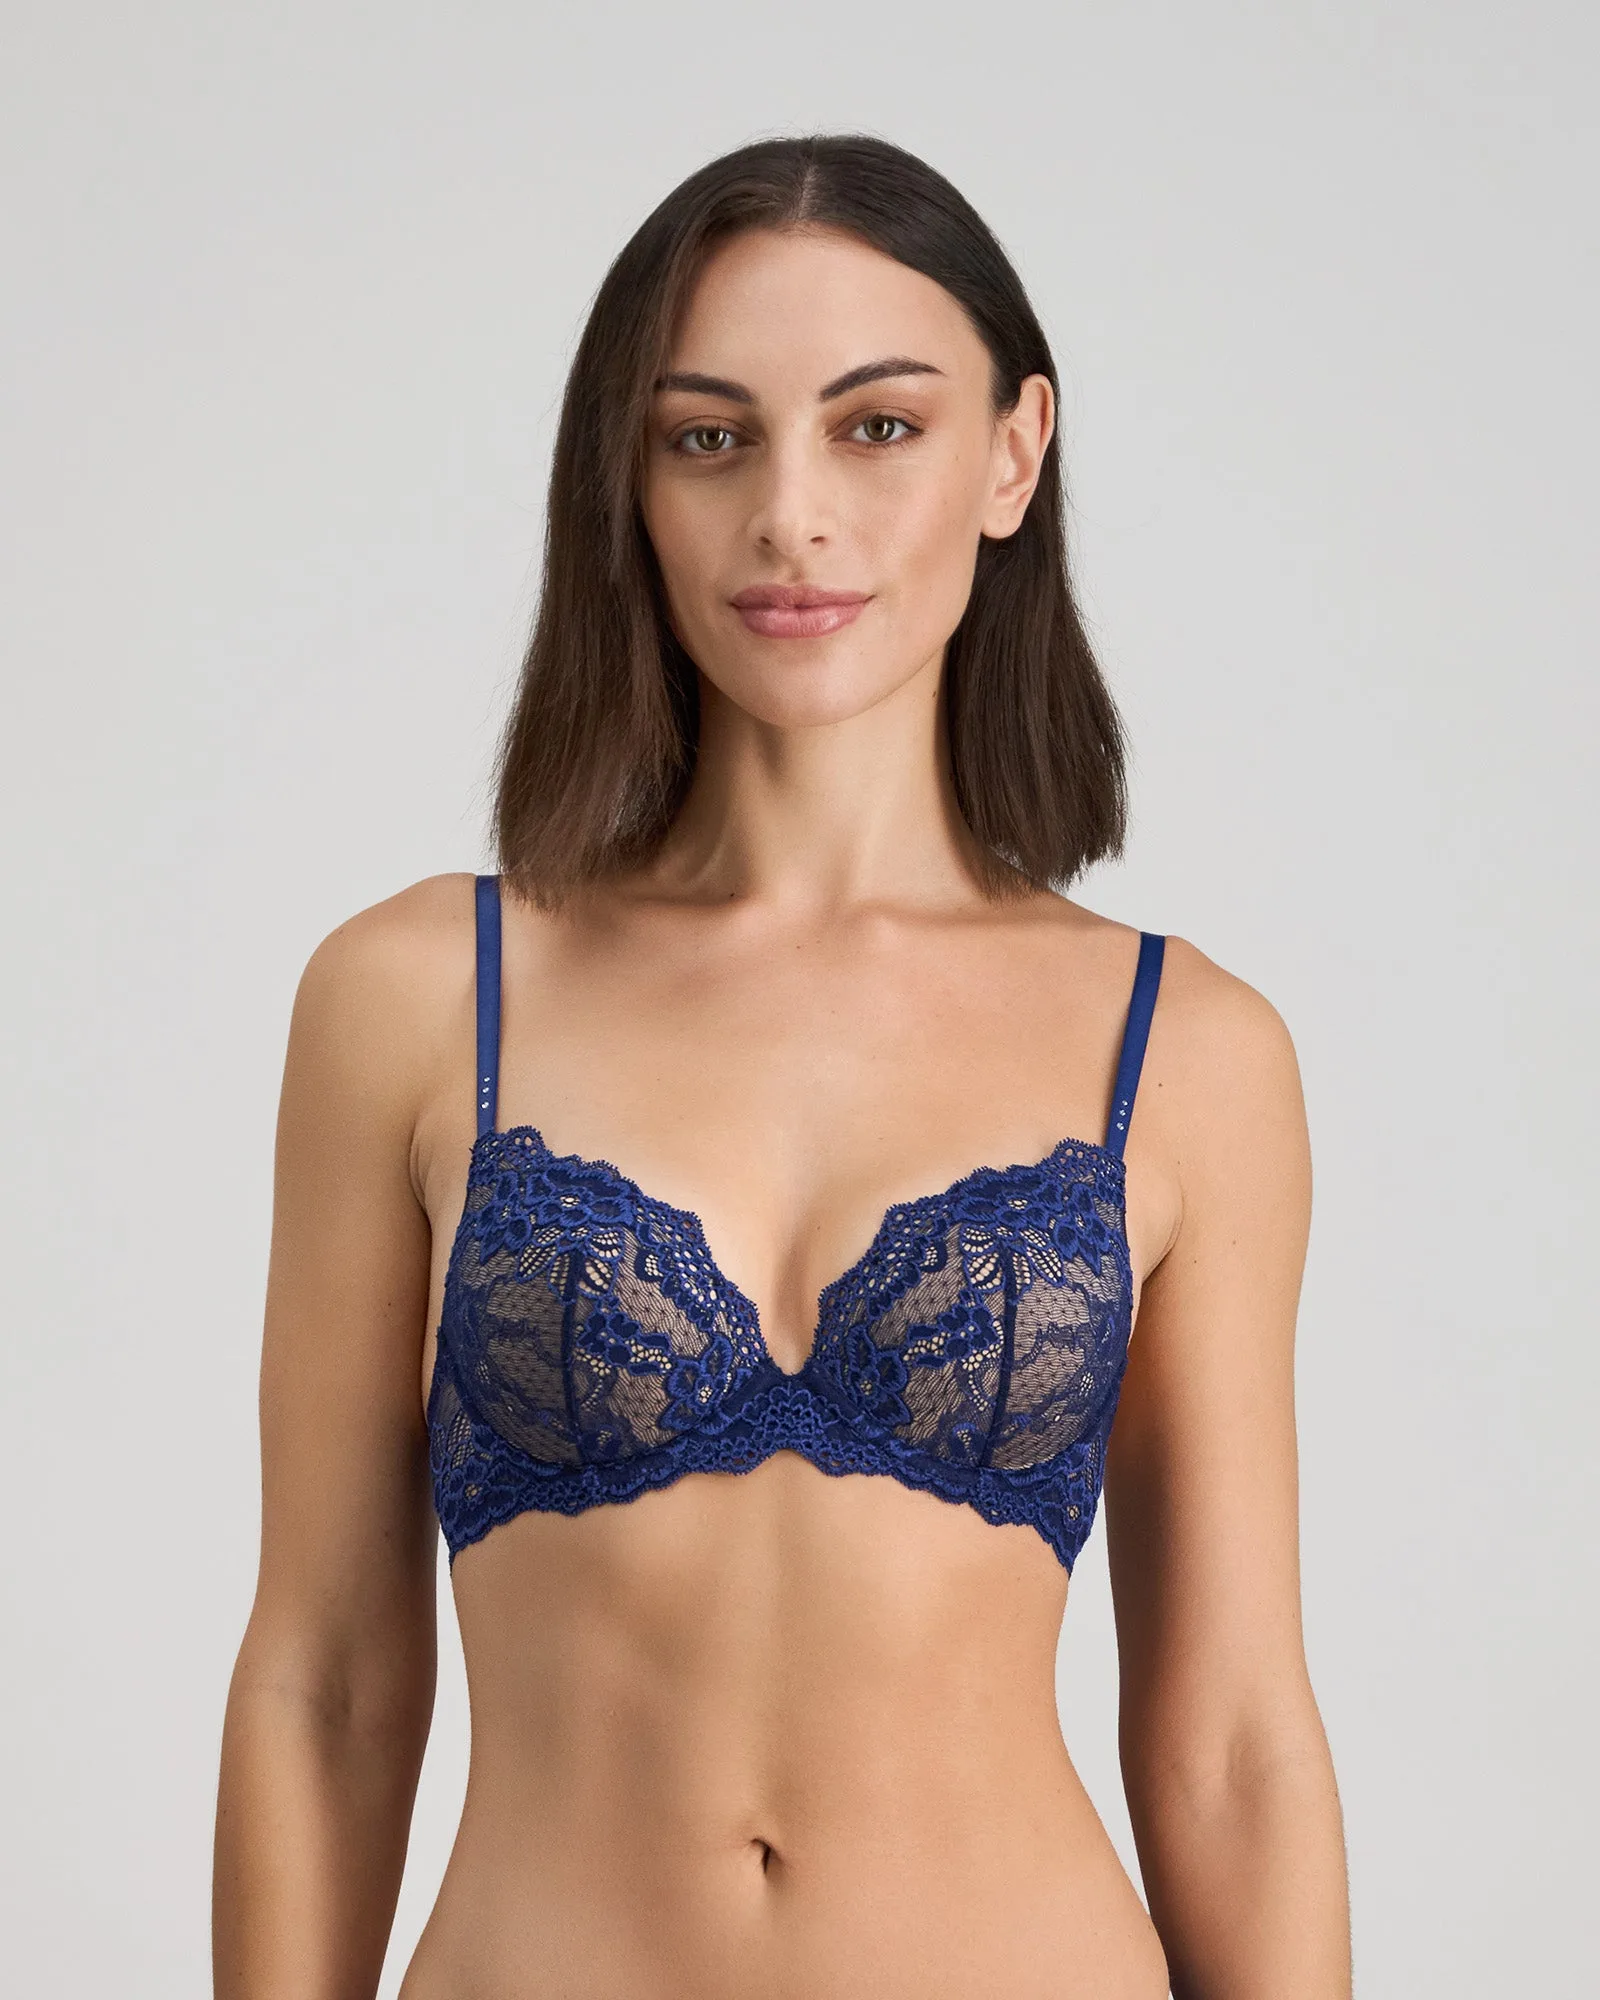
My Fit Lace 200% Boost Push Up Bra - Medieval Blue
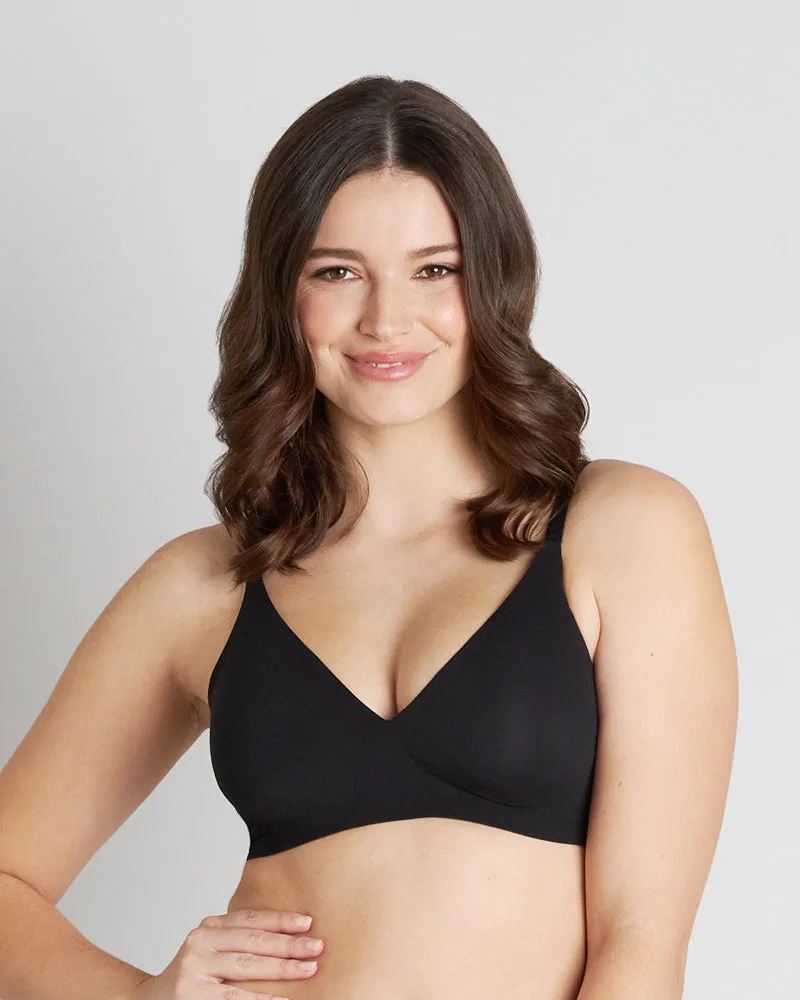
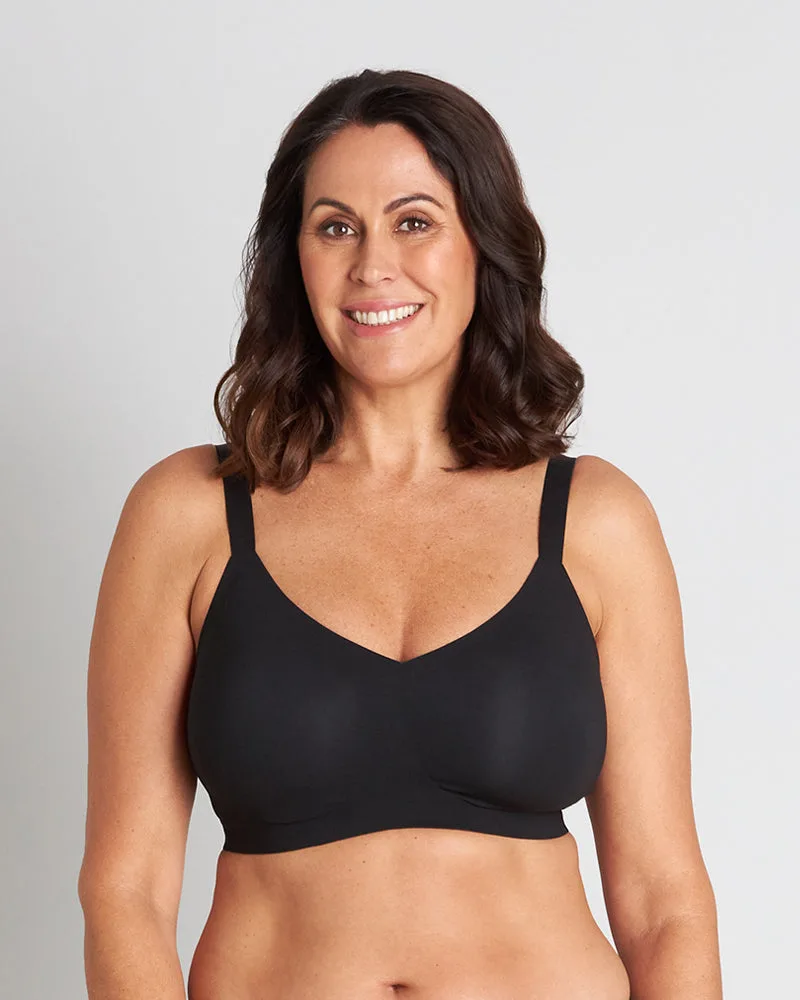
For unlined or wirefree bras, you can fold them in half at the centre gore and tuck one cup inside the other, as long as you do not crease the underwire casing. The https://bendonlingeriecim.com/products/bendon-comfit-collection-wire-free-bra-black-25-7637-f64c37f7645c3933c37c4088-1319385https://bendonlingeriecim.com/products/bendon-comfit-collection-wire-free-bra-black-21-7637x-15b5c98d22fa512768aba8c5-1319449Comfit Collection Wire Free Bra - Black has double layered moulded fabric cups, so it also benefits from flat or nested storage rather than being squashed into a corner.
- Common mistake: folding moulded cups in half to save space. It dents the cup and shortens the bra's life.
Step 4: File briefs upright
Briefs are easiest to manage when you file them upright, like folders in a drawer. Fold each pair into a neat rectangle and stand it on its edge so the waistband or a distinctive detail faces up. You can then see every colour and style without digging. This works especially well for lace and mesh styles that tangle when piled flat.
If you own delicate pieces such as the Meshin' Around Brazilian, keep them in a separate section or a small bag so the scallop trim and satin rosette do not catch on hooks or zips. Everyday cotton-blend briefs can sit together in a slightly tighter row.
- Checkpoint: if you cannot see the waistband of every pair, the row is too deep. Remove a few and store them elsewhere.
Step 5: Use dividers and zones
Divide the drawer into zones: one for everyday bras, one for moulded or special-occasion bras, one for briefs and one for sleepwear or accessories. Dividers keep the zones from collapsing when you open the drawer. If you do not have dividers, small cardboard boxes or clean shoe boxes work just as well.
Within the bra zone, place the bras you wear most at the front. A simple rule is to rotate from front to back so each bra gets rest days between wears. Elastane needs about a day to recover its stretch, which is one of the easiest underwear storage tips to apply.
- Common mistake: overfilling a zone. If you have to push garments down to close the drawer, remove one or two pieces.
Step 6: Store by frequency, not just by type
Your most-worn bras and briefs belong at eye level or in the front of the drawer. Special-occasion pieces, shapewear or spare sets can go in a second drawer or a storage box under the bed. This keeps the daily drawer light and easy to use.
If you are short on space, a hanging organiser with one bra per tier works for a small collection. Just avoid hanging moulded bras by their straps for long periods, as the weight can stretch the straps and distort the cup.
- Checkpoint: count how many bras you wear in a typical week. Those are the only ones that need prime drawer space.
Step 7: Maintain the system
A storage system only works if it survives a busy week. Do a two-minute tidy every time you put laundry away, and a fuller sort once a season. During the seasonal sort, check for stretched bands, loose hooks and pilling. Replace anything that no longer does its job.
Travel is the other test. Pack bras flat in a packing cube or at the top of your case, and put briefs inside a breathable bag. Never crush a moulded bra under shoes or heavy toiletries.
- Common mistake: treating the seasonal sort as optional. It is the step that stops the drawer from drifting back into a pile.
Your lingerie storage routine at a glance
- Empty and sort: Tip everything out, group by type, then by wear frequency. Remove damaged pieces. Checkpoint: if you have not worn it in a year and it is damaged, let it go.
- Wash and dry fully: Follow care labels, dry flat or on a line away from heat, and make sure pieces are completely dry. Checkpoint: a cool, damp feel means more drying time.
- Fold or nest bras: Nest moulded and push-up bras with cups facing up. Fold unlined bras once at the centre gore. Checkpoint: never fold a moulded cup in half.
- File briefs upright: Fold each pair into a rectangle and stand it on edge so every waistband is visible. Checkpoint: if you cannot see them all, the row is too deep.
- Divide and zone: Use dividers to separate everyday bras, special bras, briefs and sleepwear. Checkpoint: the drawer should close without pressure.
- Rotate and maintain: Move worn bras to the back, do a two-minute tidy weekly and a full sort each season. Checkpoint: replace anything with a stretched band or bent wire.
Product details that affect storage
- My Fit Lace 200% Boost Push Up Bra - Medieval Blue: Features OMB boost cup that increases bust by 2 cup sizes, with a Secret Service cup liner and soft stretch floral lace covering the cups and back. The structured boost cup should be nested or stored flat, never folded, to protect the cup shape and the lace overlay.
- Comfit Collection Wire Free Bra - Black: Double layered moulded fabric cups with removable teardrop shaped foam pads, made with 75% recycled nylon yarns. The removable pads can be taken out for storage or washing, and the moulded cups still need flat or nested storage to hold their shape.
- Meshin' Around Brazilian: Soft stretch mesh in Evening Sand with contrast black scallop trim and a satin rosette at the centre front, in a cheeky Brazilian cut. The scallop trim and rosette can snag, so file this brief separately or inside a small bag rather than letting it rub against hooks.
A well-organised lingerie drawer protects your bras, makes mornings easier and helps you get more wear from every piece. Start with the sort-and-wash steps, then set up zones that match how you actually dress. Once the system is in place, the weekly tidy takes minutes and your lingerie stays in better shape for longer.