Quick answer
Place the 1-Step Press Everyday Map directly under your natural lashes, align the subtle wing with your outer corner, and press gently to secure. Work from the inner corner outward and check the mirror before pressing firmly.
Why placement matters more than pressure
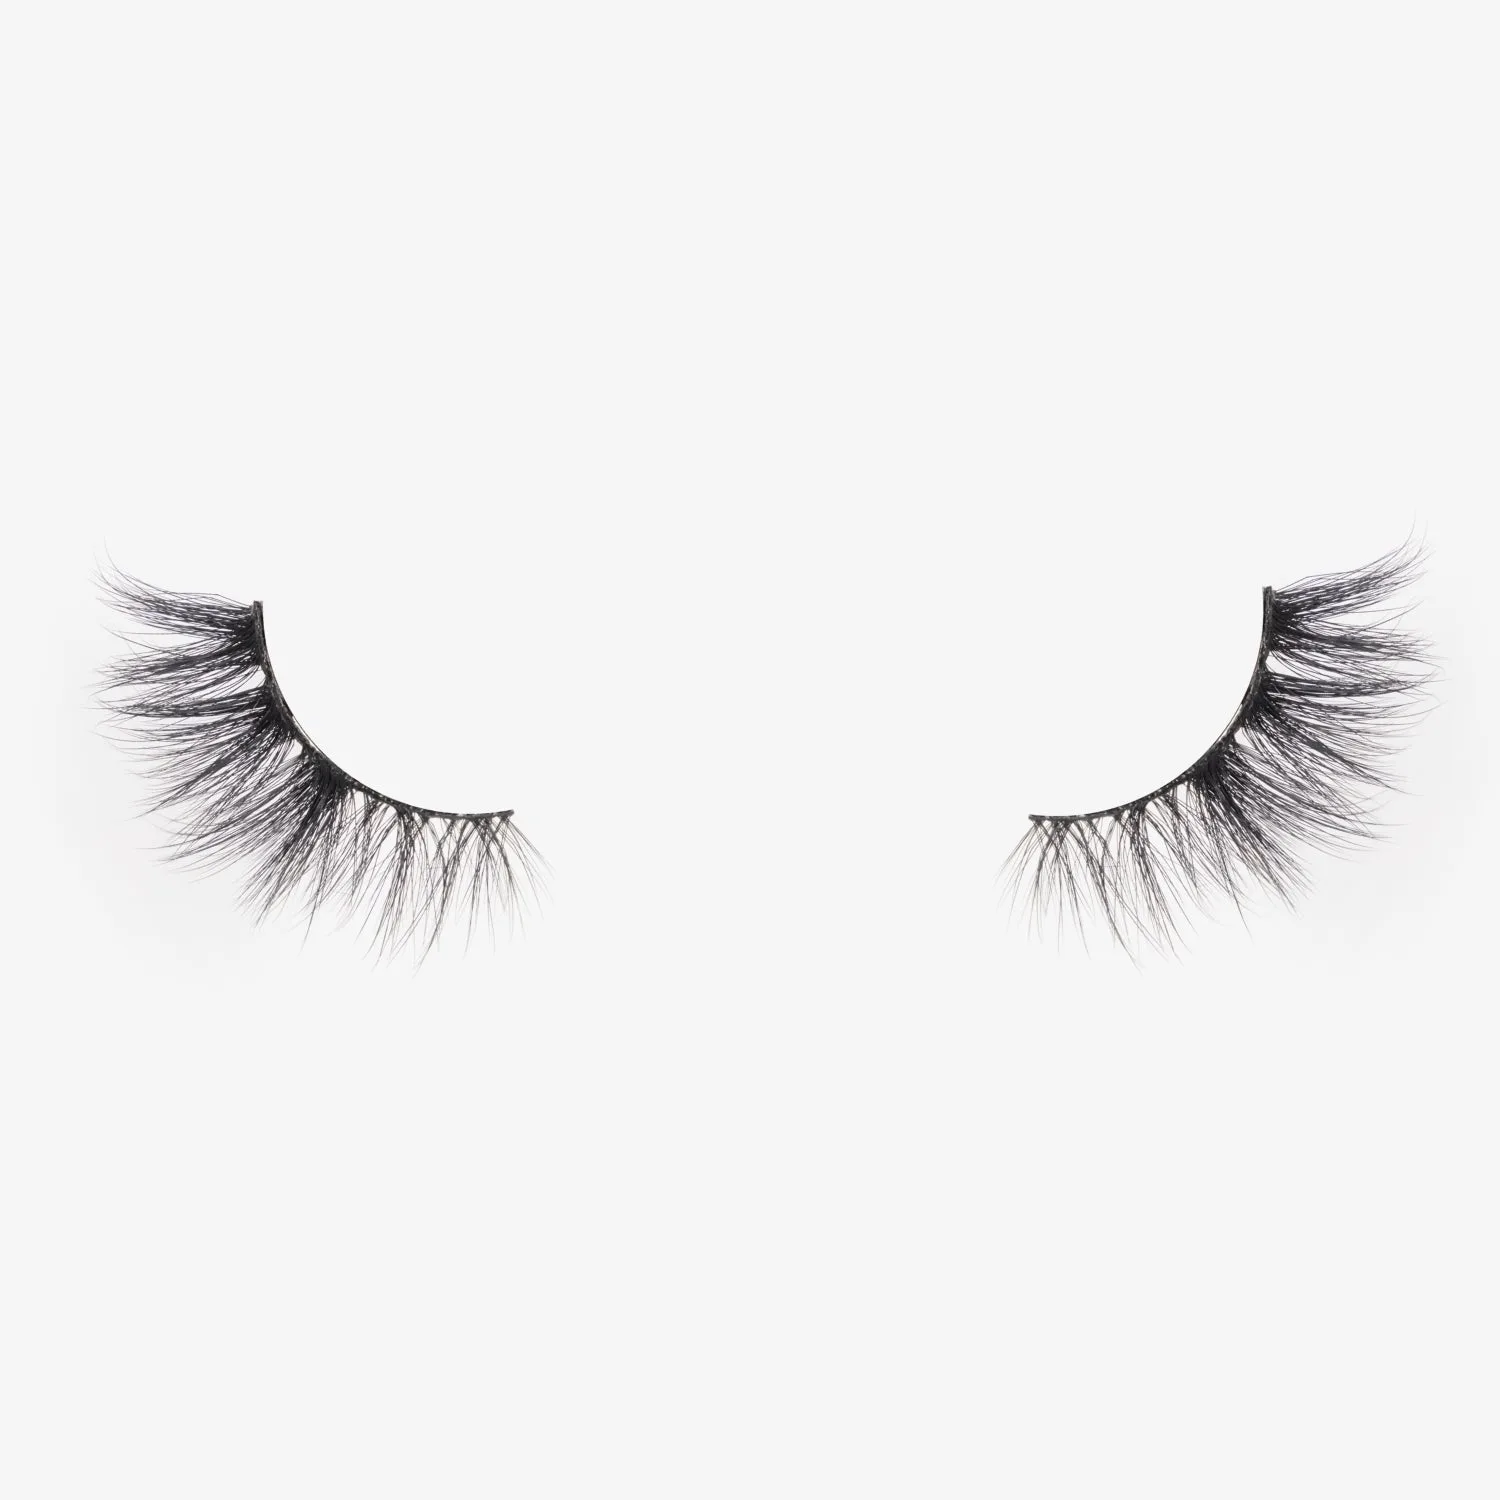
The Everyday Map is pre-mapped and pre-glued, so the hard part is not application but alignment. The map features a gradual increase in lengths and a subtle wing, which means a small shift toward the inner or outer corner changes the final shape. If the wing sits too high or too low, the cat-eye effect looks off even when the lashes are secure.
Press-on maps are less forgiving than strip lashes because you cannot slide them once the adhesive grips. That is why the first placement should be a dry run: rest the map in position, check the wing against your outer corner, then press. Rushing this step is the most common reason beginners end up with an uneven lift.
When to choose a different map
The Everyday Map is designed for a soft, natural lift with a subtle wing. If you want a more dramatic cat-eye or a rounded doll effect, a different pre-mapped style will suit you better. This guide focuses on the Everyday Map because its gradual length increase makes it the most beginner-friendly option for learning placement.
If your natural lashes are very short or very straight, the map may sit differently than expected. In that case, curl your natural lashes first and check that the map’s band follows your lash line without lifting at the corners. The map is not adjustable, so fit is the main limitation to check before pressing.
Step-by-step placement for the Everyday Map
- Prep your natural lashes: Curl your natural lashes and make sure they are clean and dry. Avoid applying mascara or oil-based products before placement, as they can prevent the pre-glued map from sticking. Checkpoint: if your lashes feel slick or coated, the map may not adhere.
- Dry-fit the map: Hold the map under your natural lashes without pressing. Align the subtle wing with your outer corner and check that the inner edge sits comfortably at your inner corner. The gradual length increase should flow outward. Common mistake: pressing before checking the wing position. Once stuck, the map is hard to reposition.
- Press from inner to outer corner: Starting at the inner corner, press the map gently against your lash line, working outward. Use your fingertip or the applicator to press along the band, not the lash fibers, so the clusters stay aligned. Checkpoint: press firmly at the outer corner, where lifting usually starts.
- Check the wing and symmetry: Look straight ahead in a mirror. The wing should extend slightly beyond your outer corner without drooping. Compare both eyes; if one wing sits higher, gently lift and re-press that section before the adhesive fully sets. Common mistake: ignoring small differences between eyes. Fix them immediately, not after the map is fully set.
- Secure the band: Run a clean finger along the band once more, pressing upward against your natural lash line. Avoid pressing down on the clusters, which can flatten the curl. Checkpoint: the map should feel stable when you blink gently.
Product facts
-
1-Step Press Everyday Map: Pre-mapped and pre-glued clusters with soft alternating edges and a subtle wing. You skip glue and mapping guesswork, so correct alignment on the first try is what determines the final look.
1-Step Press Everyday Map