Quick Answer
To apply foil press on nails without lifting or bubbles, start with clean, dry, oil-free nails. Use a thin, even layer of adhesive, press from the cuticle outward, and seal the edges. Avoid overworking the foil and allow full curing before water exposure.
Why Foil Press Ons Need Extra Care
Foil press on nails have a delicate metallic or shimmer layer that can trap air or lift if applied too quickly. The foil surface is less porous than solid color nails, so adhesive bonds differently. Taking an extra minute on prep and placement makes the difference between a one-day wear and a two-week set.
Choosing the Right Foil Set
Our Handmade- Platinum Sparkly Foil Gel Press On Nail Set (product ID 357394) comes in four shimmer shades and is 100% handmade, which means each nail has a unique foil pattern. Because the foil is sealed with gel, it's already smooth and less prone to lifting than loose foil wraps. If you prefer a ready-to-ship option, the Instant Luxury Acrylic Press-On Nails in Acrylic Ombre (product ID 357273) offer a sheer nude base that works well under foil top coats.
Step-by-Step Application Guide for Foil Press Ons
- Step 1: Prep the Natural Nail: Push back cuticles, gently buff the nail surface to remove shine, and wipe with alcohol or acetone. Do not use oil-based cuticle remover right before applying the nail. Common mistake: skipping the dehydrator step. Even a trace of oil or dust will cause lifting within 24 hours.
- Step 2: Size and Fit the Foil Nail: Test each foil nail on your natural nail before applying adhesive. The nail should cover the entire nail plate without touching the cuticle or sidewalls. Checkpoint: If the foil nail is too wide, file the sides gently. Never force it down—that creates bubbles.
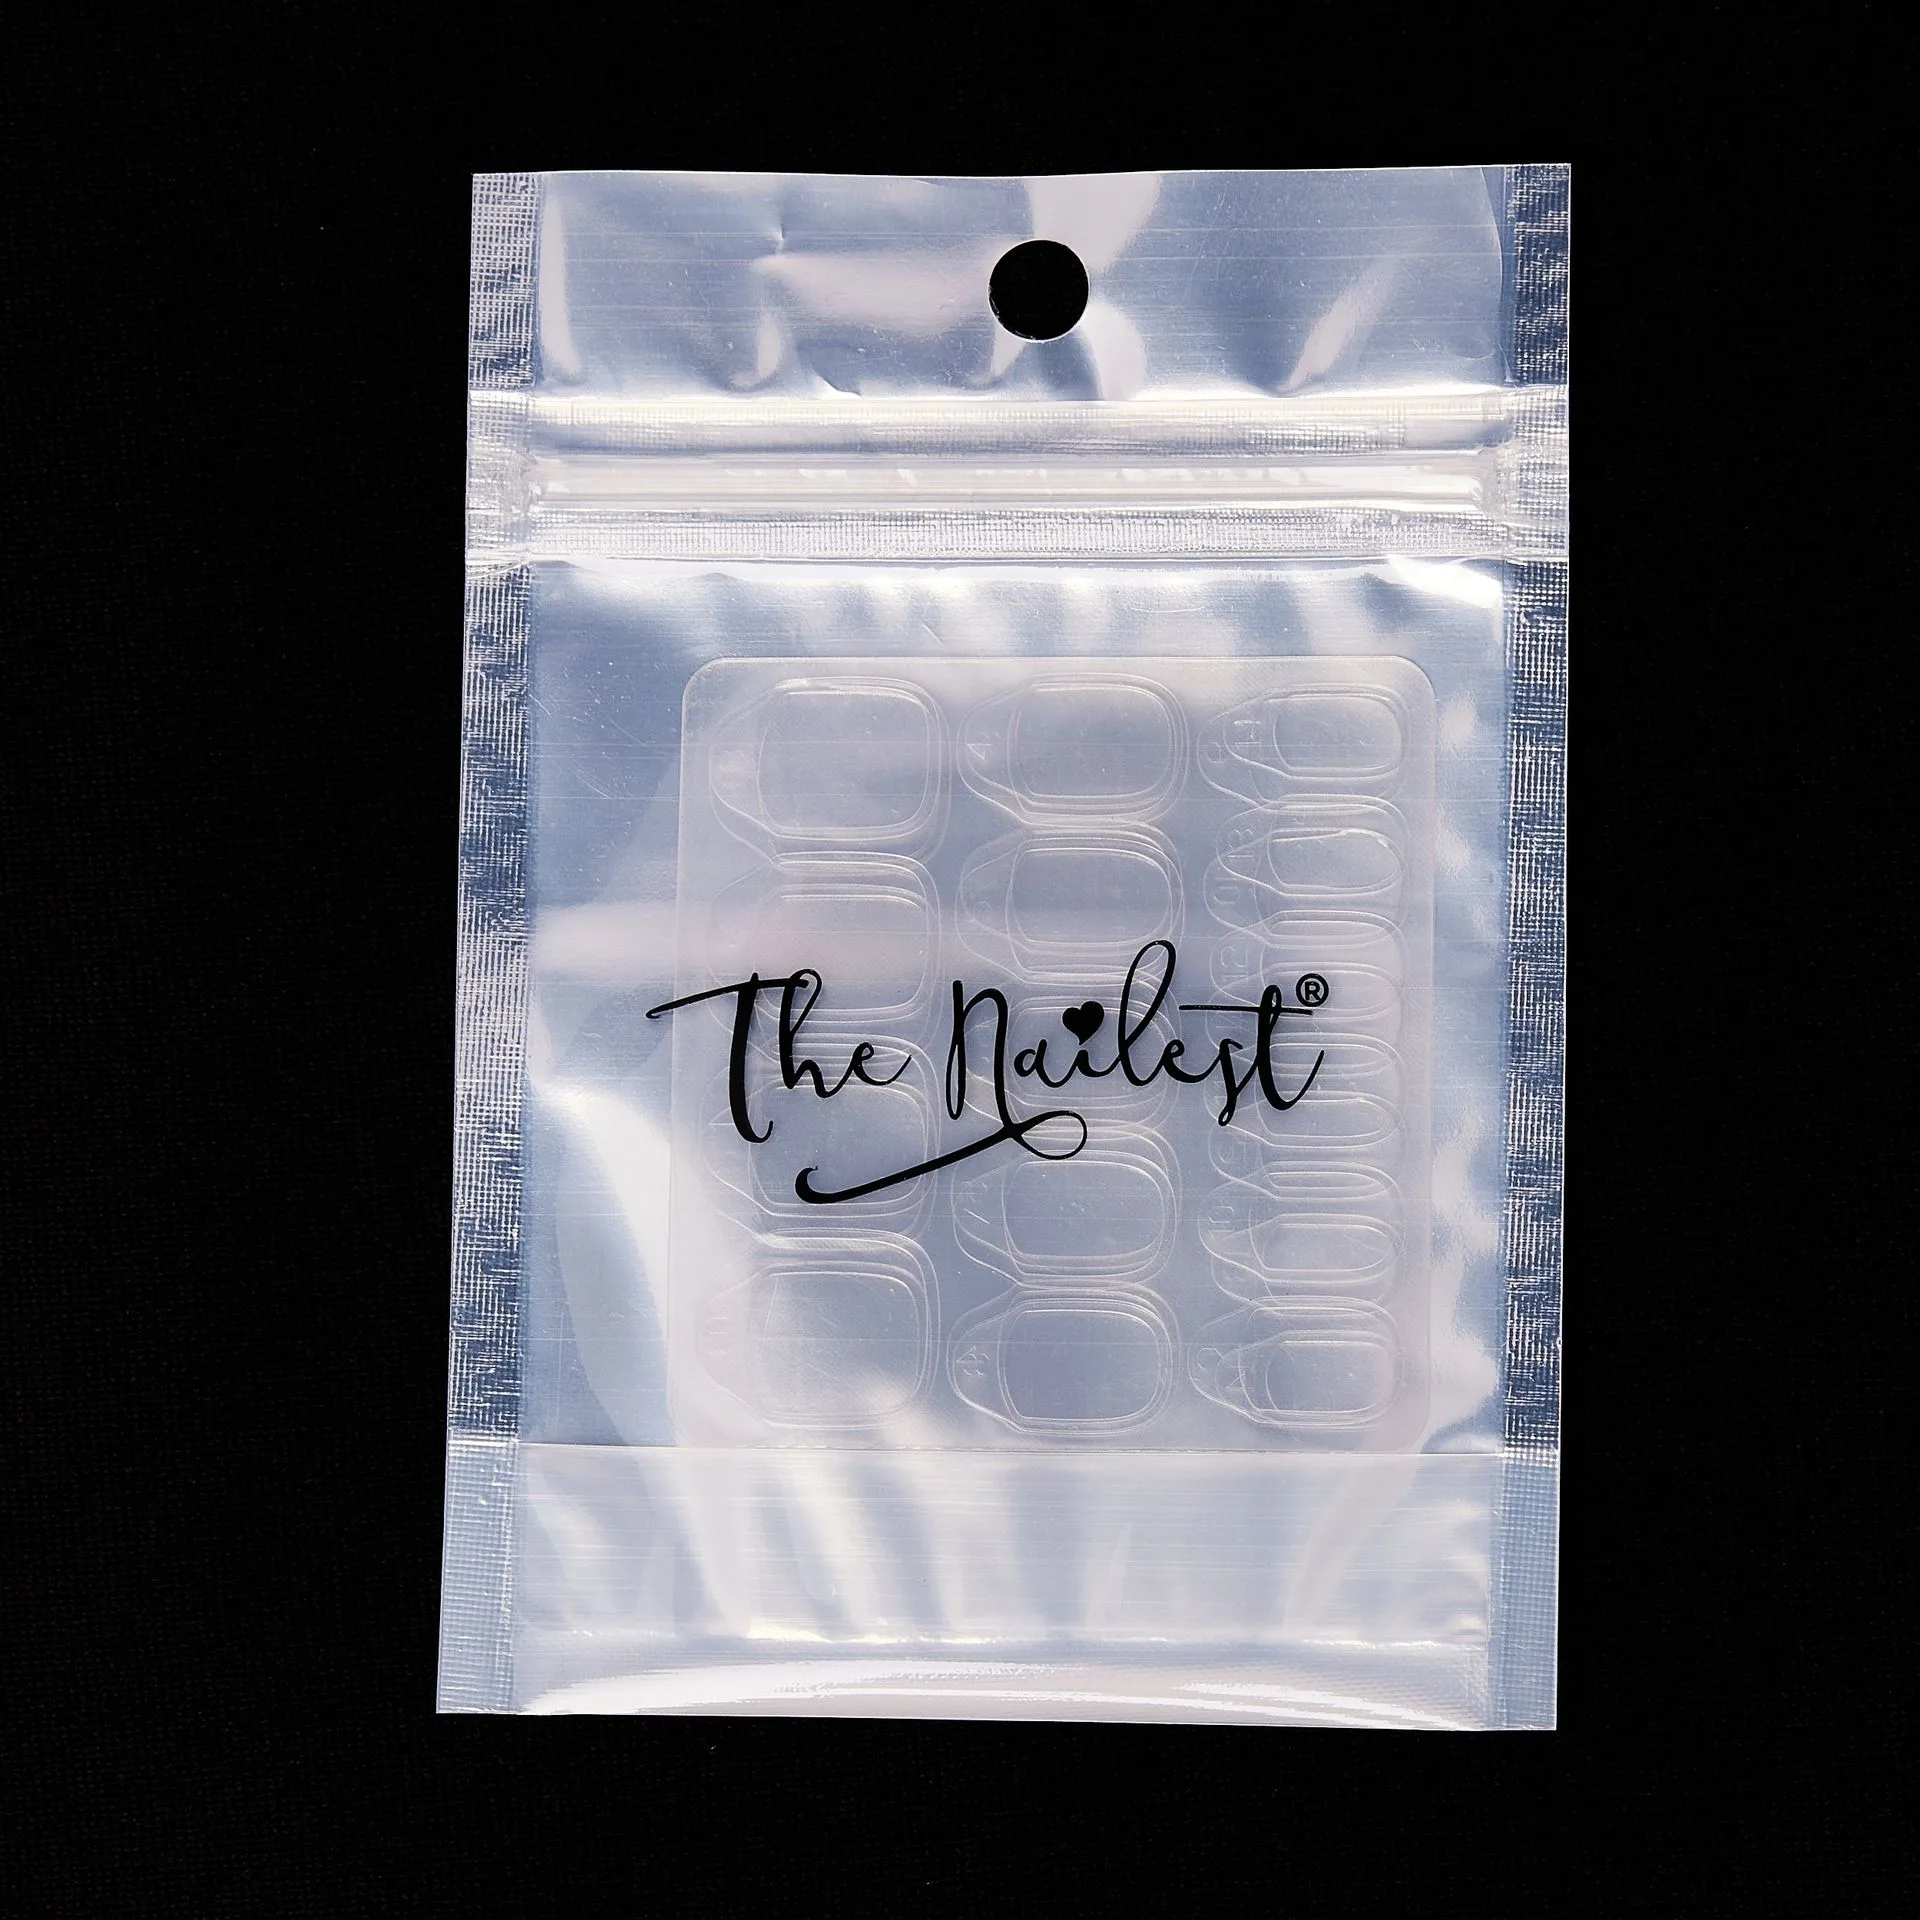
- Step 3: Apply Adhesive Evenly: Use a thin, even layer of nail glue or adhesive tab on your natural nail. Avoid putting glue on the foil nail itself unless the instructions say so. Common mistake: using too much glue. Excess adhesive squeezes out and lifts the foil edge, or it cures into a bump that traps air.
- Step 4: Place and Press from Cuticle Outward: Hold the foil nail at a 45-degree angle near the cuticle, then lower it down. Press from the cuticle toward the tip in one smooth motion. Checkpoint: If you see a bubble, lift the nail slightly and re-press. Do not try to push the bubble out sideways—it will stretch the foil.
- Step 5: Seal the Edges: After the nail is set, apply a thin layer of clear top coat or nail glue along the cuticle line and sidewalls. This locks the foil layer and prevents moisture from seeping under. Common mistake: skipping the seal. Even a tiny gap at the cuticle lets water in, causing lifting within a day or two.
Product Facts That Matter for Application
- Handmade- Platinum Sparkly Foil Gel Press On Nail Set- Pick One Color!: Platinum Foil Gel- Introducing our Platinum Sparkly Foil Gel Press-On Nails, available in four stunning colors: Pewter Shimmer, Purple Shimmer, Coral Shimmer, Ocean Shimmer! Elevate your manicure with instant sparkle and shine. The gel top layer means the foil is sealed and less likely to wrinkle or bubble during application. You still need to avoid pressing too hard on the foil area.