Quick Answer
Most neon blue problems come from three habits: skipping a light undercoat, brushing on too few thin layers, and over-thinning the paint until the pigment separates. Fix those first, and you solve the patchiness, weak glow, and streaking that make people give up on neon colors. If the surface is still fighting you after two corrective passes, switch to a different base or accept a matte finish instead of forcing the neon.
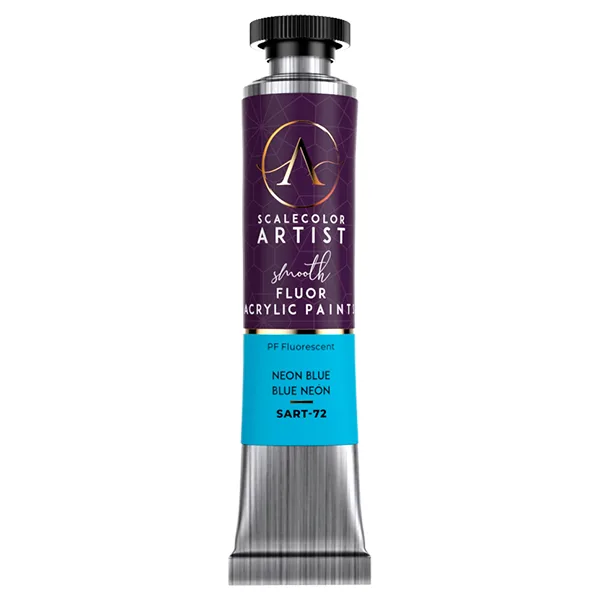
neon blue
Neon blue is one of the least forgiving colors in a miniature painter's rack. It has a narrow window between beautifully saturated and chalky, streaky, or flat, and the failure usually shows up after you have already committed several layers.
The good news is that neon blue failures are repetitive. The same five mistakes cause almost every bad result, and each one has a symptom you can spot on the model before you waste more paint.
Mistake 1: Painting Neon Blue Over a Dark or Bare Surface
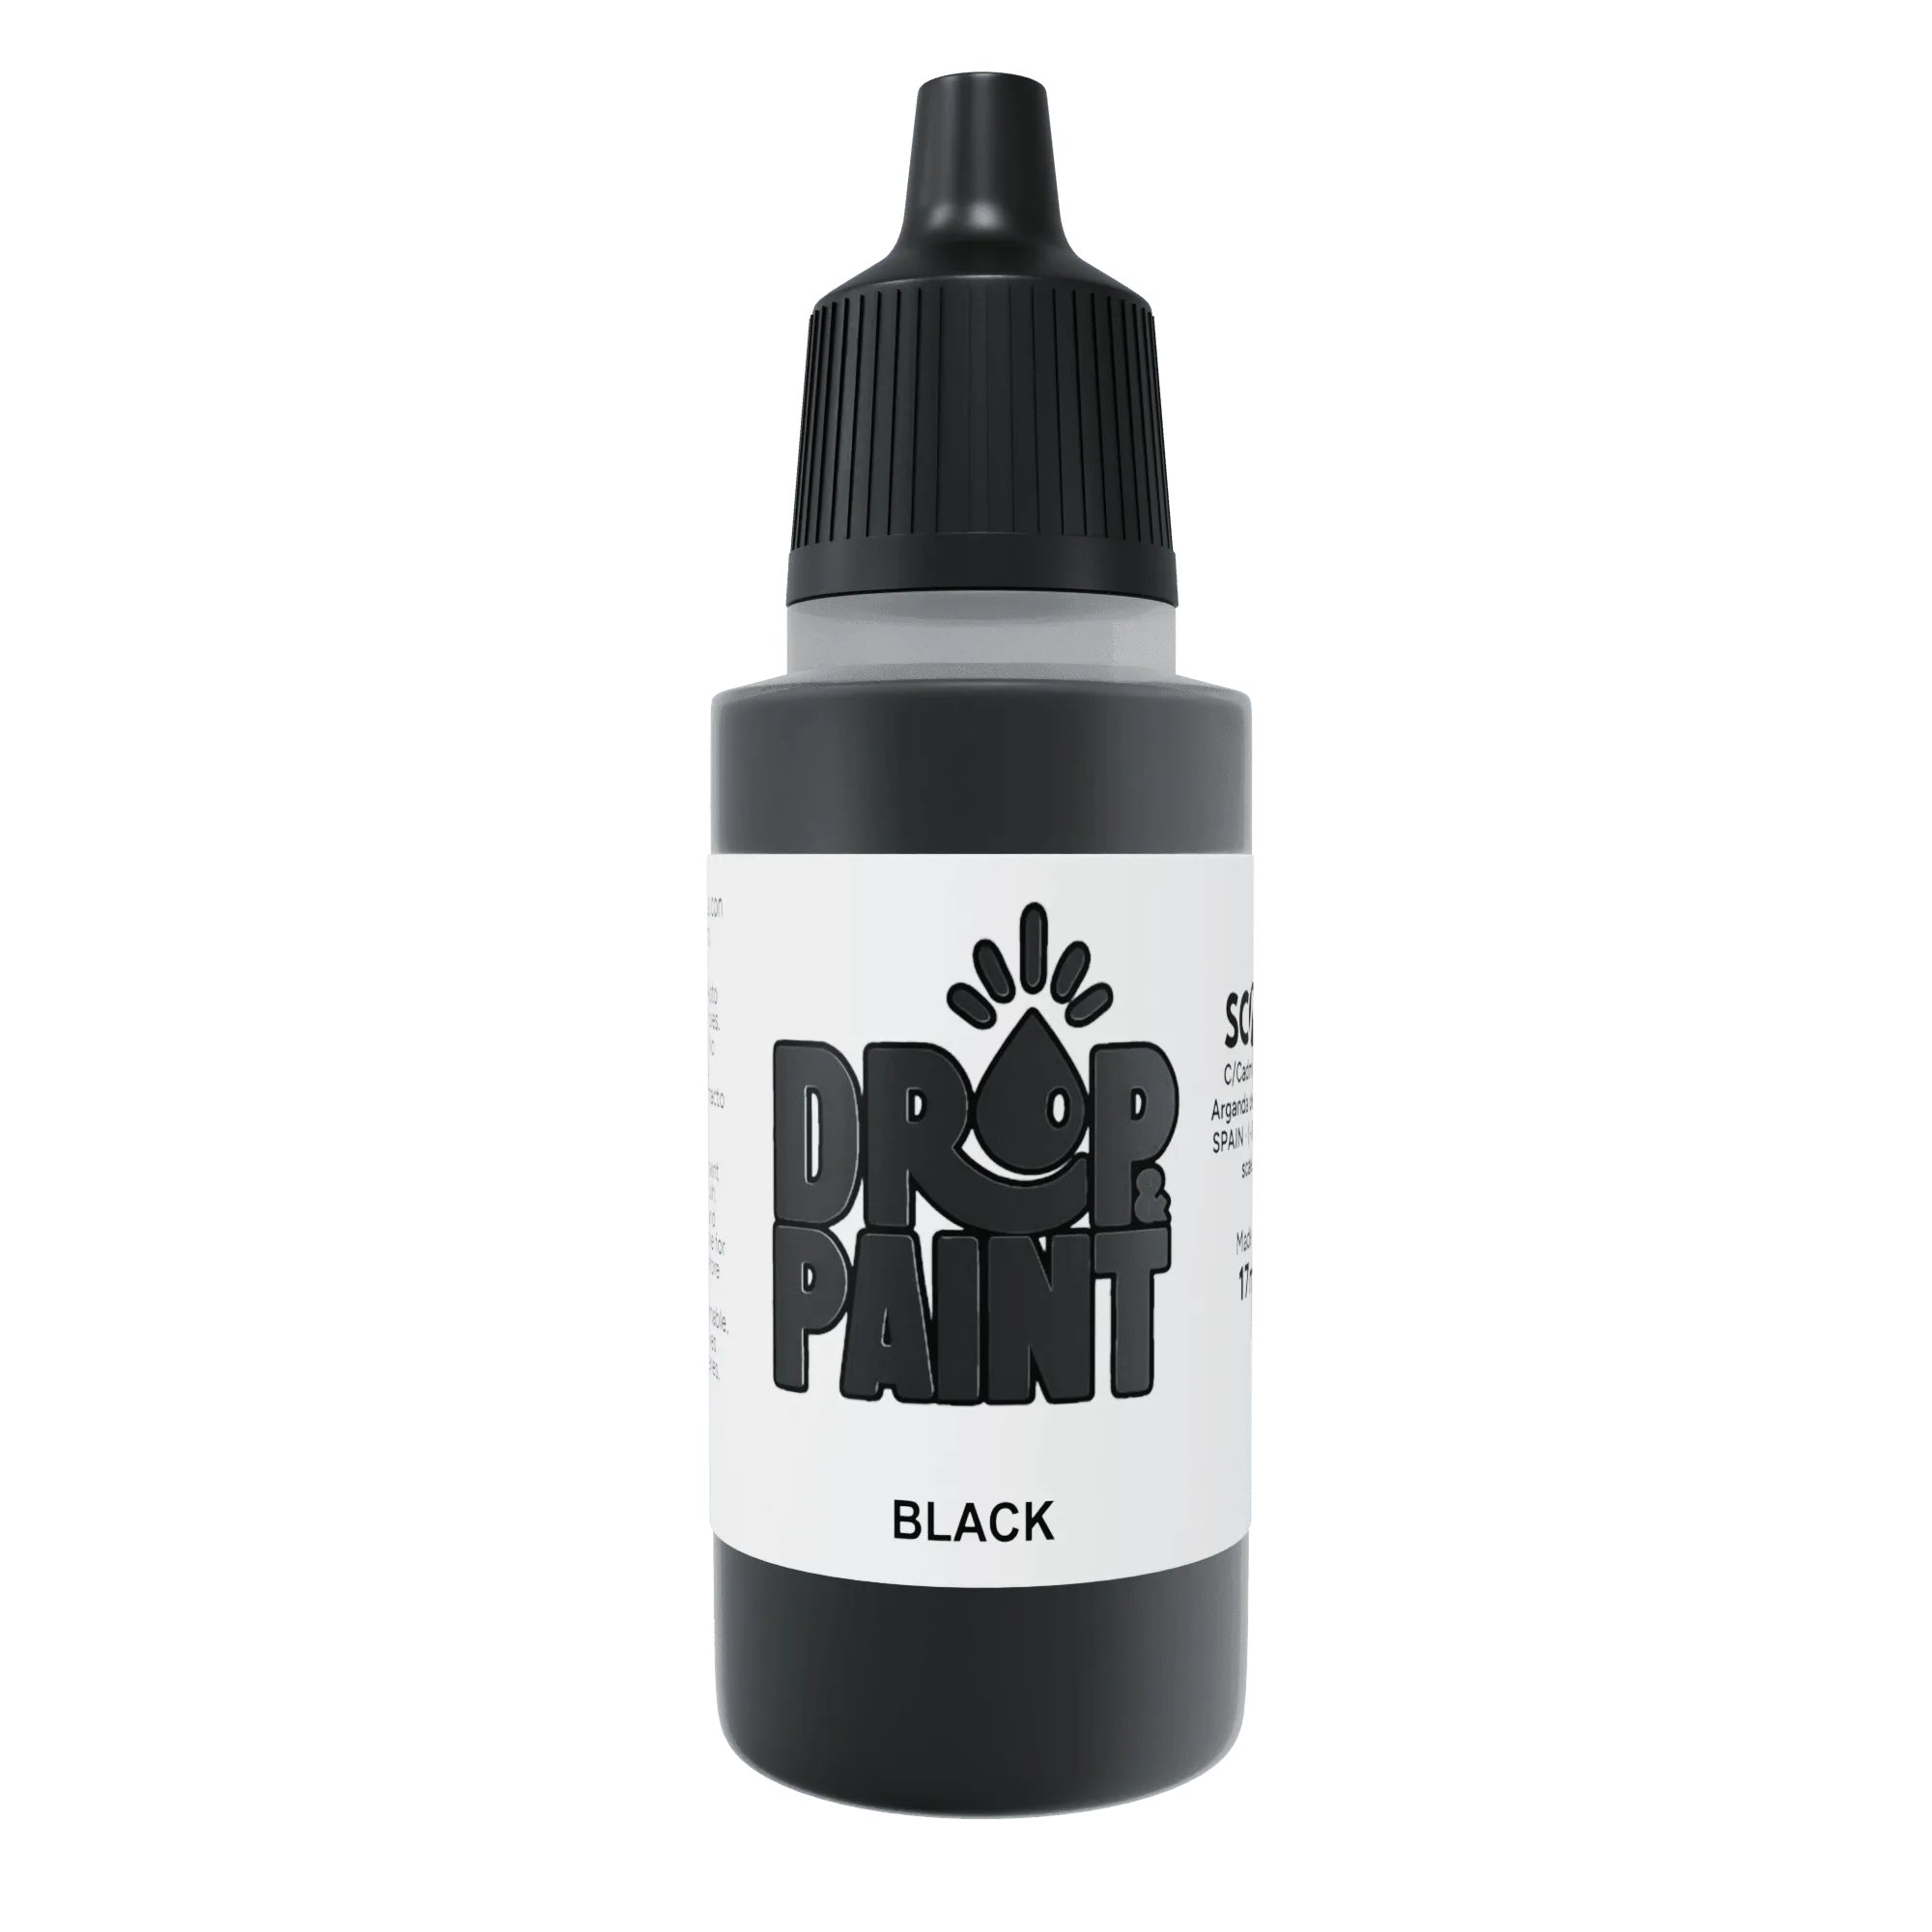
Symptom: the first coat looks grey-green or muddy, and the color never reaches the brightness you saw in the bottle. Cause: neon pigments are translucent by nature. Over black-027e75637d2c82af56120e59-1815801">black primer or bare grey resin, the underlying tone bleeds through and dulls the fluorescence.
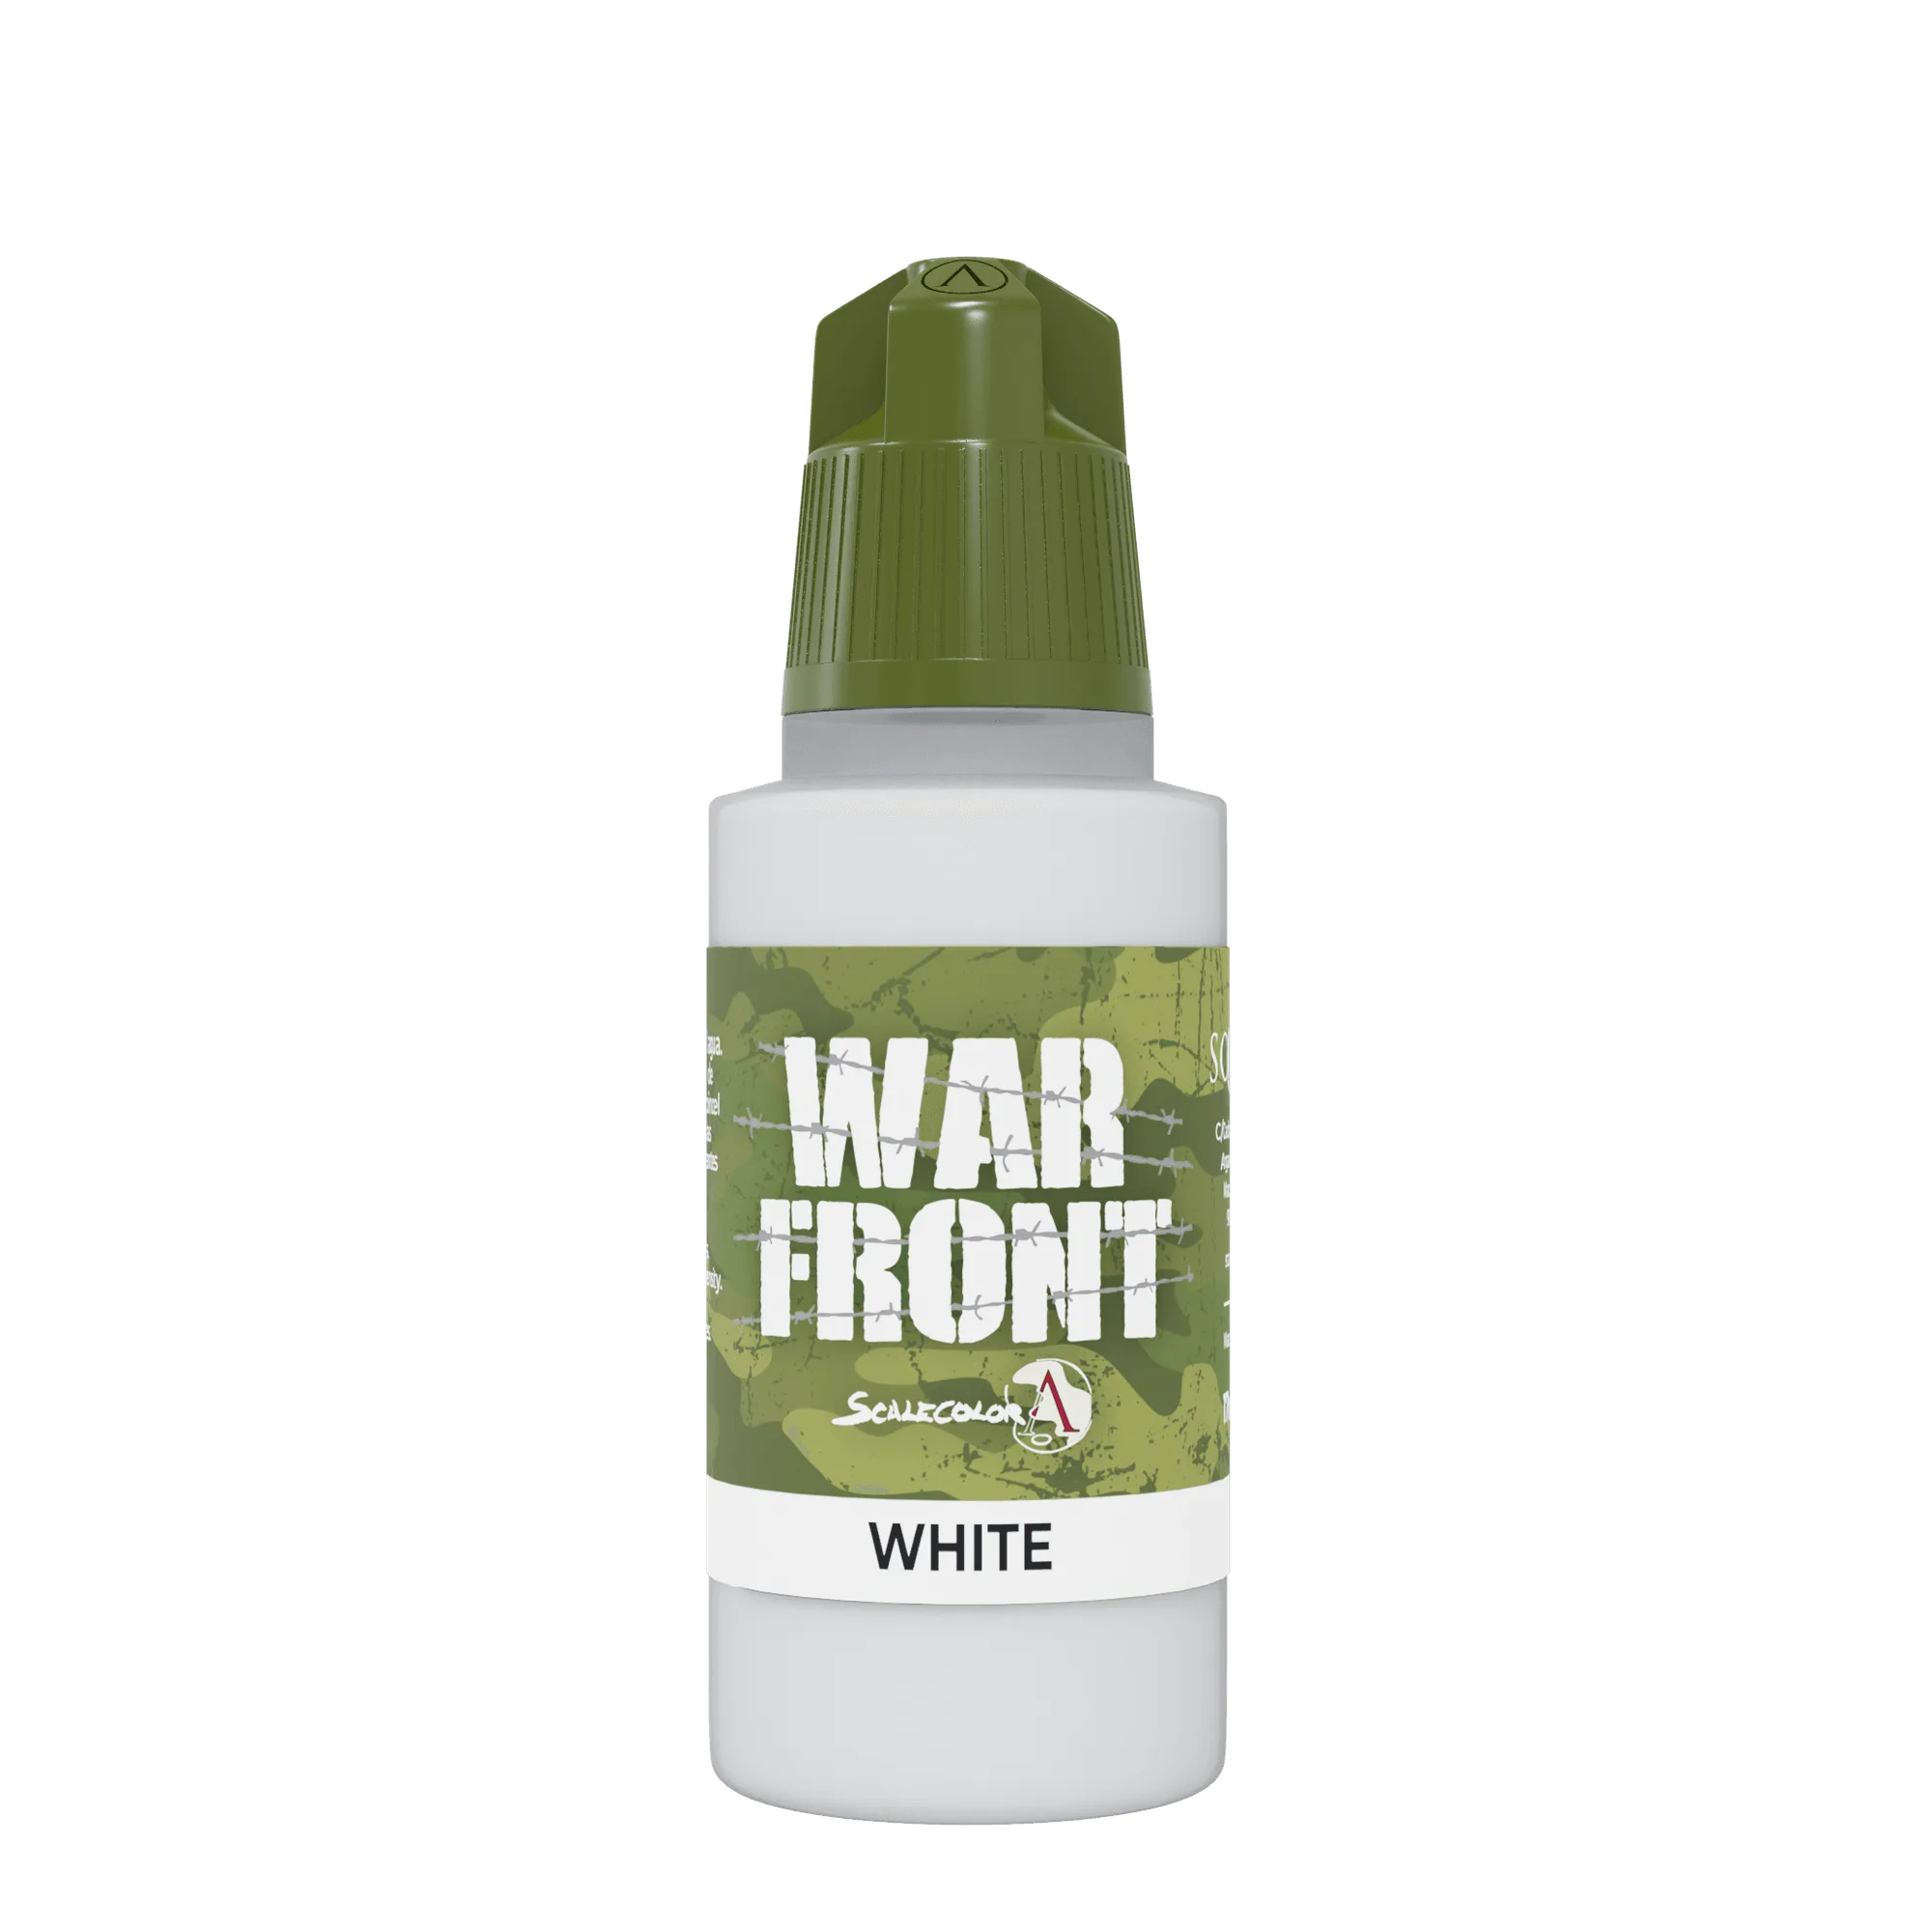
Corrective action: lay down a light undercoat first. A bone or off-white-2c58a54a96968356c7438d99-1815651">white primer gives neon blue something bright to sit on, and you will typically need two fewer color coats to reach full saturation. Apply the primer in thin passes and let it cure fully before brushing color on top.
- Test your undercoat on a spare piece of sprue before committing to the model.
- If you cannot prime, brush on two thin layers of a light neutral acrylic as a base instead.
Mistake 2: Using One Thick Coat Instead of Several Thin Ones
Symptom: brush strokes are visible, edges pool darker, and the surface looks uneven under raking light. Cause: neon pigment is heavy and settles fast, so a thick single coat drags and dries before it levels.
Corrective action: build the color in three or four thin passes, letting each one dry to the touch. Thin the paint slightly and reload the brush often rather than pressing harder. The color should intensify gradually, not appear all at once.
- Work in one direction per coat and rotate the model rather than scrubbing back and forth.
- If a coat starts to drag, stop and reload instead of adding water directly to the model.
Mistake 3: Over-Thinning Until the Pigment Separates
Symptom: the paint looks watery, the color sits in the recesses, and a faint blue-grey film dries around the edges. Cause: too much water or medium breaks the binder, so the pigment separates and no longer grips the surface.
Corrective action: remix the paint on your palette to a consistency closer to milk, then test on a thumbnail or a spare base. If it still separates, add a small amount of fresh paint rather than more thinner. Two controlled layers beat one broken one.
- Keep a dedicated mixing area on the palette so you can judge consistency before touching the model.
- Never thin directly in the pot; it shortens the life of the whole bottle.
Mistake 4: Expecting Neon Blue to Behave Like a Standard Blue
Symptom: the finished area looks flat and matte next to your regular blues, and the glow only appears under strong light. Cause: neon pigments are not formulated for the same opacity or finish as conventional acrylics, so comparing the two leads to overworking the surface.
Corrective action: treat neon blue as its own material. Plan your shading around it, keep the neon for the brightest focal areas, and use standard blues for shadows and depth. If you keep repainting to match a standard blue, you will eventually bury the fluorescence under too many layers.
- Reserve neon blue for small, high-impact areas such as lenses, energy effects, or trim.
- Shade with a darker standard blue rather than layering more neon on top.
Mistake 5: Ignoring the Finish and Handling the Painted Area Too Soon
Symptom: fingerprints, shiny patches, or a dull haze appear on a section that looked fine yesterday. Cause: neon layers stay soft longer than you expect, and skin oils or a rough varnish coat flatten the effect.
Corrective action: let the paint cure fully before handling, and hold the model by the base or a mounting handle. If you need protection, apply a thin varnish coat in light passes and check the finish on a test piece first, since some varnishes mute neon more than others.
- Handle with clean hands or nitrile gloves to avoid oil transfer.
- Test your chosen varnish on a painted spare before spraying the finished figure.
Neon Blue Troubleshooting Checklist
- Muddy or grey first coat: The undercoat is too dark or the surface is bare. Switch to a light bone or off-white primer and restart the color layers. Stop adding neon coats; fix the base first.
- Visible brush strokes and pooling: The paint went on too thick. Thin it slightly and rebuild with three or four thin passes, letting each dry. If two thin passes still streak, the paint is too thin, not too thick.
- Watery film and separated pigment: Over-thinning broke the binder. Remix with fresh paint to a milk-like consistency and test off the model. If it still separates, discard that mix and start a new one.
- Flat, non-glowing finish: You are comparing neon to standard acrylics and overworking it. Keep neon for focal points and shade with standard blues. If the glow is gone, you have buried it under too many layers.
- Fingerprints or dull haze after drying: The paint was handled before curing or the varnish muted it. Cure fully, handle by the base, and test varnish on a spare. If the varnish still kills the glow, accept a matte finish or skip the topcoat.
Products That Help With Neon Blue Work
- LIGHT SKIN: Premium creamy acrylic paint, 20 ml, with high-coverage pigments, suitable for brush and airbrush. A creamy, high-coverage light tone makes a reliable undercoat for neon blue, so the neon reads bright instead of muddy.
- PRIMER BONE CHARM SPRAY 150 ml: A bone-tone aerosol primer; SCALE75 aerosols can only be shipped to Spain (Iberian Peninsula), and other destinations should consult a local distributor. A bone undercoat is exactly the bright base neon blue needs, but check your shipping destination before ordering.
- MARY READ: 1/10 scale unpainted resin figure, assembly required, with a SCALE75 painting reference included in the box. A larger figure gives you room to practice thin neon layers and see how the color builds before you commit to a smaller model.
Neon blue rewards patience and punishes shortcuts, but every failure above has a clear cause and a clear fix. Start with a light undercoat, build thin layers, and stop before you bury the glow under corrections.