Quick answer
Most press-on nail problems come from five fixable mistakes: skipping nail prep, choosing the wrong size, using too little or too much adhesive, pressing at the wrong angle, and ignoring aftercare. Fix those steps and your set should stay put for days without damaging your natural nails.
Press-on nails are supposed to be the easy option, so it is frustrating when a nail lifts two hours after you apply it or feels sore by dinner. The good news is that almost every press-on problem has a specific cause, and most of them happen before the nail ever touches your finger.
This guide walks through five common press-on nail mistakes, what each one looks like, why it happens, and exactly how to correct it. It also tells you when to stop troubleshooting and choose a different product or application method instead.
Mistake 1: Skipping prep and applying to bare, unpolished nails
Symptom: nails lift within hours, especially at the edges, or the whole set slides off in one piece. Cause: natural oils, lotion residue, or a smooth nail surface give adhesive nothing to grip. Corrective action: wash and dry your hands, push back cuticles, lightly buff the shine off each nail, then wipe every nail with an alcohol pad or acetone-free cleanser and let it dry completely. Do not touch your nails after wiping them.
If your nails still lift after thorough prep, the issue may be the adhesive format rather than your technique. Press-on sets that rely on pre-applied adhesive tabs are more sensitive to oily nail beds than a gel adhesive system, so switching formats can solve a problem that prep alone cannot.
- Buff in one direction with light pressure, not back and forth.
- Wipe each nail immediately before applying the press-on, not ten minutes earlier.
- Avoid hand cream and cuticle oil for at least an hour before application.
Mistake 2: Choosing a size that is close instead of correct
Symptom: the press-on presses into your sidewalls, feels tight, or leaves a visible gap at the cuticle where water gets in. Cause: sizing by eyeballing instead of measuring, or picking a size that fits most nails rather than each nail. Corrective action: measure each nail individually at its widest point with a soft tape or a strip of paper, then match that measurement to the brand's size chart. A press-on should cover the nail bed side to side without overlapping the skin.
Sizing matters more than most people expect because an oversized nail puts constant pressure on the sidewalls, which is a common source of soreness and nail damage. An undersized nail leaves exposed edges that catch on everything and lift early. If you are between sizes, size down rather than up and file the sides slightly to fit.
- Measure both hands separately; your dominant hand is often slightly larger.
- Check the fit by pressing the nail on dry before adding any adhesive.
- If a set only offers a few sizes, confirm your measurement falls within the listed range before ordering.
Mistake 3: Using the wrong amount of adhesive
Symptom: glue oozes out around the edges, or the nail pops off cleanly with no residue on either surface. Cause: too much adhesive causes overflow and weak bonding at the center, while too little leaves gaps that never make full contact. Corrective action: use one even layer of adhesive across the nail bed, or a single drop of gel glue, then press and hold for the full curing time your product specifies. More adhesive does not mean a stronger hold.
If you are using a gel adhesive system, the curing step is not optional. A UV or LED lamp is what turns the gel from a soft paste into a solid bond, and skipping or shortening that step is one of the most common reasons press-on nails fall off. Follow the lamp and timing instructions that came with your adhesive rather than guessing.
- Wipe any overflow immediately with a clean brush or cotton swab before it cures.
- Hold steady pressure for the full recommended time; do not test the nail early.
- If a nail lifts, remove it, clean both surfaces, and reapply rather than pressing it back down.
Mistake 4: Applying at the wrong angle or skipping pressure
Symptom: air bubbles under the nail, a nail that sits slightly raised, or one that lifts from the cuticle side first. Cause: placing the nail straight down traps air, and light pressure does not spread the adhesive. Corrective action: hold the press-on at roughly a 45-degree angle, tuck the cuticle edge under the natural cuticle line first, then roll it down toward the tip. Press firmly across the whole nail for the recommended time, paying extra attention to the edges.
Angle and pressure are easy to rush, especially when you are doing ten nails in a row. Slow down for the first two nails, check that they sit flush, then continue once you have the motion right. If a nail feels raised or you can see a bubble, remove it and start over rather than trying to press it flat.
- Work from the cuticle toward the tip, never the reverse.
- Press the center, then each side, then the tip.
- Check for rocking by gently pressing the tip; a flush nail will not move.
Mistake 5: Neglecting aftercare and removal
Symptom: natural nails look thin, peeling, or white after removal, or the set loosens after a few days of normal wear. Cause: pulling nails off instead of soaking them, and exposing the bond to repeated water and oil without care. Corrective action: keep your hands dry for the first hour after application, wear gloves for dishes and cleaning, and remove press-ons by soaking in warm soapy water or adhesive remover until they slide off on their own. Never pry them off.
After removal, give your natural nails a rest day with cuticle oil and no product. If your nails feel sensitive or look damaged after a set, that is your signal to pause press-ons and let them recover before applying another set.
- Soak for five to ten minutes; if the nail does not move, soak longer.
- Keep a small file handy for any rough edges after removal.
- Moisturize after removal, but not right before your next application.
Diagnosis: match the symptom to the fix
- Nail lifts within hours: Prep or adhesive amount is usually the cause. Clean and buff the nail, wipe with alcohol, and use one even layer of adhesive. If it still lifts after two careful attempts, switch adhesive format or try a different press-on set.
- Soreness or pressure on the sidewalls: The nail is too wide. Remeasure at the widest point and size down, then file the sides slightly to fit. Stop wearing the set if soreness continues; a persistent ache is a sign the fit is wrong, not something to push through.
- Natural nails look thin or peeling after removal: Pulling nails off instead of soaking is the likely cause. Soak in warm soapy water or remover until the nail slides off on its own. Take a rest day with cuticle oil before your next set; if damage persists, pause press-ons until nails recover.
Products that support a better application
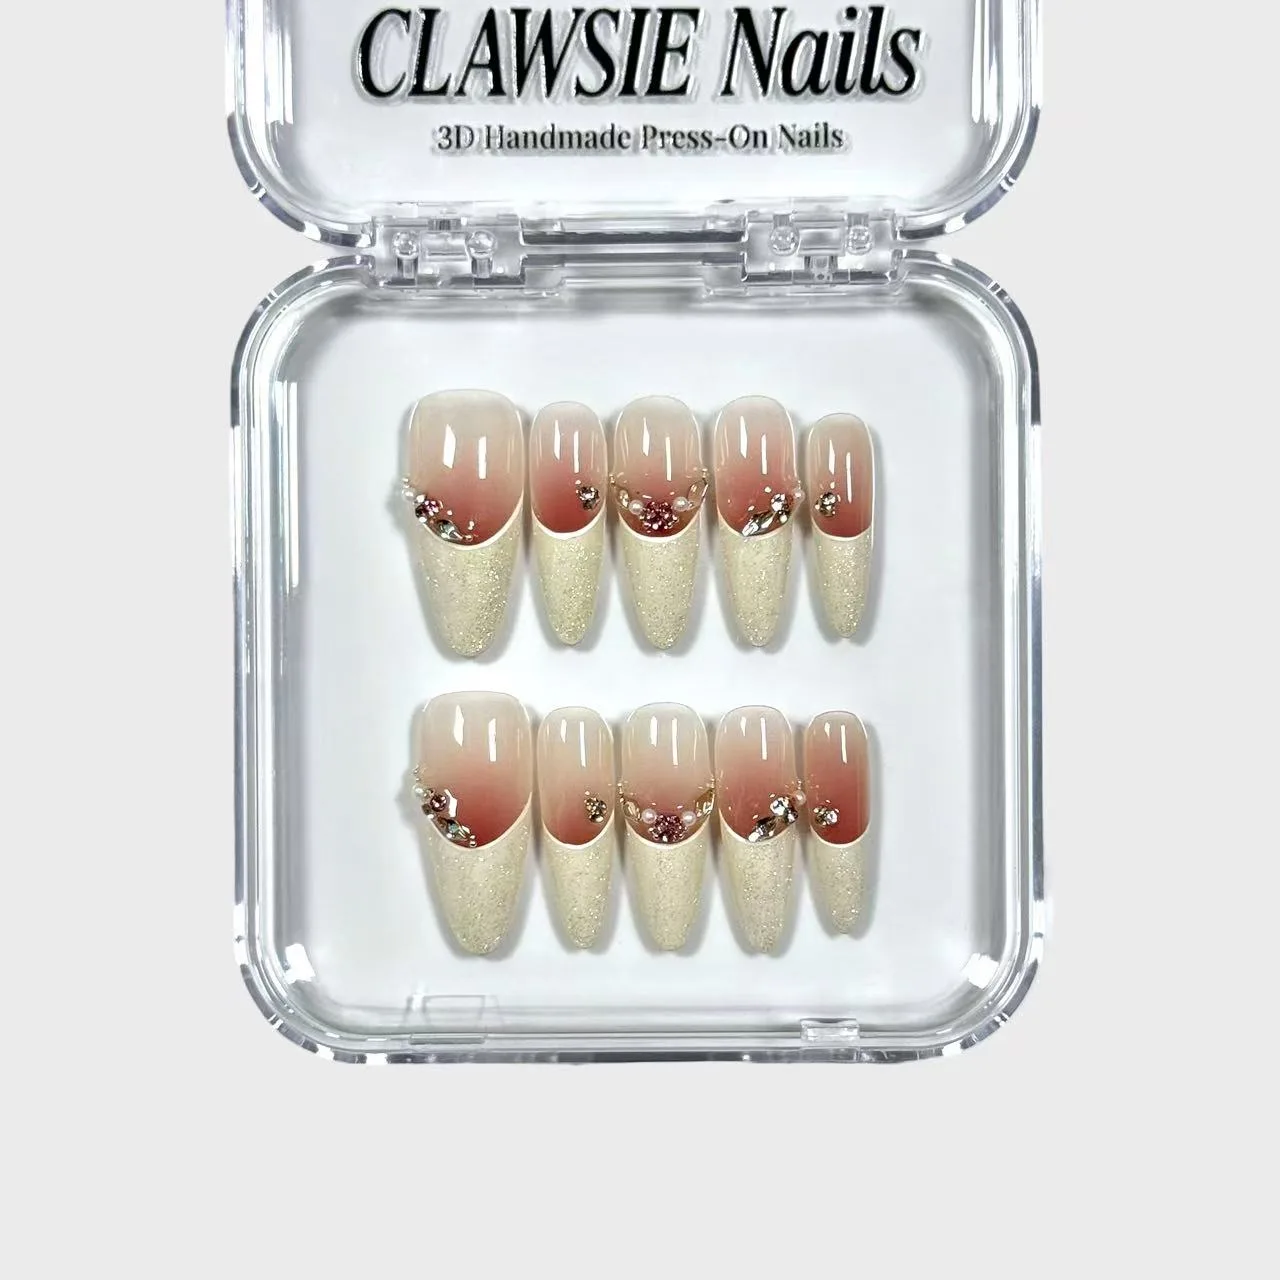
- Chameleon Pink: Chameleon Pink is a press-on nail set available in sizes S, M, and L, selected from the Size option. Having three size options makes it easier to match each nail individually instead of settling for a close fit, which is one of the main causes of lifting and soreness.
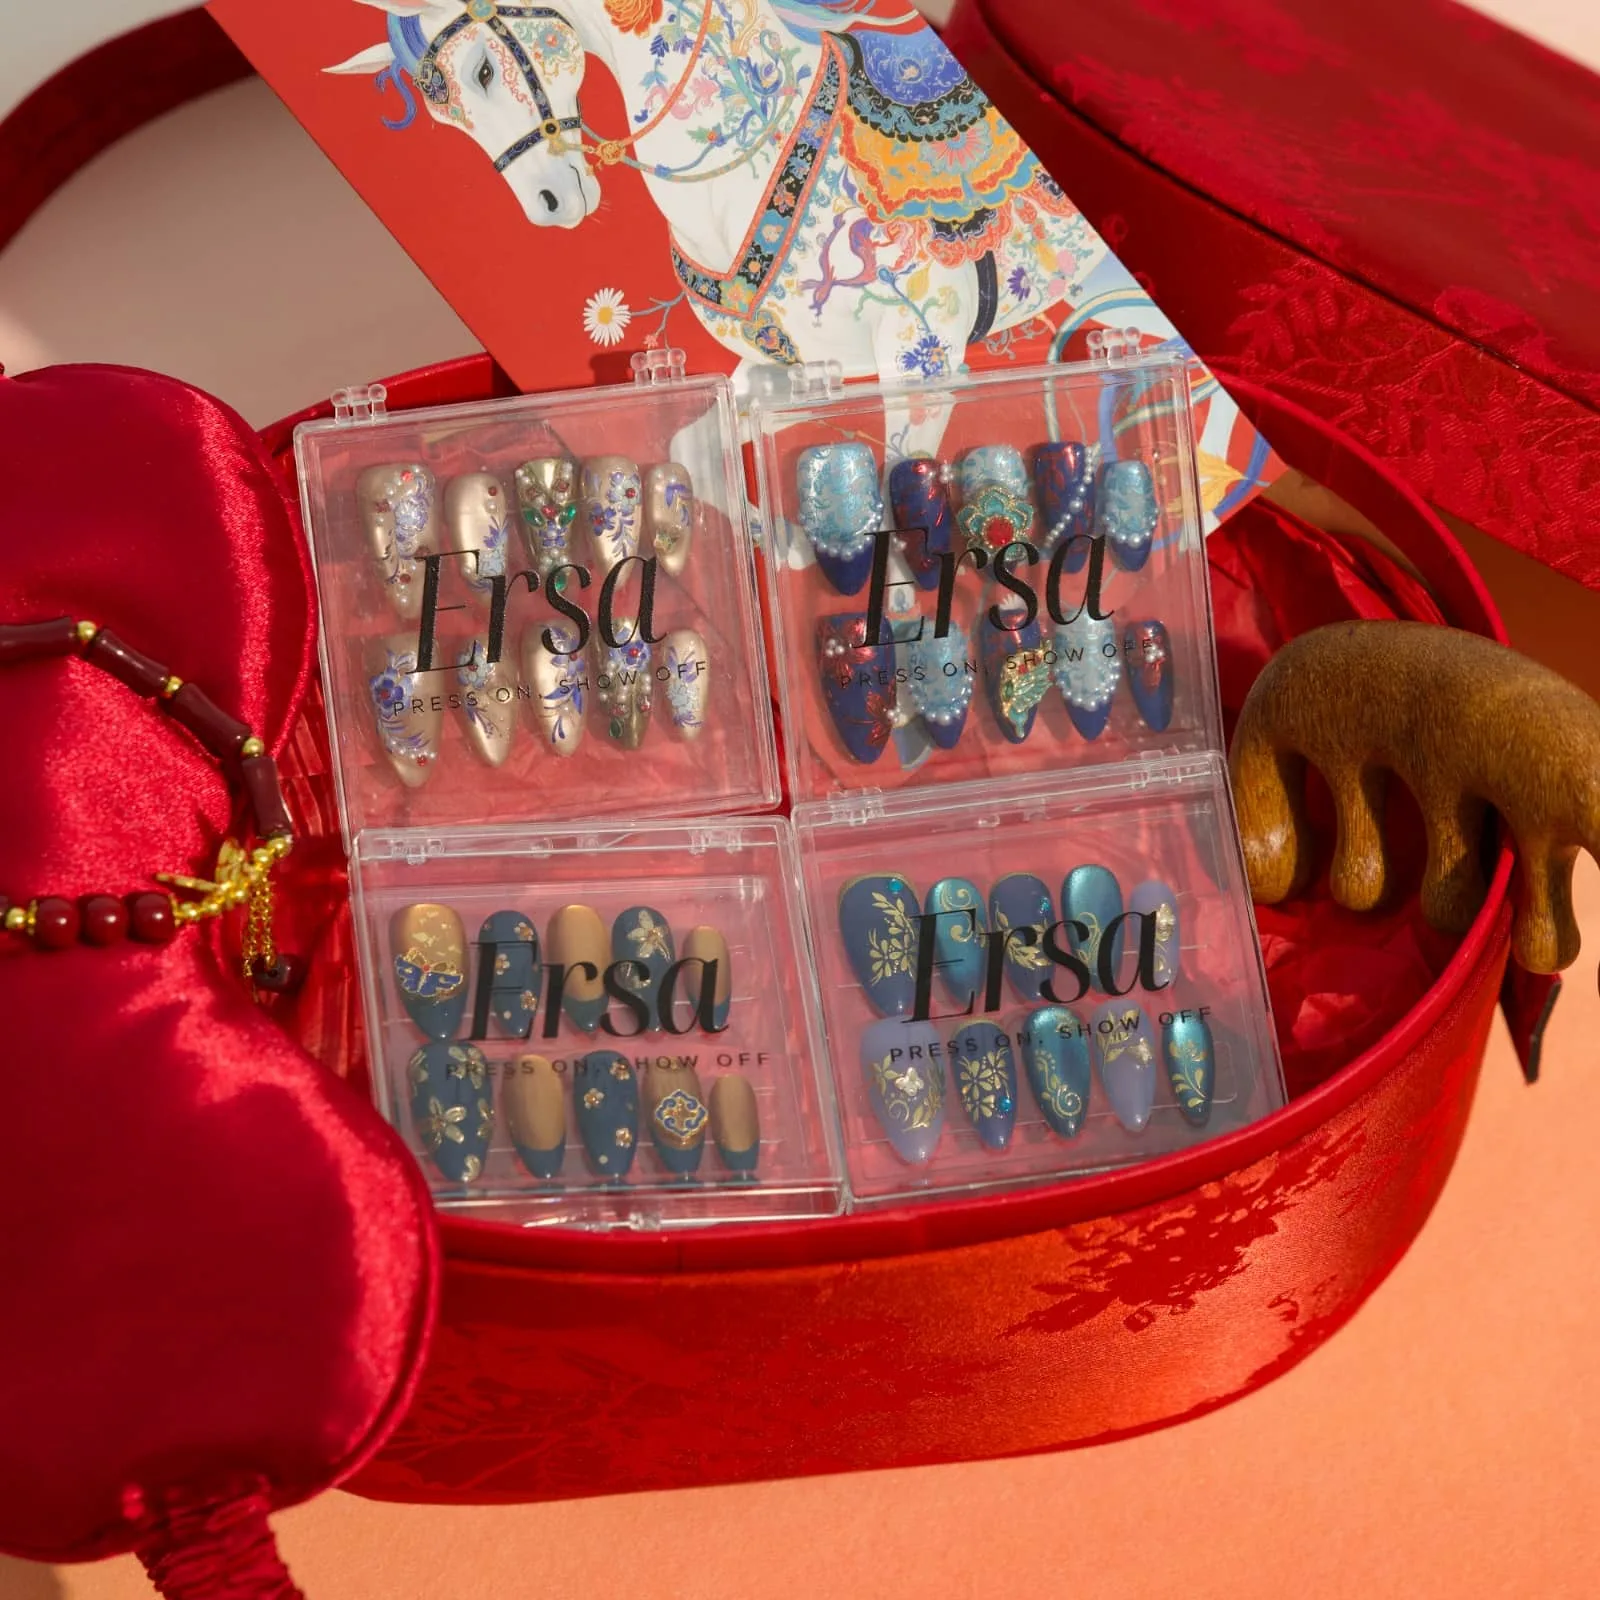
- Silk: Silk press on nails are offered in sizes S and L, selected from the available options. If your measurements fall within S or L, this set gives you a clear size choice; if you are between sizes, size down and file the sides rather than choosing the larger option.
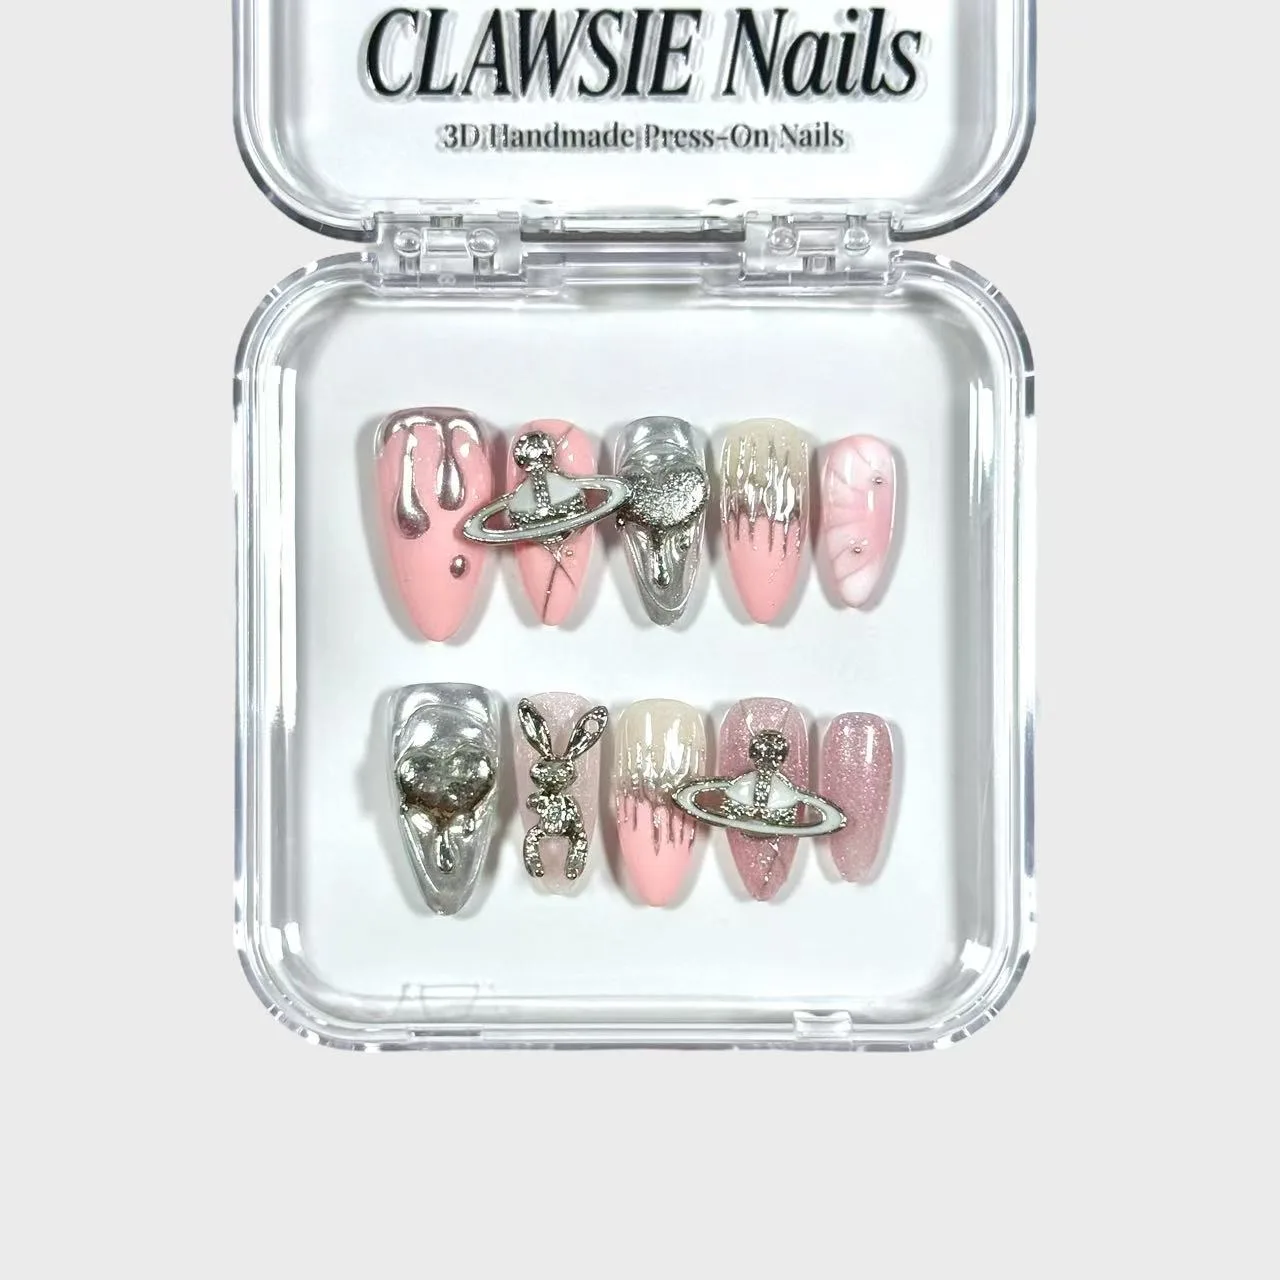
- Pinkora: Pinkora is a medium almond press-on set with soft pink tones, silver drips, and 3D charms, described as lightweight and reusable. A reusable set rewards careful removal, so soaking instead of prying protects both your natural nails and the set you want to wear again.
Press-on nails work well when prep, sizing, adhesive, angle, and removal are each done properly. Fix the mistake that matches your symptom, and if the problem continues after two honest attempts, change the product or format instead of forcing the same set to work.