Quick answer
Most tape measure mistakes come from reading the wrong edge, measuring from a damaged hook, or trusting a loose lock. A double sided tape measure helps because you can read the top and bottom scales without flipping the tape, but only if you check the hook, keep the blade straight, and lock the blade before marking. Slow down for one second at each step and your cuts will fit the first time.
A tape measure is the simplest tool in the shop, which is exactly why we stop paying attention to it. One rushed reading, one bent hook, or one crooked blade and a carefully planned cut is suddenly scrap. These five measuring errors show up again and again in hobby, model, and DIY work, and each one has a straightforward fix.
This accurate measurement guide focuses on the double sided tape measure because it removes a common source of confusion: not being able to see the scale on the far side of the blade. But the tool only helps if you use it correctly. Below are the claims worth busting, the verdict on each, and the habits that keep your measurements honest.
Mistake 1: Trusting a damaged or loose hook
The hook at the end of a tape measure is designed to slide slightly, so it can measure inside and outside dimensions correctly. When the hook is bent, loose, or packed with debris, that intentional movement becomes unpredictable. You might get a reading that is short by a fraction on one measurement and long on the next, which is enough to ruin a joint or a model part.
Check the hook before you rely on it. It should move only a small amount and return to position. If it wobbles or catches, do not use that tape for critical work. Measure from the 1-inch mark instead and subtract an inch from your reading. This simple habit removes the hook from the equation entirely and gives you a consistent reference point.
- Inspect the hook for bends, looseness, or built-up debris before each project.
- For critical cuts, start at the 1-inch mark and subtract one inch from the final reading.
- Retire a tape measure with a hook that no longer returns to position.
Mistake 2: Reading the wrong edge on a double sided tape
A double sided tape measure shows a scale on both sides of the blade, which is convenient until you read the wrong one. If you mark a measurement from the top scale and then check it against the bottom scale, the numbers may not match because one side is offset or printed for a different reference. This is one of the most common measuring errors in layout work.
Pick one side and stay with it for the whole project. Mark that side with a small piece of tape or a dot of paint if it helps. When you transfer a measurement, always read from the same edge you used to take it. Consistency matters more than which side you choose, because a consistent reference point keeps every cut in the same measurement system.
- Choose one scale and use it for the entire project.
- Mark the preferred side with a small piece of tape or a dot of paint.
- When transferring a measurement, read from the same edge you measured from.
Mistake 3: Measuring with a slack or angled blade
A tape measure blade is a thin strip of metal, and it will sag or bow if you let it. On longer measurements, a slack blade adds length that is not really there. An angled blade does the same thing in a different direction. Both create measuring errors that look like the material moved, when the real problem was the tape.
Keep the blade straight and supported. For long spans, press the tape against the workpiece or have a second person hold the far end. Pull the blade taut without stretching it, and sight down the edge to confirm it is flat against the surface. If the blade curves or lifts, reset and measure again before you mark anything.
- Keep the blade flat against the workpiece and sight down the edge to check for bowing.
- For long measurements, support the blade or ask someone to hold the far end.
- Pull the blade taut without stretching it, then re-check before marking.
Mistake 4: Ignoring the lock and case length
The lock on a tape measure exists so you do not have to hold the blade extended while you mark. If you skip it, the blade can retract a little as you reach for a pencil, and your mark lands short. The case length matters too. Many cases are sized so you can add the case dimension to an inside measurement, but that only works if you know the exact case length for your tape.
Lock the blade before you mark. If you are measuring an inside space and adding the case length, verify that number once with a ruler and write it on the case. Do not assume every tape has the same case size. A quick check turns a guess into a reliable reference you can use for the life of the tool.
- Engage the lock before you reach for a pencil or marker.
- Measure your tape case length once and write it on the case for inside measurements.
- Do not assume the case length is the same across different tape measures.
Mistake 5: Marking with a wide line and calling it exact
A pencil line has width. If you mark a measurement with a thick line and then cut to the near edge on one piece and the far edge on the next, the parts will not match. This is not a tape measure defect, but it is a measuring error in practice, and it shows up most often in fine work where a fraction matters.
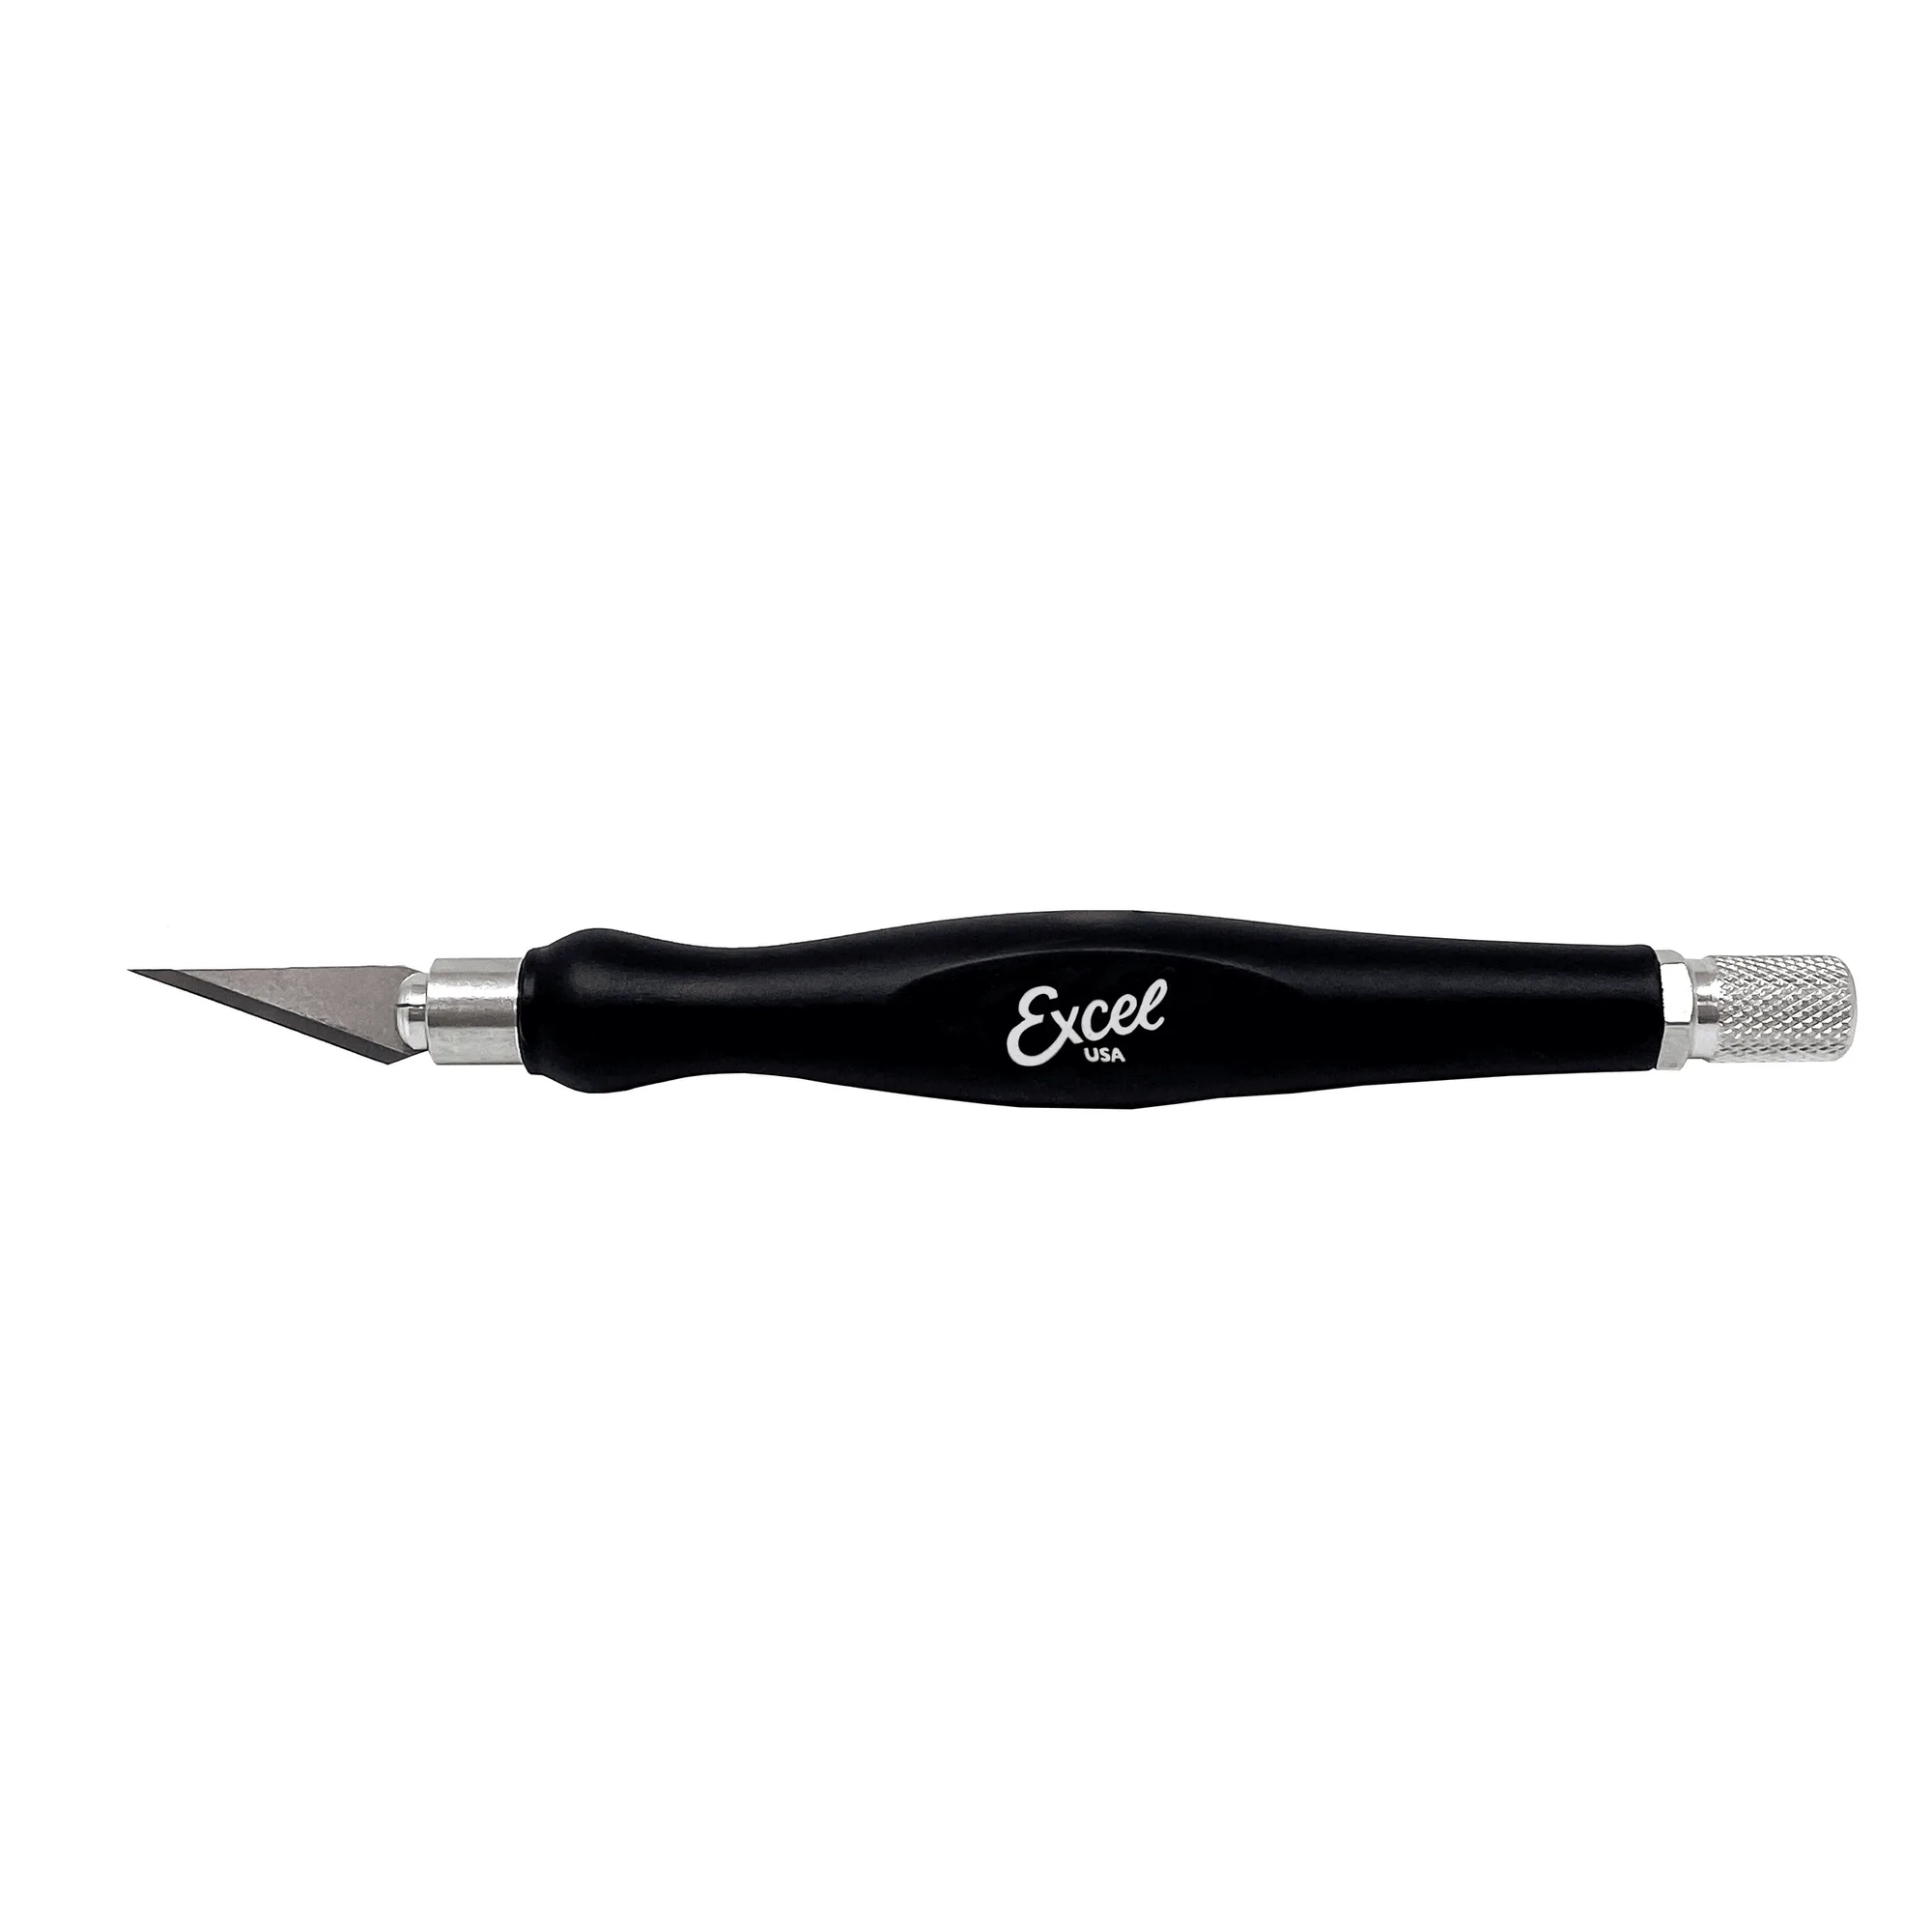
Use a fine marking tool and decide in advance which side of the line is the cut line. For critical fits, mark with a sharp pencil or a fine-point marker and cut to the same side every time. If the line is wider than your tolerance, use a scribe or a knife to make a fine mark instead. The tape measure did its job; the mark has to be just as precise.
- Use a sharp pencil or fine-point marker for layout marks.
- Decide which side of the line is the cut line and stay consistent.
- For tight tolerances, use a scribe or knife to make a finer mark.
Verdicts on common tape measure claims
- Claim: A double sided tape measure is more accurate than a single sided one.: Verdict: Not automatically. The second scale is a convenience, not a guarantee. Accuracy still depends on the hook, the blade, and how you read it. If you read the wrong side or let the blade sag, a double sided tape can produce the same errors as any other. Choose one side and use it consistently for the whole project.
- Claim: You can trust the hook on any tape measure.: Verdict: Only if the hook is in good condition. The hook is designed to move slightly, but a bent or loose hook makes that movement unpredictable. Check it before critical work, and measure from the 1-inch mark if you are unsure. Inspect the hook and use the 1-inch method when in doubt.
- Claim: Locking the blade is optional if you are quick.: Verdict: False. The blade can retract while you reach for a marking tool, which shifts your mark. The lock is there to hold the reading while your hands are busy. Use it every time you mark a measurement. Lock the blade before you mark, every time.
Tools that support accurate measurement and clean finishing
- 8" 4 Way Sharpening File: Excel Blades 8" 4-Way Deburring & Sharpening File is a multi-surface hand file for metal, wood, and plastic, made from high-carbon steel for efficient material removal and long-lasting performance. After you cut to a measurement, a file lets you true up an edge or remove a burr so the finished part matches the number you measured.
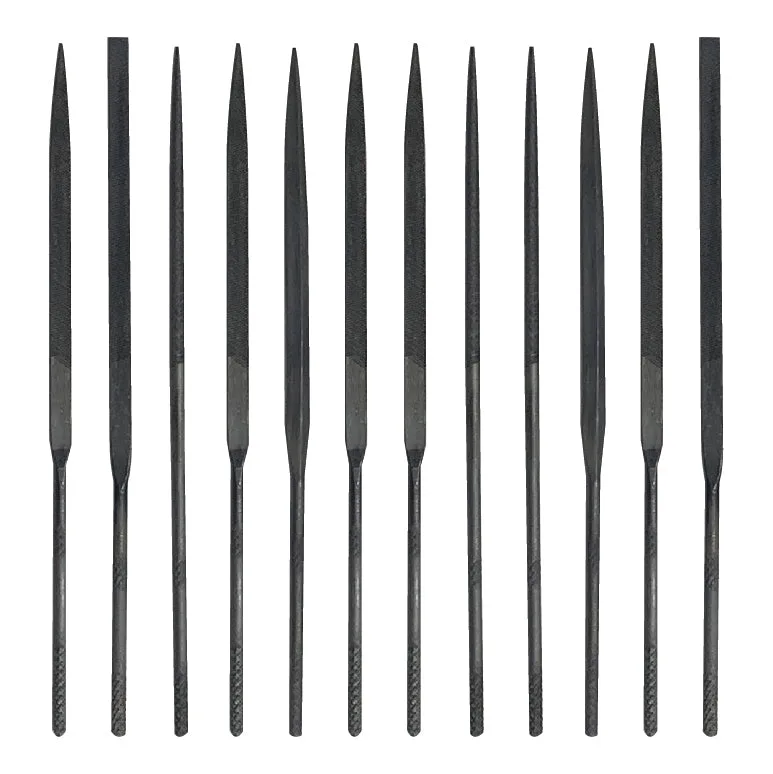
- Mini Needle File Set 12-Piece Assorted: The Excel Blades Mini Needle File Set (55608) includes four unique needle files made with hardened steel for fine-grit filing action on metal models, wooden prototypes, plastic parts, or resin. When a measurement is close but the fit is tight, needle files let you adjust small details without removing too much material.
Tape measure mistakes rarely come from the tool itself. They come from a bent hook, a misread scale, a sagging blade, a skipped lock, or a mark that is wider than the tolerance. Fix those five habits and your double sided tape measure becomes a reliable layout tool instead of a source of scrap. Measure once, check twice, and cut with confidence.