Quick answer
Clean and dry your 8-inch office scissors after heavy use, tighten the pivot screw until the blades close with light resistance, and realign the edges before you sharpen. Most dullness comes from a loose pivot or sticky residue, not a worn edge. Sharpen only after alignment, and replace the scissors when the blades no longer meet along their full length.
Eight-inch office scissors do the heavy lifting on paper, cardstock, tape, and light fabric, so they collect adhesive and paper dust that quietly pushes the blades apart. A two-minute care routine keeps cuts clean and saves you from fighting a tool that feels dull when it is really just dirty or loose.
This guide walks through the order that matters: clean first, tighten the pivot, check alignment, then sharpen only if the edge still fails. Each step includes the mistake that causes most people to skip ahead and make the scissors worse.
Why 8-inch scissors lose their edge
Two blades cut by sliding against each other under tension. When adhesive or paper fiber builds up near the pivot, the blades cannot close fully, so they fold or tear instead of slicing. The same thing happens when the pivot screw backs out from normal use. The edge may still be sharp, but the scissors behave like a dull tool.
Stainless steel office scissors also pick up residue from tape and labels. That film attracts grit, and grit accelerates wear at the exact point where the blades meet. Cleaning and tightening on a regular schedule is more effective than sharpening more often.
- Cutting tape or adhesive labels is the fastest way to gum up an 8-inch pair.
- A pivot that feels loose is a maintenance signal, not a reason to press harder.
How to clean, tighten, and realign your scissors
Work over a tray so small parts do not roll away. Use isopropyl alcohol on a cloth for adhesive, and a soft brush for paper dust around the pivot. Dry every surface before reassembly, because moisture left between the blades invites corrosion and staining.
Once clean, tighten the pivot in small increments and test the action after each turn. You want the blades to close with light resistance, not lock up. Then hold the scissors up to a light and look along the cutting edge; a gap or a crossing point means the blades need realignment before any sharpening.
- Never soak the whole scissors in water; moisture trapped at the pivot is hard to remove.
- Tighten a quarter turn at a time and test, so you do not overtighten and gall the pivot.
When to sharpen and when to replace
Sharpen only after the scissors are clean, tight, and aligned. If the blades still slide over paper instead of biting, a light pass with a sharpening stone or a pull-through sharpener designed for scissors can restore the bevel. Follow the existing angle rather than creating a new one, and sharpen both blades evenly.
Replace the scissors when the blades no longer meet along their full length, when the pivot will not hold tension, or when a nick leaves a visible uncut thread in paper. For fine detail work, a dedicated craft blade often outperforms a repaired pair of office scissors.
- Test on tissue paper: clean cuts mean the edge is ready, snags mean it is not.
- Do not sharpen coated or titanium-bladed scissors with a standard pull-through tool.
A daily and monthly care routine
After each session, wipe the blades with a dry cloth and close them before storage. Once a month, check the pivot tension and clean around the screw with alcohol. If you cut tape often, clean weekly instead, because adhesive hardens and pulls grit into the joint.
Store scissors closed and away from moisture. A simple pouch or drawer divider prevents the blades from knocking against other tools, which is how small nicks start. If you share the scissors, label them for paper only so they do not get used on wire or fabric.
- Keep a dedicated pair for tape and another for paper to slow residue buildup.
- A drop of light machine oil at the pivot after cleaning keeps the action smooth.
Scissor care steps in order
- 1. Clean the blades and pivot: Wipe adhesive with isopropyl alcohol and brush paper dust away from the pivot. Dry completely before closing the scissors. Checkpoint: no sticky feel and no visible grit near the screw.
- 2. Tighten the pivot in small increments: Turn the pivot screw a quarter turn at a time and test the action. Stop when the blades close with light resistance. Mistake to avoid: overtightening, which makes the blades bind and wear faster.
- 3. Check and correct alignment: Hold the scissors to a light and look along the cutting edge. If the blades cross or gap, adjust the pivot or gently realign the blades before sharpening. Checkpoint: the edges meet along their full length with no crossing.
- 4. Sharpen only if needed: Follow the existing bevel with a scissor sharpener or stone, sharpening both blades evenly. Test on tissue paper after each pass. Mistake to avoid: sharpening a loose or misaligned pair, which hides the real problem.
- 5. Store closed and dry: Keep scissors closed in a pouch or divider, away from moisture and other tools. Add a drop of light oil at the pivot after cleaning. Next step: if cuts still snag, replace the scissors and keep a craft knife for detail work.
Excel Blades tools that support scissor care
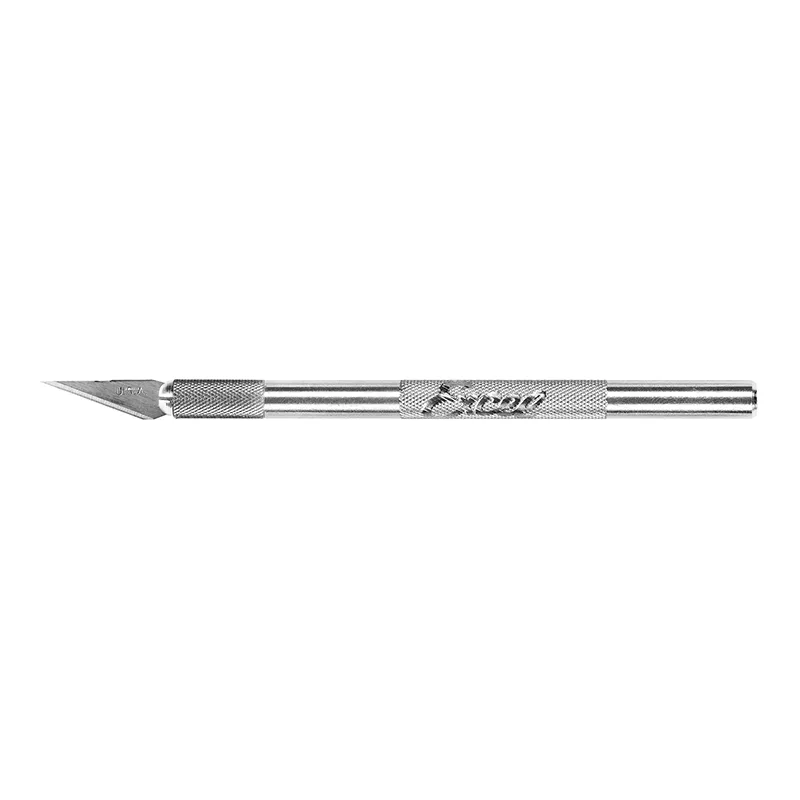
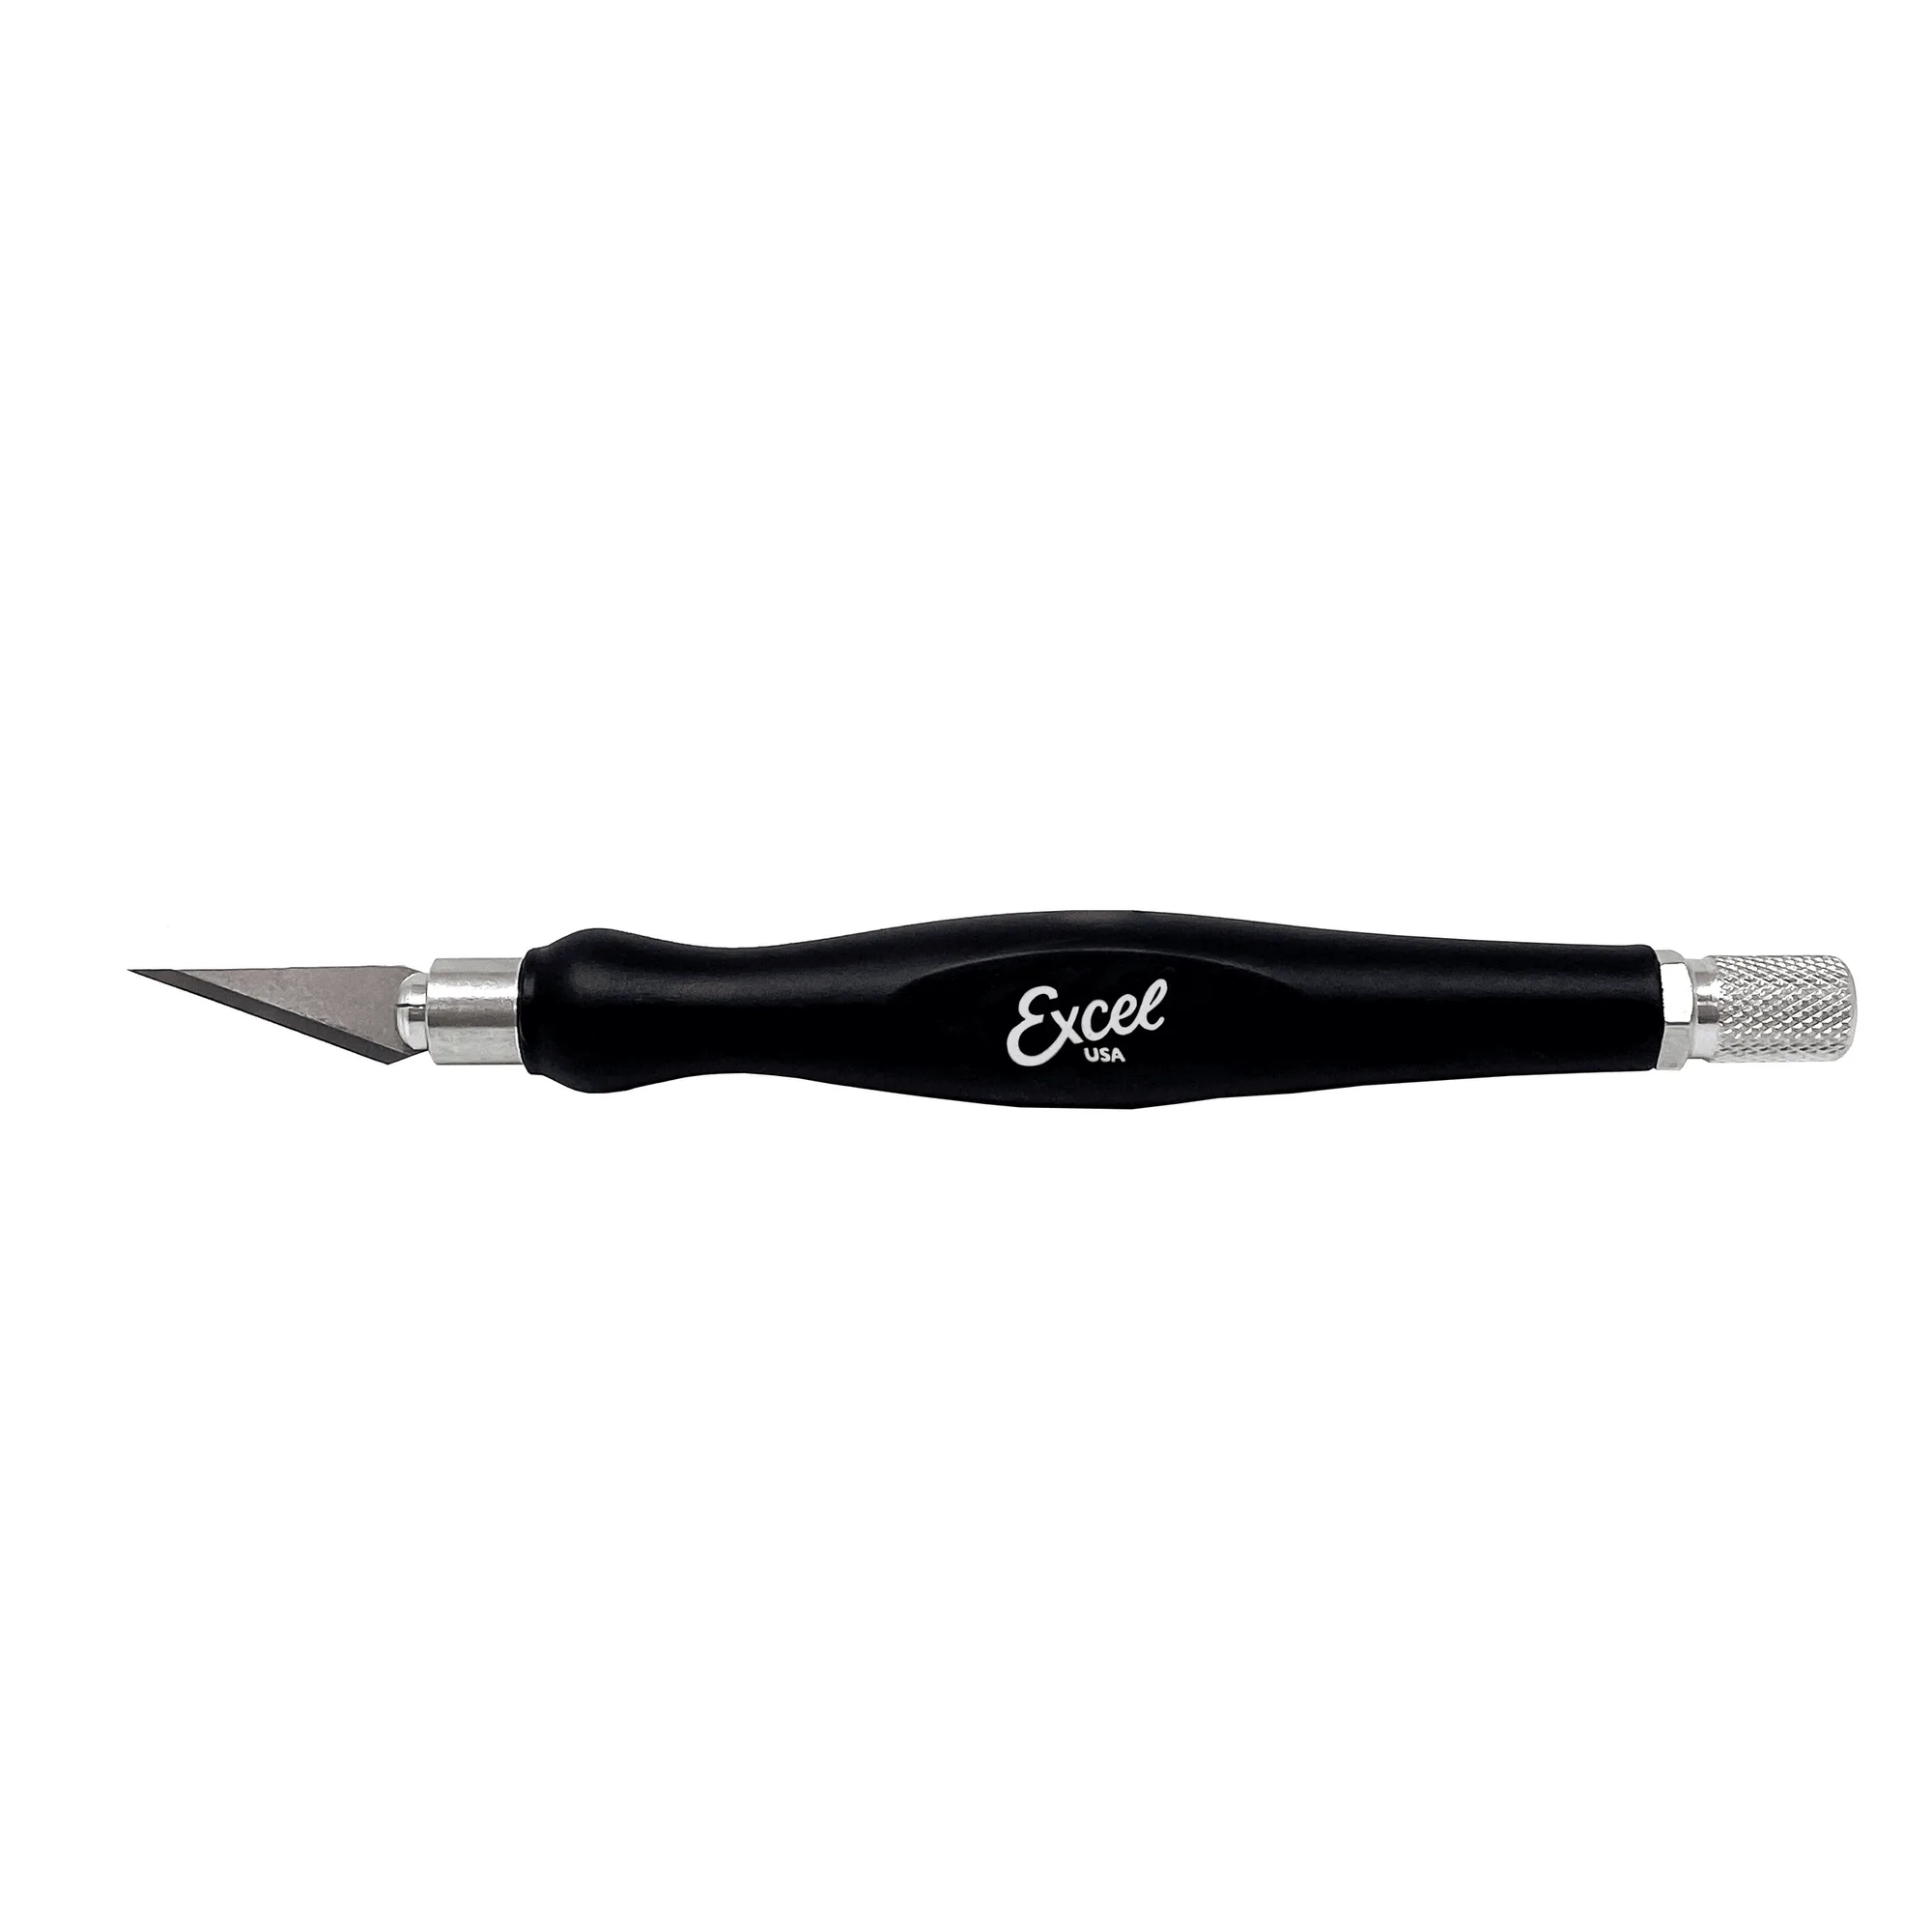
- K1 Craft Knife, Best Selling Hobby Knife: The Excel Blades K1 Aluminum Hobby Knife with #11 Blade is a precision cutting tool with a lightweight aluminum handle, designed for artists, designers, crafters, and hobbyists. When office scissors need realignment or sharpening, a dedicated craft knife handles fine paper and detail cuts without stressing the scissor pivot.
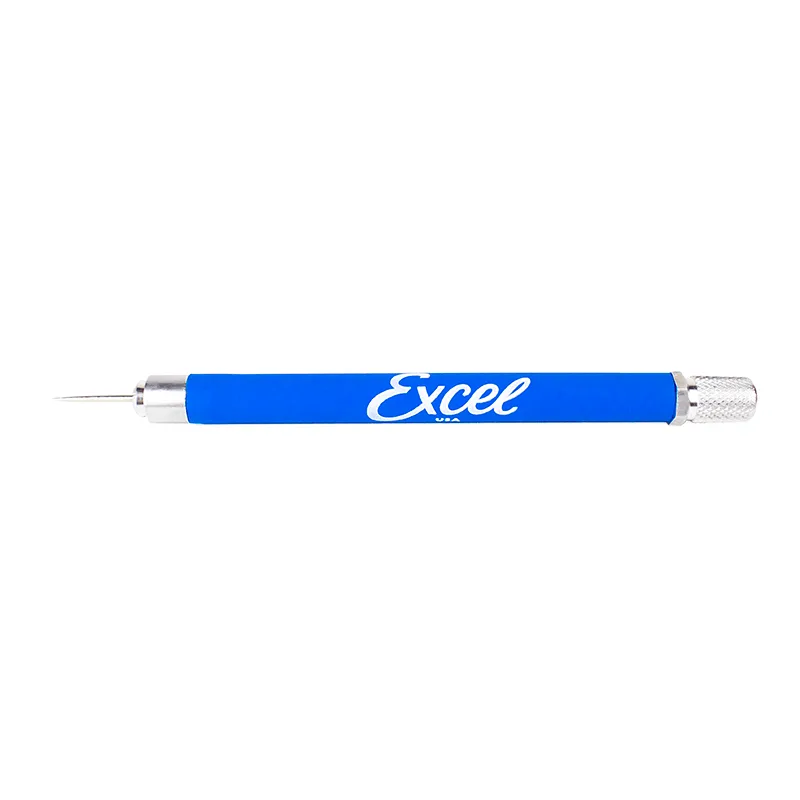
- Excel Blades Cushion Grip Awl/Scribe: The Excel Blades Cushion Grip Awl/Scribe (30614) has a soft ergonomic cushion grip and a 0.050-inch replaceable steel tip. Use it to mark cut lines, lift tape residue, or score cardstock so your scissors cut less adhesive and stay cleaner longer.
Clean, tighten, align, then sharpen: that order keeps 8-inch office scissors cutting cleanly for years. If the blades still snag after all five steps, retire the pair and reach for a precision craft knife for the fine work.