Coffee cupping is the professional method used by roasters, baristas, and buyers to evaluate the quality and flavor profile of coffee beans. It’s a sensory practice that reveals the nuances of origin, roast level, and processing method. Whether you’re a home enthusiast or aspiring expert, learning to cup coffee can deepen your appreciation and help you choose beans that match your taste preferences.
In this guide, we’ll walk you through the essentials of coffee cupping, from setting up your station to scoring flavor notes. You’ll learn how to identify acidity, body, sweetness, and aftertaste, and how to use that knowledge to refine your palate. By the end, you’ll be ready to host your own cupping session and taste like a pro.
What Is Coffee Cupping?
Coffee cupping is a standardized tasting technique that allows you to systematically evaluate coffee’s sensory attributes. It involves smelling the dry grounds, breaking the crust of steeped coffee, and slurping the liquid to aerate it across your palate. This method helps tasters detect subtle flavors that might be missed in a regular sip.
Cupping is used by professionals to assess quality, identify defects, and compare different lots. But it’s also a fun, educational practice for anyone who loves coffee. You can cup at home with basic equipment: whole beans, a grinder, hot water, spoons, and cups. The process is simple but rewarding, and it’s the best way to train your taste buds.
- Use freshly roasted beans and grind them just before cupping for the most accurate flavor profile.
- Always use clean, neutral-tasting water (filtered is best) to avoid off-flavors.
Step-by-Step Cupping Process
Start by grinding your coffee to a medium-coarse consistency, similar to sea salt. Place about 8-10 grams of grounds in a cup, then smell the dry aroma. Next, pour hot water (around 200°F) over the grounds and let it steep for 4 minutes. After steeping, use a spoon to break the crust that forms on top, stirring gently while inhaling the released aromas.
Skim off any foam or grounds from the surface, then let the coffee cool slightly. Using a cupping spoon, slurp a small amount of the liquid—slurping aerates the coffee and spreads it across your tongue. Note the flavor, acidity, body, and aftertaste. Repeat with multiple samples to compare. This method is used by professionals to evaluate beans like Nguvu Washed, a single-origin coffee known for its bright acidity and clean finish.
- Use a dedicated cupping spoon (like the WatchHouse Cupping Spoon) for consistent, comfortable slurping.
- Take notes on a scoring sheet to track your impressions for each sample.
Key Attributes to Evaluate
When cupping, focus on five main attributes: fragrance/aroma, flavor, acidity, body, and aftertaste. Fragrance is the smell of dry grounds, while aroma is released when water hits the coffee. Flavor encompasses the overall taste, from fruity to nutty to chocolatey. Acidity refers to the bright, tangy quality (not sourness), and body is the weight or texture on your tongue.
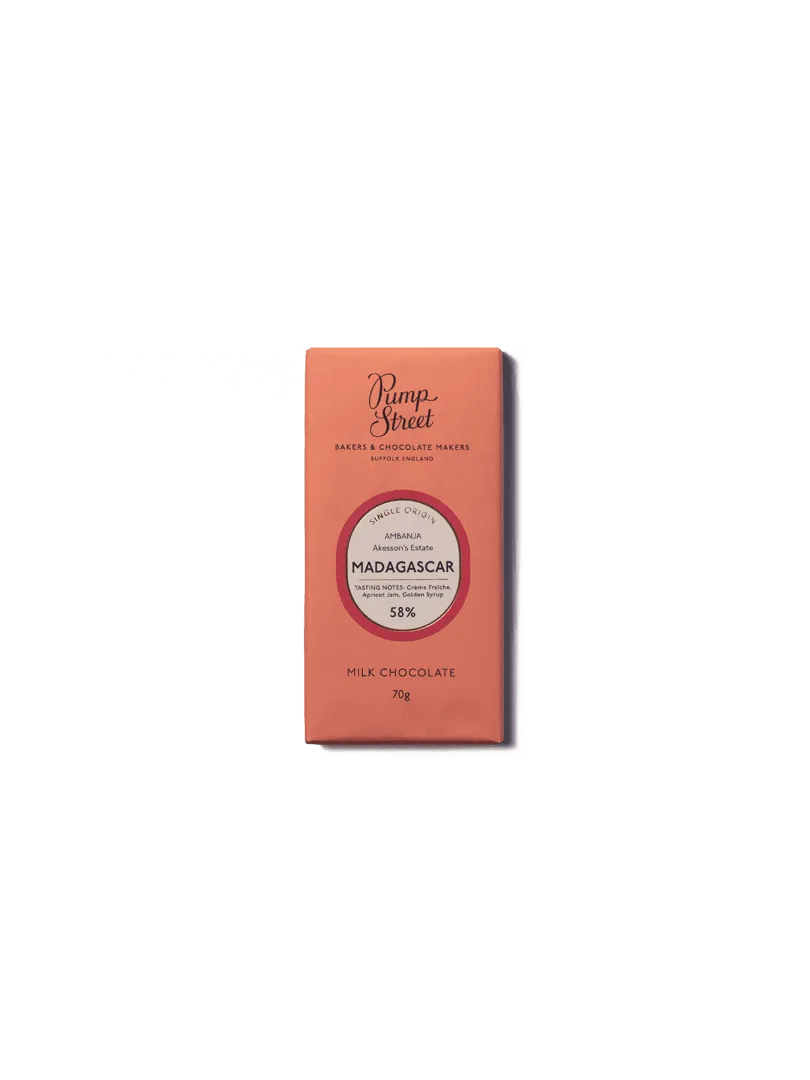
Aftertaste is the lingering sensation after swallowing. A clean, pleasant finish indicates high-quality beans. For example, Pump Street Madagascar 58% milk chocolate pairs beautifully with coffee that has caramel or nutty notes, making it a great companion for a cupping session. Use a flavor wheel to help identify specific notes like berry, citrus, or cocoa.
- Start with a simple scoring system: rate each attribute from 1 to 10, then calculate a total score.
- Compare two or three coffees side by side to sharpen your ability to detect differences.
Tools and Setup for Home Cupping
You don’t need a lab to cup coffee at home. Essential items include a grinder (burr grinder recommended for consistency), a kettle with temperature control (like the Fellow Stagg EKG Electric Kettle), cupping bowls or small glasses, spoons, and a timer. A notebook and pen are helpful for recording observations. For the best results, use freshly roasted beans and grind them immediately before cupping.
Set up a clean, quiet space with good lighting. Arrange your samples in random order and label them with codes (not names) to avoid bias. This blind tasting method ensures objective evaluation. You can also use a Fellow Atmos Canister to store your beans and keep them fresh between sessions. Proper preparation ensures your cupping results are accurate and repeatable.
- Preheat your cups with hot water to maintain a stable brewing temperature.
- Use a separate spoon for each sample to avoid cross-contamination.
Common Mistakes and How to Avoid Them
One common mistake is using water that’s too hot or too cold, which can extract unwanted flavors. Always aim for 200°F (93°C). Another error is over-grinding—too fine a grind can lead to over-extraction and bitterness. Stick to a medium-coarse grind for cupping. Also, avoid cupping when you’re tired or have recently eaten strong foods, as your palate may be compromised.
Don’t rush the process. Allow the coffee to cool to a comfortable sipping temperature—flavors change as it cools, revealing new dimensions. Finally, clean your equipment thoroughly between sessions to prevent residue from affecting future cuppings. With practice, you’ll develop a more sensitive palate and greater confidence in your tasting abilities.
- Wait at least 2 hours after eating or drinking anything other than water before cupping.
- Spit out the coffee after slurping to avoid caffeine overload, especially when tasting multiple samples.
Coffee cupping is a rewarding skill that transforms how you experience your daily brew. By practicing the steps outlined here, you’ll uncover the hidden stories in every bean. Ready to start your cupping journey? Explore the Horizons Subscription for a curated selection of single-origin coffees delivered to your door, perfect for honing your tasting skills.