Coffee cupping is the professional method used by roasters, baristas, and buyers to evaluate the sensory qualities of coffee. At the heart of this ritual is a simple but essential tool: the coffee cupping spoon. Unlike a regular teaspoon, a cupping spoon is designed to capture the full experience of the brew—from its aroma to its finish. Whether you're a home enthusiast or an aspiring taster, learning how to use a coffee cupping spoon properly can unlock a deeper appreciation for every cup you drink.
In this guide, we'll walk you through the anatomy of a cupping spoon, the correct technique for slurping, and how to identify flavor notes like a pro. Along the way, we'll highlight some essential gear from WatchHouse to elevate your cupping sessions at home.
What Makes a Coffee Cupping Spoon Special?
A coffee cupping spoon is not an ordinary spoon. It is typically made of polished stainless steel or silver, with a deep, rounded bowl and a wide, shallow shape that allows the coffee to spread quickly across your palate. The handle is often long enough to reach into a cupping bowl without burning your fingers. The key feature is the spoon's ability to hold just the right amount of liquid—enough for a powerful slurp, but not so much that it overwhelms your taste buds.
Professional cupping spoons are designed to be neutral, meaning they do not impart any metallic or off-flavors to the coffee. This is crucial because even a tiny taint can distort your perception of the brew. Many tasters prefer spoons that are slightly polished to minimize friction, allowing the coffee to glide smoothly into your mouth. When you invest in a quality cupping tool, you are investing in the accuracy of your tasting experience.
- Deep, rounded bowl for optimal liquid volume
- Long handle to reach hot cupping bowls safely
- Neutral material—usually stainless steel or silver—to avoid flavor contamination
Step-by-Step: How to Use a Coffee Cupping Spoon
Start by preparing your cupping station. You'll need a set of identical cups, each with the same amount of freshly ground coffee and hot water. Let the coffee steep for four minutes, then break the crust with your spoon and inhale the aroma. This is the first sensory checkpoint. After skimming off the grounds, let the coffee cool slightly before tasting. The ideal temperature for cupping is around 160°F (71°C)—hot enough to release volatile aromas but not so hot that it burns your tongue.
Now, pick up your cupping spoon with a relaxed grip. Dip it into the cup, scooping up a small amount of coffee—about a tablespoon. Bring the spoon to your lips and slurp the coffee forcefully. The slurp is not just for show; it aerates the liquid and spreads it across your entire palate, allowing you to detect sweetness, acidity, body, and finish. Hold the coffee in your mouth for a few seconds, then swallow or spit. Take notes on flavor, aftertaste, and mouthfeel. Repeat for each sample, rinsing your spoon between cups.
- Always rinse your spoon in hot water between samples to avoid cross-contamination
- Slurp loudly—the aeration is essential for flavor perception
- Use a consistent scoop size to ensure fair comparisons
Essential Gear for Your Home Cupping Session
While the cupping spoon is the star of the show, a few other tools can make your home cupping experience more professional and enjoyable. A precise scale, a gooseneck kettle, and a timer are essential for consistency. You'll also want a clean, neutral surface and a set of small cups or bowls. If you're serious about cupping, consider adding the Kinto Coffee Server to your setup—it's perfect for serving your evaluated brews or for sharing with friends during a tasting session.
Another handy accessory is the Kinto Travel Tumbler. While it's designed for on-the-go drinking, its clean lines and heat retention make it a great vessel for cupping small batches when you're traveling or tasting outside your usual kitchen. And don't forget the V60 Filter Papers—if you decide to brew a pour-over after your cupping, these papers ensure a clean, sediment-free cup that lets the flavors shine.
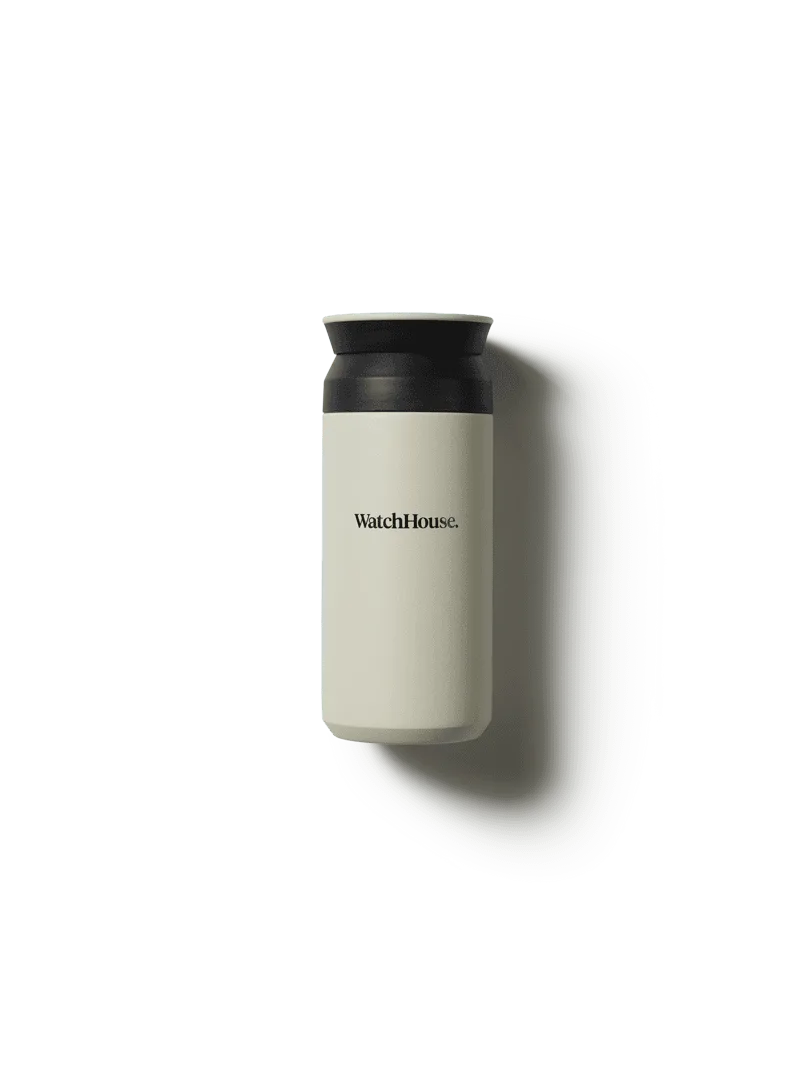
Kinto Travel Tumbler.
- Use a timer and scale for repeatable results
- Keep a notebook or app for recording flavor profiles
- Clean your palate between samples with plain water or unsalted crackers
Common Mistakes to Avoid When Cupping
Even experienced tasters can fall into traps that skew their evaluations. One common mistake is cupping coffee that is too hot. At high temperatures, many flavors are masked by bitterness or acidity. Wait until the coffee cools to a comfortable sipping temperature before tasting. Another error is using a spoon that is too small or too large. A proper cupping spoon holds about 4-5 ml of liquid—enough for a controlled slurp without splashing.
Also, avoid cupping on a full stomach or after eating strong foods like garlic or spicy dishes. Your palate needs to be neutral to detect subtle notes. Finally, don't rush. Take your time between samples, breathe, and re-evaluate. Cupping is a meditative practice as much as a scientific one. With patience, you'll start to recognize the distinct characteristics of different origins, processing methods, and roast levels.
- Wait for coffee to cool to around 160°F before tasting
- Avoid strong flavors (garlic, coffee, mint) for at least an hour before cupping
- Use a dedicated cupping spoon—not a tea or soup spoon
Coffee cupping is a rewarding skill that deepens your connection to the beans you brew. With the right technique and a quality cupping spoon, you can identify flavor notes, compare origins, and refine your palate. Ready to start your cupping journey? Explore the Roaster's Spotlight Subscription to receive fresh, single-origin coffees perfect for your next tasting session.