Why the A106 Pro is a lighting-first overhead panel
The A106 Pro A32X overhead panel is built for MSFS 2020 and 2024 with a backlit face, a metal housing and tactile switches. That combination changes your setup order: lighting and switch feel are the two things you will notice first, so get them working before you worry about the rest of the cockpit.
This guide walks through the practical steps: confirming the panel is recognized, setting up backlighting, binding the overhead switches for the Fenix A320, and installing the metal housing so it stays put during long flights.
Panel facts that affect setup
-
Pneumatic Suspension 4-Axis Base with Stand VESA-Mount: Backlit face with metal housing and tactile switches, designed for MSFS 2020 and 2024. Backlighting and tactile switches are the two features you will configure and test first.
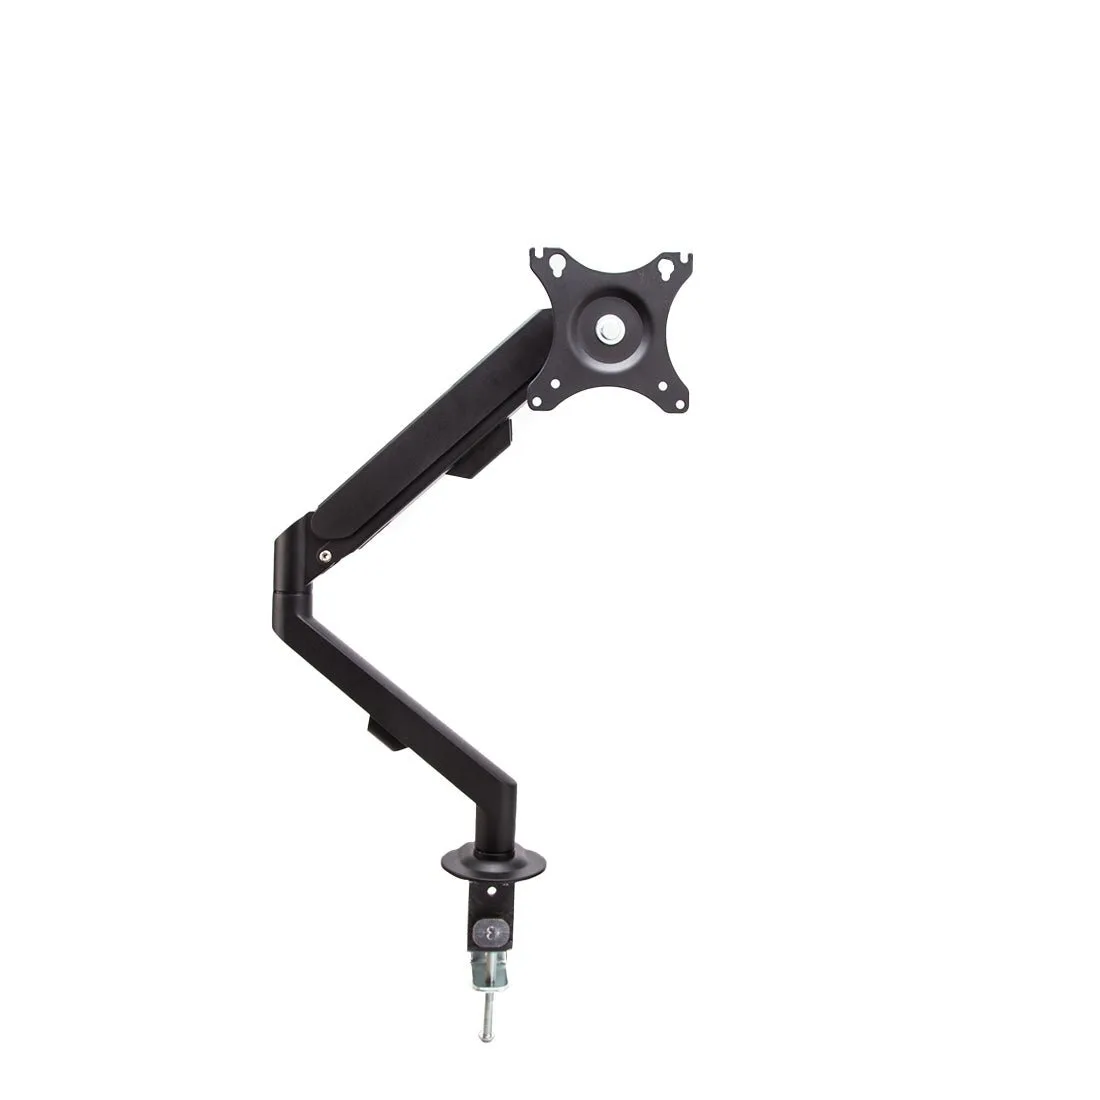
Pneumatic Suspension 4-Axis Base with Stand VESA-Mount
-
Pneumatic Suspension 4-Axis Base with Stand VESA-Mount: Universal compatibility with standard VESA mounts is not relevant here; this is a desktop panel, not a monitor arm. Ignore VESA and monitor-arm guidance; plan for a flat desk or cockpit surface instead.
Step 1: Get the panel recognized in MSFS
- Connect the panel before launching the sim: Plug the A106 Pro into your PC, then start MSFS 2020 or 2024. This order helps the sim detect the device during startup.
- Confirm Windows sees it: Open Windows Game Controllers and check that the panel appears as a game controller. If it does not, try a different USB port before changing any sim settings.
- Open MSFS Controls options: In MSFS, go to Options > Controls and select the A106 Pro from the device list. You should see its buttons and switches listed.
Step 2: Set up the backlighting
- Find the backlight control: The A106 Pro has a backlit face. Check the panel for a dedicated brightness control or a switch assigned to lighting. The supplied information does not confirm the exact control method, so inspect the unit and any included instructions.
- Test in a dark room: Dim your room lights and adjust the backlight until the labels are readable without glare. This is a personal preference, not a fixed setting.
- Match sim lighting: If your aircraft add-on has its own panel lighting, set the hardware backlight to a comfortable level first, then adjust the sim to match. Avoid running both at maximum, which can wash out the labels.
Step 3: Bind the overhead switches for the Fenix A320
- Start with the Fenix A320 profile: In MSFS Controls, create a new profile for the A106 Pro and name it Fenix A320. This keeps your overhead bindings separate from other aircraft.
- Bind one switch at a time: Select a switch on the panel, then search for the matching overhead function in the sim's control list. Assign it and test in the cockpit before moving to the next switch.
- Use the Fenix overhead as your reference: The Fenix A320 overhead panel is the best guide for which switch should control which system. Work through the panel in logical groups: electrical, fuel, hydraulic, then lighting.
- Check for conflicts: If a switch triggers the wrong action, look for duplicate assignments in the same profile. Remove the unwanted binding rather than adding a second one.
What the supplied information does not confirm about binding
The A106 Pro listing does not include a button map, a default MSFS profile, or specific Fenix binding instructions. That means you should expect to assign switches manually in the sim rather than relying on a plug-and-play profile.
If you are using a different A320 add-on, the same manual binding approach applies, but the function names may differ. Use the add-on's own overhead panel as your reference.
Step 4: Install the metal housing so it stays put
- Choose a flat, stable surface: The metal housing adds weight and rigidity, but it still needs a level surface. A desk mat or cockpit shelf works well.
- Leave room for cables: Position the panel so the USB cable has slack and is not pulled tight. A strained cable can cause intermittent connection issues.
- Secure if needed: The supplied information does not confirm mounting holes or included fasteners. If the panel slides during use, use a non-slip pad underneath rather than drilling unless you have confirmed the housing design.
Checkpoints before your first flight
- Panel appears in MSFS Controls: If it does not, revisit the USB connection and Windows Game Controllers step.
- Backlight is readable but not glaring: Adjust in a dim room and match to your sim lighting.
- Every switch you plan to use is bound and tested: Test each one in the Fenix cockpit, not just in the Controls menu.
- No duplicate assignments: Check the profile for conflicts if a switch does something unexpected.
- Housing is stable: The panel should not slide or tip when you press a switch.
A note on MSFS 2024
The A106 Pro is listed for both MSFS 2020 and 2024. The setup steps above apply to both versions, but the Controls menu layout may differ slightly. If you cannot find a setting, use the search box in the Controls menu.
The supplied information does not confirm any MSFS 2024-specific features or profiles, so treat 2024 as a manual setup just like 2020.