Quick answer
An acrylic nail stand holds a press-on nail on a small peg so both of your hands stay free to paint, foil, and place rhinestones. Press the nail onto the peg with gentle, even pressure, keep the stand on a flat surface, and let each layer cure or dry completely before you add the next one.
Acrylic nail stands solve a simple problem: press-on nails are small, curved, and hard to hold still while you decorate them. A stand gives each nail its own peg and base, so you can work on a full set in one sitting without smudging what you just finished.
Whether you are prepping a set for a customer, building inventory to sell, or just painting your own press-ons before a trip, the process is the same. The steps below cover setup, working order, decoration, and display, plus the mistakes that cause crooked nails and ruined art.
What an acrylic nail stand actually does
A stand is a base with one or more upright pegs. You press the press-on nail onto the peg, and the peg holds it from the inside. That means the entire outer surface stays open for painting, stamping, foiling, and rhinestone placement. Because the nail sits above the table, you can rotate the stand or lift it without touching wet product.
Stands are usually sold as single-peg holders or multi-peg display stands. Single pegs are better for detailed work because you can bring the nail close to your face. Multi-peg stands are better for drying and displaying a full set at once. If you plan to do both, owning one of each is more useful than owning two of the same.
- Check that the peg is thinner than the smallest nail you plan to use, or it will split the press-on.
- Keep a lint-free wipe nearby for cleaning the peg between nails.
How to set up your stand and workspace
Set the stand on a flat, stable surface at a height where your wrist stays relaxed. If the stand rocks, put a thin silicone mat underneath instead of stacking paper, which shifts. Wipe the peg with alcohol and let it dry before the first nail. Any oil or dust on the peg transfers straight to the inside of the press-on and weakens the hold.
Lay out your products in the order you will use them: base or color, art materials, top coat, and any tools. A nail painting stand only helps if you are not reaching across the table between steps. For foil work, keep the foil sheet flat and shiny-side up so you can see the pattern before you press.
- Work near a window or a lamp you can angle, so you can see the nail edge clearly.
- Do not place the stand on a towel; the fibers catch on wet nails when you rotate it.
Step-by-step: working on press-on nails
Start with clean, dry press-ons. Press each nail onto its peg with light, even pressure at the cuticle end first, then the tip. If the nail feels loose, the peg is too thin for that size; switch to a different peg rather than forcing it. Work one nail at a time and finish it completely before moving to the next, because partial sets are how smudges happen.
Apply your color in thin layers. With gel polish, cure according to your lamp and the product instructions, not by feel. With regular polish, wait until the surface is dry to the touch before adding art. When you place rhinestones, use the stand to bring the nail closer to you rather than reaching over the wet surface.
- Common mistake: painting the full set before curing any of it, which leads to dents and dust.
- Checkpoint: press gently on the nail edge. If it shifts on the peg, stop and reseat it.
Decorating with foils, rhinestones, and small pieces
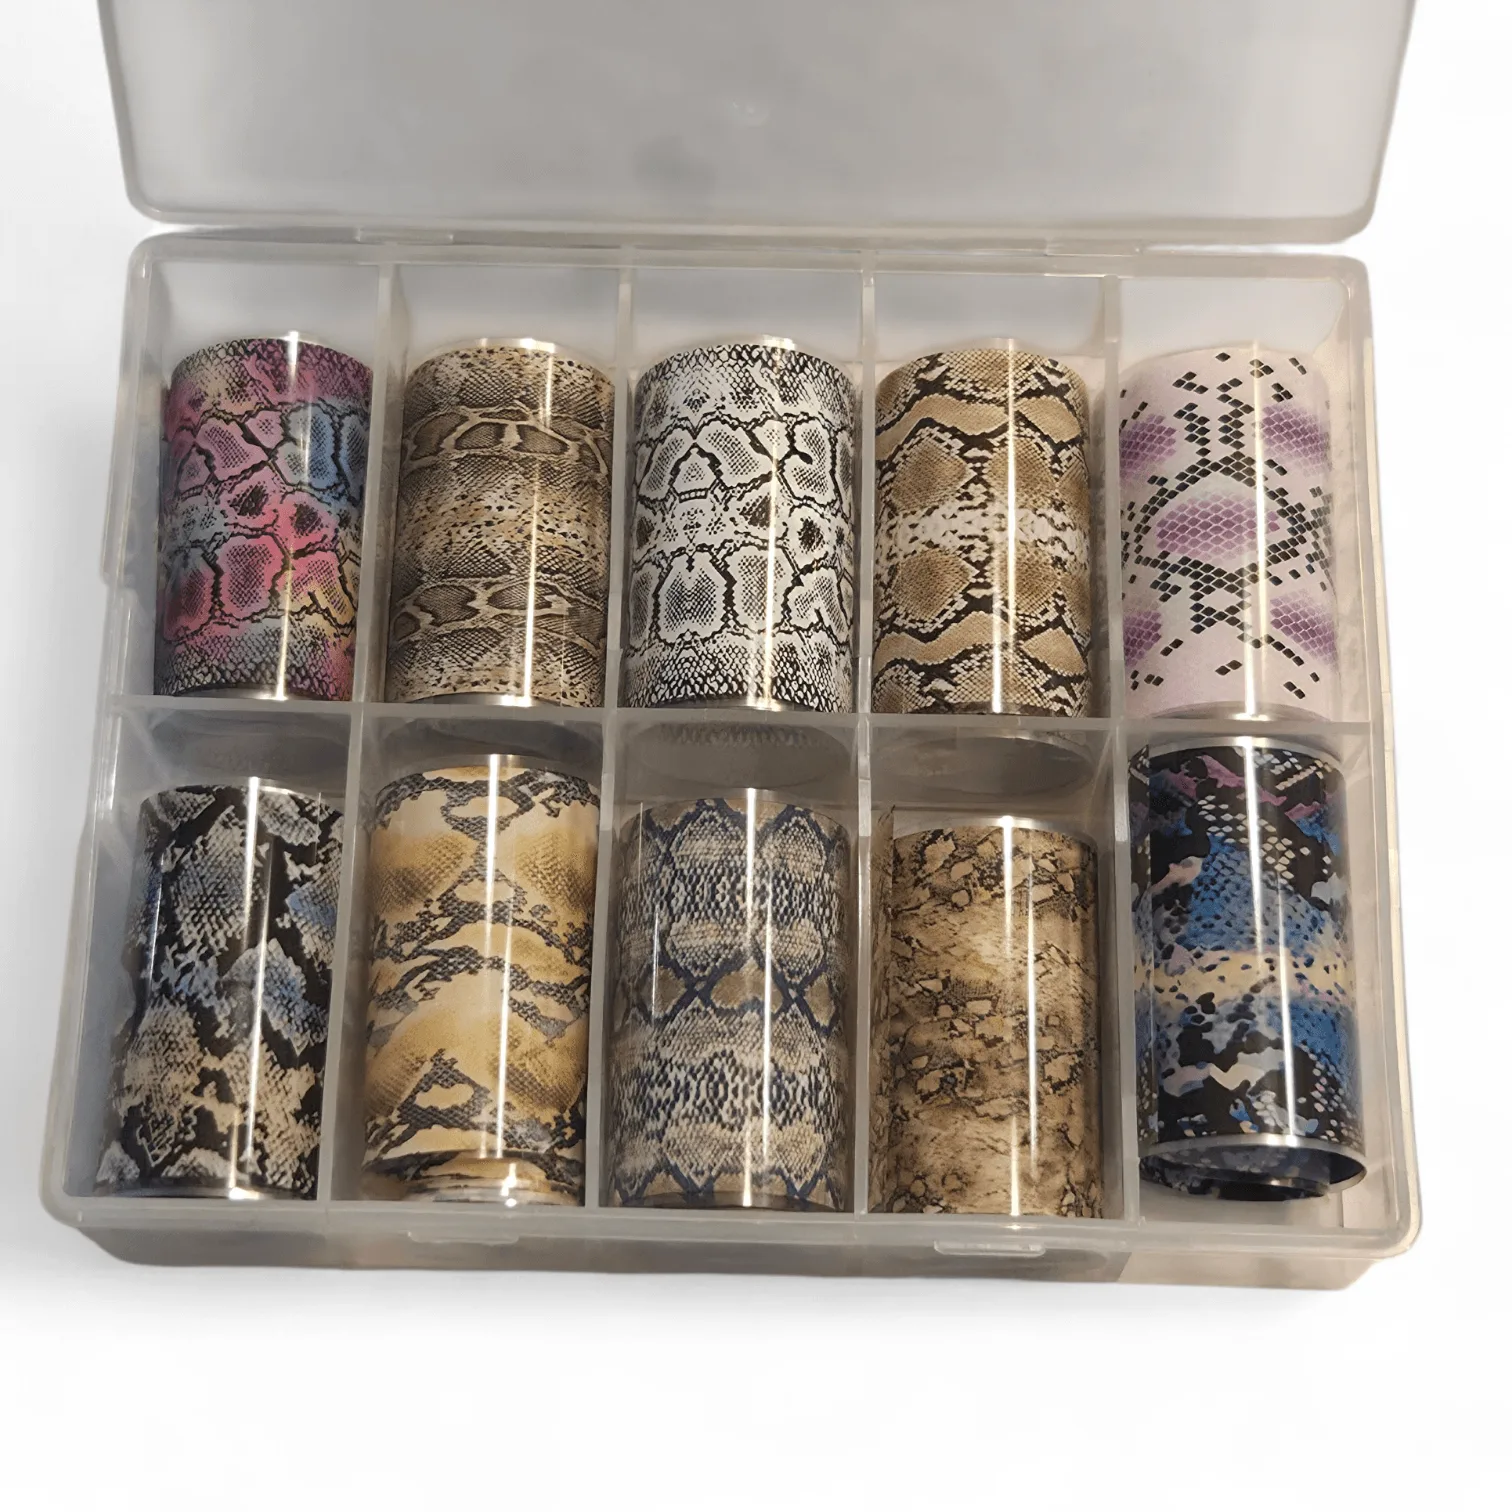
Transfer foil is one of the easiest ways to add pattern to a press-on set, and a stand makes it far less fiddly. Cut a piece slightly larger than the nail, place it over the prepared area, and press with a firm, even motion. Peel slowly. If the pattern looks patchy, the surface was not tacky enough, not because the foil failed.
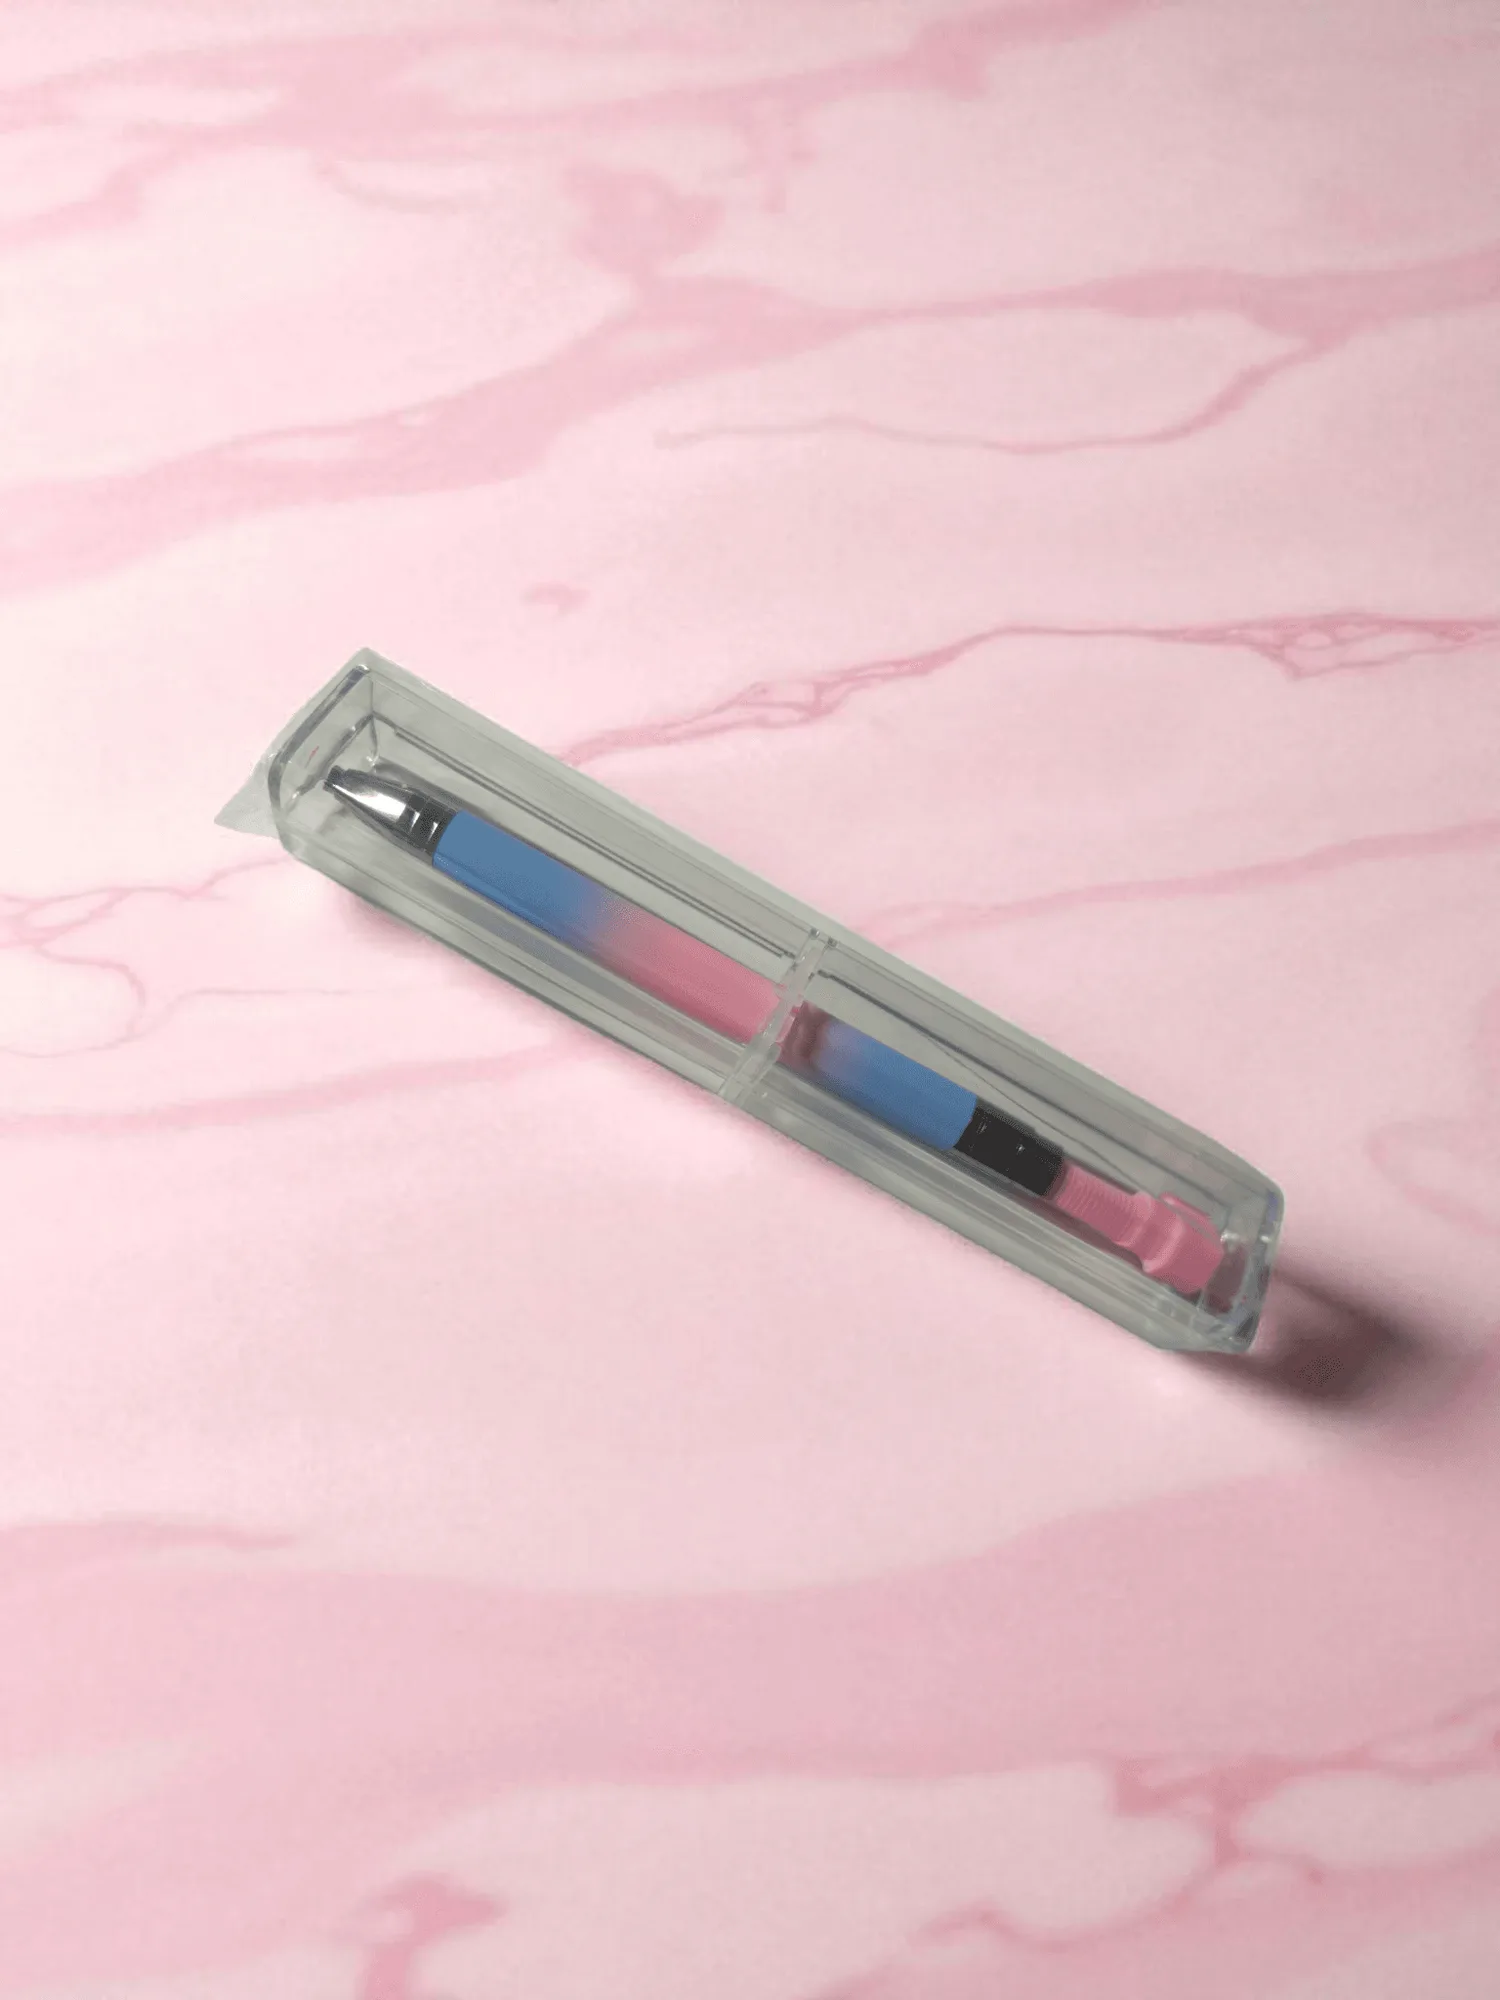
For rhinestones and small charms, a picker tool gives you more control than fingers or tweezers. Place the stone where you want it, then press it down with the flat end of the tool. Do not slide it into position; sliding drags adhesive across the nail and leaves a visible smear under the stone.
- Work from the center of the nail outward when placing multiple stones.
- If a stone will not release from the picker, the tip is too tacky. Wipe it and try again.
Drying, storing, and displaying finished sets
Leave finished nails on the stand until they are fully set. For gel, that means after curing and cooling; for regular polish, that means several hours, not several minutes. Once set, lift each nail straight up off the peg rather than twisting it, which can crack the free edge.
A multi-peg stand doubles as a display. Group nails by size or by design so a customer can see the full set at a glance. Store press-ons flat in a case or on a stand away from direct sun, and keep them away from heat, which can soften adhesive tabs and warp thin nails over time.
- Label the back of each nail with its size if you are selling sets.
- Do not store press-ons pressed onto pegs in a closed bag; the peg can press into the nail.
Your stand workflow, step by step
- Clean the peg: Wipe the peg with alcohol and let it dry before you press on the first nail. Checkpoint: no oil or dust on the peg, or the nail will not sit straight.
- Seat the nail: Press the cuticle end on first, then the tip, using light even pressure. Mistake to avoid: forcing a nail onto a peg that is too thick and splitting it.
- Paint in thin layers: Apply color, cure gel or let regular polish dry, then add the next layer. Checkpoint: if the nail shifts on the peg, reseat it before you keep painting.
- Add art with tools: Use foil and a rhinestone picker to place pattern and stones without touching the wet surface. Mistake to avoid: sliding stones into place, which smears adhesive underneath.
- Let it set, then lift straight up: Keep nails on the stand until fully set, then lift each one straight off the peg. Next step: move the set to a display stand or storage case.
Products that pair well with a nail stand
- Twist Top Rhinestone Picker: Features an automatic twist top, includes 1 refill, and comes in Pink & Blue and Pink & White. A picker keeps your fingers off the wet nail while you place stones, and the refill means you are not stuck when the tip loses tack.
- Animal Print #4 Transfer Foil: Animal print design, style #4, in a transfer foil format for nail art use, listed under nail care accessories. Foil is one of the fastest ways to add pattern to a press-on, and working on a stand lets you press evenly instead of chasing the nail around the table.
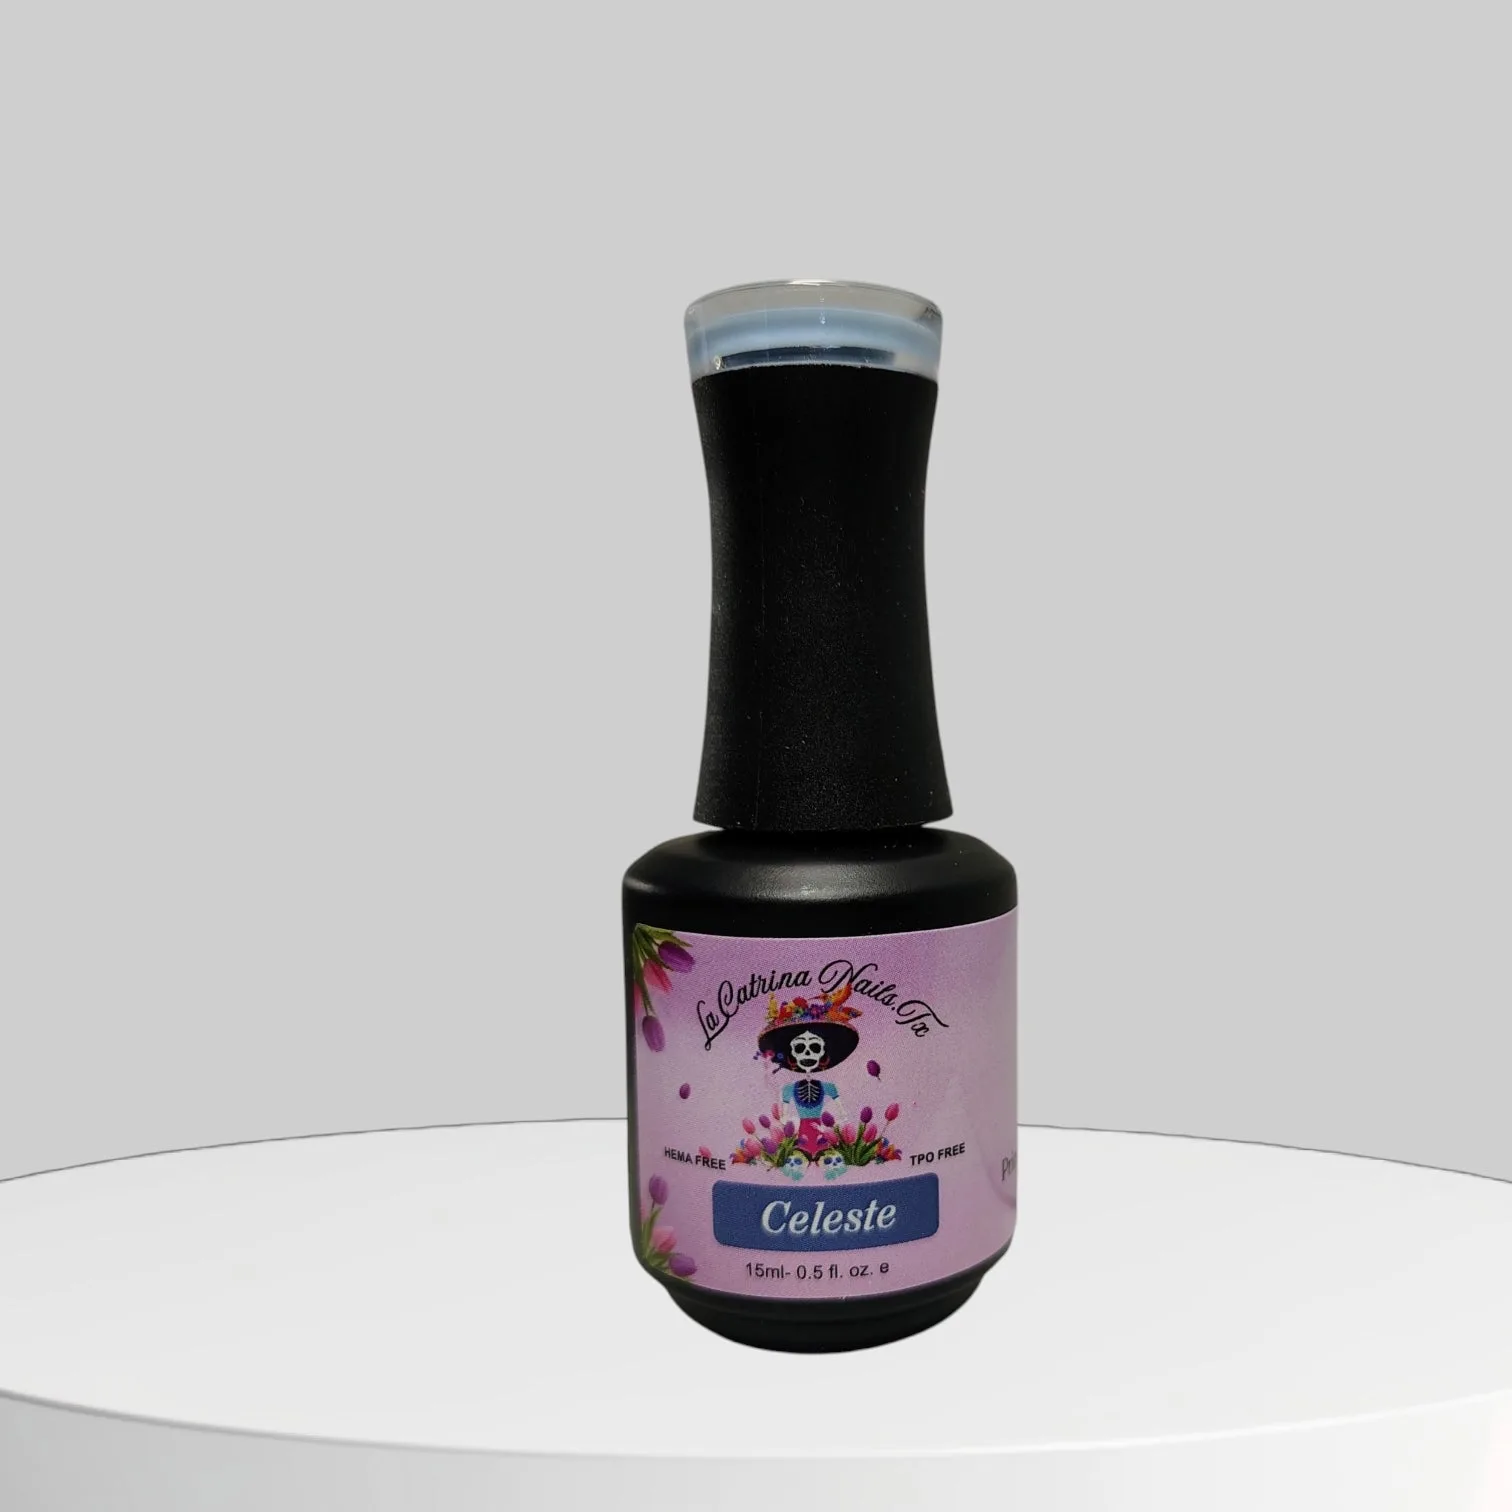
- Celeste / Sky Blue~ 2026~HEMA-Free and TPO Free Gel polish: A creamy pastel blue from the Primavera Collection with a smooth, even application and a glossy, glass-like finish. A pastel like this shows every ridge and dust speck, so holding the nail steady on a stand while you apply thin layers gives a cleaner result.
- Ritmo Del Alma / Rhythm Of The Soul~ HEMA-Free and TPO Free Gel polish: A rich mulberry gel polish with a velvety finish, inspired by the spirit of Día de los Muertos. Deeper shades are less forgiving of uneven application, so a stand helps you keep the coat thin and consistent across the nail.
An acrylic nail stand is a small tool that changes how you handle press-ons: both hands stay free, the nail stays still, and finished art stops getting smudged. Set up on a flat surface, work one nail at a time in thin layers, and let each set fully dry before you lift it. Once you have the rhythm, you can prep a full set in one sitting and display it the same day.