Quick Answer
To fix a loose action figure joint, apply a small amount of floor polish or clear nail polish to the joint, let it dry, and reattach. For broken joints, use a pin vice and wire to create a new pivot, or replace the part if possible. Most repairs take less than 30 minutes and require only basic tools.
Loose joints are one of the most common issues collectors face, especially with figures that have been posed and handled frequently. A figure that can't hold a pose is frustrating, but the good news is that most loose joints can be tightened at home with simple household items.
Broken joints are more serious, but many can be repaired with a bit of patience and the right technique. In this guide, we'll walk you through the steps to diagnose the problem, choose the right fix, and get your figure back in display condition.
Assess the Joint Type and Damage
Before you start, identify the type of joint and the extent of the damage. Common joint types include ball-and-socket, hinge, swivel, and ratchet joints. Each responds differently to repair. A loose ball joint often just needs a little added friction, while a broken hinge might require a pin replacement.
Check if the joint is simply loose (it moves but doesn't hold) or broken (it's detached, cracked, or has a snapped peg). This determines whether you need a quick fix or a more involved repair. If the joint is only loose, you can often solve it without disassembling the figure.
- Inspect the joint with a magnifying glass to spot hairline cracks or worn pegs.
- Test the range of motion to see if the joint is consistently loose or only in certain positions.
Gather Your Tools and Materials
For most loose joint repairs, you'll need a small brush or toothpick, a bottle of floor polish (like Pledge) or clear nail polish, and a cotton swab. For broken joints, you'll need a pin vise with a small drill bit, a piece of paperclip or wire, super glue, and possibly a heat source like a hairdryer to soften plastic.
If you're working with a figure that has a warranty or is valuable, consider whether home repair is worth the risk. Some collectors prefer to use a professional repair service for high-end pieces. However, for most figures, a simple at-home fix is perfectly safe and effective.
- Always work in a well-ventilated area when using glue or polish.
- Test any liquid on a hidden area first to ensure it doesn't damage the plastic.
Tighten Loose Ball Joints with Polish or Glue
For a loose ball joint, the goal is to add a thin layer of material to the ball to increase friction. Apply a small amount of floor polish or clear nail polish to the ball, let it dry completely, and then reattach. This is a reversible and low-risk method that works on many figures.
If the joint is still loose after one coat, apply another thin layer. Be careful not to overdo it, as too much polish can make the joint stiff or cause it to crack. For stubborn cases, you can use a tiny drop of super glue, but apply it carefully and let it dry before moving the joint.
- Use a toothpick to apply polish precisely without getting it on surrounding parts.
- If the joint is still loose, try using a small piece of tissue paper or Teflon tape wrapped around the ball.
Fix Broken Pegs with a Pin Vise and Wire
When a peg or hinge pin breaks, you can often repair it by drilling a small hole into both broken ends and inserting a piece of wire as a new pin. This method works well for hinge joints and some ball joints. Use a pin vise with a drill bit slightly smaller than the wire you plan to insert.
Drill slowly and carefully to avoid cracking the plastic further. Insert the wire, apply a small amount of super glue, and let it set. Once dry, trim any excess wire and test the joint. This repair is strong and can restore full articulation if done correctly.
- Practice on a spare or broken figure first if you're new to pinning.
- Use a clamp or vise to hold the figure steady while drilling.
Replace Broken Parts When Possible
Some figures have replacement parts available, either from the manufacturer or third-party sellers. If a joint is severely damaged or the repair seems too complex, check if you can order a replacement part. This is often the safest and most reliable option, especially for high-end figures.
For example, if you own a figure like the S.H. Figuarts Ryuma, which features soft plastic on the kimono for dynamic posing, you might be able to find replacement parts if a joint breaks. Always check with the manufacturer or reputable parts dealers before attempting a complex repair.
- Search for the figure's model number or name plus 'replacement parts' to find options.
- If no official parts exist, consider a custom 3D-printed part from a trusted maker.
Prevent Future Joint Damage
Once your figure is repaired, take steps to prevent future issues. Avoid overextending joints, especially on older figures. Store figures in a way that reduces stress on joints, such as using stands or posing them in neutral positions.
Handle figures with clean, dry hands, and avoid exposing them to extreme temperatures, which can make plastic brittle. Regular maintenance, like checking joints and applying a tiny amount of silicone lubricant to stiff joints, can keep your figures in good shape for years.
- Use a display case to protect figures from dust and accidental bumps.
- Rotate poses occasionally to prevent joints from stiffening or loosening unevenly.
Step-by-Step Joint Repair Process
- Step 1: Diagnose the joint: Determine if the joint is loose or broken, and identify the joint type (ball, hinge, etc.). Checkpoint: If the joint is only loose, move to Step 2. If broken, skip to Step 4.
- Step 2: Apply a friction fix: Apply a thin layer of floor polish or clear nail polish to the ball joint and let it dry. Checkpoint: Test the joint; if still loose, apply another coat or try tissue paper.
- Step 3: Reassemble and test: Reattach the joint and test the range of motion. Ensure it holds poses without being too stiff. Checkpoint: If the joint is still loose, proceed to a more aggressive fix.
- Step 4: Pin a broken peg: Drill a small hole in both broken ends, insert a wire, and glue it in place. Checkpoint: Allow glue to dry fully before moving the joint.
- Step 5: Replace if necessary: If the repair fails, search for replacement parts or consider professional repair. Checkpoint: Weigh the cost of replacement against the value of the figure.
- Step 6: Prevent future damage: Store figures properly, avoid overextending joints, and handle with care. Checkpoint: Regular maintenance can extend the life of your figures.
Products That Help or Benefit from Joint Repair
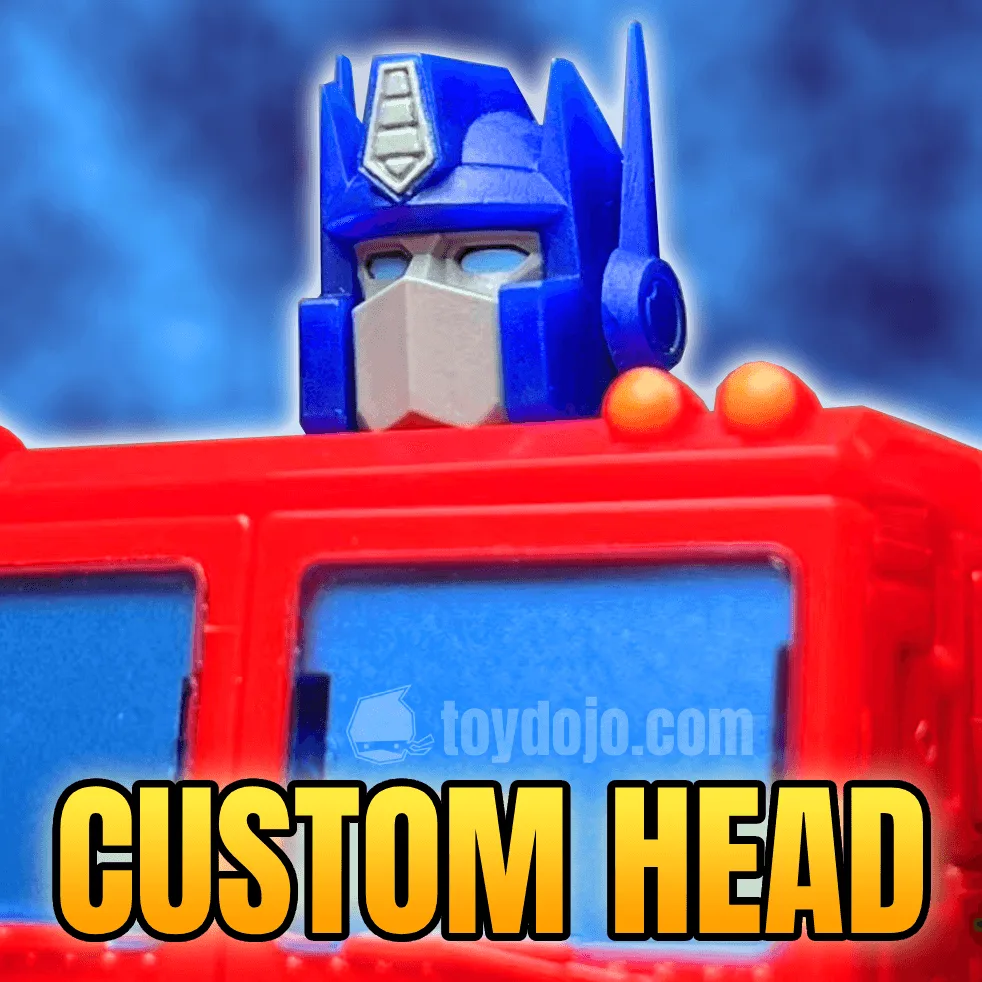
- Achai Studio - Head Upgrade Kit for SS86-31 Optimus Prime (Commander Class): New from ACHAI STUDIO comes a third party upgrade kit for any G1 fan, replicating Optimus Prime's likeness from the original cartoon/movie with a new head-sculpt that doesn't affect the original Studio Series' transformation! If you're already repairing a figure, upgrading a head sculpt can be a great way to refresh its look without altering articulation. This kit is designed to be compatible with the original figure, so you can enhance your display with minimal risk.
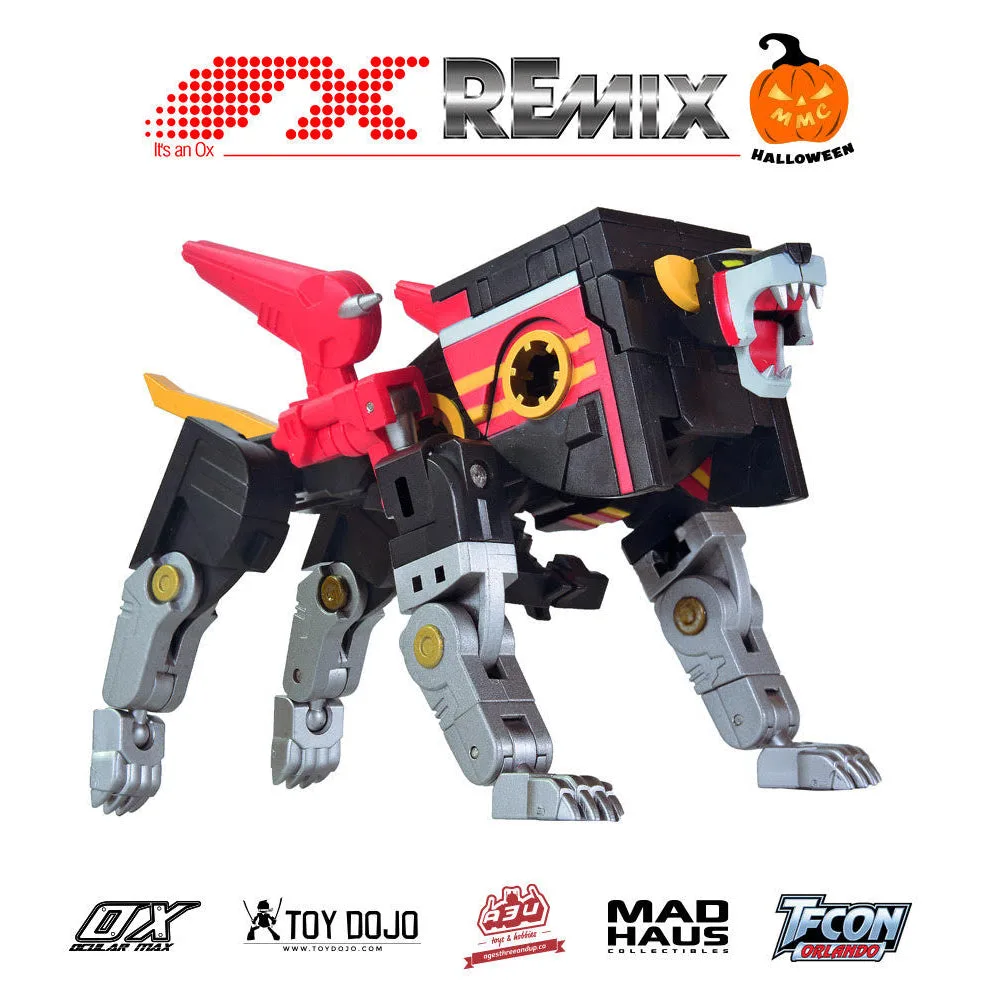
- Ocular Max RMX-15 - Vivace TFCon 2023 Exclusive: Vivace is the latest tape in the remix series which features premium diecast parts and scaled 1:1 to a real cassette tape. Transforms into lion and cassette tape. Diecast parts are more durable than plastic, so this figure is less likely to suffer from broken joints. However, if you do need to repair a joint, the diecast construction may require different tools—like a metal pin—so it's good to know your figure's materials before starting.
With a few simple tools and a little patience, you can fix most loose or broken action figure joints at home. Whether you're tightening a ball joint or pinning a snapped peg, these techniques will help you keep your collection in top shape. Remember to always test on a less valuable figure first, and don't hesitate to seek professional help for high-end pieces. Happy repairing!