Quick answer
Replace your AeroPress XL seal when you notice coffee grounds leaking past the plunger, the seal feels loose or develops visible cracks. The swap takes under a minute and restores proper seal performance.
How long does the AeroPress XL seal last?
The food-grade silicone seal on the AeroPress XL does wear down over time. With regular use—say once or twice daily—you can expect the seal to last several months before it starts losing its grip. Heavy use, frequent disassembly, or exposure to high heat can shorten that lifespan. There is no set expiration date, so the best indicator is how the seal feels and performs during brewing.
Signs it is time to replace the seal
The most obvious sign is coffee grounds or liquid leaking past the plunger during pressing. You may also notice the plunger slides too easily, meaning the seal is no longer making full contact with the chamber walls. Visually inspect the seal for cracks, deformation, or a flattened edge. If the seal feels loose or wobbles on the plunger, it is time for a swap.
Why using a worn seal hurts your brew
A compromised seal lets water bypass the coffee bed, leading to under-extraction and a weak, sour cup. You lose control over pressure and brew time, which are key to AeroPress brewing. Replacing the seal restores consistent pressure and better extraction.
How to replace the AeroPress XL plunger seal
- Remove the old seal: Grip the edge of the old silicone seal and peel it off the plunger end. It should come off easily by hand. If it is stuck, gently work a fingernail or a plastic tool under the edge. Do not use metal tools that could scratch the plunger surface. Inspect the old seal for cracks or wear before discarding it.
- Clean the plunger end: Wipe the plunger end with a damp cloth to remove any coffee residue or oils. Make sure the surface is dry before installing the new seal. A clean surface helps the new seal sit flat and seal properly. Check that the plunger end is not damaged or warped.
- Install the new AeroPress XL seal: Place the new seal over the end of the plunger. Press it down evenly around the circumference until it snaps into the groove. Ensure the seal is seated fully and does not sit crooked. A properly installed seal is flush with the plunger edge all around. Do not stretch the seal excessively—it should slide on without force.
- Test the seal: Insert the plunger into the empty AeroPress XL chamber. Press down slowly—you should feel resistance and hear a slight hiss. If the plunger slides down with no resistance, the seal may not be seated correctly. Remove and reinstall. A quick test with water confirms the seal works before you brew.
- Maintain the new seal: After each use, eject the coffee puck and rinse the seal with warm water. Avoid using soap that can degrade silicone. Store the plunger with the seal dry and away from direct heat. This routine maximizes seal life. Replace the seal again when you notice the same wear signs.
Product facts
-
AeroPress XL Seal: Replacement food-grade LFGB-grade silicone rubber seal gasket for the AeroPress XL coffee maker. Not compatible with AeroPress Original, Go, or Clear. This seal is specifically sized for the XL model, so you need the correct part to maintain a proper fit and seal performance.
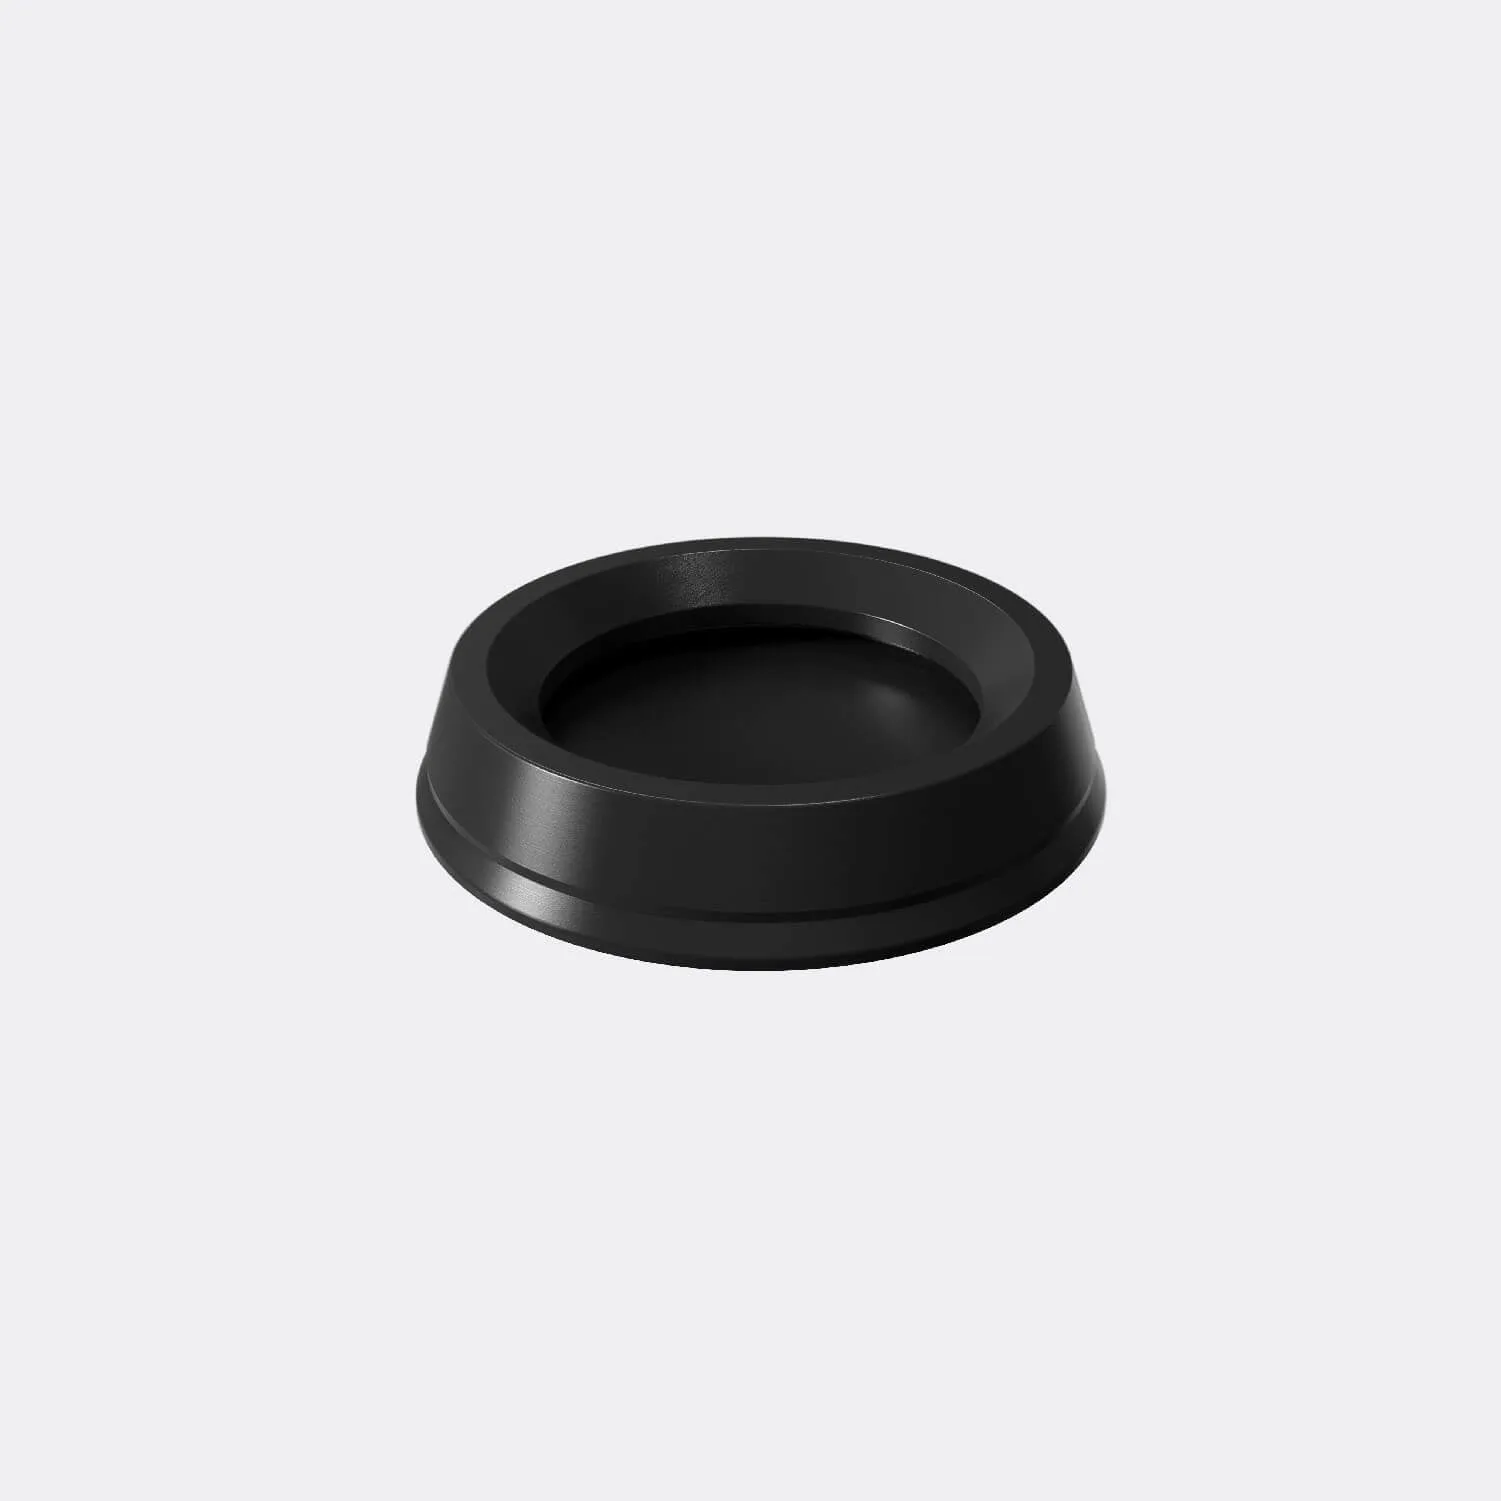
AeroPress XL Seal