Quick Answer
For reliable suction and milk flow, inspect your Ameda GLO pump valves weekly. Clean them after every use and replace the silicone valves every 2-3 months or at the first sign of cracking, stretching, or suction loss. The Ameda HygieniKit Silicone Replacement Valves (2-pack) are the correct part for this pump.
Why Valve Care Matters for Your Wearable Pump
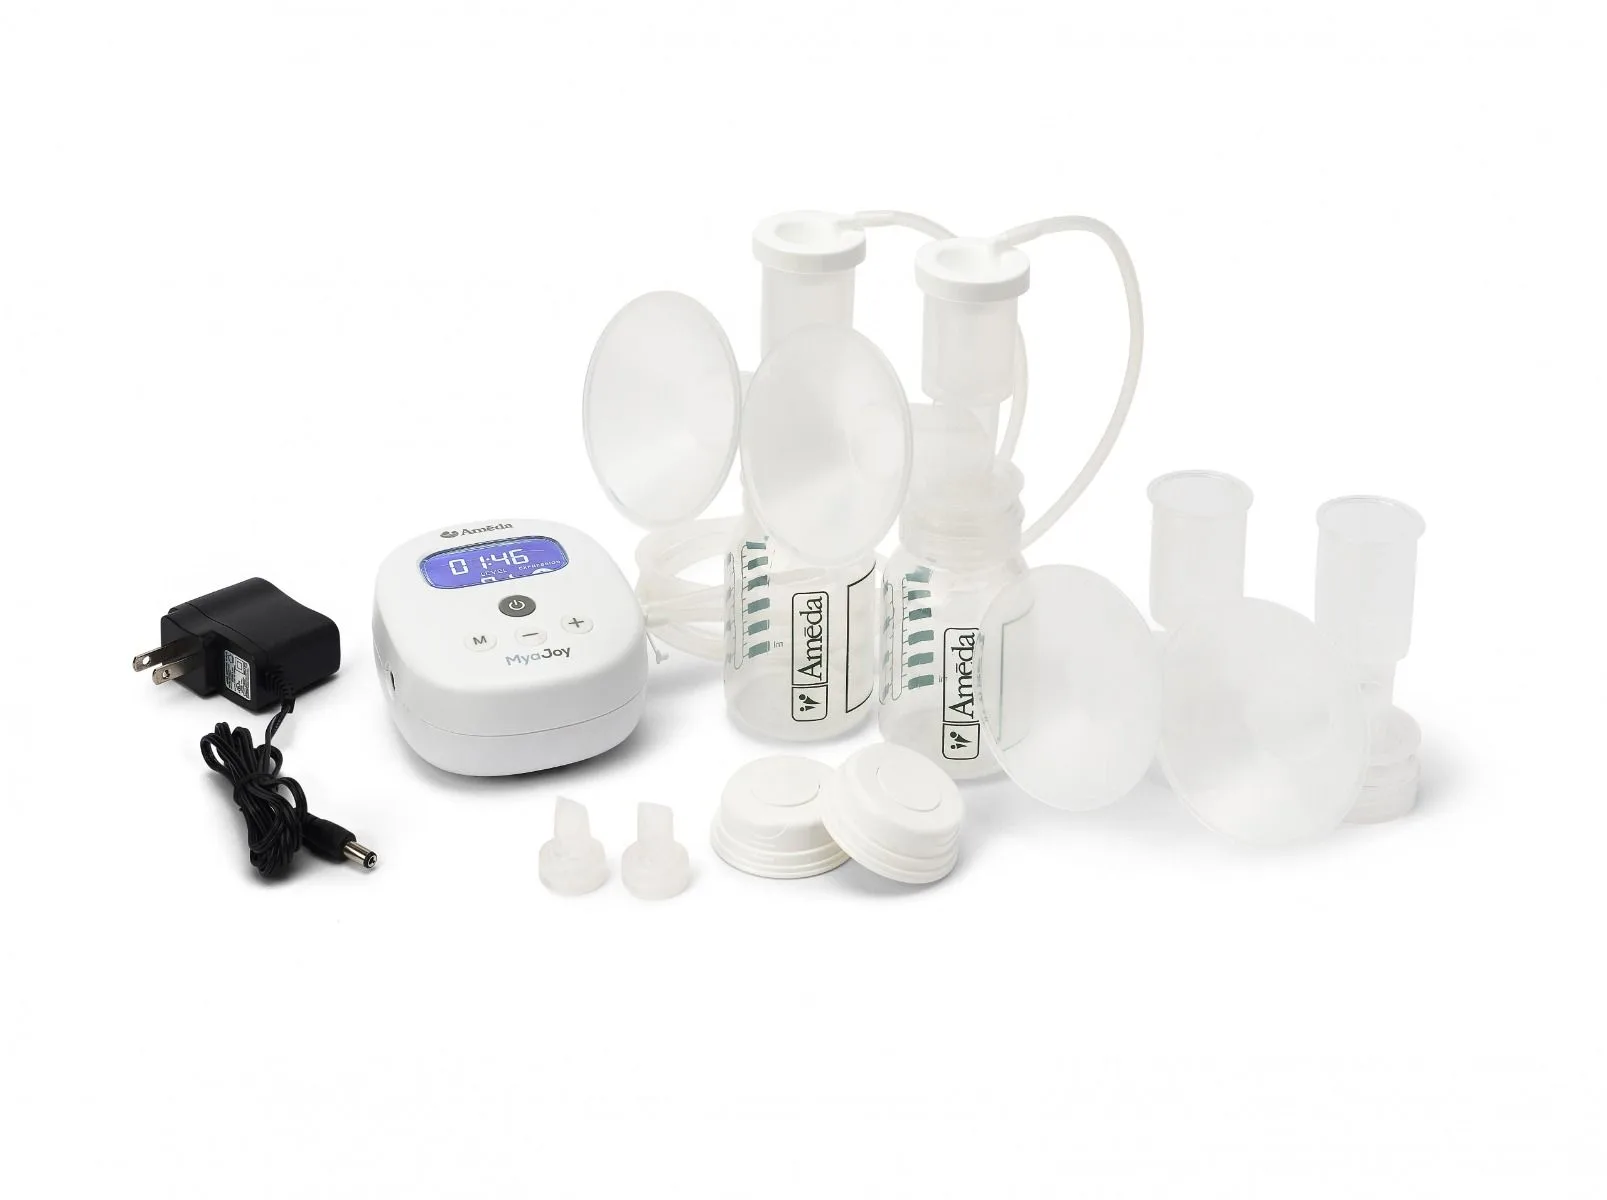
The Ameda GLO Wearable Breast Pump is designed for hands-free, hospital-grade performance, but like any breast pump, its suction strength depends on small silicone parts. The valves are the gatekeepers: they let milk flow into your collection container while maintaining the vacuum seal that draws milk from your breast. When valves wear out or get clogged, suction drops and pumping becomes less effective. Regular care keeps your pump working as intended and helps maintain your milk supply.
Signs Your Ameda GLO Valves Need Attention
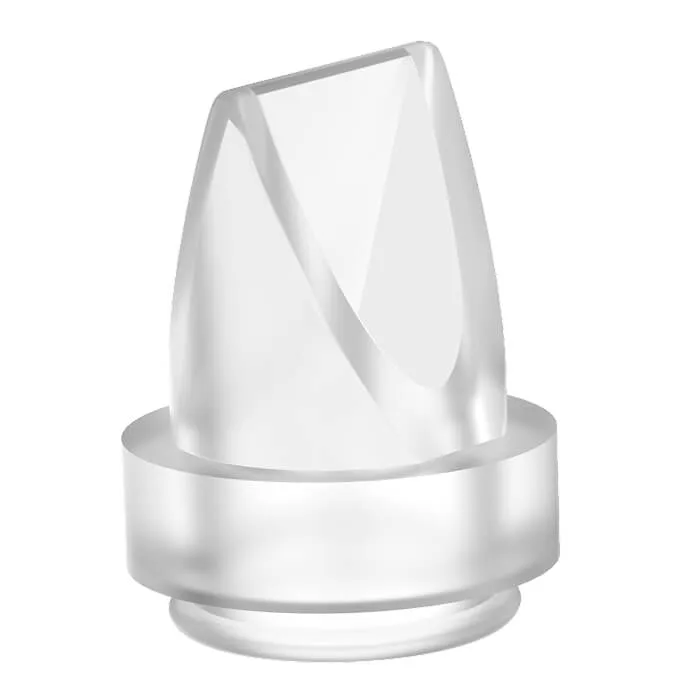
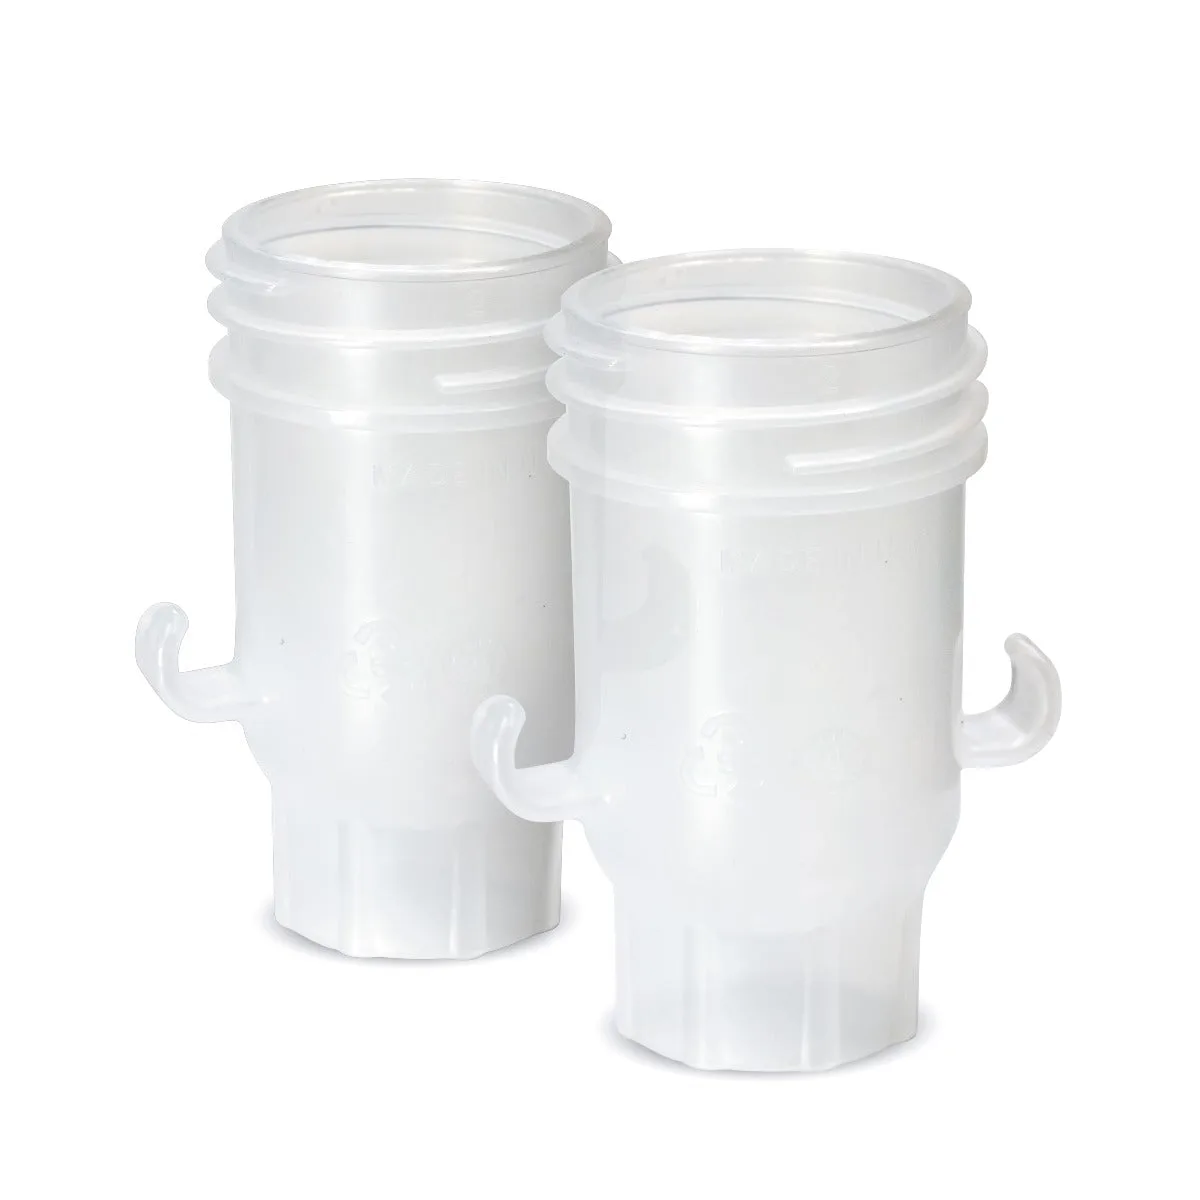
Ameda GLO Valves
You don't need to guess. Watch for these clear signals: noticeably weaker suction even on higher settings, milk backing up toward the motor or tubing, a clicking or fluttering sound during pumping, or visible damage like cracks, warping, or a valve that stays open instead of snapping shut. Any of these means it's time to clean thoroughly or replace the valves.
Step-by-Step Valve Care for Your Ameda GLO
- Step 1: Rinse and Disassemble After Each Use: After pumping, separate the valve from the breast shield and backflow protector. Rinse all parts with cool water immediately to prevent milk residue from drying inside the valve's tiny flap. Checkpoint: If you see white film inside the valve after rinsing, you need a more thorough clean.
- Step 2: Wash with Mild Soap and Warm Water: Use a gentle, fragrance-free dish soap and warm water. Gently press the valve open under the water to clean both sides of the silicone flap. Avoid using harsh brushes or abrasive sponges that can tear the delicate silicone. Common mistake: Scrubbing the valve with a bottle brush can stretch or tear the flap, ruining the seal.
- Step 3: Inspect the Valve While It's Wet: Hold the valve up to the light and look for cracks, holes, or a flap that doesn't close completely. Gently squeeze the valve to see if the silicone feels sticky or has lost its shape. Checkpoint: If the flap stays open or has a visible tear, replace the valve immediately.
- Step 4: Air Dry Completely Before Reassembling: Place the valve on a clean drying rack with the opening facing down so water can drain. Let all parts dry fully before putting the pump back together. Moisture trapped in the valve can lead to mold growth. Common mistake: Reassembling while parts are still damp can cause suction loss and bacterial growth.
- Step 5: Replace Valves Every 2-3 Months: Even with perfect care, silicone valves naturally lose elasticity over time. Plan to replace them with a fresh set of Ameda HygieniKit Silicone Replacement Valves every 2-3 months, or sooner if you pump more than 3 times a day. Verdict: Keeping spare valves on hand means you won't lose a pumping session to a sudden suction failure.
Product Facts
- Ameda HygieniKit Silicone Replacement Valves, 2 Count: The HygieniKit Silicone Replacement Valves are designed to preserve pump suction while allowing milk to flow into a milk storage bag, bottle, or other collection containers. They are compatible with several of Ameda's hospital-strength personal pumps and multi-user breast pumps that use the Ameda HygieniKit Milk Collection System. Using the correct replacement valves ensures your GLO pump maintains its hospital-grade suction. Generic or mismatched valves can cause leaks, reduce output, and wear out faster.