Quick Answer
To illuminate your anime statue collection effectively, use a combination of ambient, accent, and task lighting, focusing on LED spotlights and adjustable fixtures. Start by assessing your display space, then choose the right lighting type and angle to highlight your statues' details without causing damage. This guide provides a step-by-step approach to achieve professional-looking display lighting.
Lighting can transform an anime statue collection from a simple shelf display into a stunning showcase. Whether you're displaying a detailed GK statue or a licensed PVC figure, the right lighting enhances colors, textures, and intricate details, making your collection truly stand out. However, improper lighting can cause glare, heat damage, or even fade your precious figures. In this guide, we'll walk you through the essential steps to illuminate your anime statues effectively, ensuring they look their best while staying protected.
From choosing the right LED lights to positioning them correctly, this guide covers everything you need to know about anime statue lighting. We'll also share common mistakes to avoid and practical tips to achieve a professional look. Whether you're a seasoned collector or just starting, these steps will help you create a captivating display that highlights your favorite characters.
Assess Your Display Space
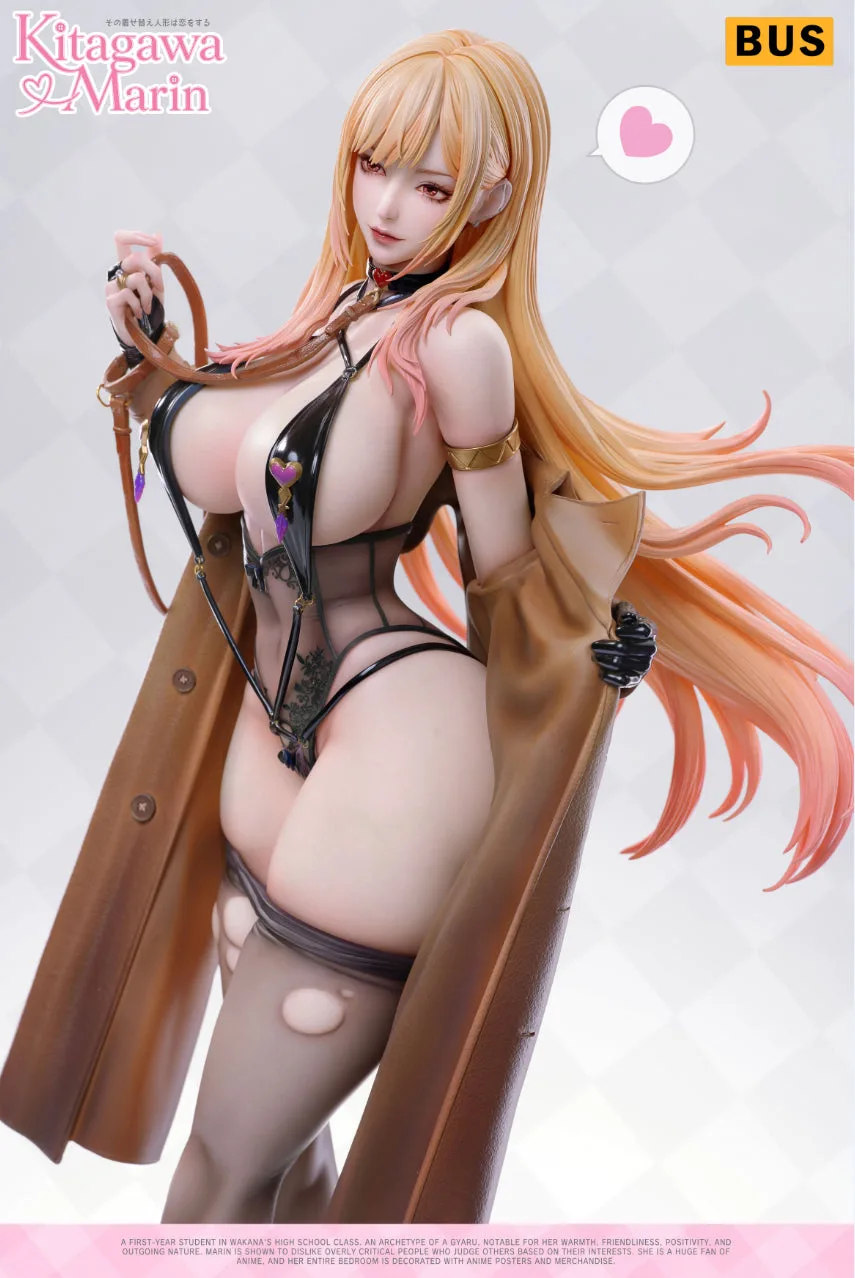
Before you start adding lights, take a close look at your display area. Consider the size of your shelf or cabinet, the number of statues, and the ambient light in the room. This assessment will guide your lighting choices. For example, a tall statue like the [Pre-Order] BUS Studio - Statue - Marin Kitagawa - My Dress Up Darling (47 cm) may require focused lighting to highlight its details, while a smaller figure like the [abandon production] Demon Studio - Statue - Sakura Forest Girls - Yaeya Sakura Witch (37 cm) might benefit from softer, broader illumination.
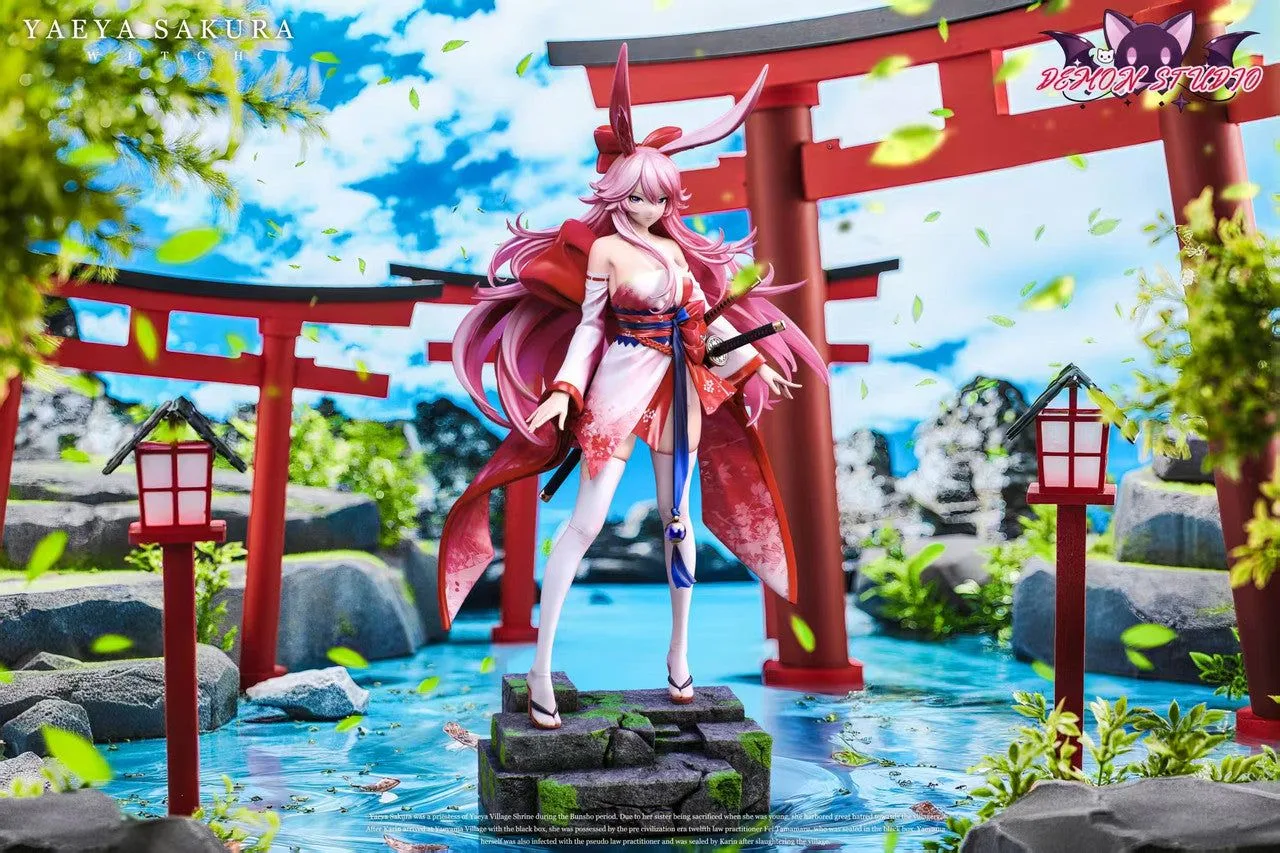
[abandon production] Demon Studio - Statue - Sakura Forest Girls - Yaeya Sakura Witch
Also, note any existing light sources, such as windows or overhead lights, that could cause unwanted glare or shadows. Understanding your space helps you decide whether you need adjustable spotlights, strip lights, or a combination. Remember, the goal is to enhance your collection without overwhelming it.
- Measure your display area to determine the number of lights needed.
- Identify potential glare sources and plan to minimize them.
- Consider the color temperature of existing lights for consistency.
Choose the Right Lighting Type
LED lights are the best choice for anime statue lighting due to their low heat emission, energy efficiency, and versatility. You can choose from LED spotlights, strip lights, or puck lights, depending on your display setup. Spotlights are ideal for highlighting individual statues, while strip lights work well for illuminating entire shelves. For a dramatic effect, consider using color-changing LEDs to set the mood, but ensure they don't distort the statue's true colors.
When selecting lights, pay attention to the color rendering index (CRI). A high CRI (90+) ensures that the colors of your statues appear vivid and accurate. Avoid incandescent or halogen bulbs, as they emit significant heat that can damage your figures over time. LED lights are the safest and most effective option for long-term display.
- Use high-CRI LEDs to preserve accurate colors.
- Opt for adjustable spotlights for flexibility.
- Consider battery-operated lights if wiring is difficult.
Position Lights Strategically
Proper positioning is crucial for effective anime statue lighting. The goal is to create depth and highlight details without creating harsh shadows. A common technique is the three-point lighting setup: key light (main light), fill light (softens shadows), and backlight (adds depth). For most displays, a 45-degree angle from above works well, as it mimics natural lighting and reduces glare.
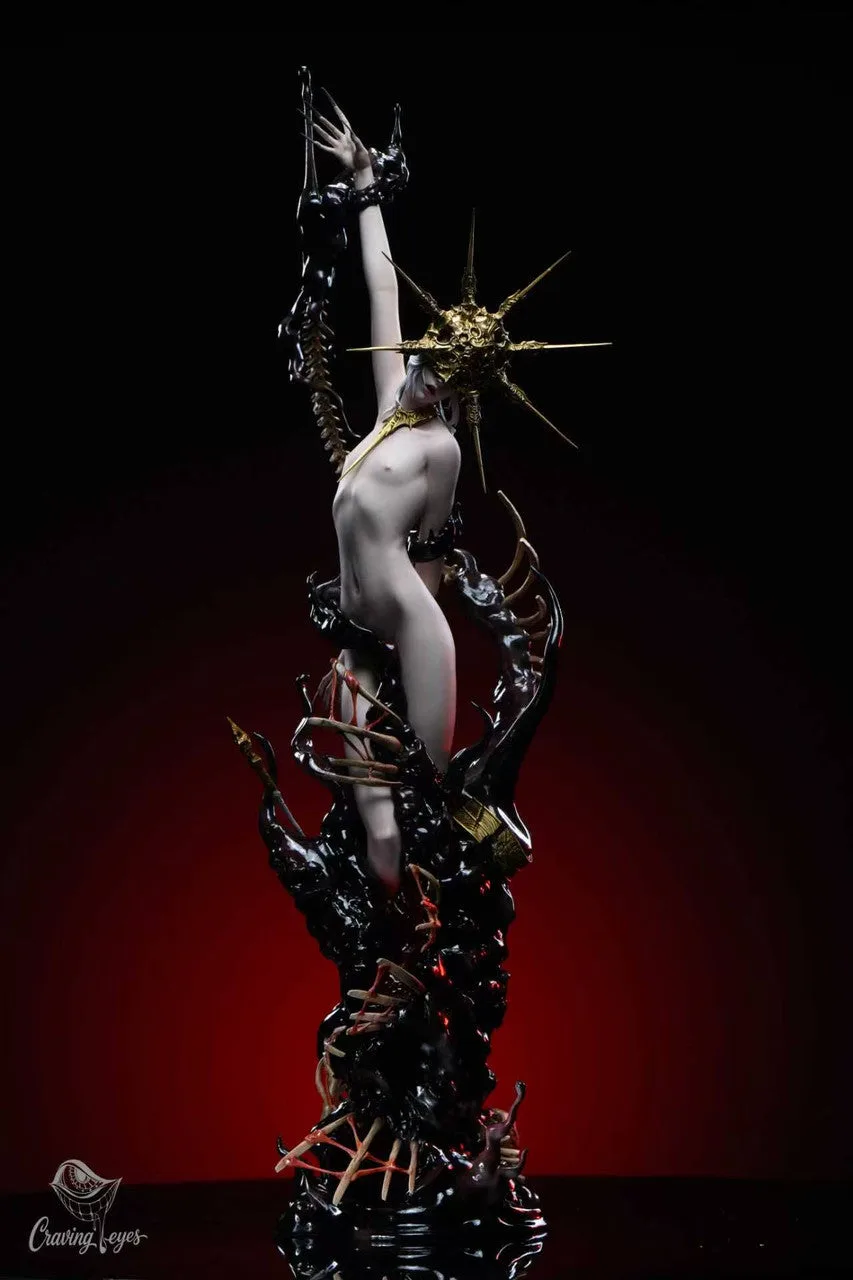
Experiment with different angles to find the best look for each statue. For example, a statue with intricate details, like the [Pre-Order] Craving Eyes Studio - Statue - Dark Souls - Gwyndolin The Suffering of the Son of God, may benefit from a slightly lower angle to emphasize its facial features. Avoid placing lights directly above the statue, as this can create unflattering shadows on the face.
- Use a 45-degree angle for general lighting.
- Adjust lights to minimize shadows on faces and details.
- Test different positions to find the most flattering look.
Control Glare and Heat
Glare can ruin the viewing experience by reflecting light off glossy surfaces. To minimize glare, use diffusers or frosted covers on your lights, and position them at angles that avoid direct reflection. Additionally, ensure that your lights do not emit excessive heat, as this can cause paint to fade or materials to warp. LED lights are the safest choice, but even they should be kept at a safe distance from your statues.
Consider using timers or motion sensors to limit the time lights are on, reducing heat exposure and saving energy. This is especially important for statues with delicate materials like resin or PVC. By managing glare and heat, you protect your collection while maintaining a beautiful display.
- Use diffusers to soften light and reduce glare.
- Keep lights at least 10 cm away from statues to prevent heat damage.
- Use timers to limit light exposure.
Step-by-Step Lighting Setup
- Plan your layout: Sketch your display area and mark where each statue will sit. This helps you determine the number and type of lights needed. A clear plan prevents over- or under-lighting.
- Install the lights: Mount your chosen LED lights, ensuring they are secure and positioned according to your plan. Use adhesive strips or clips for easy adjustments. Ensure all cables are hidden for a clean look.
- Test and adjust: Turn on the lights and observe the effect. Adjust angles and positions to eliminate harsh shadows and glare. Take photos to check the result from different perspectives. Fine-tuning is key to achieving a professional display.
Lighting Considerations for Popular Statues
- [Pre-Order] BUS Studio - Statue - Marin Kitagawa - My Dress Up Darling: This 1/4 scale GK statue stands at 47 cm tall and is made of PU, with a total global production of 199 pieces. The height and material make it ideal for spotlighting from above to highlight the intricate details of the figure, but ensure the light is not too close to avoid heat damage to the PU material.
- [Pre-Order] Craving Eyes Studio - Statue - Dark Souls - Gwyndolin The Suffering of the Son of God: This 1/5 scale resin statue measures 55 cm in height and is made of imported resin, PU, and ABS, with a limited production of 90 pieces. The larger size and dark theme benefit from focused accent lighting to bring out the details, but use diffused light to prevent glare on the resin surfaces.
Lighting is an art that can elevate your anime statue collection to new heights. By following these steps, you can create a display that not only showcases your figures beautifully but also protects them from damage. Remember to choose high-quality LED lights, position them thoughtfully, and always prioritize the safety of your collection. For more inspiration, explore our selection of statues like the [Pre-Order] BUS Studio - Statue - Marin Kitagawa - My Dress Up Darling to see how lighting can enhance even the most detailed figures.