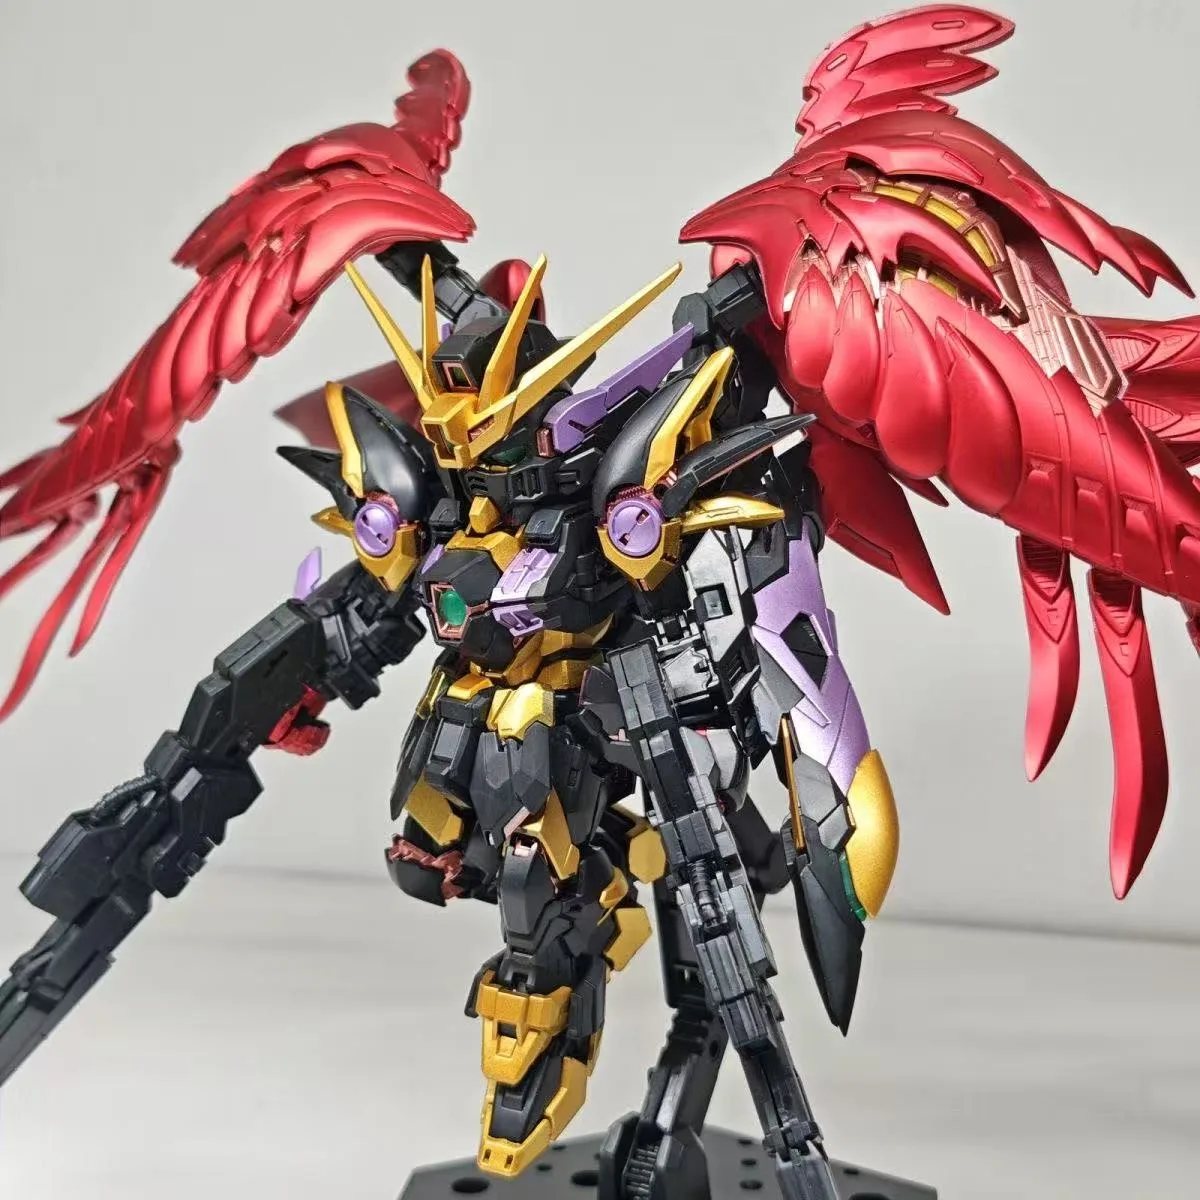
Holographic water decals are a fantastic way to add a unique, eye-catching finish to your Gunpla builds. The MGEX Strike Freedom Gundam, with its intricate wing details and metallic frame, is a perfect canvas for these shimmering decals. In this guide, we'll walk you through the entire process—from gathering the right tools to applying the decals with precision—so you can achieve a professional-looking result.
Whether you're a seasoned modeler or a beginner looking to try something new, applying holographic decals can be a rewarding experience. We'll cover everything from preparation to sealing, ensuring your decals stay vibrant and durable. Let's dive in!
What You'll Need
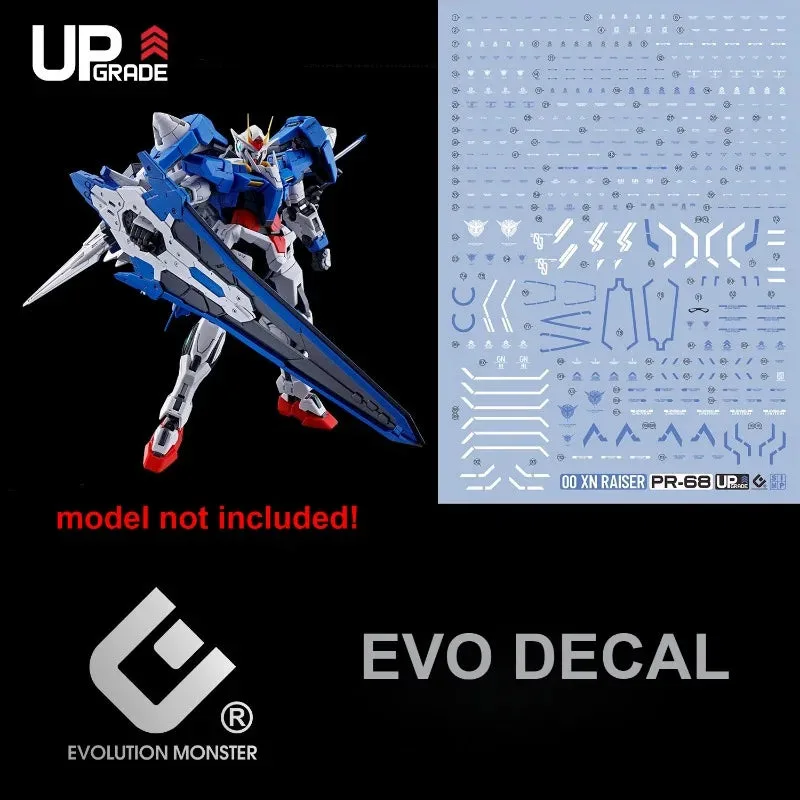
Before you start, gather the following tools and materials: your MGEX Strike Freedom Gundam kit (or any Gunpla you want to decal), a pair of fine-tipped tweezers, a hobby knife, a soft brush or cotton swab, a small container of warm water, and a setting solution (optional but recommended). You'll also need your holographic water decals—we highly recommend the Holographic Water Decal for MGEX Strike Freedom Gundam 1/100, which is designed specifically for this kit.
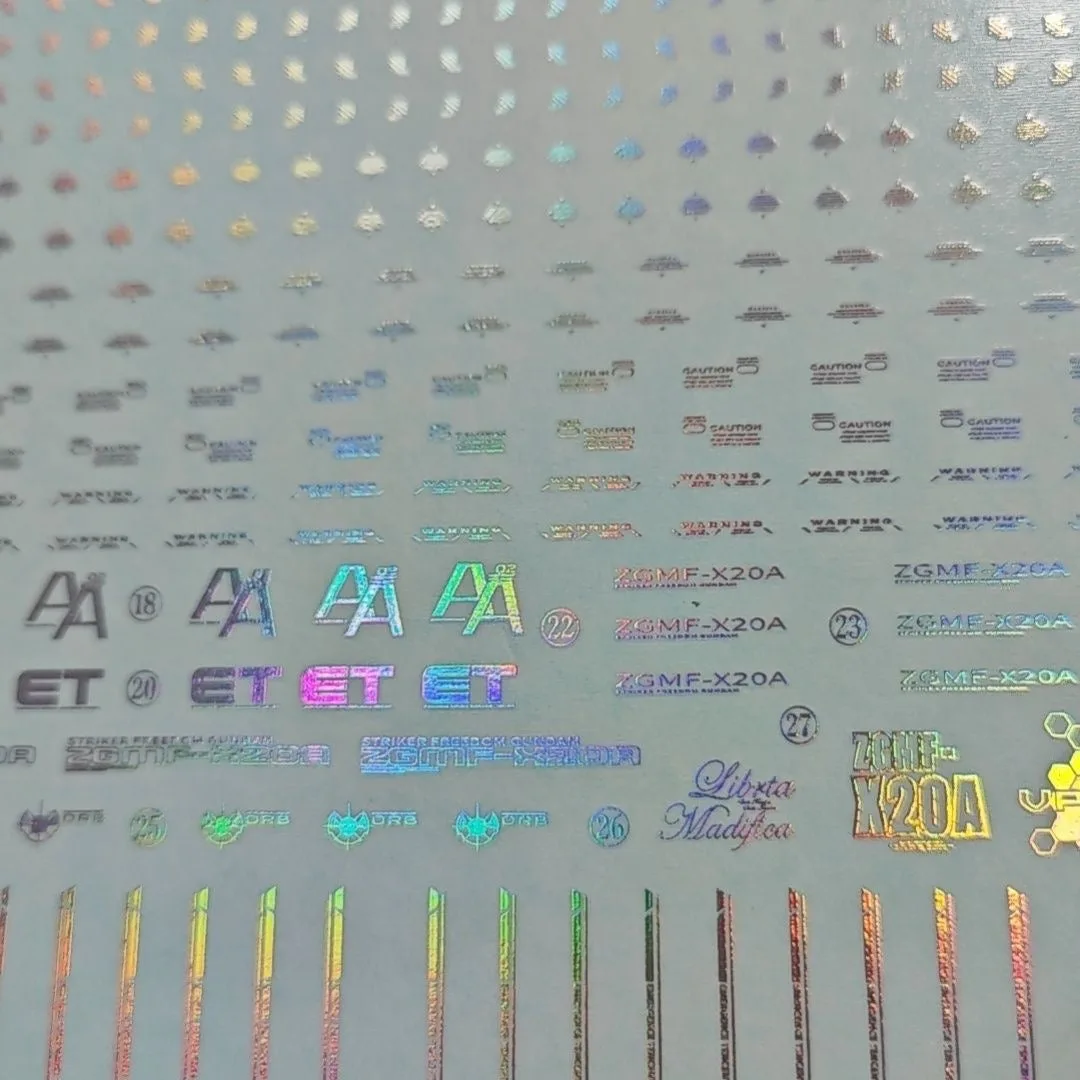
Holographic Water Decal for MGEX Strike Freedom Gundam 1/100
Having a clean workspace with good lighting is essential. Make sure your model is fully assembled and top-coated (if you plan to topcoat after decaling, you can skip this step). If you're using a setting solution, have it ready; it helps the decal conform to curved surfaces and reduces silvering.
- Fine-tipped tweezers for precise placement
- Hobby knife or scissors to cut decals
- Cotton swabs and soft brush for smoothing
- Warm water (not hot) for soaking decals
- Setting solution (optional but recommended)
Preparing the Decals
Start by cutting out the decal you want to apply, leaving a small margin around the edges. Use a sharp hobby knife or scissors for a clean cut. Dip the decal in warm water for about 10-15 seconds, or until the backing paper starts to separate. Remove it from the water and place it on a flat surface for a few seconds.
Once the decal is ready, slide it off the backing paper onto the desired surface using a damp brush or your fingertip. Position it carefully—holographic decals can be slightly translucent, so make sure you're happy with the placement before it dries. If you need to reposition, apply a drop of water to keep it wet and slide it gently.
Applying the Decal
With the decal in place, use a cotton swab or soft brush to gently press it down, working from the center outward to remove any air bubbles and excess water. Be extra careful with holographic decals—they can be more delicate than standard ones. If you're applying to a curved surface like the shoulder armor or wing binders, use a setting solution to help the decal conform smoothly.
For the MGEX Strike Freedom, you'll likely be applying decals to the wings, chest, and skirt armor. Take your time with each decal, ensuring it aligns perfectly with the panel lines. If you're using the Holographic Water Decal for MGEX Strike Freedom Gundam 1/100, you'll find that the decals are pre-cut and designed to fit the kit's surfaces, making the process much easier.
Sealing and Protecting
Once all your decals are applied and dry, it's crucial to seal them with a clear topcoat. This protects the decals from scratches and ensures they stay in place. Use a gloss topcoat if you want to enhance the holographic effect, or a matte topcoat for a more subtle look. Apply thin, even coats and allow each to dry completely.
If you're new to topcoating, test on a spare piece or the underside of a part first. Remember, holographic decals are a great way to make your build stand out, and with proper sealing, they'll last for years.
Troubleshooting Common Issues
Air bubbles are the most common issue when applying water decals. To avoid them, ensure the surface is clean and free of dust, and use a setting solution to help the decal adhere. If you do get a bubble, you can prick it with a pin and press it down gently.
Silvering—where the decal appears frosted—happens when the decal doesn't fully adhere to the surface. Using a setting solution or a soft brush to press the decal down firmly can prevent this. If you're still having trouble, consider applying a thin layer of glue or decal softener before placing the decal.
Applying holographic water decals to your MGEX Strike Freedom Gundam is a rewarding process that adds a unique, premium touch to your build. With the right tools and techniques, you can achieve a flawless finish that showcases your skills. If you're ready to try it yourself, check out the Holographic Water Decal for MGEX Strike Freedom Gundam 1/100 at Cool Dragon Hobby—it's the perfect addition to your next project.