Quick answer
Build the Aqua Arcade on a flat, water-safe surface, connect the tubing fully onto every port, then fill and test the flow before you add any decoration or scoring pieces. If the spray or stream looks weak, the cause is almost always a loose tube connection, trapped air, or a nozzle that is not seated straight. Fix those three first, and the Venturi effect will do the rest.
What the Venturi effect is doing in this build
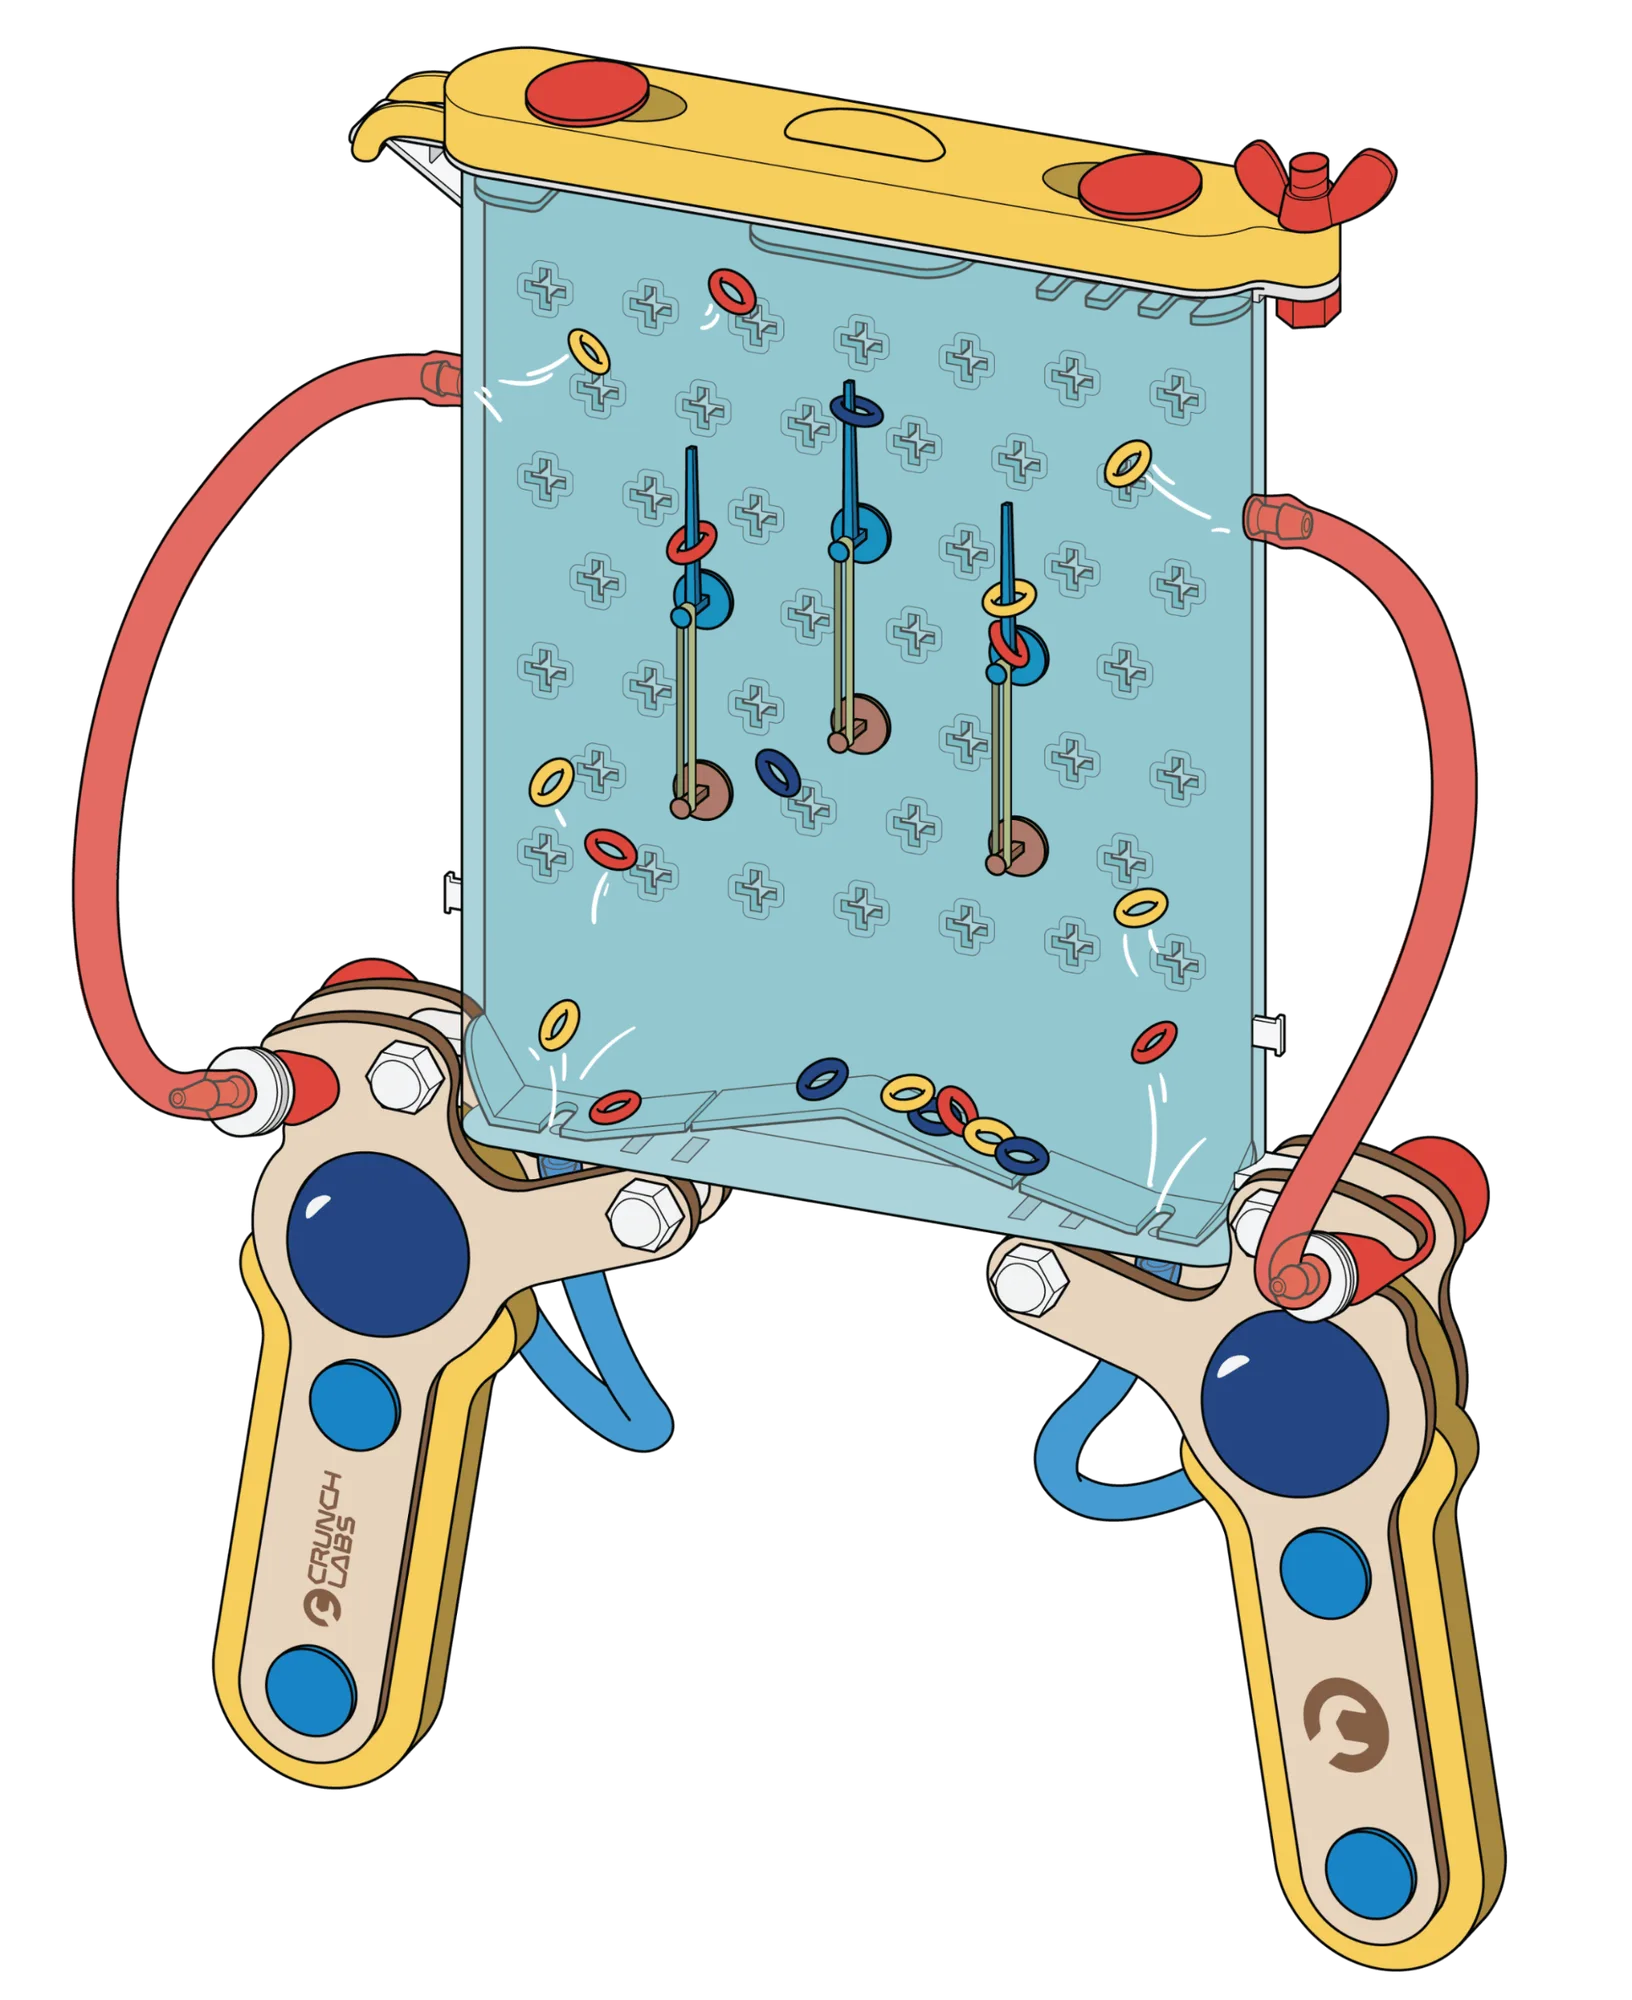
The Aqua Arcade is a hands-on arcade-style build themed around the Venturi effect. In practice, that means water is pushed through a narrow section of the path, speeds up, and drops in pressure, which is what pulls air or secondary water into the stream and creates the arcade action you see. You do not need to explain Bernoulli to a child for the build to work, but knowing that the narrow point is the engine of the whole toy changes how you troubleshoot it. A weak result is usually a flow problem before the narrow section, not a problem with the effect itself.
This matters for a venturi experiment for kids because the payoff is visible: change the flow, and the behavior changes immediately. That makes it a good fluid dynamics toy for testing one variable at a time rather than rebuilding the whole thing.
Set up a workspace that can get wet
Do the first fill somewhere you can spill: a bathtub, a large tray, or a table covered with a towel and a rimmed baking sheet. The Aqua Arcade is a water toy, and the first run is when you learn where the drips land. Keep paper instructions, phones, and anything electrical well outside the splash zone, and have a second towel ready for hands.
If you are building with a younger child, fill the reservoir only partway for the first run. A low water level makes leaks easier to spot and keeps the mess small while you are still checking connections.
Connect tubing before you add water
Push each tube onto its port until it stops, not just until it holds. A tube that is 90 percent on will usually stay attached when dry and pop loose under water pressure, which looks like a mysterious failure later. Work from the reservoir outward so you always know which line you have already checked.
Route tubes without sharp bends. A kink acts like a clamp and starves the narrow section of the flow it needs, so the Venturi effect never gets going. If a tube must turn, give it a gentle curve and secure it so it cannot fold back on itself.
Fill, prime, and watch the first run
Fill the reservoir, then run the toy once without adjusting anything. Watch the narrow section specifically. You are looking for a steady, fast stream rather than a sputter, and for air being drawn in where the design expects it. Trapped air in the lines is common on a first run; a gentle tilt or a second pour usually clears it.
Resist the urge to fix things mid-run. One change at a time is what turns this from a toy into an actual engineering habit, and it is the fastest way to find out which adjustment mattered.
When the flow is weak or the spray is uneven
Check in this order: tube fully seated, no kinks, reservoir high enough, nozzle straight, no debris in the narrow section. Most weak-flow complaints resolve at step one or two. If the stream is uneven rather than weak, the nozzle is usually slightly off-axis or partly blocked, and reseating it fixes the spray pattern.
If you have checked all five and the behavior still looks wrong, empty the system and rebuild the narrow section from scratch. Rebuilding one junction is faster than debugging a whole assembly, and it removes any hidden partial blockage.
Turn it into a repeatable experiment
Once the build runs cleanly, change exactly one thing per run: water level, nozzle position, or tube routing. Have your builder predict the result out loud before each run and write down what actually happened. That prediction-then-test loop is the part that transfers to other builds, including motor-and-sensor kits like the Label Maker - Stepper Motor, where the same one-variable discipline keeps debugging short.
Keep the Aqua Arcade drained and air-dried after sessions. Standing water in the lines is what turns a quick setup next time into a cloudy, slow one.
Aqua Arcade build steps, in order
- Pick a water-safe surface and stage your parts: Lay out every piece before you connect anything so you are not hunting for a connector with wet hands. Use a tray or towel with a rim. Checkpoint: nothing electrical or paper is within splash range.
- Seat every tube fully onto its port: Push until the tube stops rather than until it grips. Work from the reservoir outward and keep the runs free of sharp bends. Mistake to avoid: a tube that is only partly on will hold when dry and fail under pressure.
- Fill partway and run a dry-ish first test: Use a lower water level for the first run so leaks are obvious and the mess stays small. Watch the narrow section for a steady stream. Checkpoint: you can see fast flow at the narrow point, not a sputter.
- Clear trapped air before adjusting anything: Tilt the assembly gently or add a little more water to push air out of the lines. Do not start reseating parts until air is ruled out. Mistake to avoid: rebuilding the whole toy when the real problem was an air pocket.
- Diagnose weak flow in a fixed order: Check tube seating, kinks, reservoir height, nozzle alignment, then debris in the narrow section. Stop at the first problem you find. Most weak-flow cases end at tube seating or a kink.
- Change one variable per run: Adjust water level, nozzle position, or routing individually and have your builder predict the outcome first. Record what happened. Next step: once it runs cleanly, drain and air-dry the lines before storing.
Build facts worth knowing
- Aqua Arcade - Venturi Effect: Aqua Arcade - Venturi Effect is a CrunchLabs toy built around the Venturi effect, part of a line designed for kids and adults to Think like Engineers. It is intended as a build-and-test project for both age groups, so an adult can run the troubleshooting while a child makes the predictions.
- Aqua Arcade - Venturi Effect: It is listed under Toys with the brand crunchlabsstore, and the theme is the Venturi effect presented through a hands-on arcade-style build. The arcade framing means there is a play goal on top of the physics, which is useful for keeping younger builders engaged through repeated test runs.
- Label Maker - Stepper Motor: The Label Maker - Stepper Motor is part of the CrunchLabs Hack Pack Toys line and contains 16 total parts. If your builder enjoys the assemble-then-adjust rhythm of the Aqua Arcade, a 16-part Hack Pack project is a natural next step with the same hands-on structure.