Quick answer
Build a magnetic tile road by laying a flat loop of road pieces first, then raising one section into a ramp with square tiles underneath. Test each joint with a toy car before adding height, because a road that looks connected can still have a lip that stops wheels.
Set up a build surface and sort the pieces
Work on a hard, flat surface such as a table or wood floor. Carpet swallows small wheels and makes ramps wobble, which is the fastest way to turn a fun build into a frustrating one.
Separate road pieces from plain squares and triangles before you start. Having the road pieces in one pile makes it obvious how far your track can run before you need to loop back.
Choose a layout that matches your floor space
A simple oval uses the fewest pieces and leaves room for a ramp on one straight. A figure-eight adds a crossing point, which is more interesting for older builders but needs a wider footprint and more careful joint alignment. If space is tight, a U-shaped track that runs along a wall and turns back on itself works better than a loop that gets stepped on.
Test the flat track before you add height
Push a toy car around the completed flat loop by hand. Any spot where the car catches, hops, or drifts off line is a joint that needs reseating. Fixing the flat track first means you only troubleshoot the ramp later, instead of guessing whether the problem is the slope or the connection.
Add one ramp, then stop and check
Build a ramp by supporting one road piece on a stack of square tiles, starting low. A shallow slope lets cars roll on their own; a steep one turns into a jump. Add one tile of height at a time and send the car down after each change.
If the car flips or stalls at the bottom, the transition is too abrupt. Extend the run-out with another road piece so the slope eases into the flat section instead of ending in a step.
Road build steps
- 1. Lay the flat loop: Connect road pieces into a closed loop on a hard, flat surface, pressing each joint until the magnets pull flush. Checkpoint: run a finger along the whole loop. Any ridge means a joint is not seated.
- 2. Mark the ramp section: Pick one straight stretch for the ramp and leave the rest of the loop flat so cars have a clear run-up. Mistake to avoid: ramping a curve, which twists the joint and derails cars.
- 3. Raise the ramp one tile at a time: Slide square tiles under one road piece, adding height gradually until the slope feels right for your cars. Checkpoint: a car should roll down on its own without jumping the track.
- 4. Ease the bottom transition: Add a road piece at the base of the ramp so the slope meets the flat track gradually rather than ending in a step. Mistake to avoid: leaving a hard edge where fast cars flip.
- 5. Test at full speed, then rebuild: Send cars around the full loop several times and note where they slow, drift, or stop. Next step: change one thing at a time, then retest, so you know what actually fixed it.
What the XTRAS Roads set adds
- XTRAS Roads™ 12 Piece Set: The MAGNA-TILES XTRAS: Roads 12-Piece Set expands every MAGNA-TILES world with Road pieces that connect, reconnect, and create endless layouts, for building highways, racetracks, and winding roads. These are the pieces that make a track drivable, so they belong at the base of the build rather than being saved for decoration on top.
- MAGNA-TILES Storage Bin: The Storage Bin & Interactive Play-Mat holds up to 300 MAGNA-TILES pieces and unzips into a colorful interactive play-mat. A defined bin size tells you when your collection is outgrowing its storage, and the play-mat gives road builds a ready surface without hunting for table space.
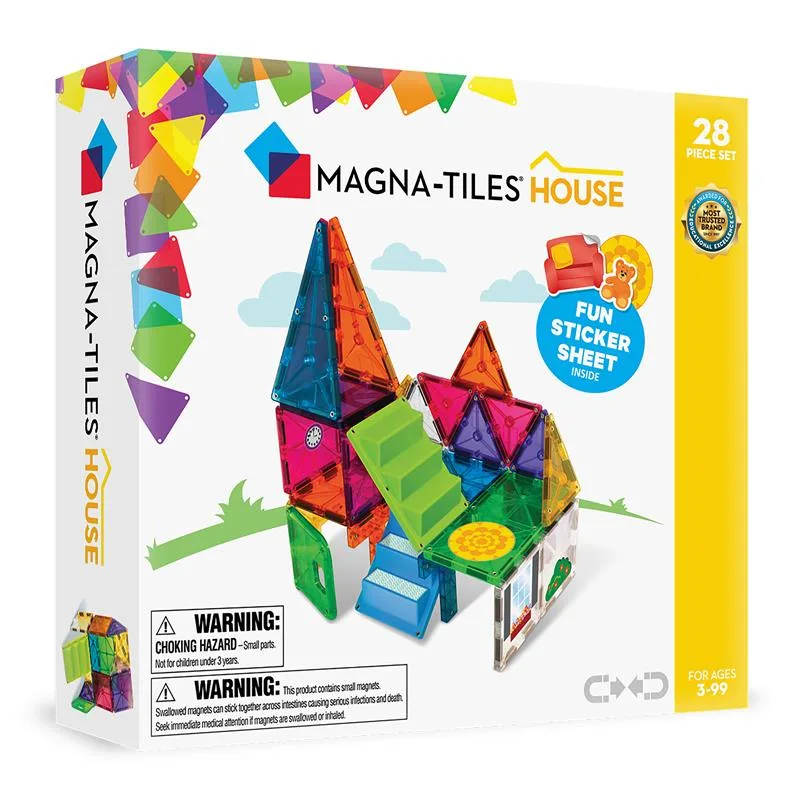
- House 28 Piece Set: The MAGNA-TILES House 28-Piece Set includes a sheet of reusable stickers with 20 home-related images plus unique door and staircase pieces. Those door and staircase pieces can become a garage entrance or a pit stop alongside a road, so a house set and a road set can share one layout.